》Light
今天我們來試看看燈光效果。首先你需要有 normal maps,可以使用工具來製作 SpriteIlluminator 工具來製作。
》Javascript 內容
let scene = new Phaser.Scene('Game')
let config = {
    type: Phaser.AUTO,
    width: 800,
    height: 600,
    scene
}
let game = new Phaser.Game(config)
scene.preload = function () {
    this.load.setPath('assets/');

    // 加載圖像, 01.png 為一般圖像 ;  01_n.png 為 normal map
    this.load.image('character', ['01.png', '01_n.png']);
}
scene.create = function() {
    let capguy = this.add.sprite(250, 300, 'character')
    capguy.setScale(0.5)

    // 讓角色接受光源
    capguy.setPipeline('Light2D')

    // 在 (350, 250) 位置添加半徑 200 的光源
    let light = this.lights.addLight(350, 250, 200)
    this.lights.enable()

    // 設定環境燈
    this.lights.setAmbientColor(0x555555)

    // 滑鼠移動,變更燈光位置
    this.input.on('pointermove', function (pointer) {
        light.x = pointer.x;
        light.y = pointer.y;
    });
}
》結論
今天我們使用簡單的燈光效果,如果載入 sprite sheet 的話,也必須有 normal map sheet,我們可以使用 TexturePack 工具產生 json 檔,使用 load.multiatlas() 載入兩種 sheet,將 normal 連結到 sprite sheet 上。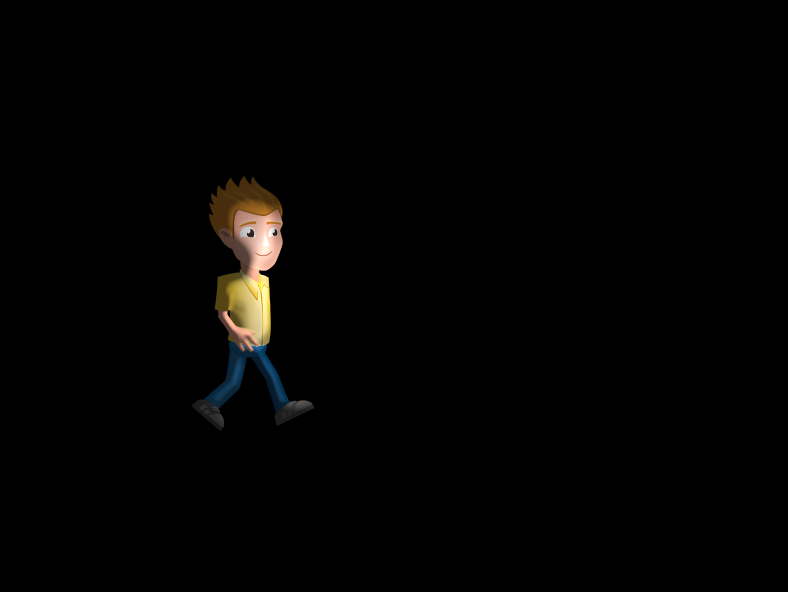
今天就先到這裡,我們明天見。


 iThome鐵人賽