》Follow
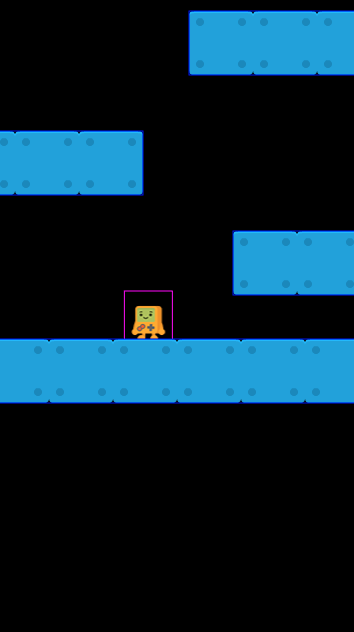
有時候,我們希望不侷限在特定的區域內,而是隨著遊戲者的位置來進行遊戲的移動。這時候可以調整 camera 的設定來達到這個目的( camera 跟隨著 player 的位置 )。
》Javascript 內容
在開始之前,我們先建立多一點的磚塊。
// assets/data.json
{
    "platforms": [
        { "x": 180, "y": 608, "num": 6, "key": "tile" },
        { "x": 300, "y": 500, "num": 2, "key": "tile" },
        { "x": 50, "y": 400, "num": 3, "key": "tile" },
        { "x": 320, "y": 280, "num": 4, "key": "tile" },
        { "x": 0, "y": 200, "num": 4, "key": "tile" }
    ]
}
調整一下 player 位置this.player = this.add.sprite(180, 500, 'player', 0)
// 設定 camera 邊界,視角跟隨玩家
// 目前是依照 this.physics.world 來決定 360, 1000
this.physics.world.bounds.width = 360
this.physics.world.bounds.height = 1000
.....
this.cameras.main.setBounds(0, 0, 360, 1000)
this.cameras.main.startFollow(this.player)
可以試著調整它數值,查看畫面有什麼不一樣?this.cameras.main.setBounds(0, 0, 400, 1000)
》結論
這次我們學到了,如何設定 camera,依照 player 的位置,去移動 camera 的位置。可以朝著 x 軸移動的遊戲(馬力歐);或者 y 軸移動的遊戲(小朋友下樓梯)等遊戲劇本,來設定 camera 以及 physics.world 的邊界。
今天就先到這裡,我們明天見。
