資料庫專案開發跟程式開發一樣屬於專案開發流程的一環, 這篇文件將介紹如何使用微軟 DevOps/TFS 工具, 實作資料庫專案開發的 CI/CD 應用. 實務上 SQL database project 很少直接做 CD, 需考慮較多的因素與不同的資料庫 Continuous Delivery 的設計考量.
CI/CD 可以使用各種 DevOps 平台, 本文件將使用 Microsoft 的 DevOps/TFS 作為平台. 若使用 Team Foundation Server, 建議使用 2017 版本以上.
資料庫專案開發需要準備 Visual Studio SSDT 開發環境, 建議使用 VS 2015 以上版本, 本文件使用 VS 2017 並安裝 SSDT 元件
資料庫開發專案, 需要部署到 SQL Server 上, 本文件使用 SQL Server 2016 為資料庫環境
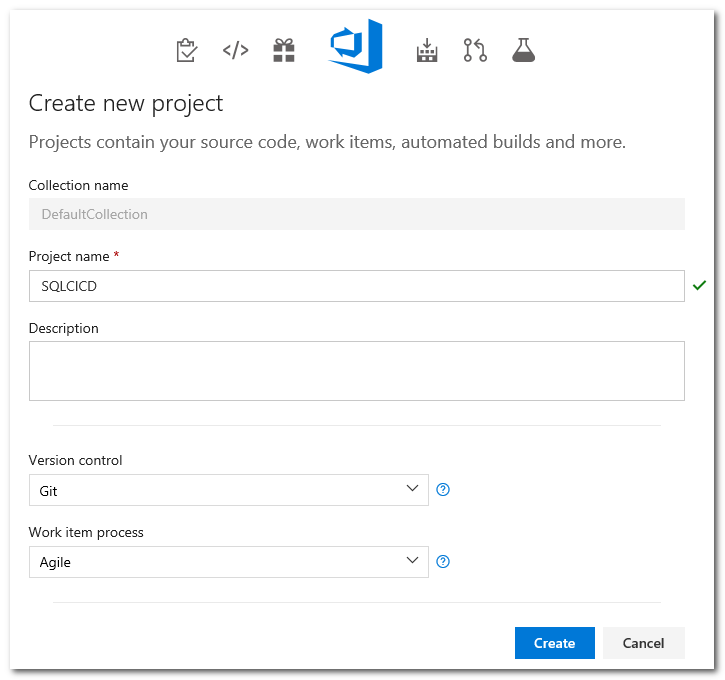
a. 在 DevOps/TFS server 上建立新的 team project, 可以選擇 git 或 TFVC 作為 version control 類型
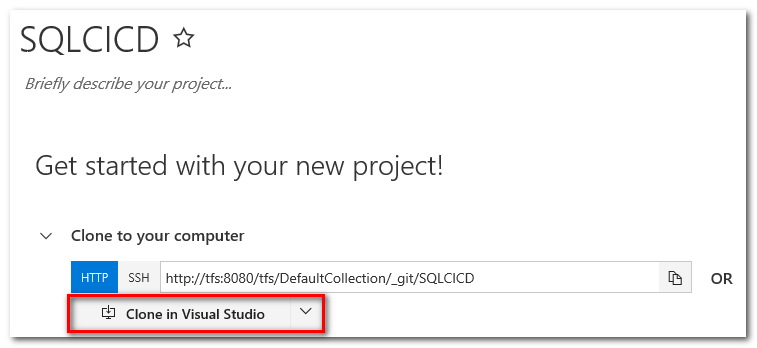
b. 建立完成後, 可以直接 clone 到 Visual Studio 中
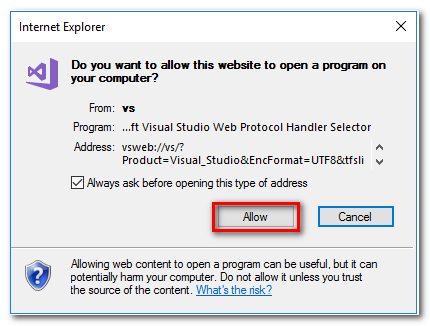
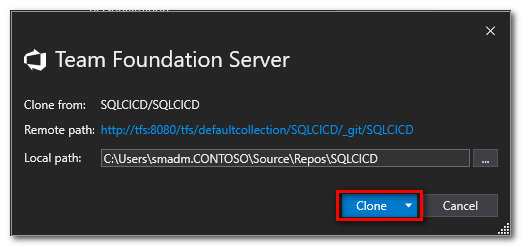
c. 確認從 Visual Studio 開啟
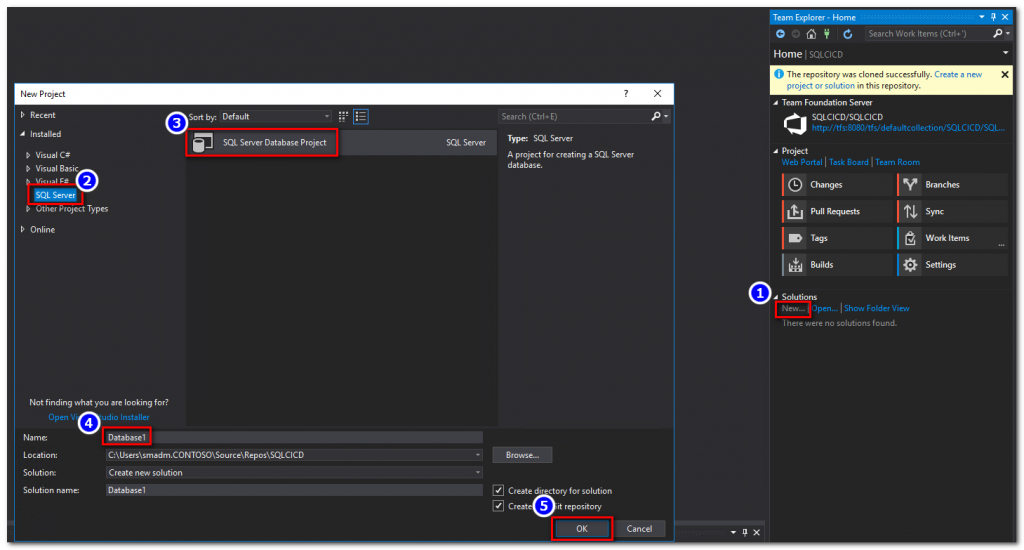
從 Temp Explorer > Solutions > New 建立新的 SQL Server Database Project
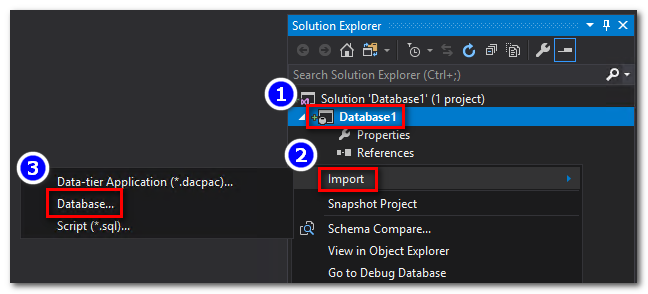
a. 在專案上按右鍵, 選取 Import > Database
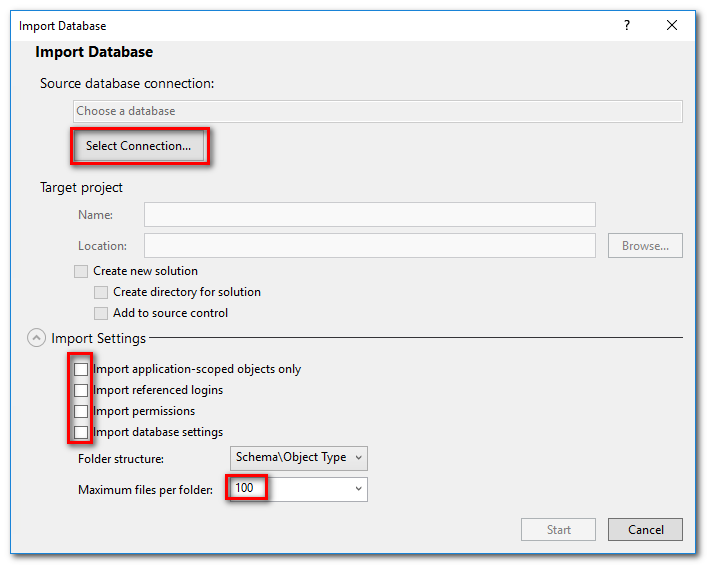
b. 選取 Select Connection, 並且將 ** Import Settings** 先取消, Maximum files per folder 設定為 100, 避免匯入過多的物件
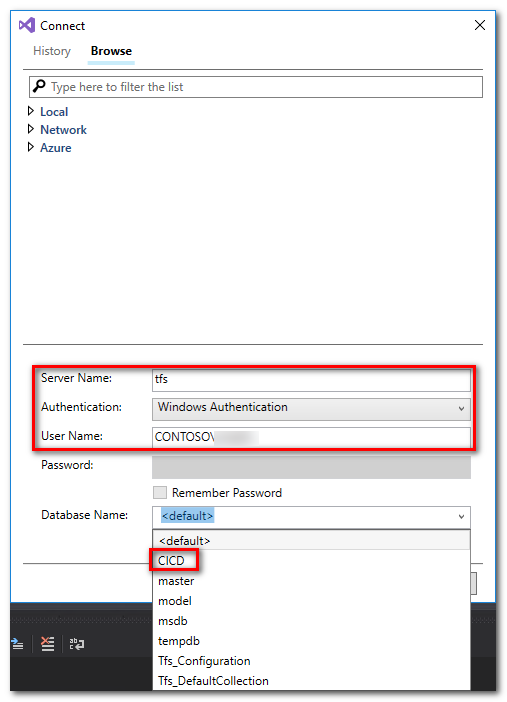
c. 設定連線資訊, 選擇 Server Name 以及 Database Name
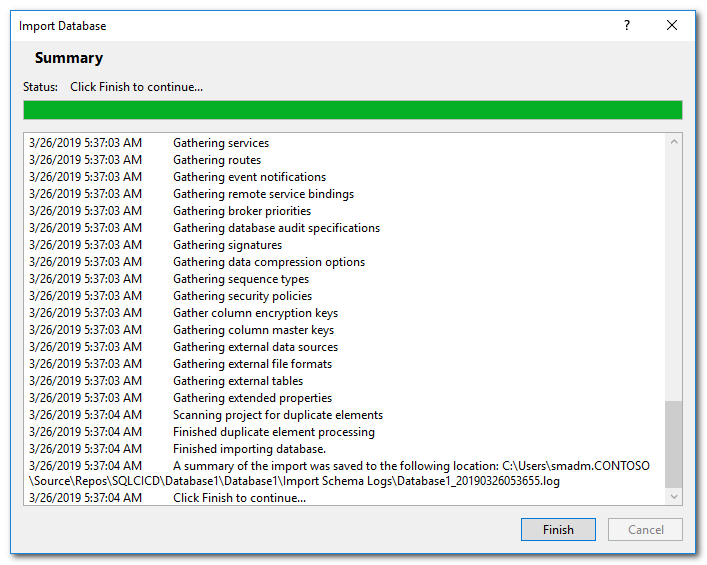
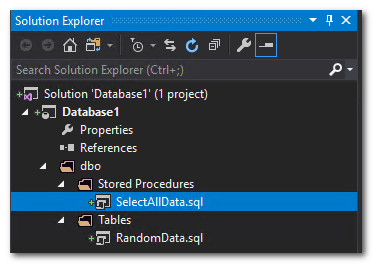
d. 匯入完成後, 專案產生相對應的資料庫物件
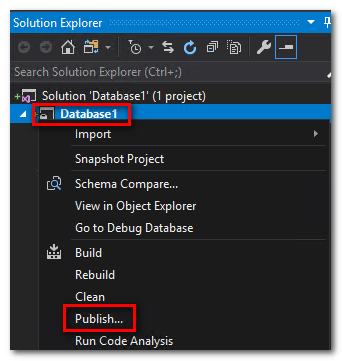
a. 在專案上按右鍵, 選取 Publish
b. 選取 Edit, 選取連線資訊, 再 Save Profile As

c. 將 Profile 檔案儲存於專案下
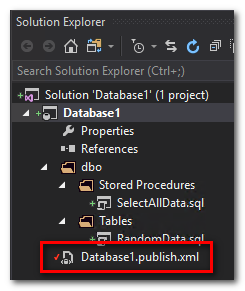
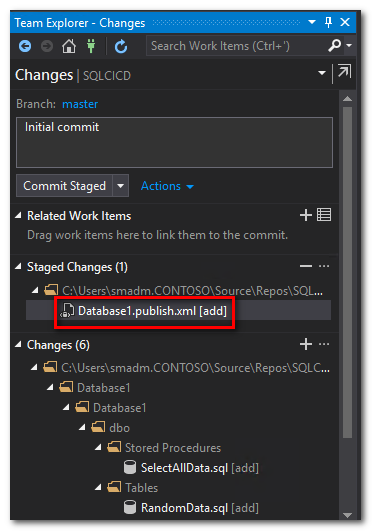
將 Source code commit, 請記得將 Database1.publish.xml 也 commit 進去
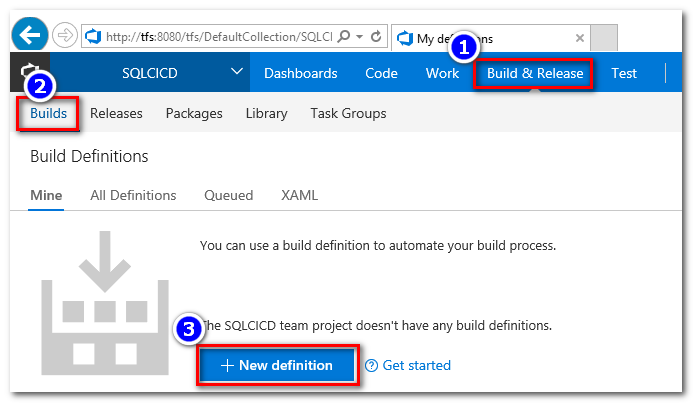
a. 開啟 DevOps/TFS, 進入專案, 選取 Build & Release, 選取 New definition
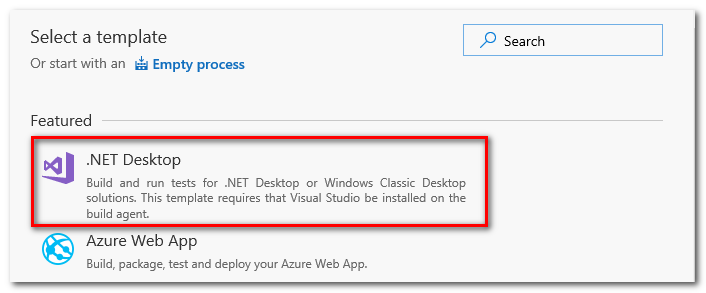
b. 選取 .NET Desktop template, 如果沒有可以選擇相關的 .NET template, 也可以從 Empty template 建立起
a. 先移除不需要的 tasks (VsTest, Publish symbols), 按右鍵選取 Remove selected task(s)
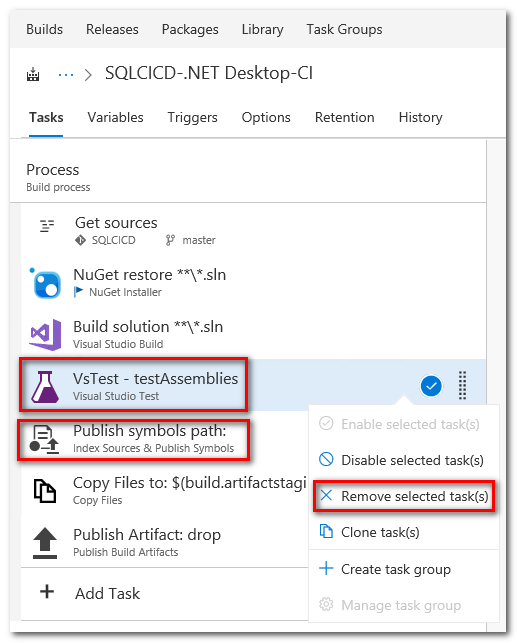
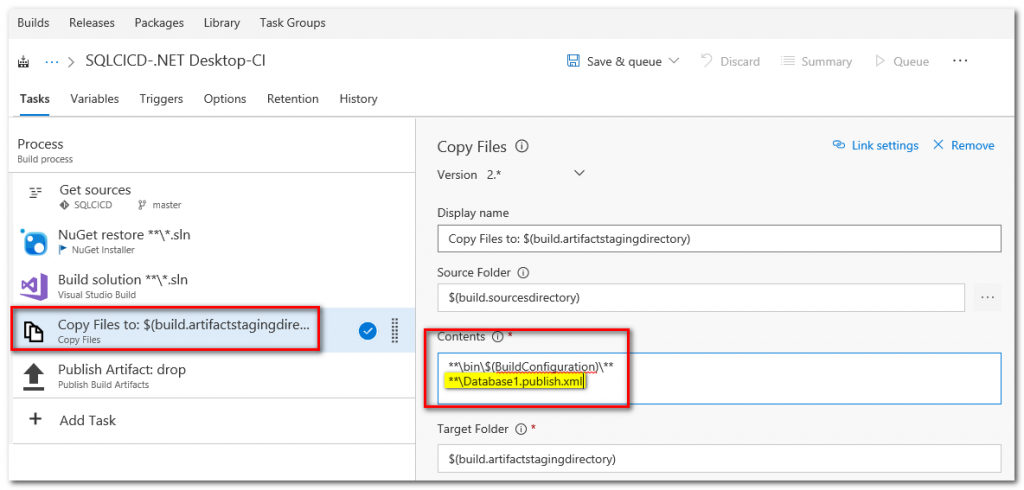
b. 在 Copy Files to: task, Contents 參數中加入 **\Database1.publish.xml, 目的將 Database1.Publish.xml 檔案複製到 drop 目錄
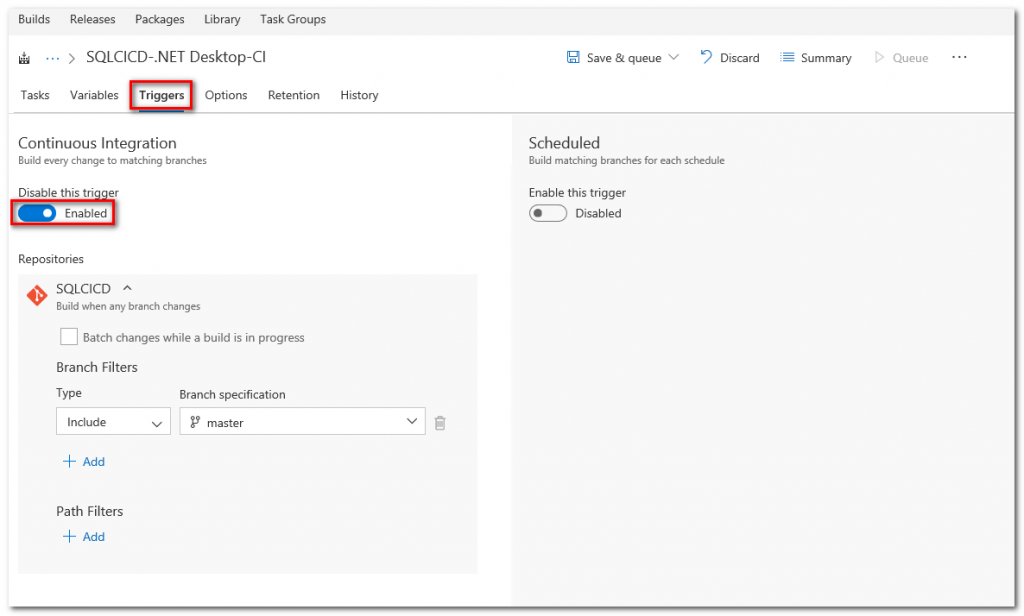
選取 Trigger 標籤, 啟用 Continuous Integration, 設定值使用預設值
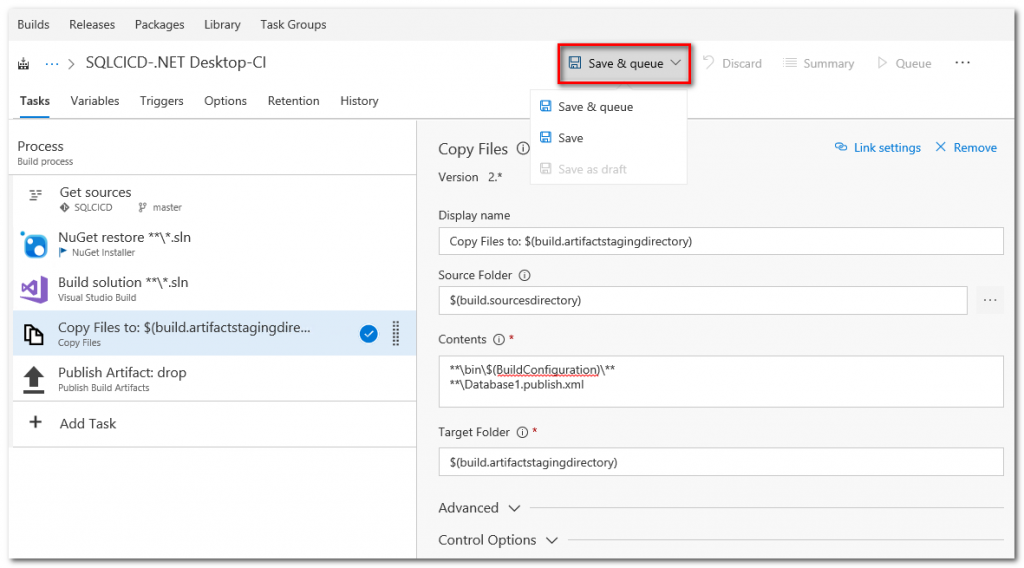
a. 儲存並開始 Queue
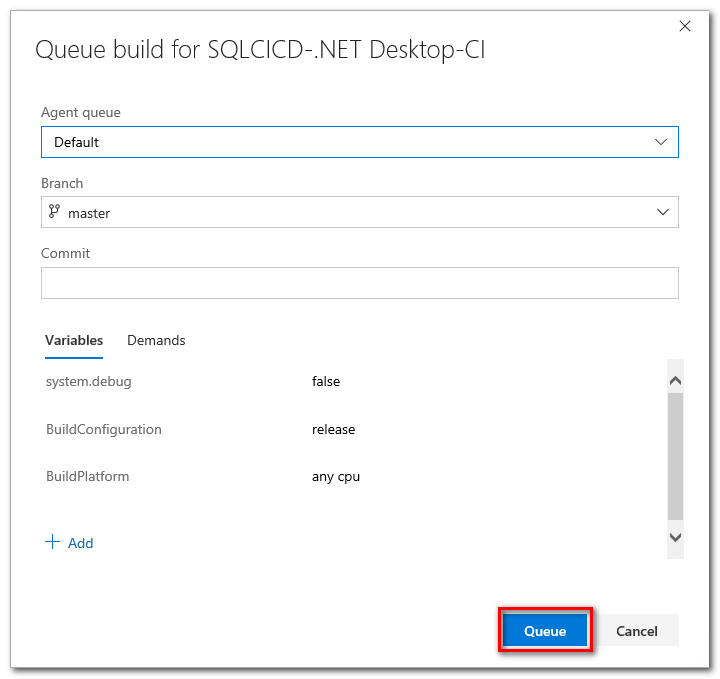
b. 開始 Queue
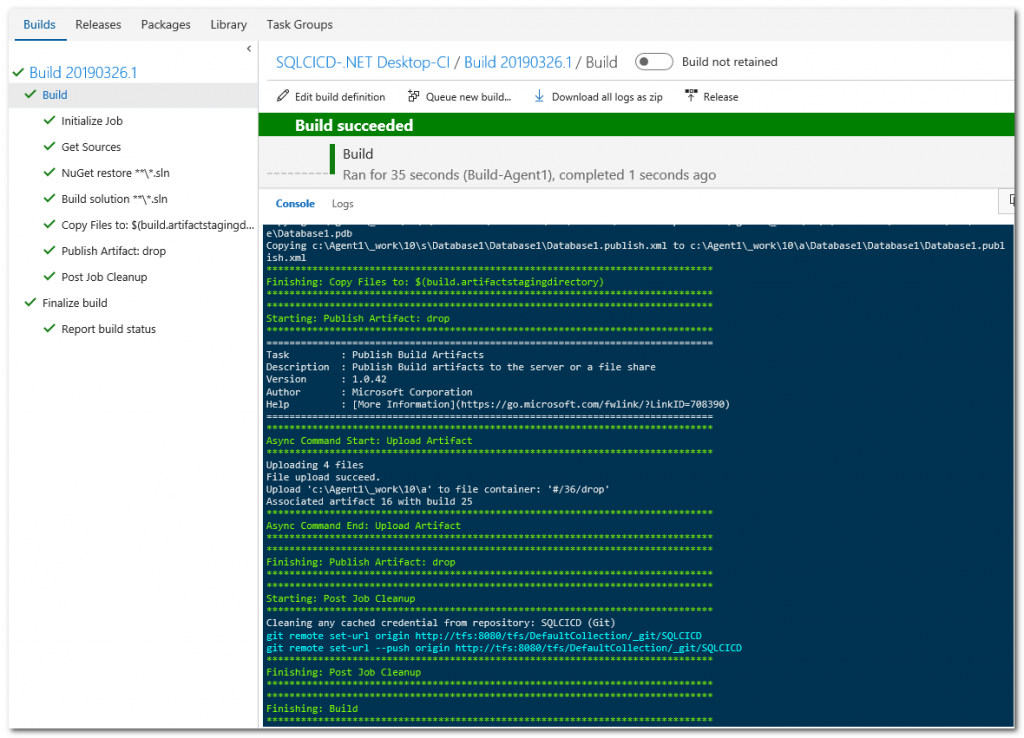
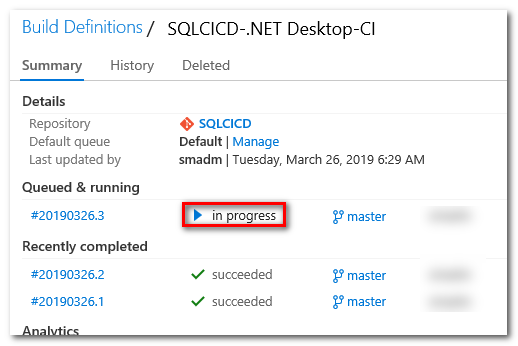
c. 確認 Build 結果
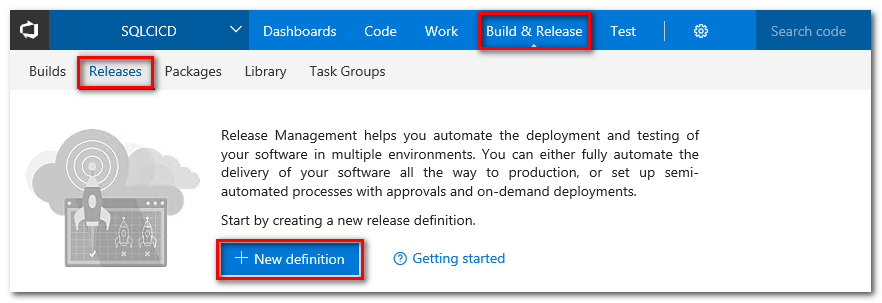
a. 選取 Build & Release, 選取 Releases 標籤, 點選 New definition
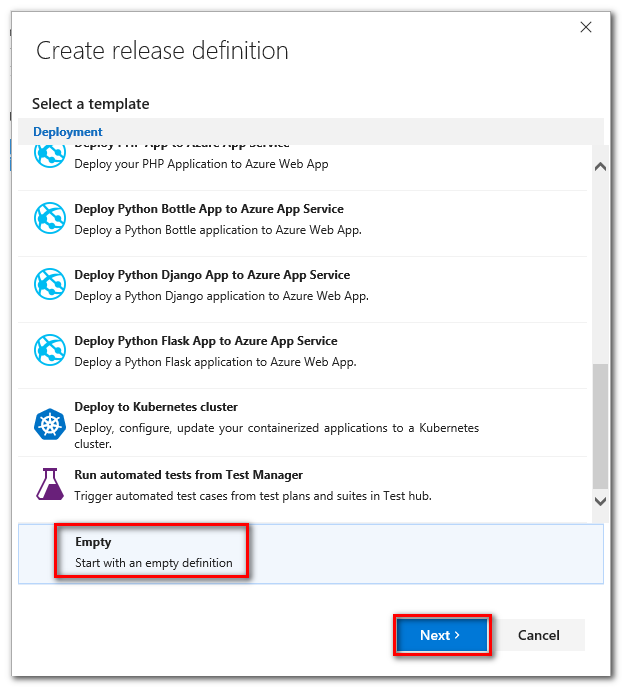
b. 先選取空白 template
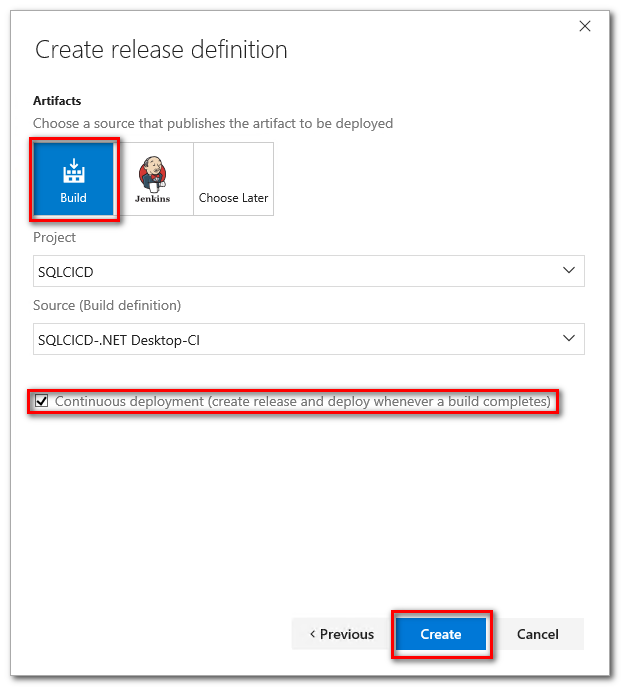
c. 選取 Build 成品來源, 並啟用 Continuous deployment
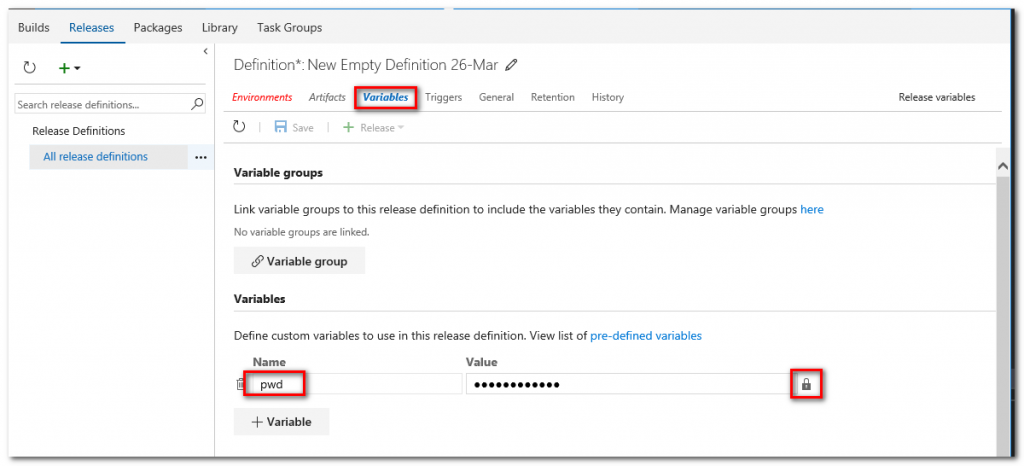
a. 加入一個遮罩的變數儲存密碼, 選取 Variables 標籤, 新增一個 pwd 名稱變數儲存密碼, 並記得將該變數設定為 鎖定
b. 選取 Add Task
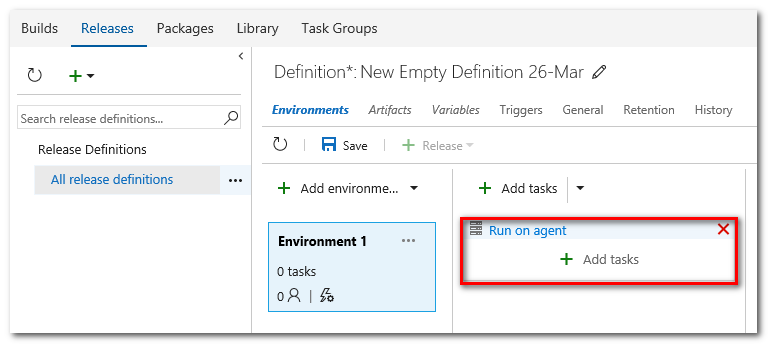
b. 加入一個 Windows Machine File Copy task 來將成品複製到 SQL Server 上
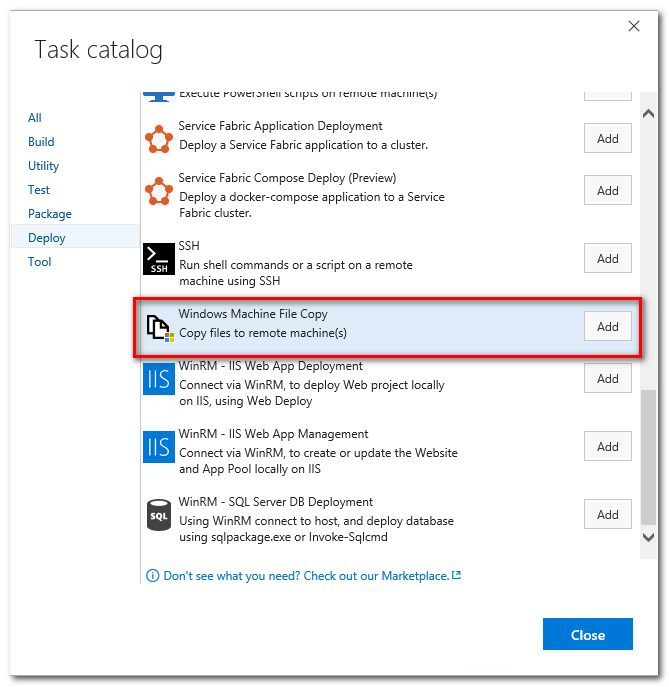
c. 在 Source 上選取成品目錄, 輸入 SQL Server 名稱, 帳號密碼資訊, 其中密碼可以使用已建立的變數

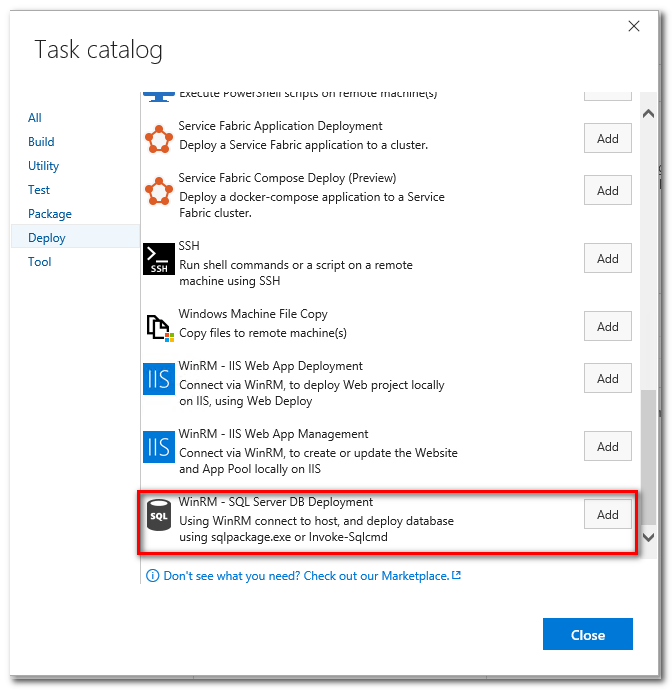
d. 再新增一個 Task, 選取 WinRM - SQL Server DB Deployment Task, 如果找不到, 可以到 Market place 上搜尋 WinRM IIS deployment 進行安裝
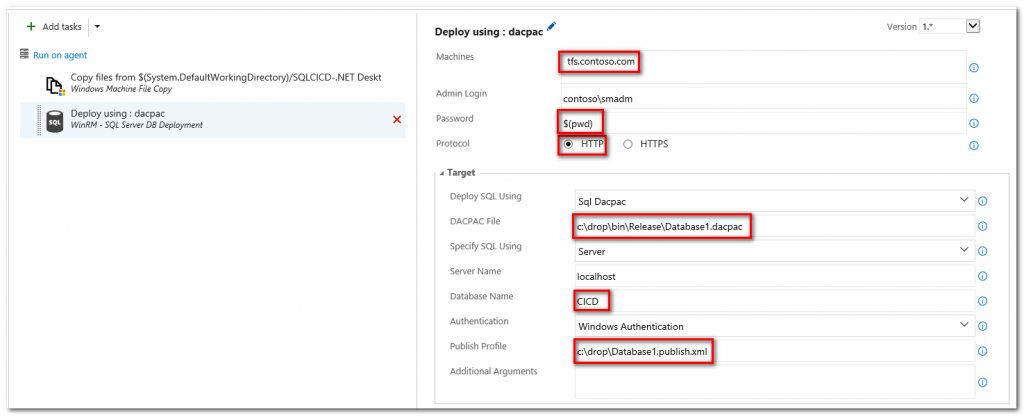
e. 輸入以下的參數:
(a) Machines: SQL Server 名稱
(b) Admin Login: 管理者帳號
(c) Password: 使用變數 pwd
(4) Protocol: 使用 HTTP (TCP Port: 5985)
(6) DACPAC file: SQL Server 上在前一步驟複製過來的位置 (c:\drop\bin\Release\Database1.dacpac)
(7) Database Name: 資料庫名稱
(8) Publish profile 檔案: 前一步驟複製過來的位置 (c:\drop\Database1.publish.xml)
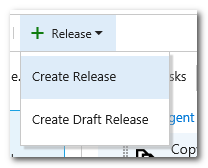
a. 將 Release definition 儲存後並 release
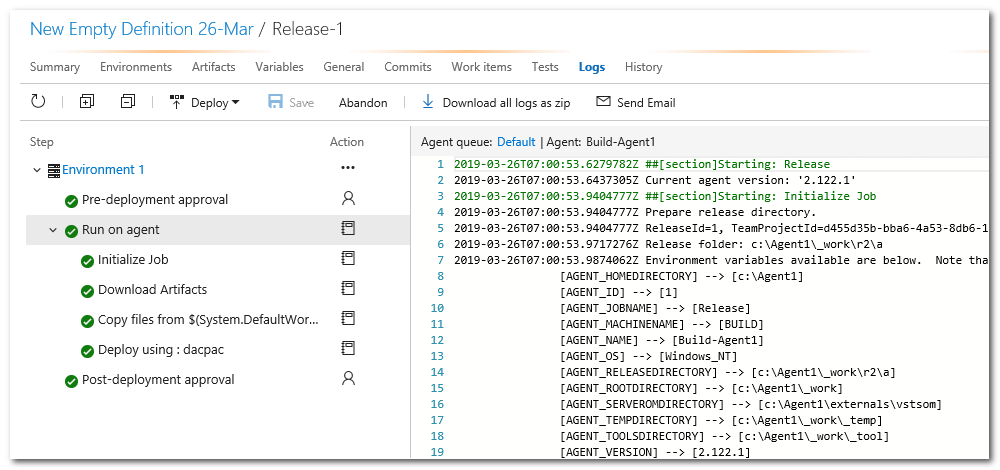
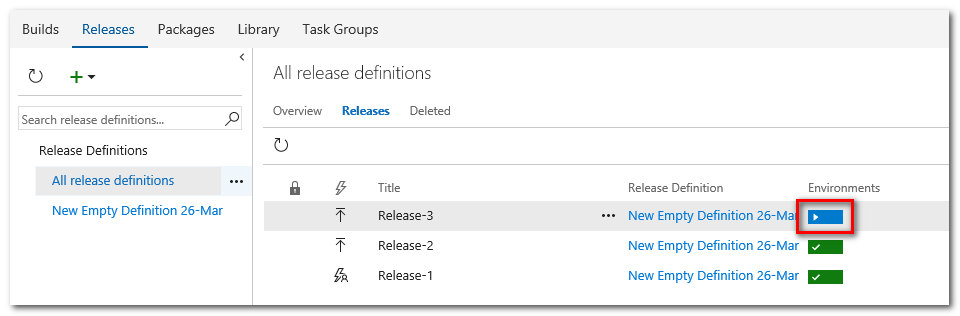
b. 執行結果
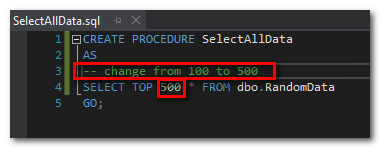
在 Visual Studio 專案中修改 Stored Procedure
Commit and sync to team project

CI 將自動被 Trigger
CD 也根據 CI 完成後自動被 Trgger
 山姆大叔
山姆大叔

 iThome鐵人賽