安裝步驟
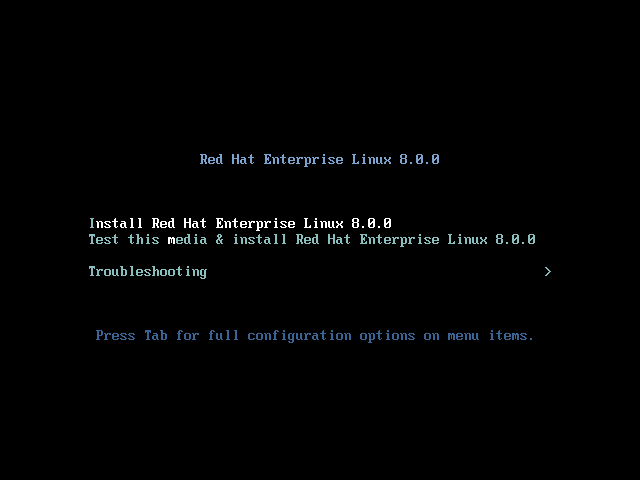
於開機選單選取 Install Red Hat Enterprise Linux 8.0.0 接著按下 Enter。
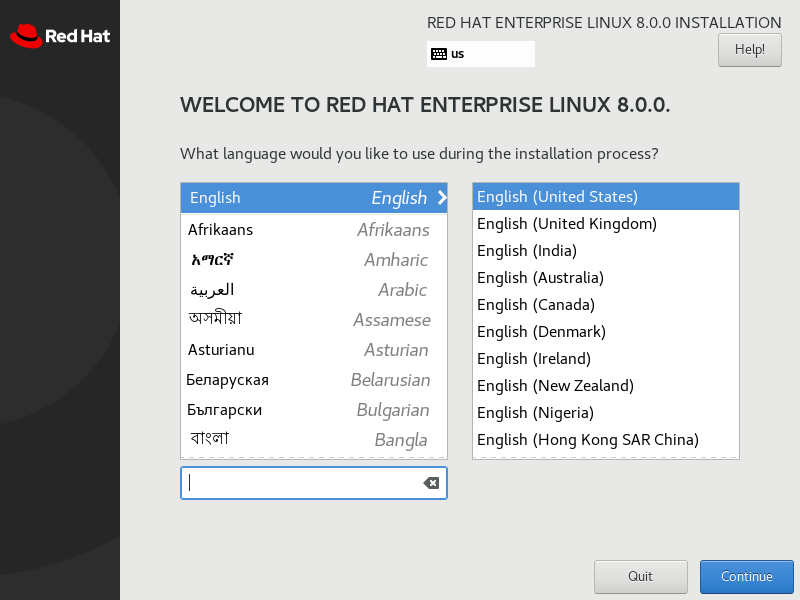
選取語言。個人習慣選英文。
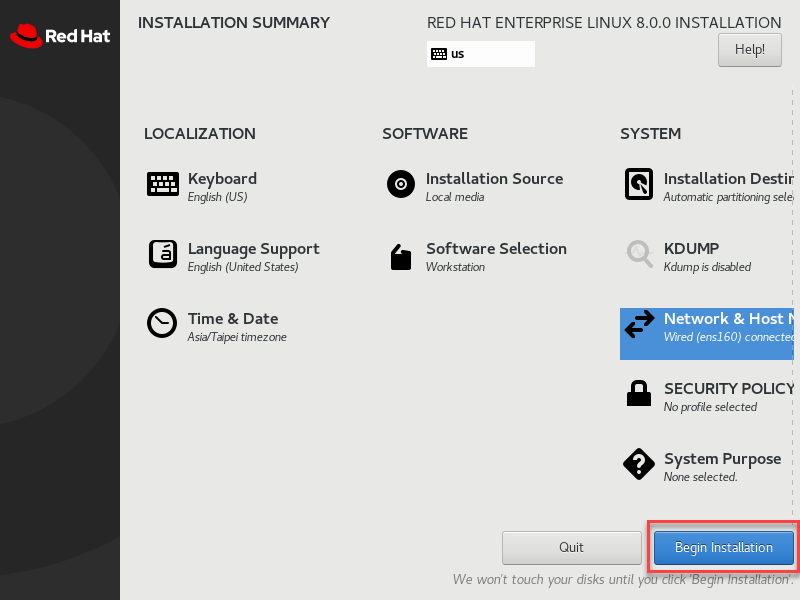
INSTALLATION SUMMARY 安裝總結,接著針對以下每一部分進行處理
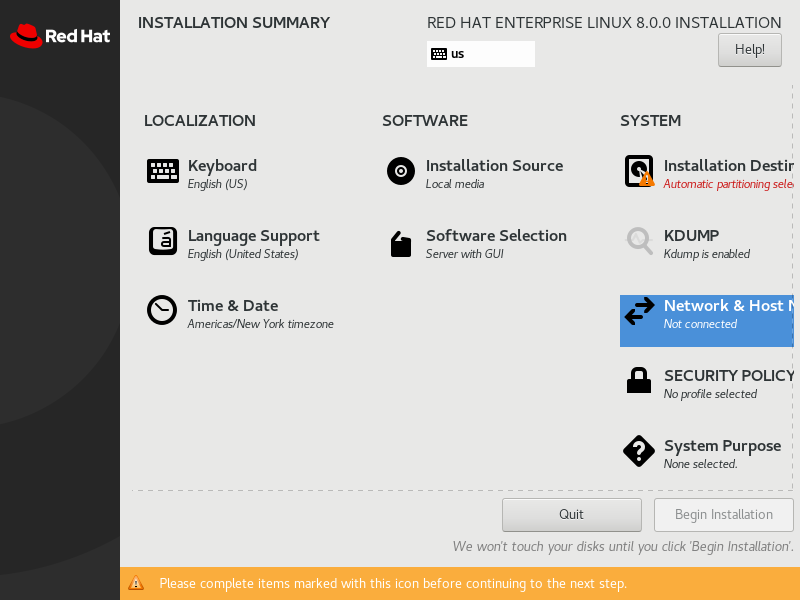
LOCALIZATION
Keyboard:不用動
Language Support:不用動
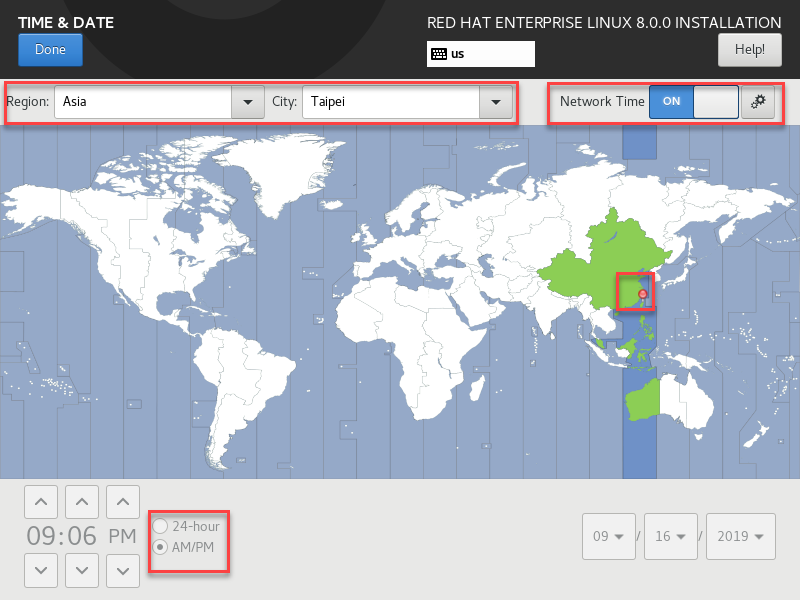
Time & Date
SOFTWARE
Installation Source:不用動
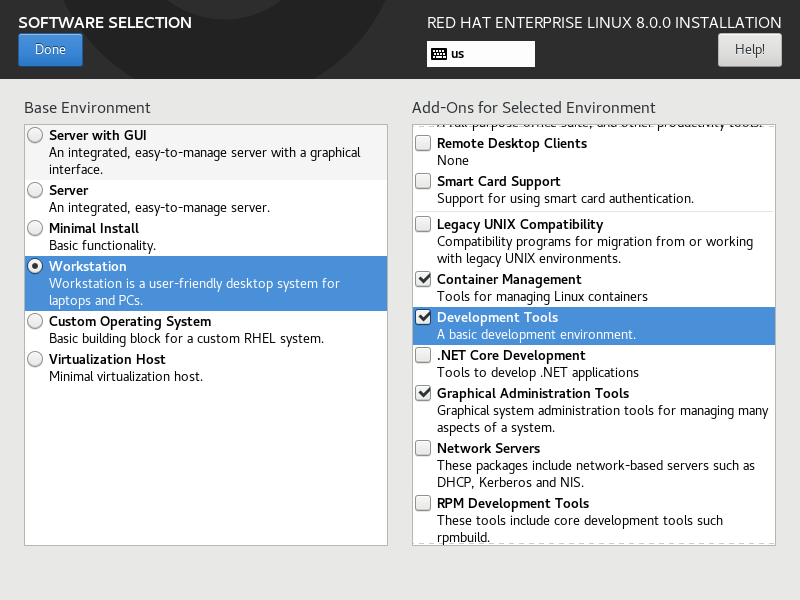
Software Selection
SYSTEM
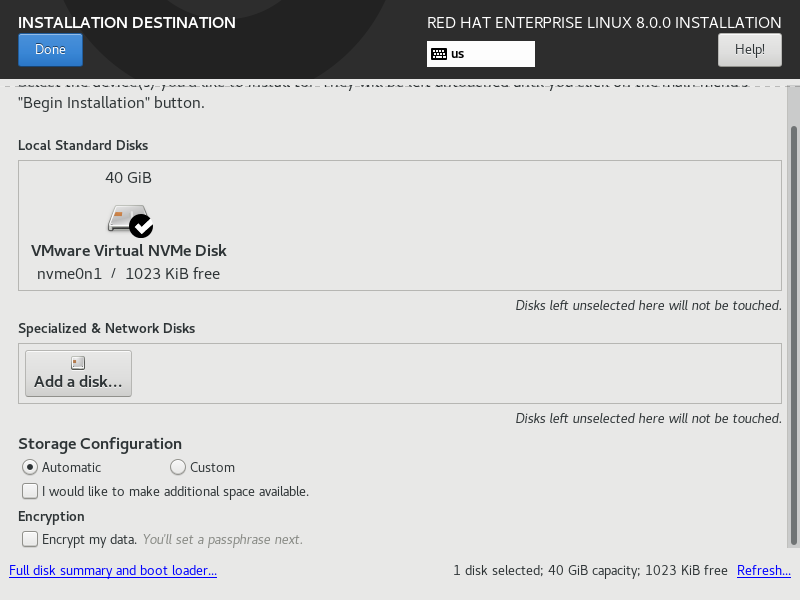
Installation Destination
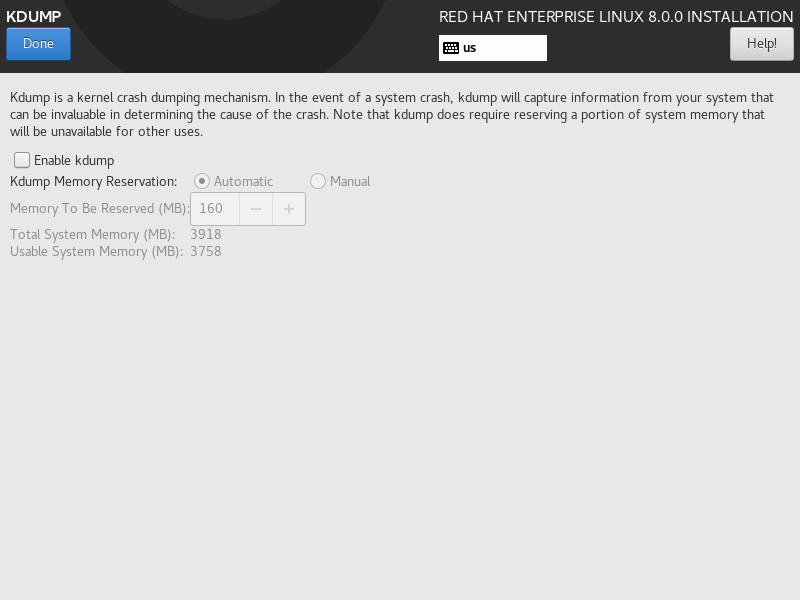
KDUMP:停用
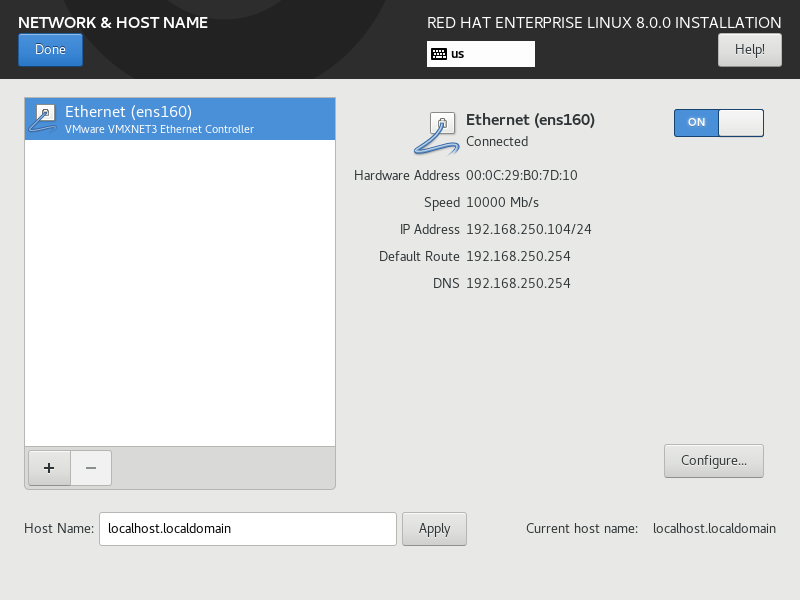
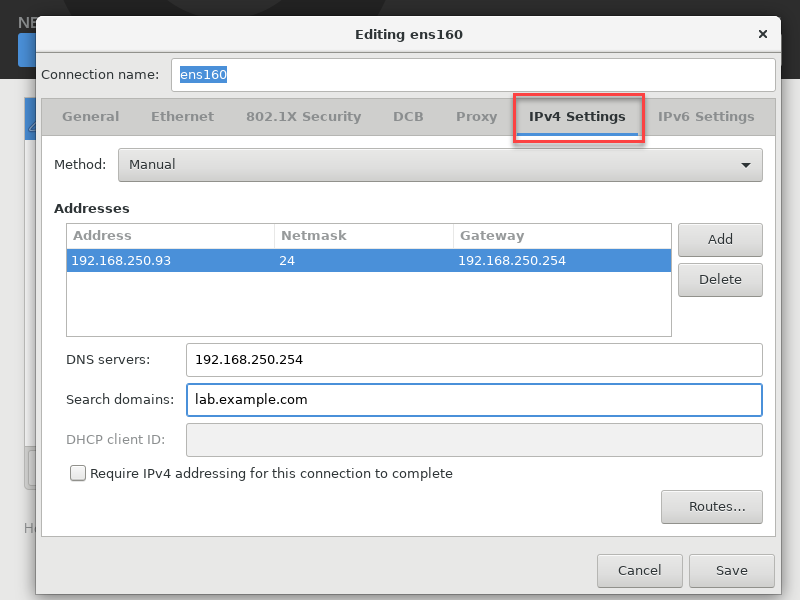
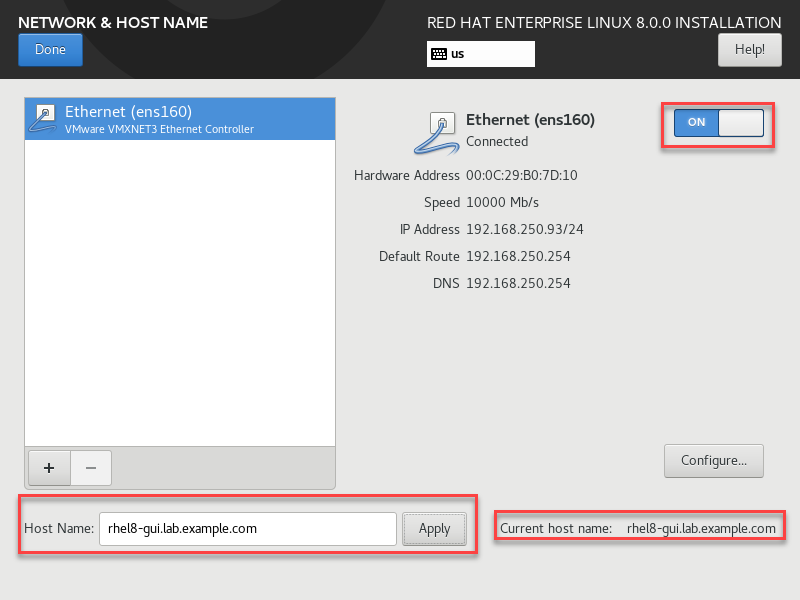
Nwtwork & Host Name
Security Policy:不用動
System Purpose:不用動
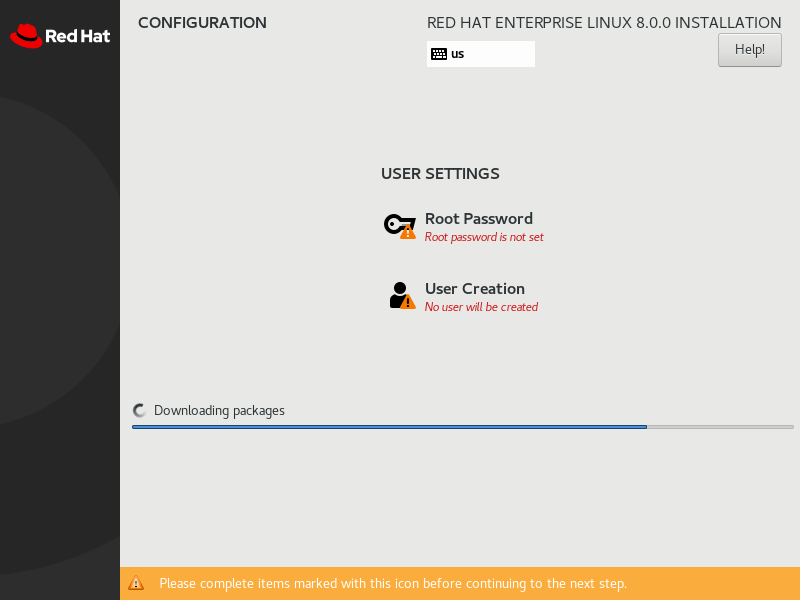
全部設定完,再檢查一遍,按下 Begin Installation 開始進行安裝
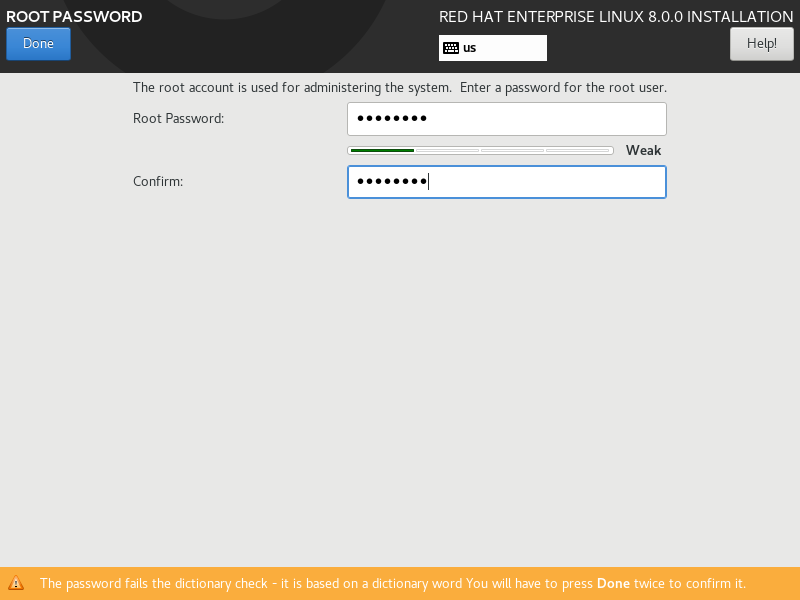
全部設定完,還要設定 root 密碼與建立新的使用者
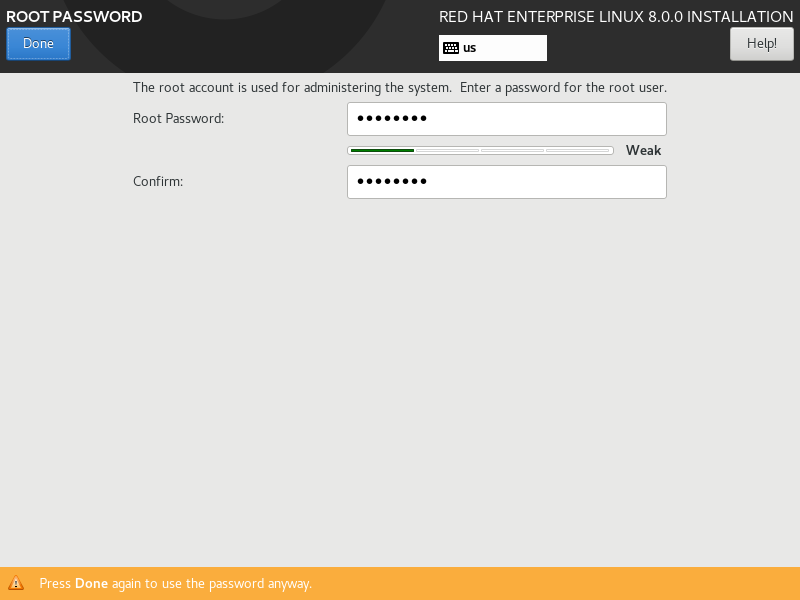
root 密碼設定為 password
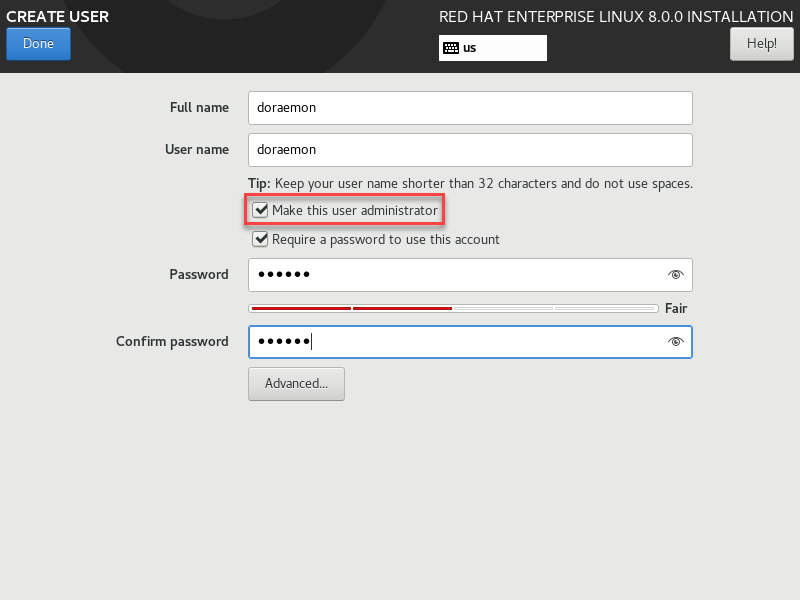
建立新的使用者 doraemon、設定密碼,並且勾選 Make this user administrator 讓此使用者成為管理者
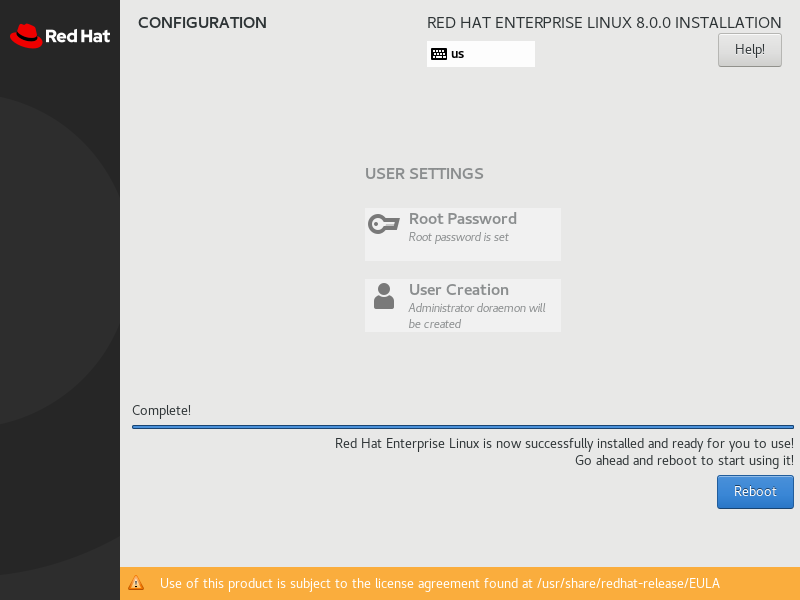
安裝過程稍候一下,等全部安裝完畢,按下 Reboot 重新開機
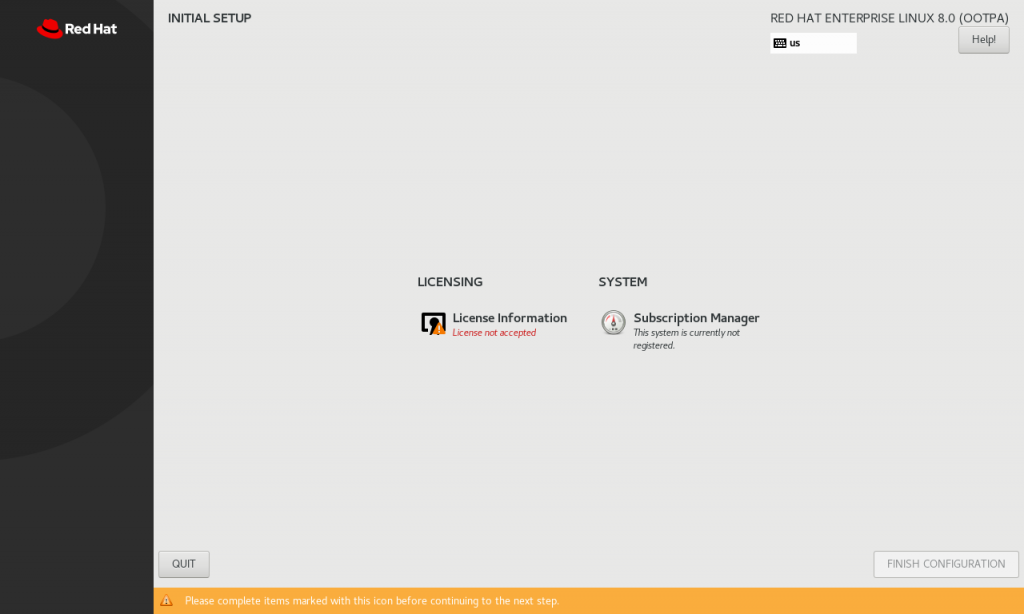
重開機完,還需進入 LICENSE CONFIRMATION
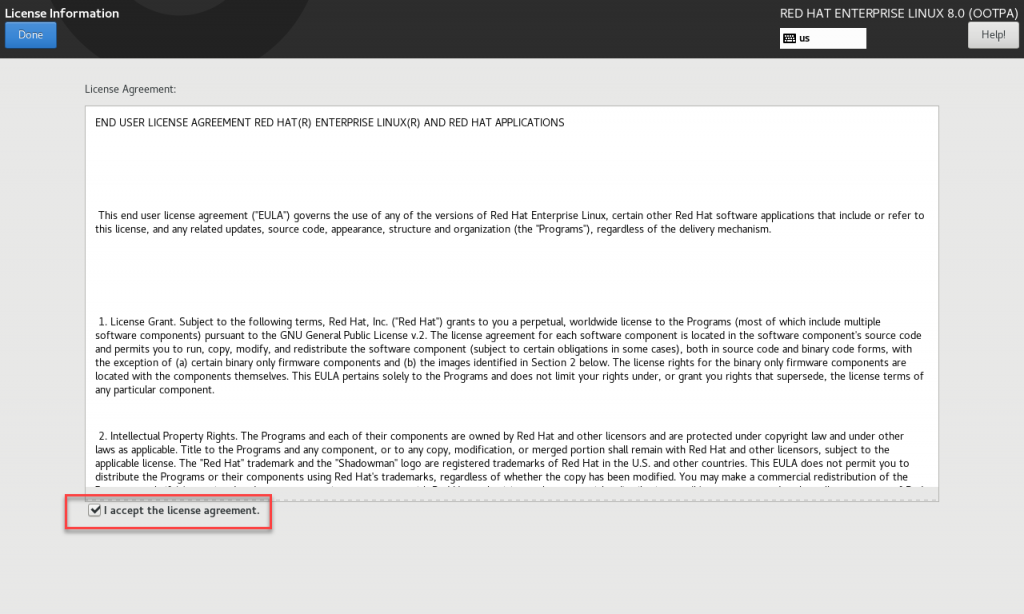
勾選 I accept the license agreement. 我接受授權協議
按下 FINISH CONFIGURATION 完成設定,再次進行重開機
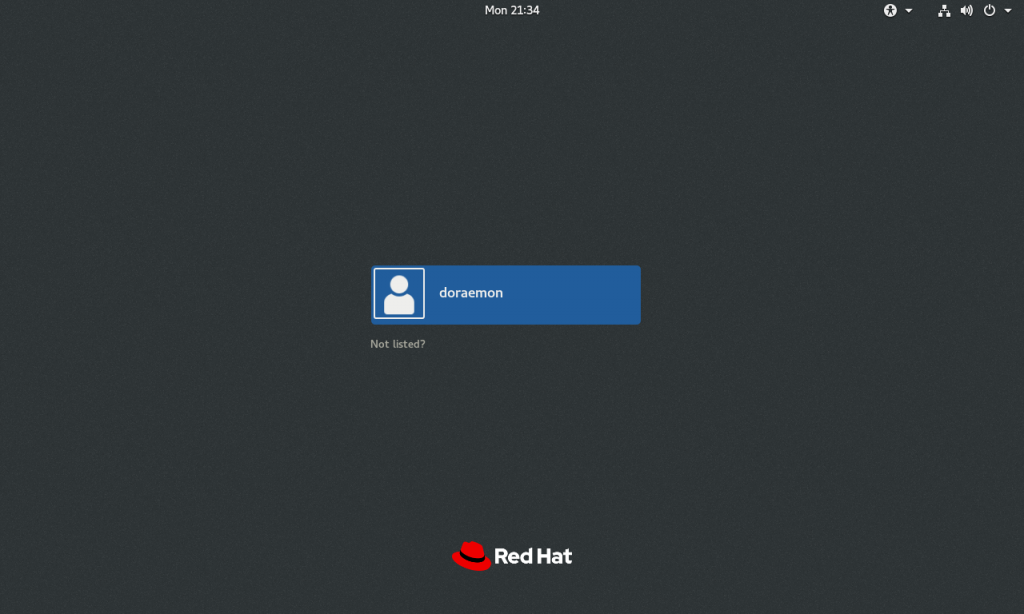
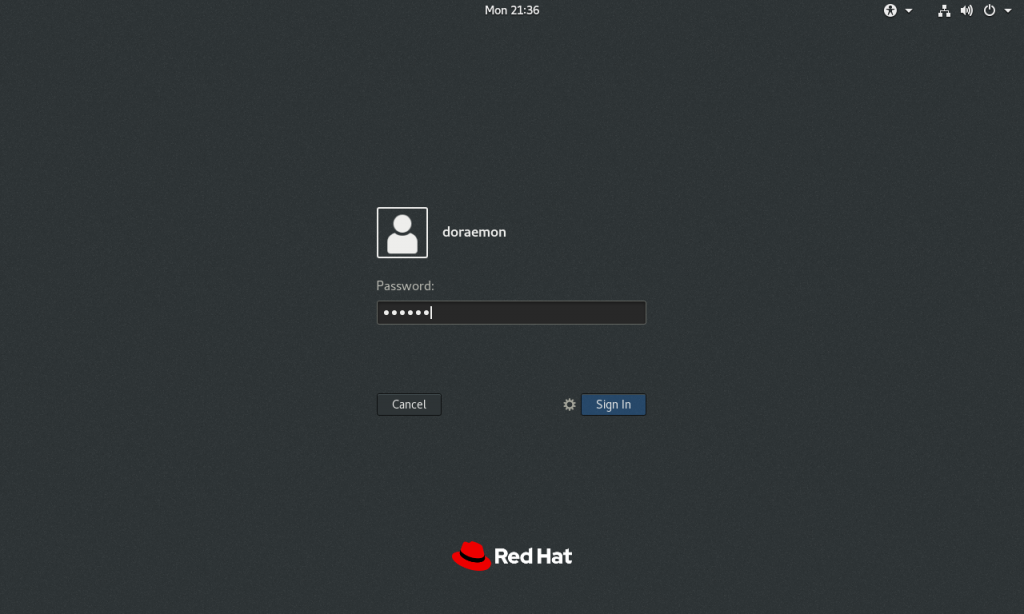
登入。點選帳號後輸入密碼。這次就不直接用 root 登入了(不良習慣)。
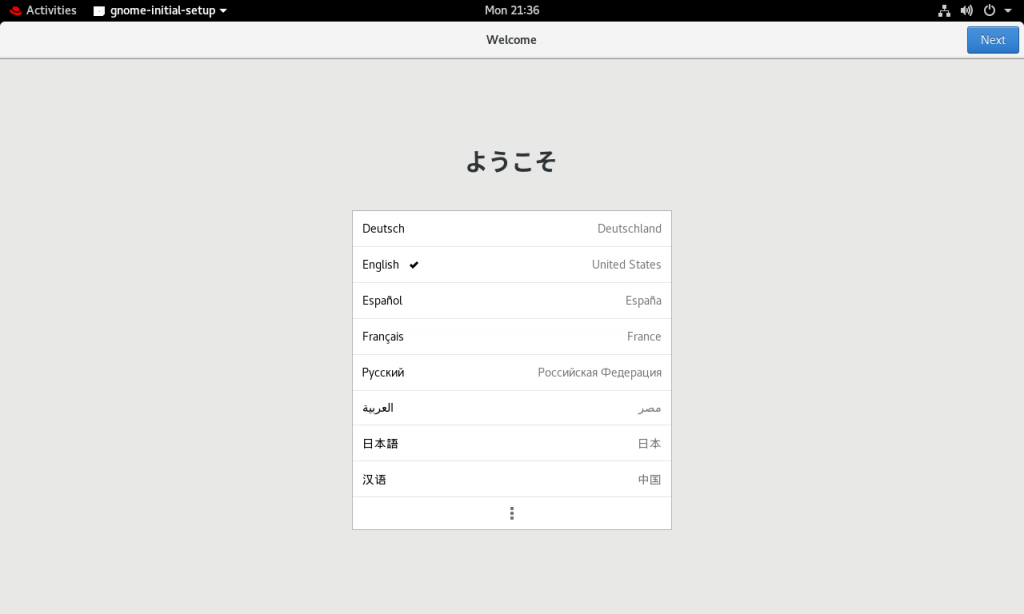
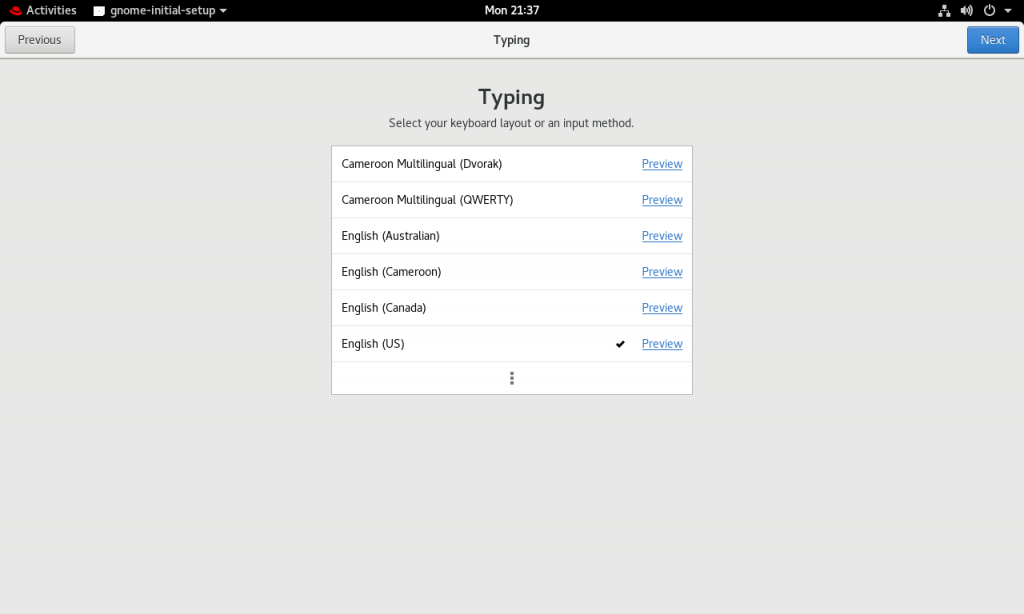
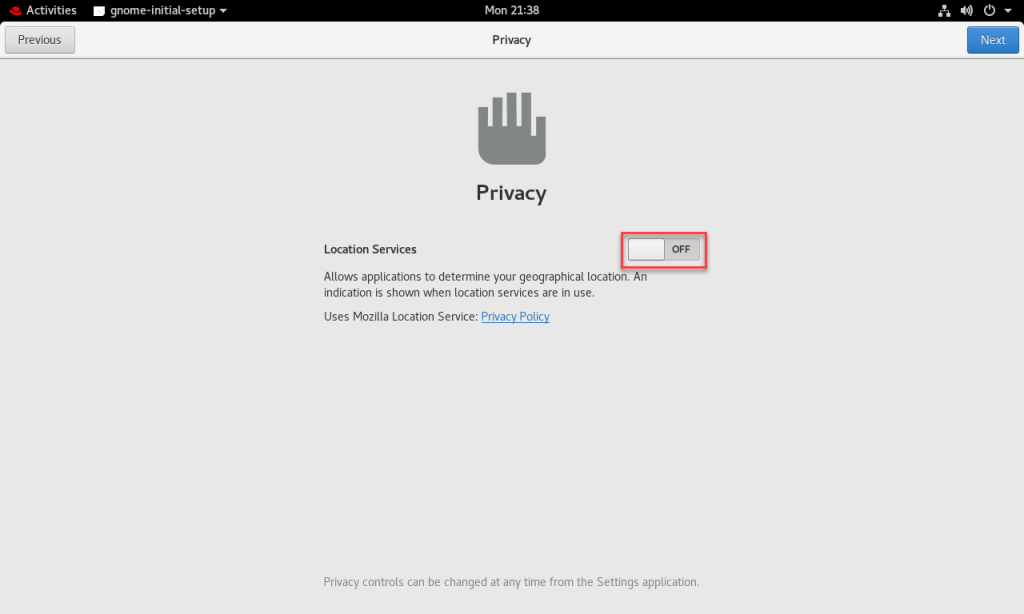
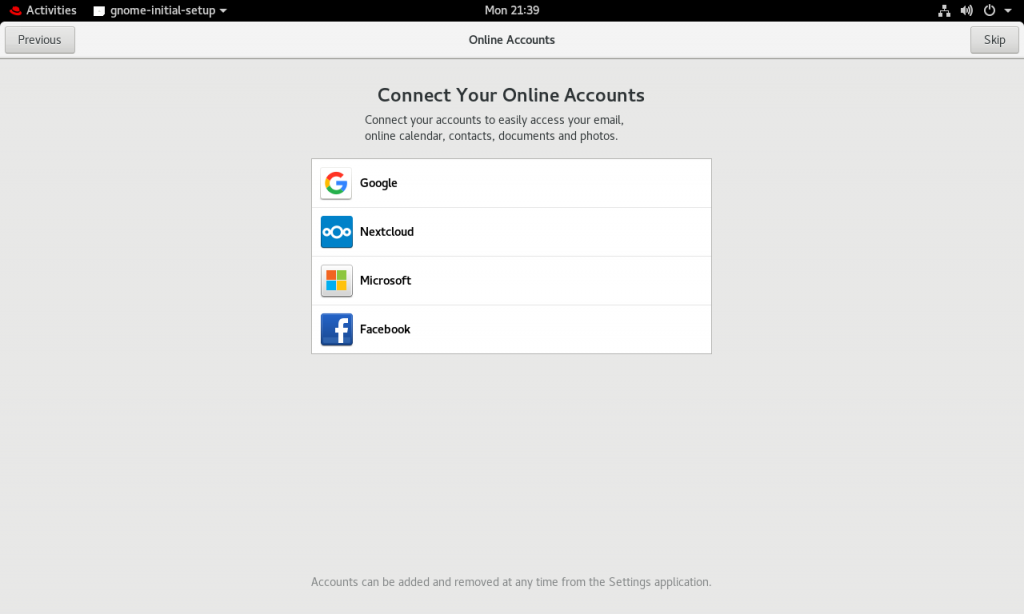
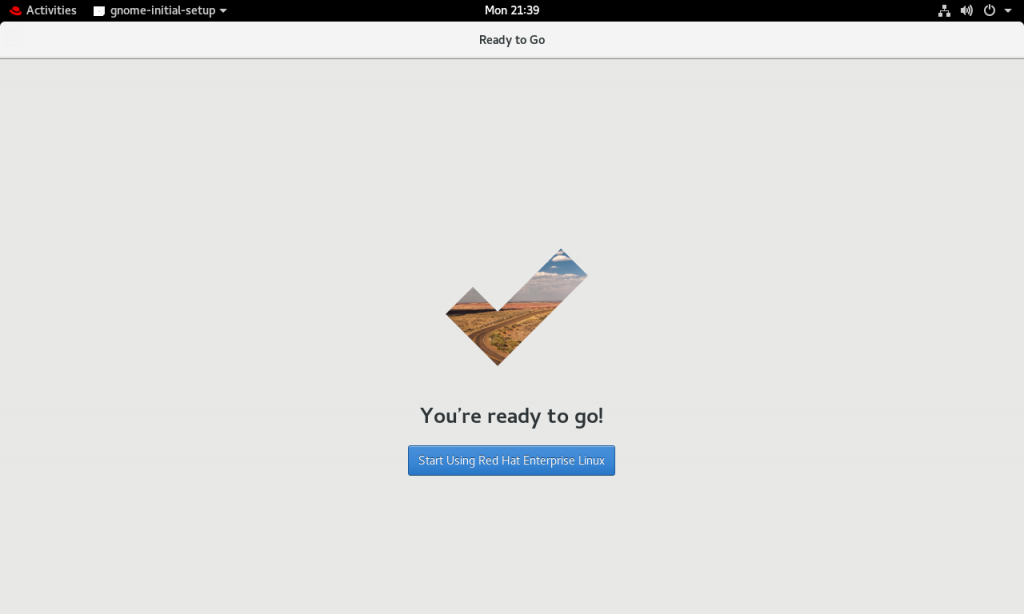
再做幾步使用者登入後的初始設定。一直點右上方 Next 就對了。
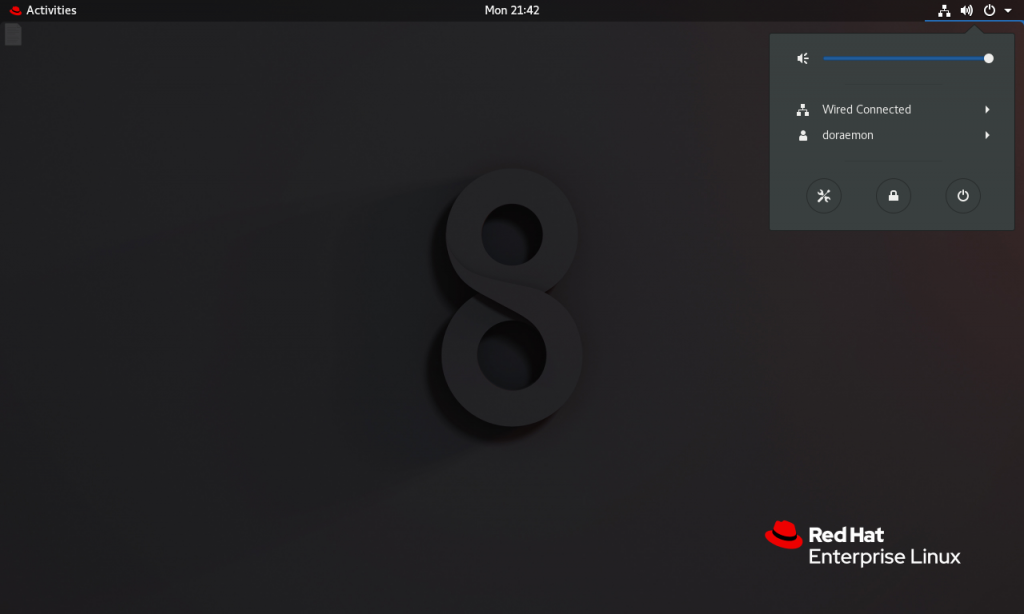
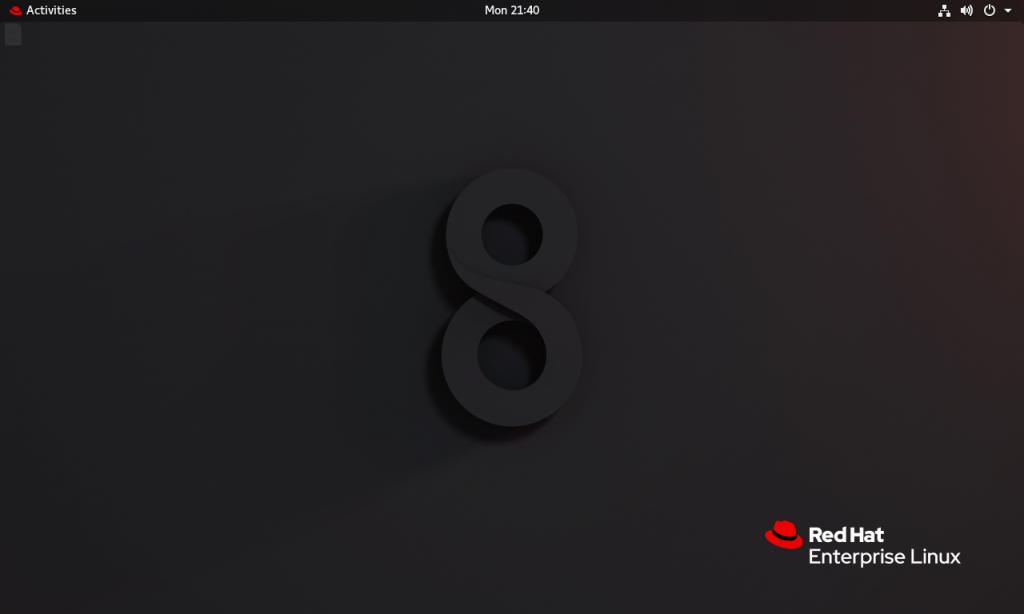
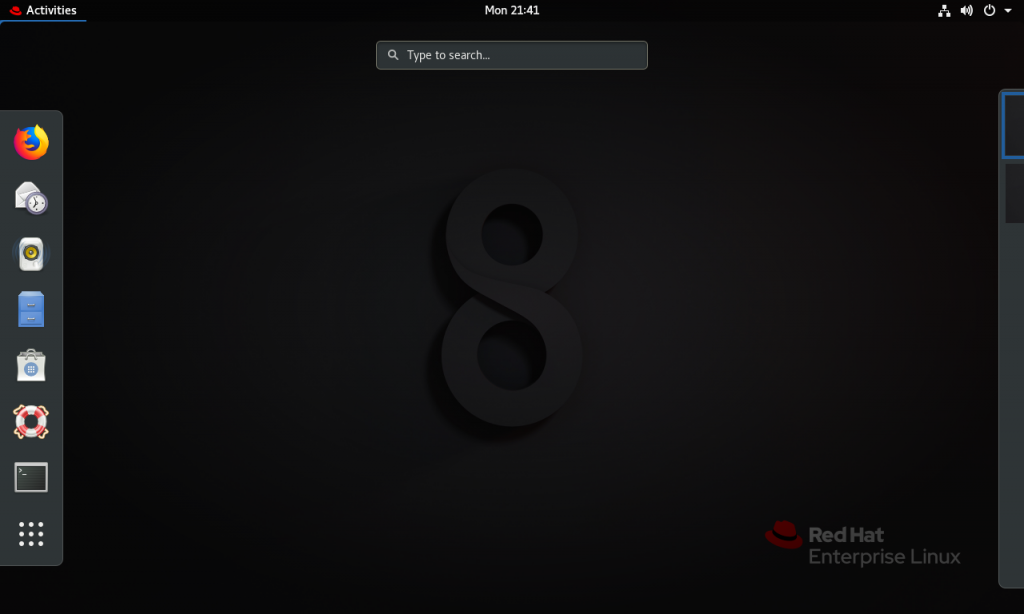
完成,出現桌面了。比七版還要乾淨許多。
點左上角 Activities 就會出現功能選單。
或者點右上角出現設定、關機等。