在 RHEL 8 上當 Apache、MySQL 以及 PHP 等 LAMP 環境都已經安裝好了後,安裝 WordPress 也不遠了。本來想要先示範安裝 phpMyAdmin,然後使用 phpMyadmin 圖形化建立 WordPress 所使用的資料庫;但接連搜尋好幾篇文章,目前在 RHEL 8 環境下,都還沒有可以直接使用 rpm 或是 yum 的安裝方法,目前都還是需要解開壓縮檔、調整目錄並編輯設定的方式,步驟稍微繁瑣,因此就先跳過,繼續先使用下 SQL 語法的方式,建立 WordPress 所需的資料庫。
建立 WordPress 用的 MySQL 資料庫,隨後並進行檢測
$ mysql -u root -p
Enter password:
Welcome to the MySQL monitor.  Commands end with ; or \\g.
Your MySQL connection id is 8
Server version: 8.0.17 Source distribution

Copyright (c) 2000, 2019, Oracle and/or its affiliates. All rights reserved.

Oracle is a registered trademark of Oracle Corporation and/or its
affiliates. Other names may be trademarks of their respective
owners.

Type 'help;' or '\\h' for help. Type '\\c' to clear the current input statement.

mysql> create database wordpress;
Query OK, 1 row affected (0.00 sec)

mysql> create user wordpress@localhost identified by 'W0rdPre$$';
Query OK, 0 rows affected (0.00 sec)

mysql> grant all on wordpress.* to wordpress@localhost;
Query OK, 0 rows affected (0.00 sec)

mysql> flush privileges;
Query OK, 0 rows affected (0.00 sec)

mysql> show databases;
+--------------------+
| Database           |
+--------------------+
| information_schema |
| mysql              |
| performance_schema |
| sys                |
| wordpress          |
+--------------------+
5 rows in set (0.01 sec)

mysql> use mysql;
Reading table information for completion of table and column names
You can turn off this feature to get a quicker startup with -A

Database changed
mysql> select host, user, authentication_string from user where user='wordpress';
+-----------+-----------+-------------------------------------------+
| host      | user      | authentication_string                     |
+-----------+-----------+-------------------------------------------+
| localhost | wordpress | *42C37E5331AD040CBF1C55F3F19D17326498478F |
+-----------+-----------+-------------------------------------------+
1 row in set (0.00 sec)

mysql> show grants for wordpress@localhost;
+------------------------------------------------------------------+
| Grants for wordpress@localhost                                   |
+------------------------------------------------------------------+
| GRANT USAGE ON *.* TO `wordpress`@`localhost`                    |
| GRANT ALL PRIVILEGES ON `wordpress`.* TO `wordpress`@`localhost` |
+------------------------------------------------------------------+
2 rows in set (0.00 sec)

mysql> exit
Bye
[doraemon@rhel8-gui ~]$ mysql -u wordpress -p
Enter password:
Welcome to the MySQL monitor.  Commands end with ; or \\g.
Your MySQL connection id is 9
Server version: 8.0.17 Source distribution

Copyright (c) 2000, 2019, Oracle and/or its affiliates. All rights reserved.

Oracle is a registered trademark of Oracle Corporation and/or its
affiliates. Other names may be trademarks of their respective
owners.

Type 'help;' or '\\h' for help. Type '\\c' to clear the current input statement.

mysql> show databases;
+--------------------+
| Database           |
+--------------------+
| information_schema |
| wordpress          |
+--------------------+
2 rows in set (0.00 sec)

mysql> exit
Bye
下載 WordPress 安裝套件
$ cd /tmp/ && wget <https://tw.wordpress.org/wordpress-5.2.3-zh_TTW.tar.gz>
解壓縮 WordPress 套件,產生 WordPress 資料夾,將會被擺放到 /var/www/html/ 目錄底下
$ sudo tar -zxvf wordpress-5.2.3-zh_TW.tar.gz -C /var/www/html/
調整目錄擁有者
$ sudo chown -R apache :apache /var/www/html/wordpress/
調整 wordpress 資料夾的 SELinux 設定
$ sudo semanage fcontext -a -t httpd_sys_content_t '/var/www/hhtml/wordpress(/.*)?'
$ sudo restorecon -RFvv /var/www/html/wordpress
$ ls -aldZ /var/www/html/wordpress/
drwxr-xr-x. 5 apache apache system_u:object_r:httpd_sys_content_t:s0 4096 Sep  5 10:47 /var/www/html/wordpress/
為 WordPress 建立 Apache 的 Virtual Host
$ sudo vim /etc/httpd/conf.d/00-default-vhost.conf
#### 內容如下: ####
<Directory "/var/www/html">
    Require all granted
</Directory>

<VirtualHost _default_:80>
    ServerName    www.lab.example.com
    DocumentRoot  /var/www/html
    CustomLog     "logs/default-vhost.log" combined
</VirtualHost>

$ sudo vim /etc/httpd/conf.d/01-wordpress-vhost.conf
#### 內容如下: ####
<Directory "/var/www/html/wordpress">
    Require all granted
</Directory>

<VirtualHost *:80>
    ServerName    wordpress.lab.example.com
    DocumentRoot  /var/www/html/wordpress
    CustomLog     "logs/wordpress.log" combined
</VirtualHost>
重啟 Apache
$ sudo systemctl restart httpd
開啟瀏覽器,網址列輸入 http://wordpress.lab.example.com
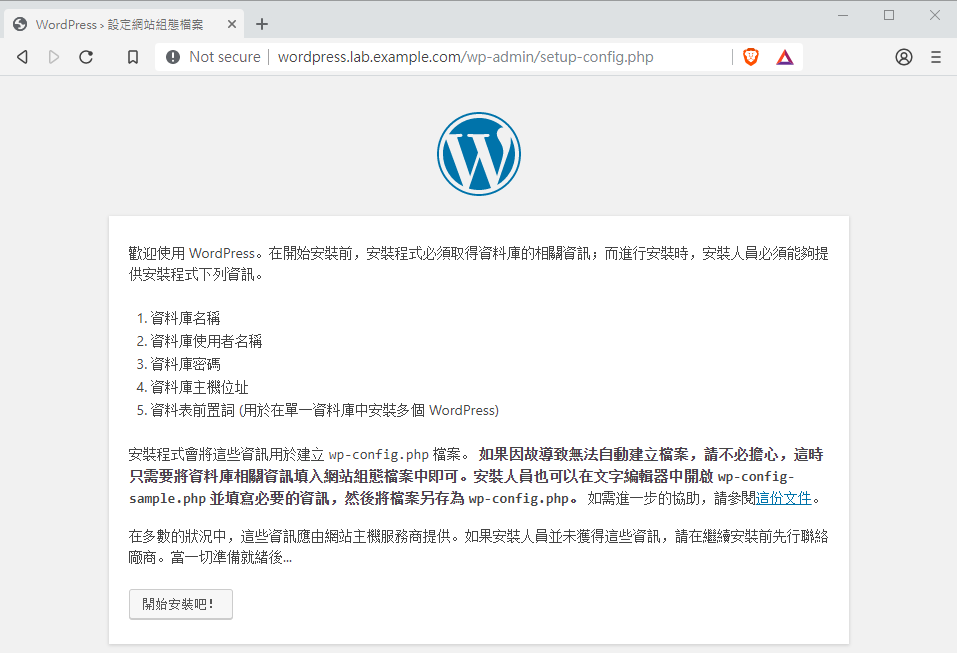
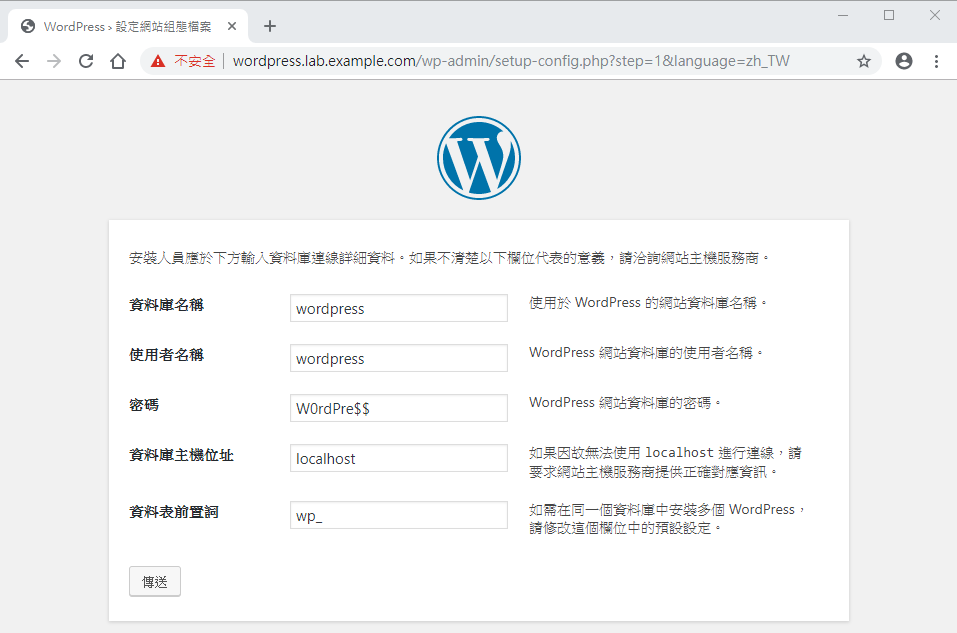
輸入 WordPress 用的 MySQL 資料庫相關資訊
資料庫名稱:wordpress
使用者名稱:wordpress
密碼:W0rdPre$$
資料庫主機位址:localhost
資料表前置詞:wp_
哇!無法寫入檔案。有了上一次的經驗,這次比較不會緊張到不知所措了,只要 Follow 上面的提示去做即可。。
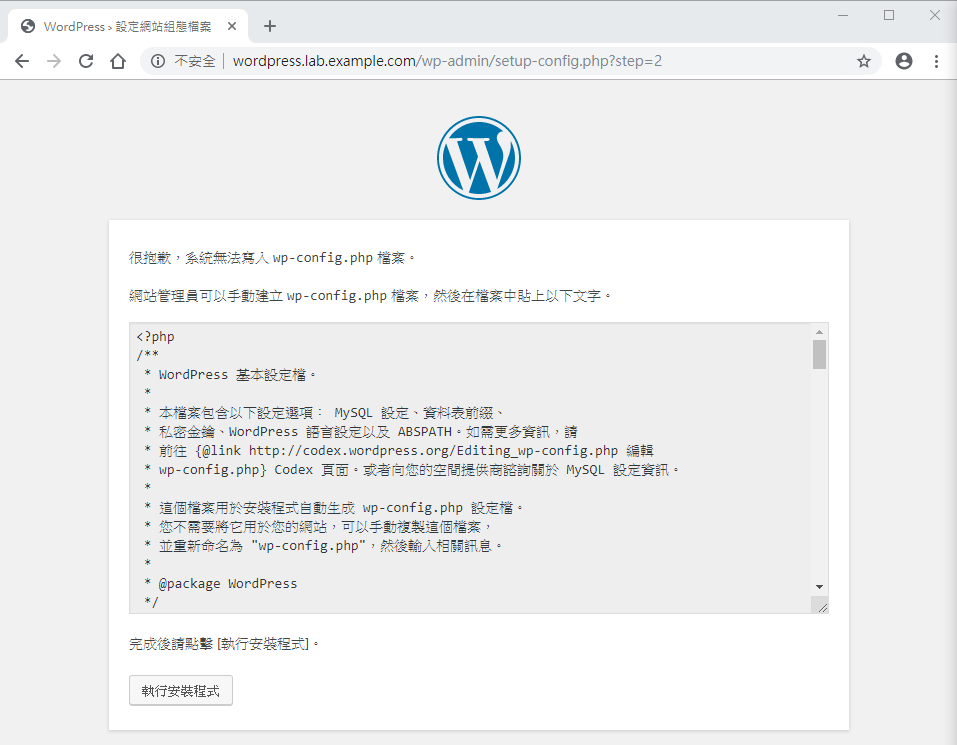
進到 /var/www/html/wordpress/ 目錄,新建 wp-config.php 檔案。把下面文字內容複製到 wp-config.php 後,存檔離開。
$ cd /var/www/html/wordpress/
$ ls
index.php        wp-blog-header.php    wp-includes        wp-settings.php
license.txt      wp-comments-post.php  wp-links-opml.php  wp-signup.php
readme.html      wp-config-sample.php  wp-load.php        wp-trackback.php
wp-activate.php  wp-content            wp-login.php       xmlrpc.php
wp-admin         wp-cron.php           wp-mail.php
$ sudo vim wp-config.php
完成後回來「執行安裝程式」。
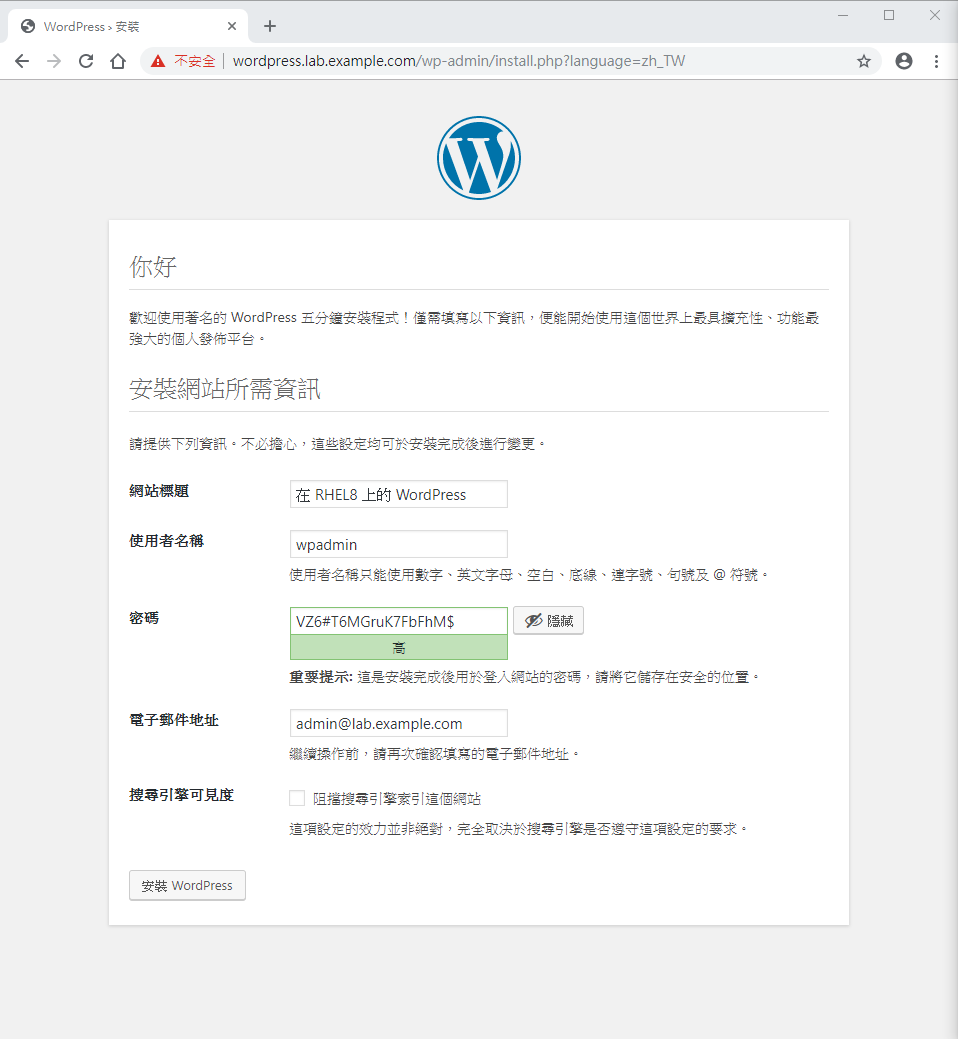
輸入安裝網站所需資訊。接著安裝 WordPress。
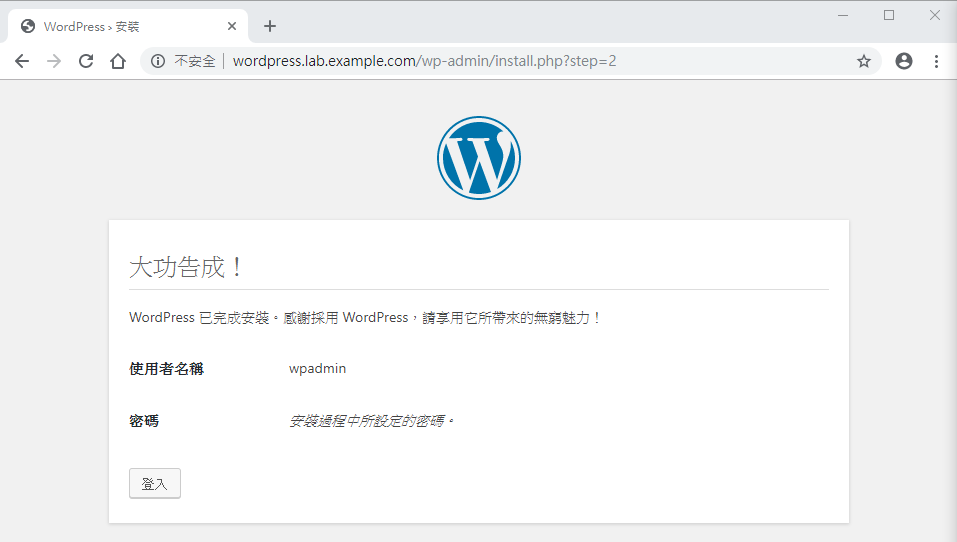
大功告成
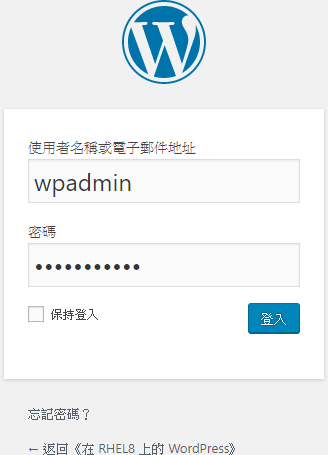
輸入使用者名稱以及密碼後按下登入
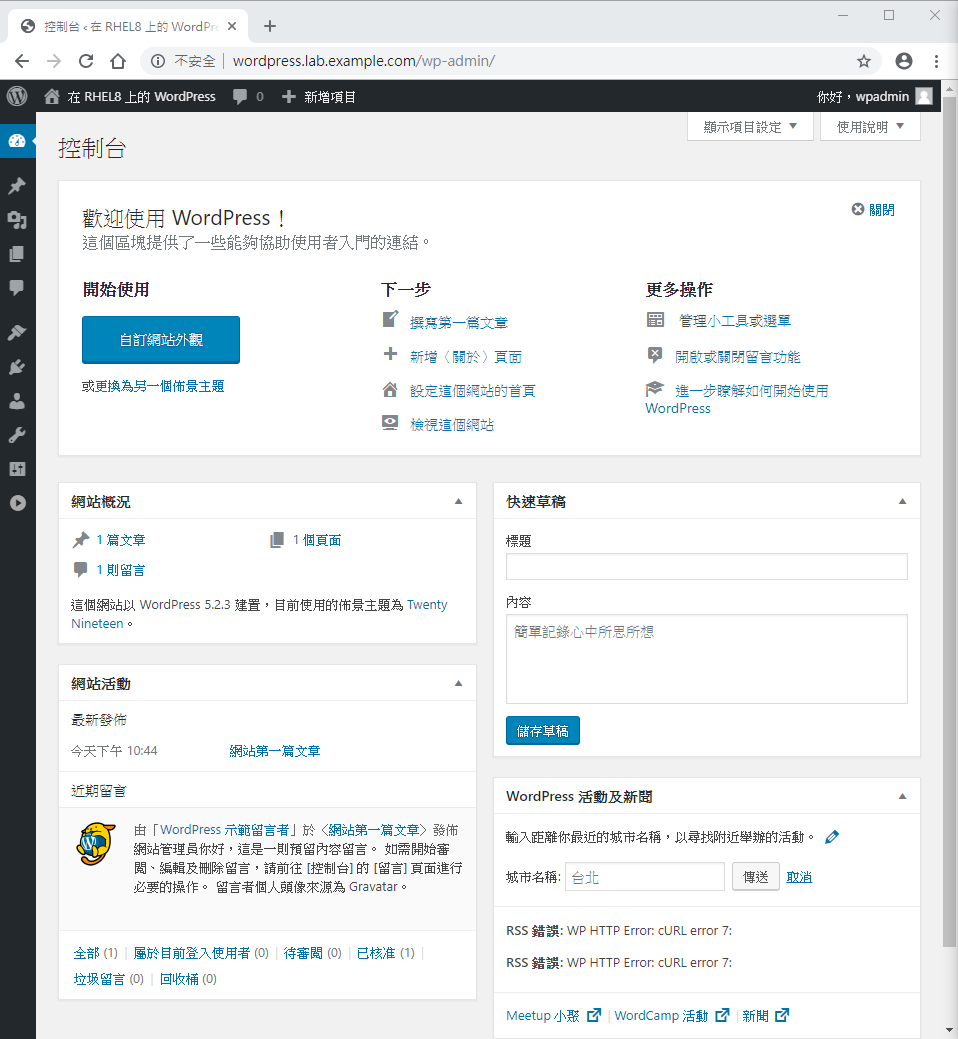
登入後台後的畫面
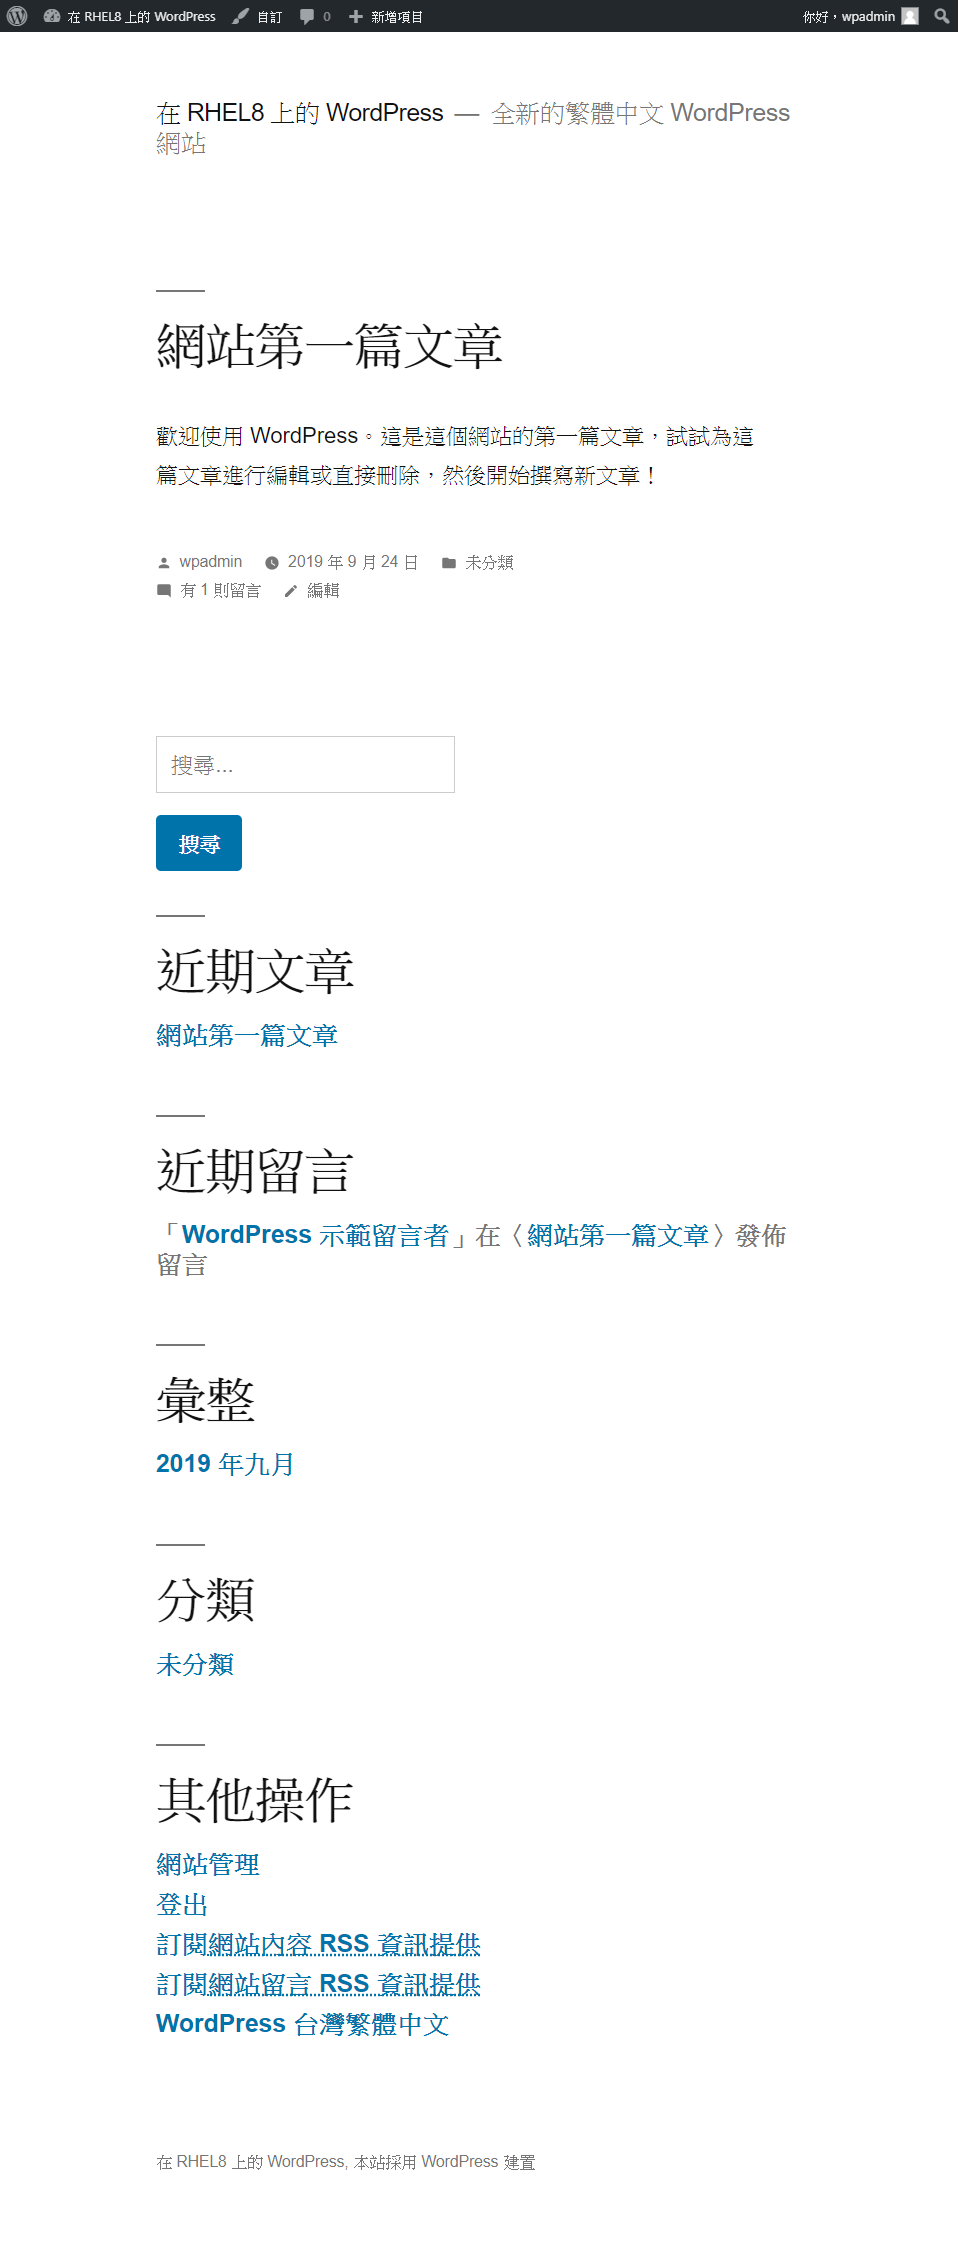
一般人輸入 http://wordpress.lab.example.com/ 所看到的畫面