
本系列同步發表在 個人部落格,歡迎大家關注~
--
第二階段最後一天了,來作一些小修改吧~
繼昨天的增加了登入驗證後,我發現登入頁面(LoginPage)表單的程式碼有點長;
再加上我想加入表單的輸入檢查功能(validation)。
所以我打算獨立出來一個 component GithubLoginForm。
lib/components/github_login_form.dart
import "package:flutter/material.dart";

class GithubLoginForm extends StatefulWidget {
  const GithubLoginForm({
    Key key,
    this.onLogin,
  }) : super(key: key);

  final Function(_GithubLoginFormState state) onLogin;

  @override
  _GithubLoginFormState createState() => _GithubLoginFormState();
}

class _GithubLoginFormState extends State<GithubLoginForm> {
  bool _obscureText = true;
  FocusNode _passwordFocusNode = FocusNode();
  final formKey = GlobalKey<FormState>();
  final usernameController = TextEditingController();
  final passwordController = TextEditingController();

  @override
  Widget build(BuildContext context) {
    return Form(
      key: formKey,
      child: Padding(
        padding: const EdgeInsets.only(top: 24.0),
        child: Column(
          children: <Widget>[
            Image.asset(
              "assets/images/gitme-github-auth-trans.png",
              width: MediaQuery.of(context).size.width / 2,
            ),
            Container(
              padding: EdgeInsets.symmetric(horizontal: 24.0, vertical: 16.0),
              child: TextFormField(
                validator: (value) {
                  if (value.isEmpty) {
                    return "Please enter your GitHub username";
                  }
                  return null;
                },
                controller: usernameController,
                decoration: const InputDecoration(
                  prefixIcon: Icon(Icons.person),
                  labelText: "Name *",
                  hintText: "Your Github account username",
                ),
                onFieldSubmitted: (value) {
                  FocusScope.of(context).requestFocus(_passwordFocusNode);
                },
              ),
            ),
            Container(
              padding: EdgeInsets.symmetric(horizontal: 24.0, vertical: 16.0),
              child: TextFormField(
                focusNode: _passwordFocusNode,
                validator: (value) {
                  if (value.isEmpty) {
                    return "Please enter your GitHub password";
                  }
                  return null;
                },
                controller: passwordController,
                obscureText: _obscureText,
                decoration: InputDecoration(
                  prefixIcon: Icon(Icons.lock),
                  suffixIcon: IconButton(
                    icon: _obscureText
                        ? Icon(Icons.visibility_off)
                        : Icon(Icons.visibility),
                    onPressed: () {
                      setState(() {
                        _obscureText = !_obscureText;
                      });
                    },
                  ),
                  labelText: "Password *",
                  hintText: "Your Github account password",
                ),
              ),
            ),
            SizedBox(
              height: 52.0,
            ),
            SizedBox(
              width: MediaQuery.of(context).size.width - 48.0,
              height: 48.0,
              child: RaisedButton(
                child: Text("Login"),
                onPressed: () {
                  widget.onLogin(this);
                },
              ),
            ),
          ],
        ),
      ),
    );
  }
}
UI 部份原則上就是從原本的 LoginPage 複製過來,然後加上以下幾點:
onLogin 屬性,這屬性設計出來讓 LoginPage 在點擊 Login 按鈕時,可以作些簡單判斷,另外函數中加入 state 參數,方便撈取值。Form 這個 Widget 搭配 GlobalKey<FormState> formKey 以及 TextFormField 的 validator 屬性FocusNode 用來切換不同的輸入框,參考 Changing focus from one text field to the next in Flutter
這樣在 LoginPage 就能簡單的在 body 裡填入 GithubLoginForm 來作使用,把原本 80 行的程式碼變成只有 20 行,真是通體舒暢阿~~
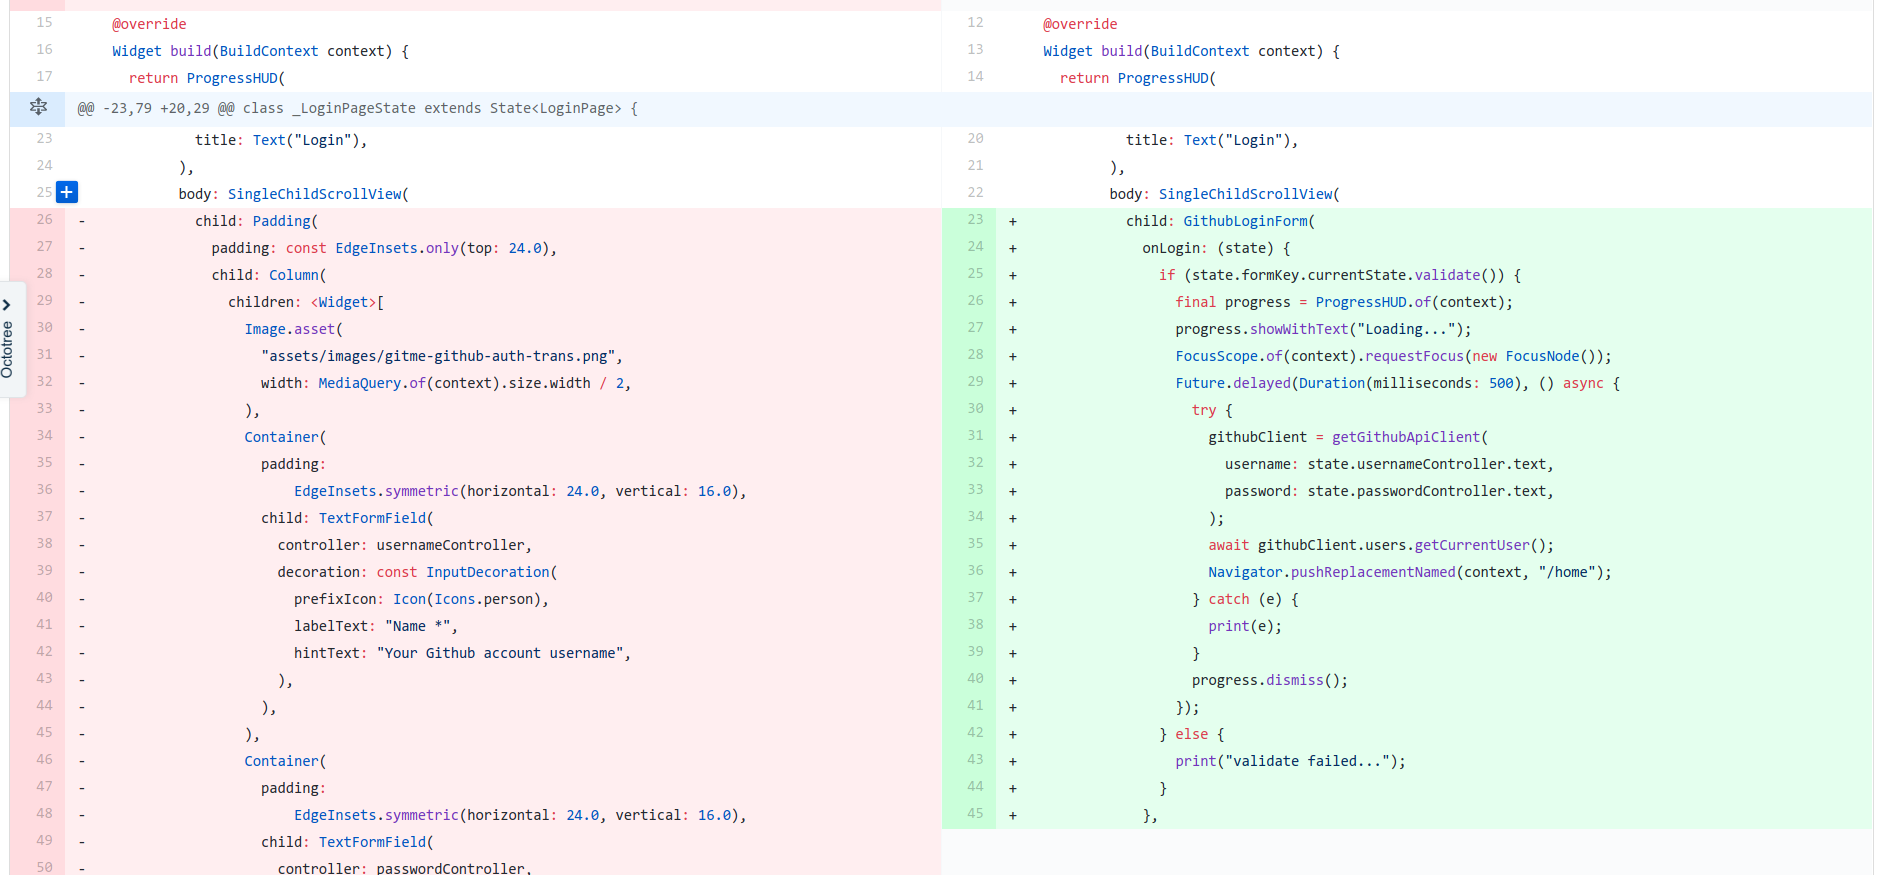
在 GithubLoginForm.onLogin 裡只增加 state.formKey.currentState.validate() 去觸發驗證,以及處理後續的判斷,這樣就大功告成拉~
雖然 Flutter 提供的 Widget 裡有 SnackBar 可以當作 Alert 顯示,但我個人更喜歡用的是另一個套件 fluttertoast
因為他是整合 Native Code,而且更方便的是可以在任何地方打 Fluttertoast.showToast 就可以顯示 Toast 訊息了。
--
成果
到今天總算第二階段完成了,不過也宣告連續30天鐵人賽發文挑戰失敗,殘念... QQ
明天進入此系列最後一階段 - 狀態管理,希望 6 天內有可能補充完這部份囉~
參考

 iThome鐵人賽