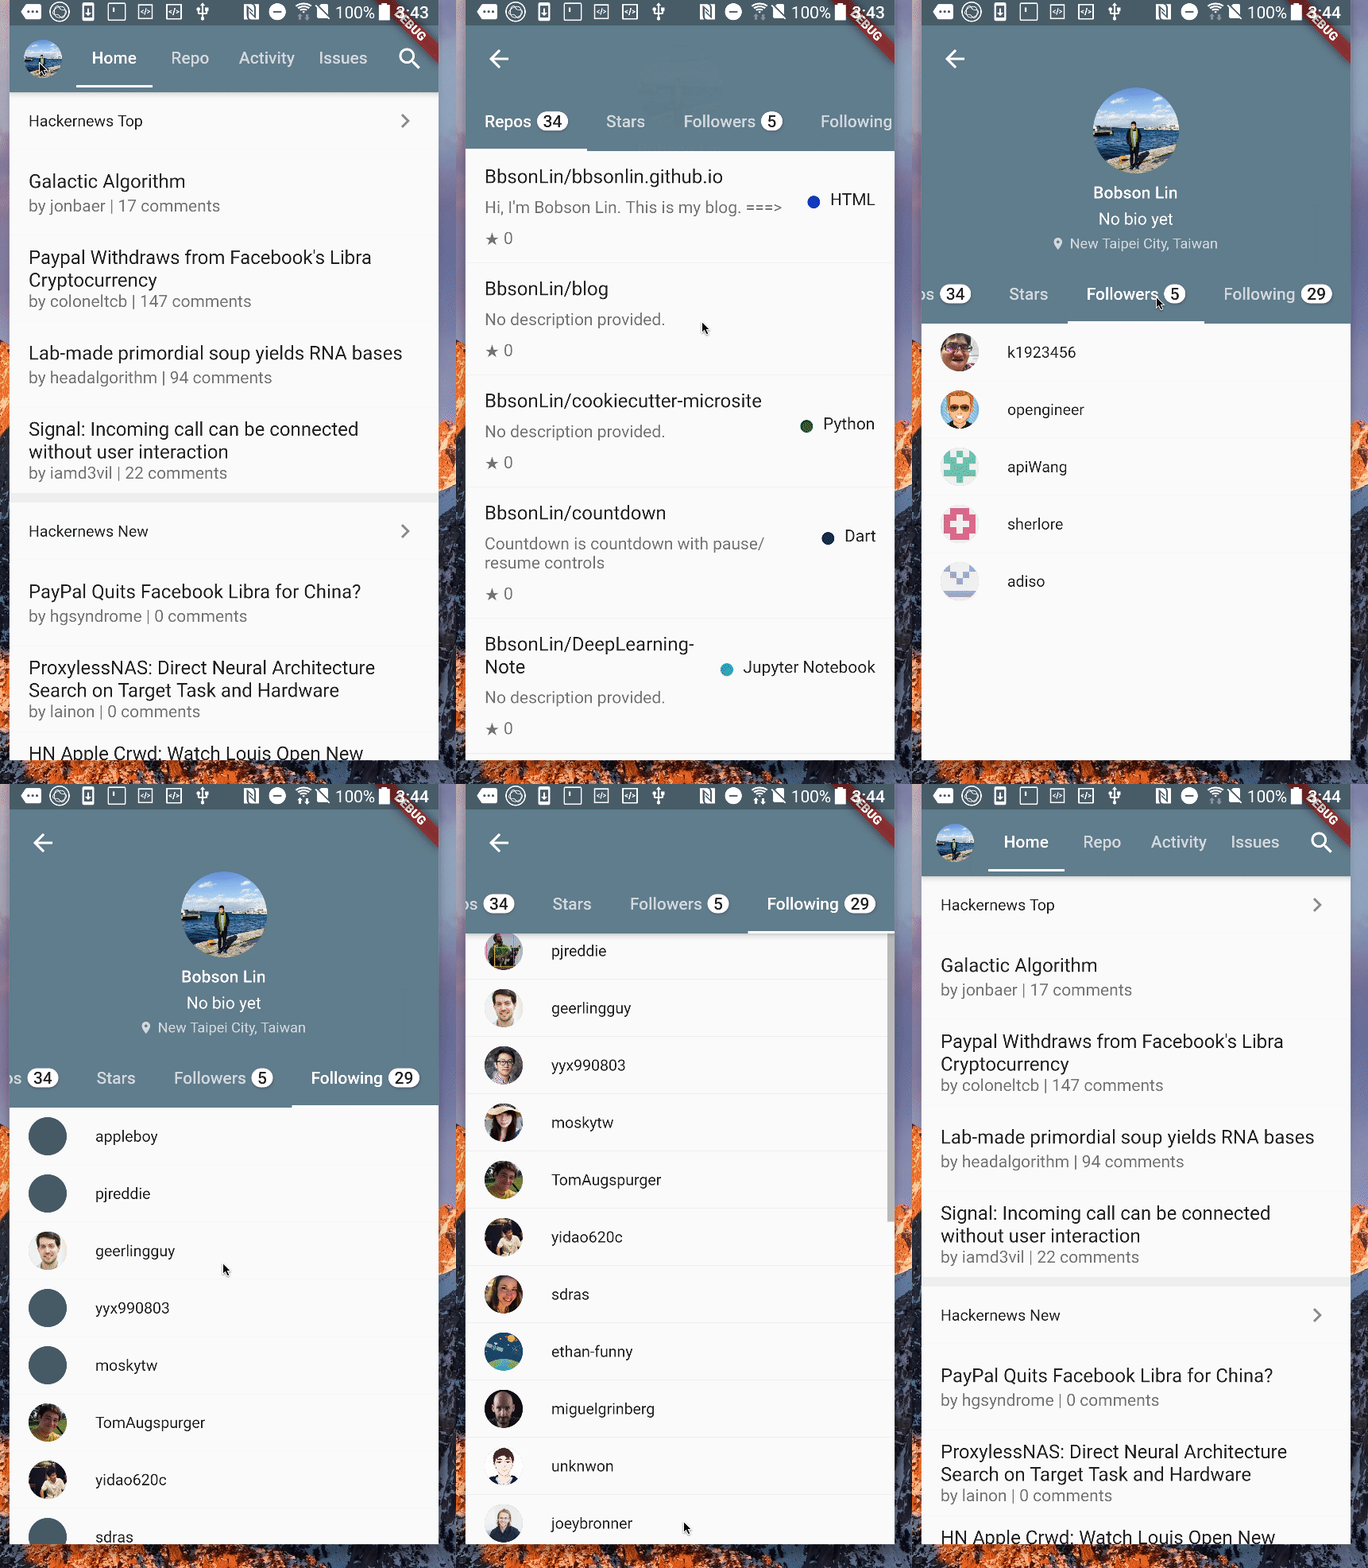
接下來將個人頁面的部份以昨天的步驟如法炮製的作修改吧
這些 Widget 其實不難作改變,跟昨天一樣把所有原本在 State 裡的狀態,往上提昇放到 AccountModel 一併管理。
接著用 Provider.of 和 Consumer 來「獲取狀態」並渲染在頁面上。
詳細參考 Commit => d0764e6
另外在個人頁面上想做個小功能,在 Tab 裡加上一個小小的數字標籤表示該欄的總數,如下圖:

因為設定的數值其實滿多的,所以我額外包成一個 Widget BadgeTab。
另外,在 BadgeTab 中是搭配 badges 這套件來作標籤顯示。
lib/pages/profile/profile.dart
class ProfilePage extends StatelessWidget {
  @override
  Widget build(BuildContext context) {
    var account = Provider.of<AccountModel>(context);

    return DefaultTabController(
      child: Scaffold(
        body: NestedScrollView(
          headerSliverBuilder: (BuildContext context, bool innerBoxIsScrolled) {
            return <Widget>[
              SliverAppBar(
                ...

                bottom: TabBar(
                  isScrollable: true,
                  tabs: <Widget>[
                    BadgeTab(
                      labelText: "Repos",
                      badgeText: "${account.profile.publicReposCount}",
                    ),
                    BadgeTab(labelText: "Stars"),
                    BadgeTab(
                      labelText: "Followers",
                      badgeText: "${account.profile.followersCount}",
                    ),
                    BadgeTab(
                      labelText: "Following",
                      badgeText: "${account.profile.followingCount}",
                    ),
                  ],
                ),
              ),
            ];
          },
          body: TabBarView(...),
      ),
      length: 4,
    );
  }
}

class BadgeTab extends StatelessWidget {
  const BadgeTab({
    Key key,
    @required this.labelText,
    this.badgeText,
  }) : super(key: key);

  final String labelText;
  final String badgeText;

  @override
  Widget build(BuildContext context) {
    return Tab(
      child: Row(
        mainAxisAlignment: MainAxisAlignment.center,
        children: <Widget>[
          Text(labelText),
          if (badgeText != null) SizedBox(width: 4.0),
          if (badgeText != null)
            Badge(
              badgeColor: Colors.white,
              shape: BadgeShape.square,
              padding: EdgeInsets.symmetric(horizontal: 5),
              borderRadius: 20,
              badgeContent:
                  Text(badgeText, style: Theme.of(context).textTheme.body2),
            ),
        ],
      ),
    );
  }
}
--
今日成果

