
最後幾天差不多要把大概的頁面完成
現在只剩下最後一個頁面
就是是會員頁面
應該比較簡單
今天就來快速完成
原生Uber eat效果
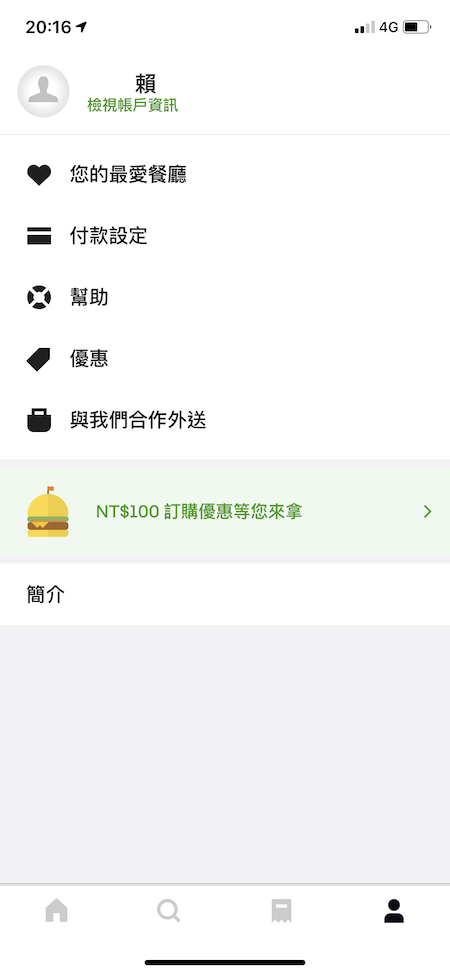
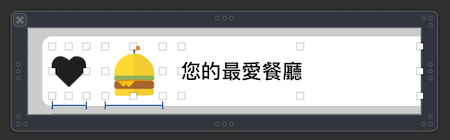
cell部分原生APP只有顯示圖片跟文字
如果懶得調整個話
就讓所有物件都放到cell裡面
藉由isHidden做調整吧
這上方的Bar應該是有兩種做法
一種是navigationBar
一種是tableView header
我覺得應該是第二種header的感覺
所以進入畫面時先把navigationBar隱藏吧
override func viewWillAppear(_ animated: Bool) {
    super.viewWillAppear(animated)
    navigationController?.setNavigationBarHidden(true, animated: animated)
}
這邊新增一個tableView
並且註冊剛剛的cell
lazy var tableView: UITableView = {
    var tableView = UITableView.init(frame: CGRect(x: 0, y: 0, width: KScreenWidth, height: KScreenHeight - kSafeTopPadding), style: .grouped)

    tableView.delegate = self
    tableView.dataSource = self
    tableView.register(UINib(nibName:"MemberCell", bundle:nil),
                      forCellReuseIdentifier:"MemberCell")
    tableView.backgroundColor = UIColor.init(red: 1.0, green: 1.0, blue: 1.0, alpha: 0.9)
    tableView.separatorStyle = .none
    return tableView
}()
如果你不要tableView cell的線
記得separatorStyle = .none
有線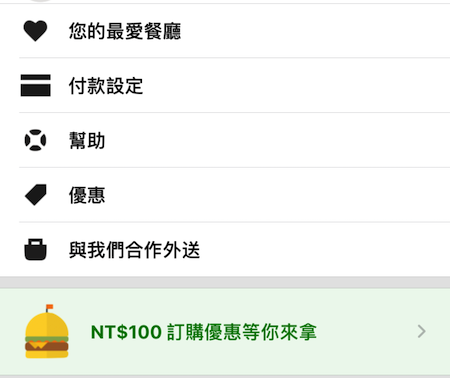
無線 .none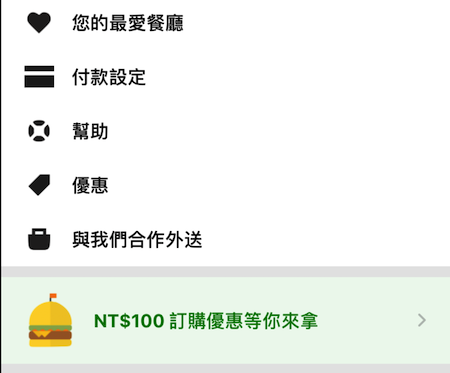
cell部分我利用section做分層處理
只有第一個section group有五個text顯示
剩下的都只有一個
並且有一個cell高度不同
也做了處理
// MARK: - tableview
func tableView(_ tableView: UITableView, numberOfRowsInSection section: Int) -> Int {
    switch section {
    case 0:
        return 5
    case 1:
        return 1
    case 2:
        return 1
    default:
        return 0
    }
}

// 設置 cell 的高度
func tableView(_ tableView: UITableView, heightForRowAt indexPath: IndexPath) -> CGFloat {
    switch indexPath.section {
    case 0:
        return 50
    case 1:
        return 80
    case 2:
        return 50
    default:
        return 0
    }
}

func numberOfSections(in tableView: UITableView) -> Int {
    return 3
}

func tableView(_ tableView: UITableView, cellForRowAt indexPath: IndexPath) -> UITableViewCell {
    let cell:MemberCell = tableView.dequeueReusableCell(withIdentifier: "MemberCell")
        as! MemberCell

    if indexPath.section == 0 {
        cell.centerImageView.isHidden = true
        switch indexPath.row {
        case 0:
            cell.headImageView.image = UIImage.init(named: "love")
            cell.memberLabel.text = "您的最愛餐廳"
        case 1:
            cell.headImageView.image = UIImage.init(named: "card")
            cell.memberLabel.text = "付款設定"
        case 2:
            cell.headImageView.image = UIImage.init(named: "help")
            cell.memberLabel.text = "幫助"
        case 3:
            cell.headImageView.image = UIImage.init(named: "tag")
            cell.memberLabel.text = "優惠"
        case 4:
            cell.headImageView.image = UIImage.init(named: "bag")
            cell.memberLabel.text = "與我們合作外送"

        default:
            cell.headImageView.image = UIImage.init(named: "time")
        }
    }else if indexPath.section == 1{
        cell.backgroundColor = UIColor.init(red: 238.0/255.0, green: 248.0/255.0, blue: 238.0/255.0, alpha: 1.0)
        cell.headImageView.isHidden = true
        cell.headImageView.image = UIImage.init(named: "bag")
        cell.memberLabel.text = "NT$100 訂購優惠等你來拿"
        cell.memberLabel.textColor = UIColor.init(red: 0.0/255.0, green: 125.0/255.0, blue: 0.0/255.0, alpha: 1.0)
        cell.accessoryType = .disclosureIndicator
    }else{
        cell.centerImageView.isHidden = true
        cell.headImageView.isHidden = true
        cell.memberLabel.text = "簡介"
    }
    return cell
}
header部分只有一開始的有一些名字, 大頭照, 按鈕
剩下的就不管他
func tableView(_ tableView: UITableView, heightForHeaderInSection section: Int) -> CGFloat {
    switch section {
    case 0:
        return 50
    default:
        return 0
    }
}

func tableView(_ tableView: UITableView, viewForHeaderInSection section: Int) -> UIView? {

    if section == 0 {
        let headerView = UIView.init(frame: CGRect.init(x: 20, y: 0, width: tableView.bounds.size.width, height: 50))
        headerView.backgroundColor = UIColor.white
        let headImageView = UIImageView.init(frame: CGRect.init(x: 15, y: 0, width: 50, height: 50))
        headImageView.image = UIImage.init(named: "head")
        headerView.addSubview(headImageView)

        let nameLabel = UILabel.init(frame: CGRect.init(x: headImageView.frame.maxX + 10, y: 5, width: 100, height: 20))
        nameLabel.text = "XX 賴"
        nameLabel.font = UIFont.systemFont(ofSize: 18)
        headerView.addSubview(nameLabel)

        let checkLabel = UILabel.init(frame: CGRect.init(x: headImageView.frame.maxX + 10, y: nameLabel.frame.maxY , width: 100, height: 20))
        checkLabel.text = "檢視帳戶資訊"
        checkLabel.font = UIFont.systemFont(ofSize: 13)
        checkLabel.textColor = UIColor.init(red: 0.0/255.0, green: 125.0/255.0, blue: 0.0/255.0, alpha: 1.0)
        headerView.addSubview(checkLabel)


        return headerView
    }else{
        return UIView()
    }

}
footer部分可以用heightForFooterInSection設定下面空間
如果你要客製化footer可以使用viewForFooterInSection做效果
func tableView(_ tableView: UITableView, viewForFooterInSection section: Int) -> UIView? {
    return UIView()
}

func tableView(_ tableView: UITableView, heightForFooterInSection section: Int) -> CGFloat {
    return 10
}
大部分都設置完畢以後就可以執行看看了
Demo
大概是完成了 但是上方會有一塊沒有白色得部分
這不是我特意設置的
照理說我設置y=0 應該會到safe area
但他自動幫我放置到safe area外
這可能要再花時間查一下
不然就要改成navigationBar addView

 iThome鐵人賽