iT邦幫忙

第 11 屆 iThome 鐵人賽

DAY 5
0
自我挑戰組

Python自主學習系列 第 25

Day25---Python Flask 網路開發(二)

  • 分享至 

  • xImage
  •  

一、建立描述檔
(1) runtime.txt:描述使用的python
https://ithelp.ithome.com.tw/upload/images/20191015/201209029mXH3jvk2L.png

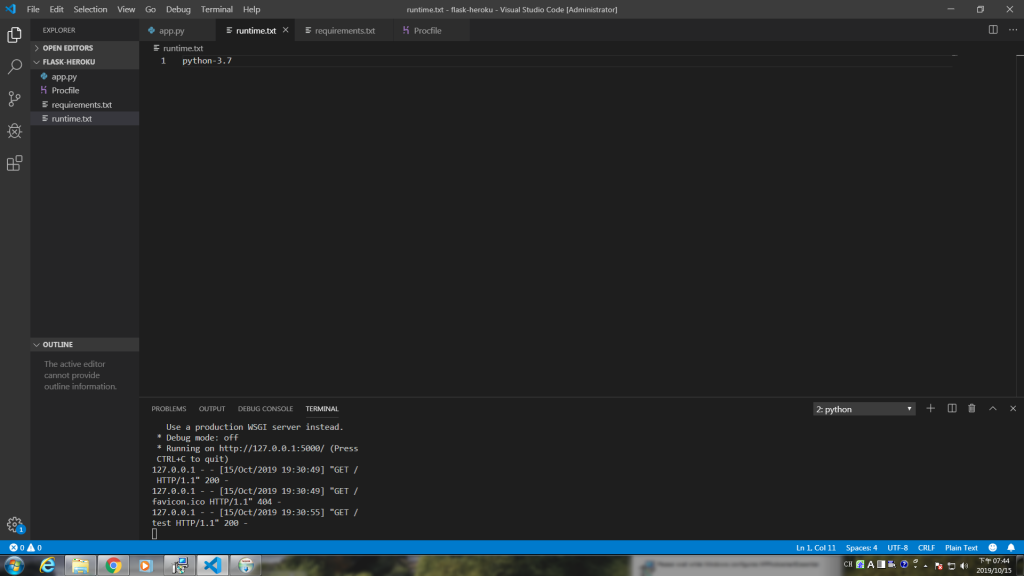
(2)requirements.txt:描述程式運作所需要的套件
https://ithelp.ithome.com.tw/upload/images/20191015/20120902Y7MqFKKCf6.png

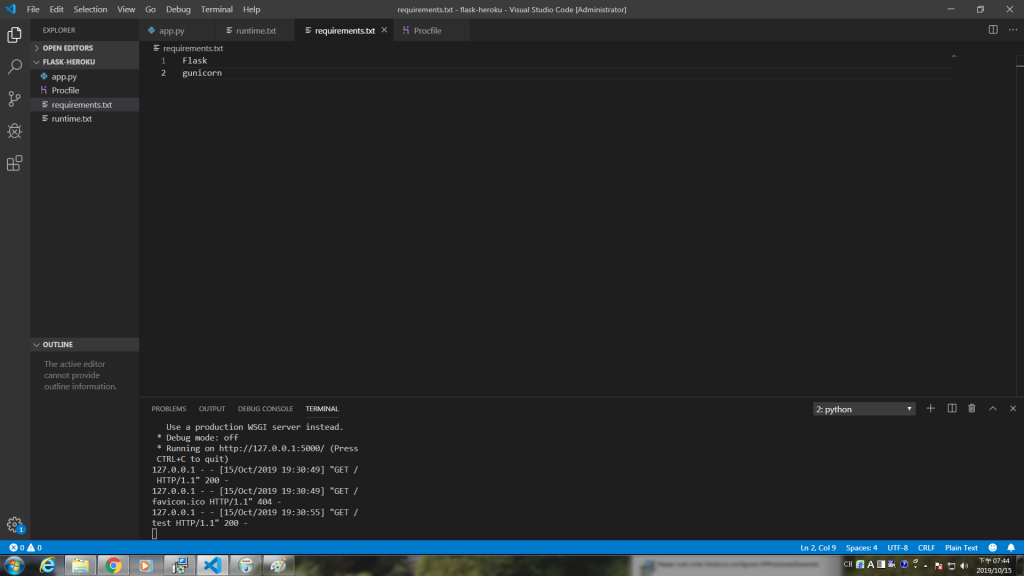
(3)Procfile:告訴Heroku如何執行程式
https://ithelp.ithome.com.tw/upload/images/20191015/20120902rKRzPDzDIv.png

二、下載GIT工具
瀏覽器搜尋GIT,並安裝程式。

三、註冊帳號
(1) 瀏覽器搜尋heroku官網,並註冊帳號
(2) 建立應用程式:選擇建立Application應用程式

四、安裝Heroku CLI
在官網建立專案後,點選Deploy,下方安裝CLI檔

五、部屬專案
使用命令列模式:以下步驟使用命令列模式執行
(1)登入Heroku:heroku login

(2)初始化專案:
git init
heroku git:remote -a 專案名稱

(3)更新專案:
git add .
git commit -m "更新的訊息"
git push heroku master
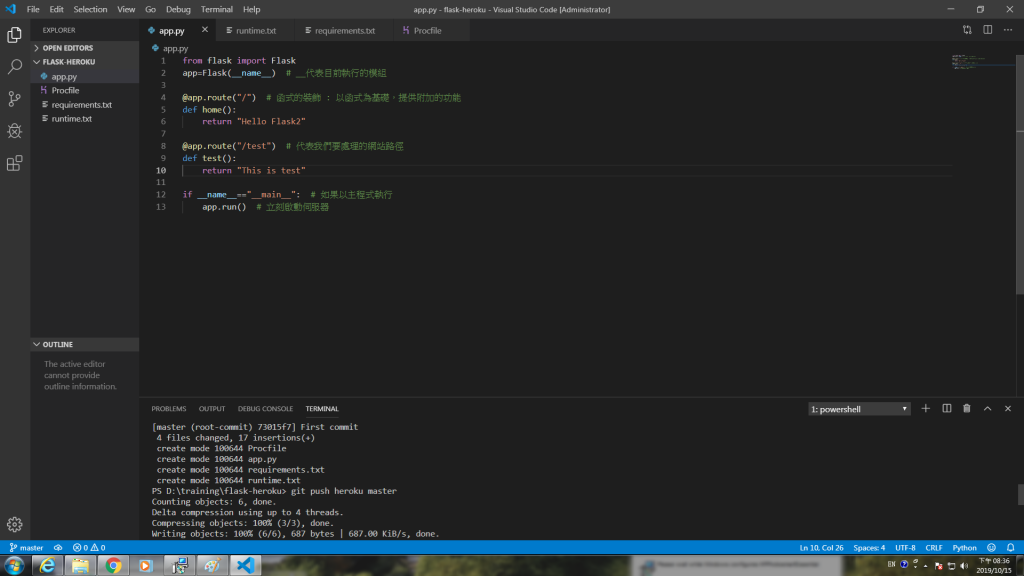
https://ithelp.ithome.com.tw/upload/images/20191015/20120902w9E0jJDTU8.png


上一篇
Day24---Python Flask 網路開發
下一篇
Day26---Python Pandas 資料分析
系列文
Python自主學習30
圖片
  直播研討會
圖片
{{ item.channelVendor }} {{ item.webinarstarted }} |
{{ formatDate(item.duration) }}
直播中

尚未有邦友留言

立即登入留言