在這篇文章會教你如何在你的App裡增加Google Sign In 的功能。
1.在 Google Developer Console 創建 OAuth credentials.
2.Import GoogleSignIn SDK 到你的 app.
3.在 app 裡建立 Google Sign In.
4.新增一個登入鍵.
5.符合 Google Sign In 協議
Google Sign In 是以 OAuth 2.0 來認證使用者和取得權限。
首先要為你的App 產生兩樣東西:
1.OAuth Client ID
2.Unique URL scheme (reversed client Id)
登入 Google Developer Console 然後根據以下步驟:
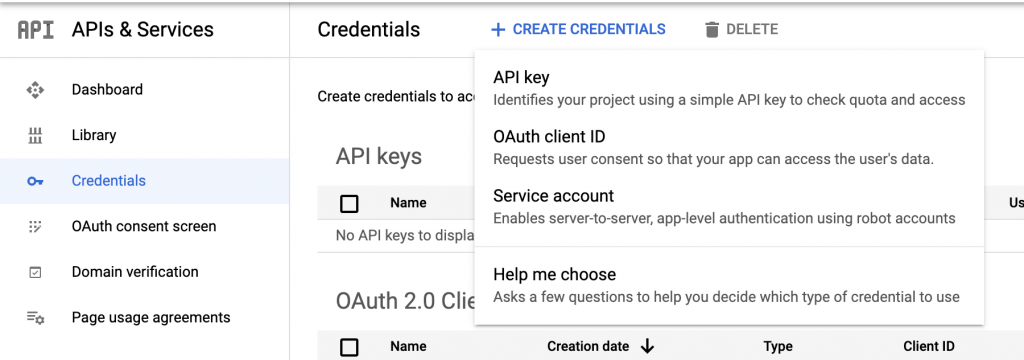
如果沒設過consent screen他會先叫你設一個。這設過一次就好了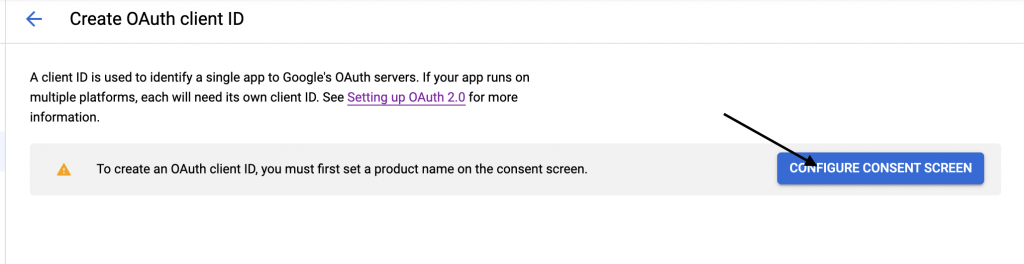
選擇 External 然後 Create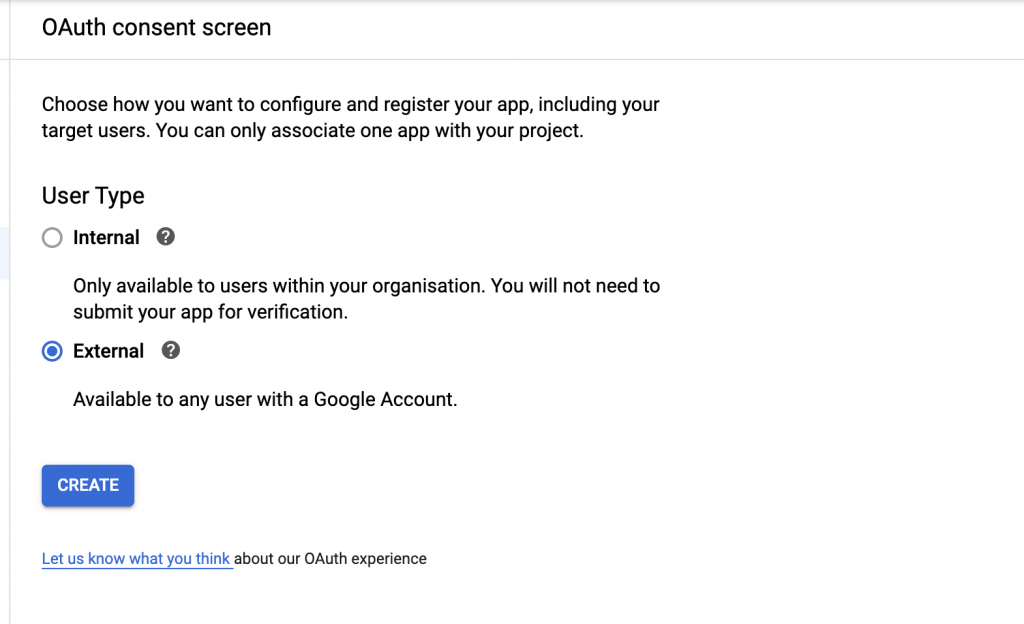
設App的名字和Logo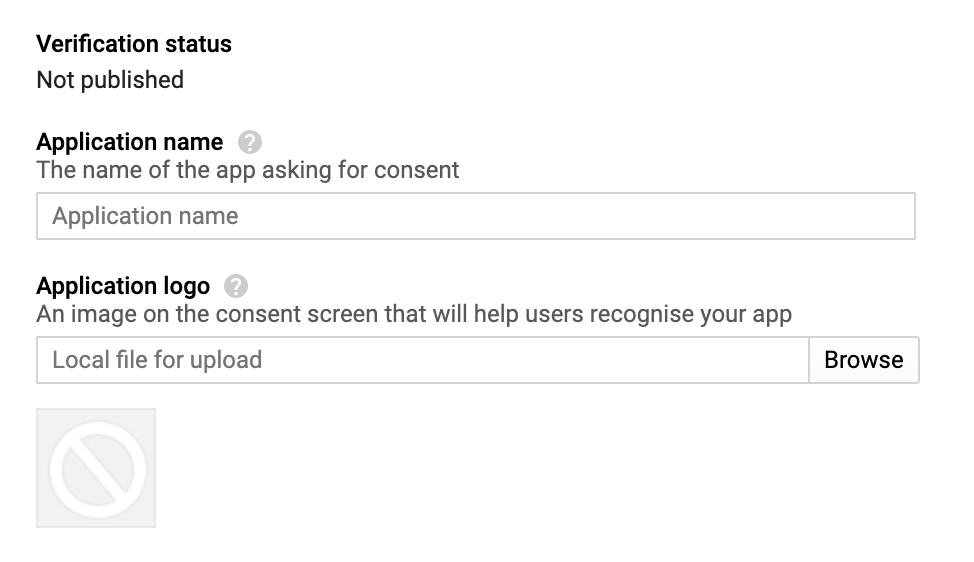
如果沒有要用其他的Google APIs 這裏不用動。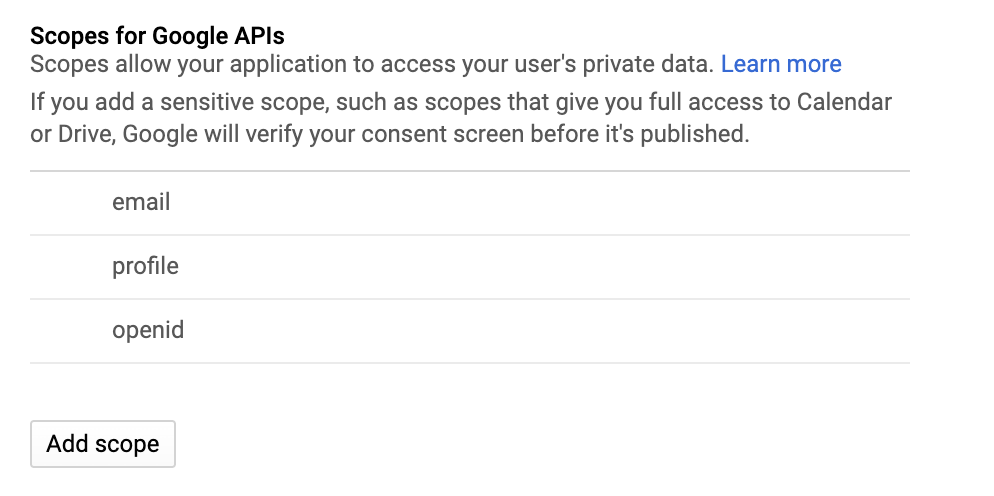
由於只是練習設完了選save。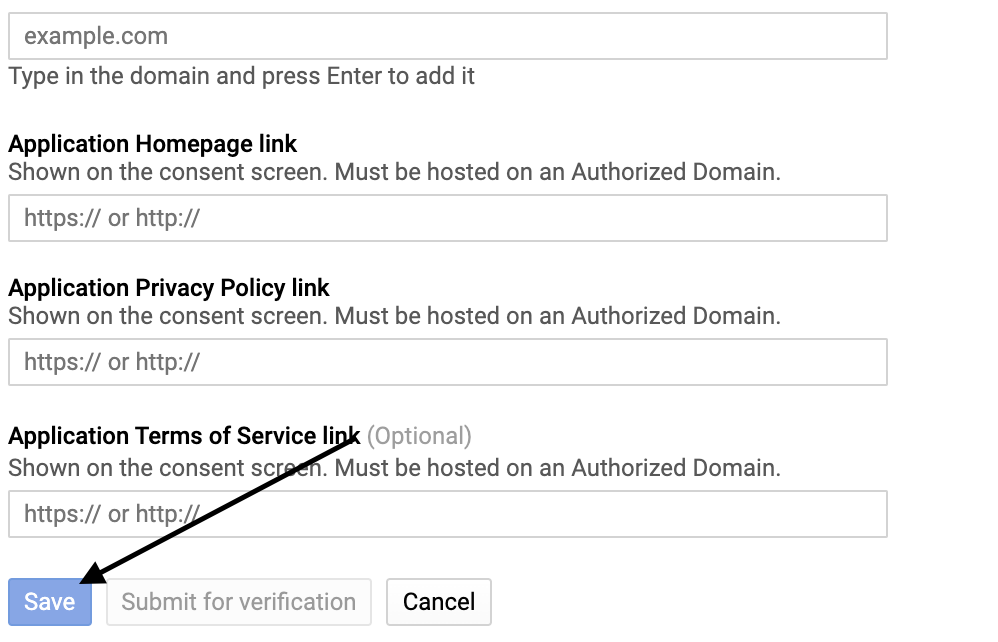
設完 Consent Screen 後,就可以開始創建 OAuth client ID.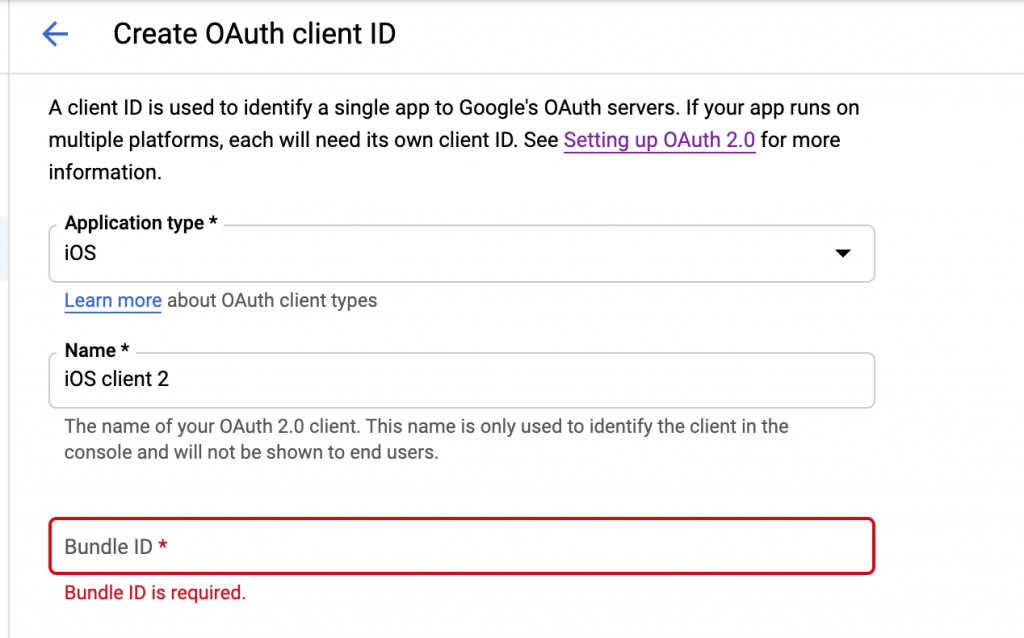
Bundle ID 在專案 General
創建後把包含 Client ID 和 URL scheme (reverse client ID) 的 .plist 下載下來.

這裏推薦用 Cocoapods 來為 App 安裝套件. 如果要手動安裝,點這裏。
在你的pod file 裡新增一個套件。
use_frameworks!
# Pinning to the latest version at the time
pod 'GoogleSignIn', '~> 4.4.0'
裝了套件後,接著以下的步驟做:
在專案裡的app target 裡新增一個 URL type. 在 URL Schemes 裡輸入 剛剛下載 plist 裡面的 REVERSED_CLIENT ID.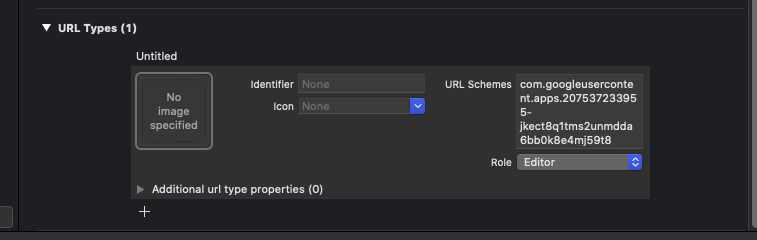
在 app delegate 裡設定 client ID:
import GoogleSignIn

class AppDelegate: UIResponder, UIApplicationDelegate {
    func application(_ application: UIApplication, didFinishLaunchingWithOptions launchOptions: [UIApplication.LaunchOptionsKey: Any]?) -> Bool {
        GIDSignIn.sharedInstance()?.clientID = "207537233955-jkect8q1tms2unmdda6bb0k8e4mj59t8.apps.googleusercontent.com"
        return true
    }
}
func application(_ app: UIApplication, open url: URL, options: [UIApplication.OpenURLOptionsKey : Any] = [:]) -> Bool {
    let sourceApplication = options[.sourceApplication] as? String
    let annotation = options[.annotation]

    return GIDSignIn.sharedInstance()?.handle(url, sourceApplication: sourceApplication, annotation: annotation) ?? false
}
在storyboard 新增一個按鈕。
import GoogleSignIn

class ViewController: UIViewController {
      override func viewDidLoad() {
        super.viewDidLoad()
      }

      @IBAction func signIn(_ sender: Any) {
        GIDSignIn.sharedInstance()?.signIn()

    }
}
現在按下按鈕會回傳錯誤,因為還沒設delegate.
extension ViewController: GIDSignInDelegate, GIDSignInUIDelegate {
    // MARK: - GIDSignInDelegate

    func sign(_ signIn: GIDSignIn!, didSignInFor user: GIDGoogleUser!, withError error: Error!) {
        // A nil error indicates a successful login
        googleSignInButton.isHidden = error == nil
    }
}
在 View controller 必須符合兩個協議:GIDSignInDelegate 和 GIDSignInUIDelegate.
extension ViewController: GIDSignInDelegate, GIDSignInUIDelegate {
    // MARK: - GIDSignInDelegate

    func sign(_ signIn: GIDSignIn!, didSignInFor user: GIDGoogleUser!, withError error: Error!) {
        // A nil error indicates a successful login
        googleSignInButton.isHidden = error == nil
    }
}
這樣就完成了。