上章介紹了Razor語法也帶到了HTML Helper,主要用以產生HTML,像是@Html.Raw、@Html.Display...
簡介
而在ASP.NET Core中又提供一個新功能-Tag Helper,他主要的目的是要取代MVC5的Html Helper,而他們兩個主要的差異為Tag Helper是附加在HTML tag裡面,對於習慣前端的人寫法較直觀,而Html Helper主要是以方法的方式呼叫,反而適合常寫後端的人,當然,以上這兩種都是在Server side產生HTML,在寫的過程中也有提供intellisense。
匯入組件
在使用Tag Helper之前,我們必須要匯入相關的組件,才可以使用。
首先,在View中新增Razor View Imports(Razor檢視項目)項目,檔名設定為_ViewImports.cshtml,_ViewImports.cshtml 是放一些要引用的namespace、models..,會對整個專案有global的影響,預設的 ASP.NET Core MVC 專案就會有,但這裡是從無到有,所以我們自己new一個。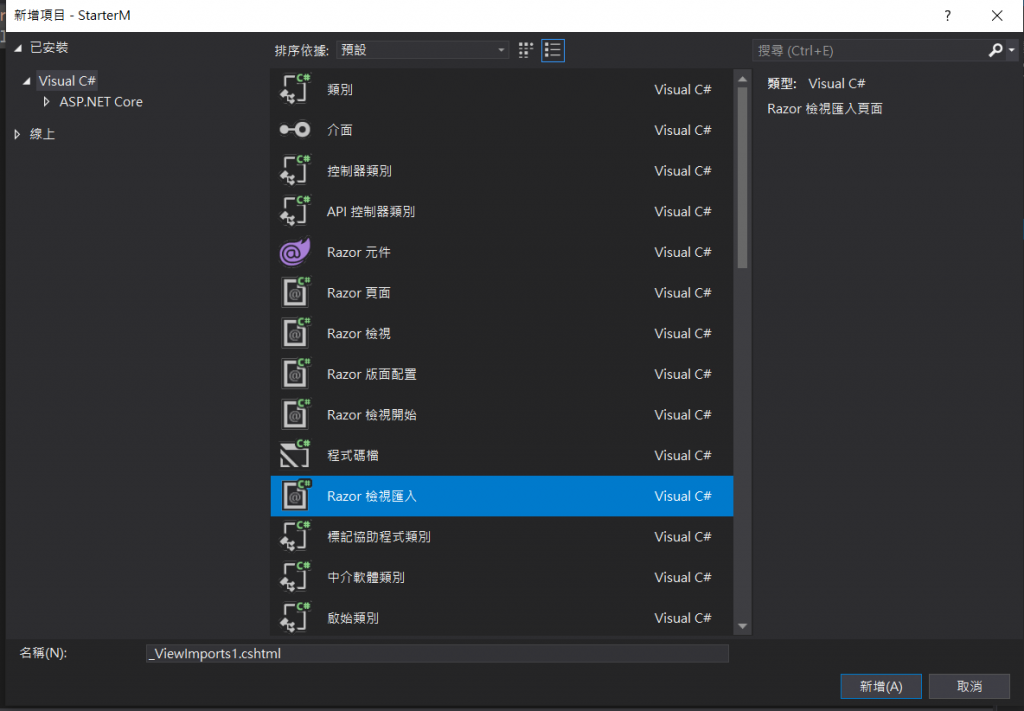
先建立Model,主要是給Tag Helper使用
    public class IronMan
    {
        public int Id { get; set; }
        public string Name { get; set; }
        public int Age { get; set; }
        public bool IsUse { get; set; }

        [DataType(DataType.Date)]
        public DateTime PublishDate { get; set; }
        public string Description { get; set; }
    }
新增完之後,我們在這個檔案中加入以下程式,與引用model
@addTagHelper *, Microsoft.AspNetCore.Mvc.TagHelpers
@using xxx.Models
使用
組件匯入之後就可以開始使用了,這邊來插入一個超連結試試看
Home.cshtml
@{
    Layout = null;
}

<!DOCTYPE html>

<html>
<head>
    <meta name="viewport" content="width=device-width" />
    <title>Index</title>
</head>
<body>
    <h1>Home</h1>
    <a asp-controller="IronMan">BeIronMan</a>
</body>
</html>
IronMan/Index
以下tag中會有asp-for,就類似以前的model.xxx,都是去指定property
@model Book
@{
    Layout = null;
}

<!DOCTYPE html>

<html>
<head>
    <meta name="viewport" content="width=device-width" />
    <title>Index</title>
</head>
<body>
    <form asp-action="Index">
        <div>
            <label asp-for="Name"></label>
            <input asp-for="Name" />
        </div>
        <div>
            <label asp-for="Age"></label>
            <input asp-for="Age" max="200" min="0" />
        </div>
        <div>
            <label asp-for="InUse"></label>
            <input asp-for="InUse" />
        </div>
        <div>
            <label asp-for="PublishDate"></label>
            <input asp-for="PublishDate" />
        </div>
        <div>
            <label asp-for="Description"></label>
            <textarea asp-for="Description" cols="40" rows="10"></textarea>
        </div>
        <div>
            <input type="submit" value="send" />
        </div>
    </form>
</body>
</html>
會發現跟舊版MVC寫法差很多但是效果一樣。
參考資料
https://docs.microsoft.com/zh-tw/aspnet/core/mvc/views/layout?view=aspnetcore-3.1


 iThome鐵人賽