假設今天要到 https://jsonplaceholder.typicode.com/posts 取得裡面的資料。
第一步:安裝插件、網路權限、Retrofit2資料庫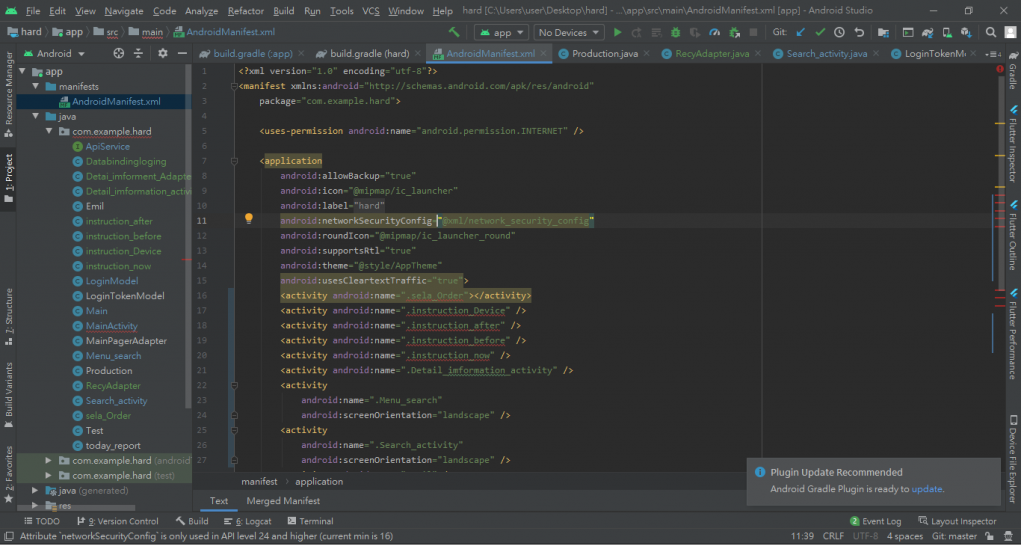
<uses-permission android:name="android.permission.INTERNET" />
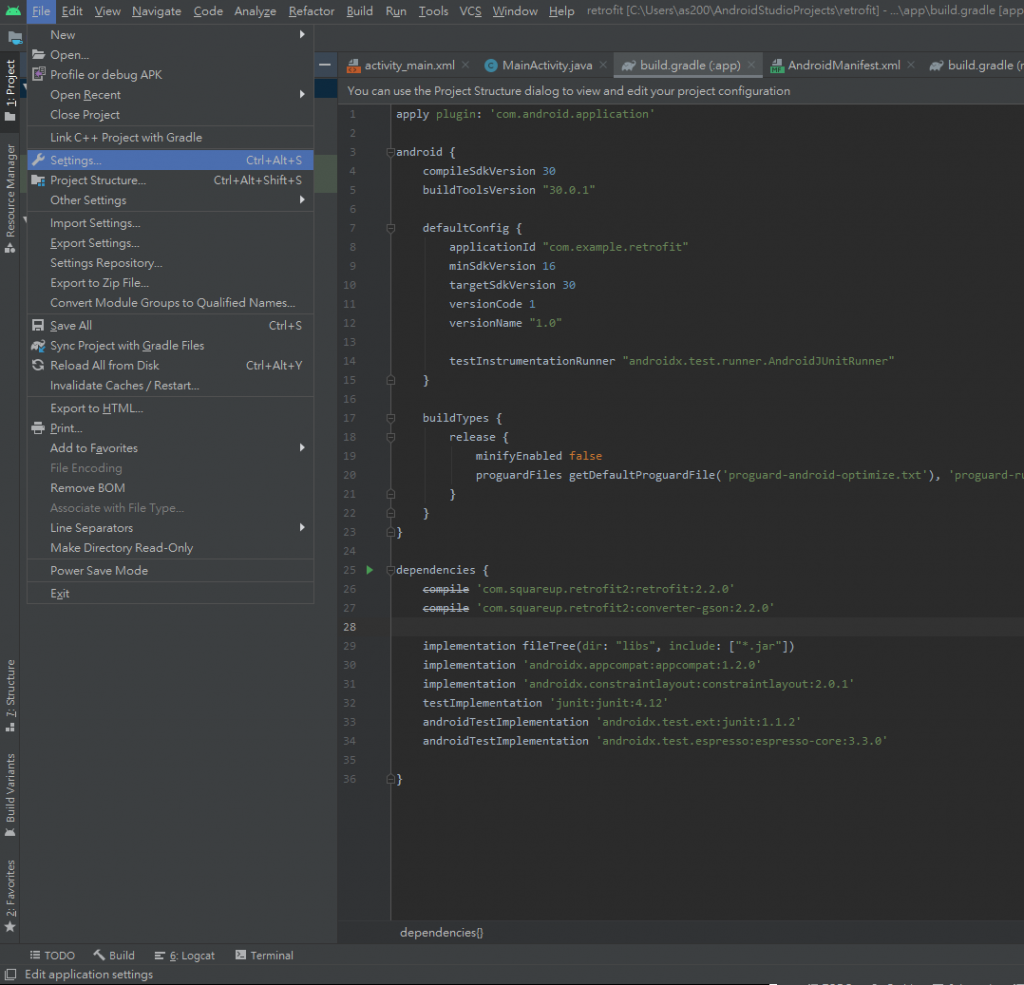
implementation 'com.jakewharton.retrofit:retrofit2-rxjava2-adapter:1.0.0'
implementation 'com.jakewharton.retrofit:retrofit2-rxjava2-adapter:1.0.0'
插件安裝方法 -> Settings -> Plugins -> Browse Repositories -> 搜尋 GsonFormat -> restart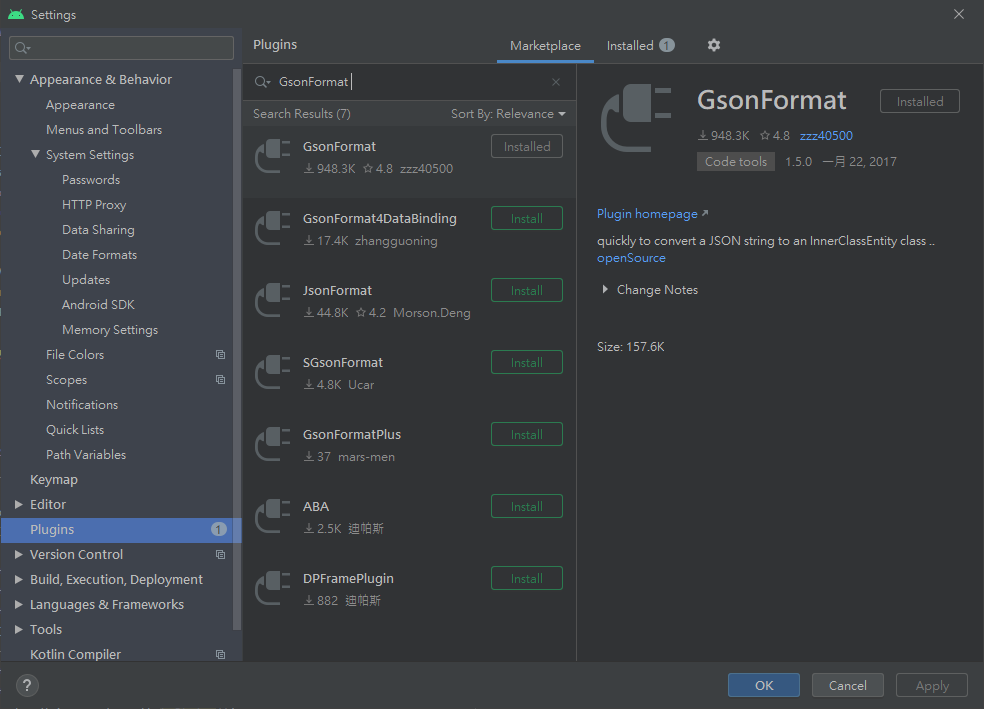
第二步:將資料新增空白的 Class 後按 Alt + Insert 匯入資料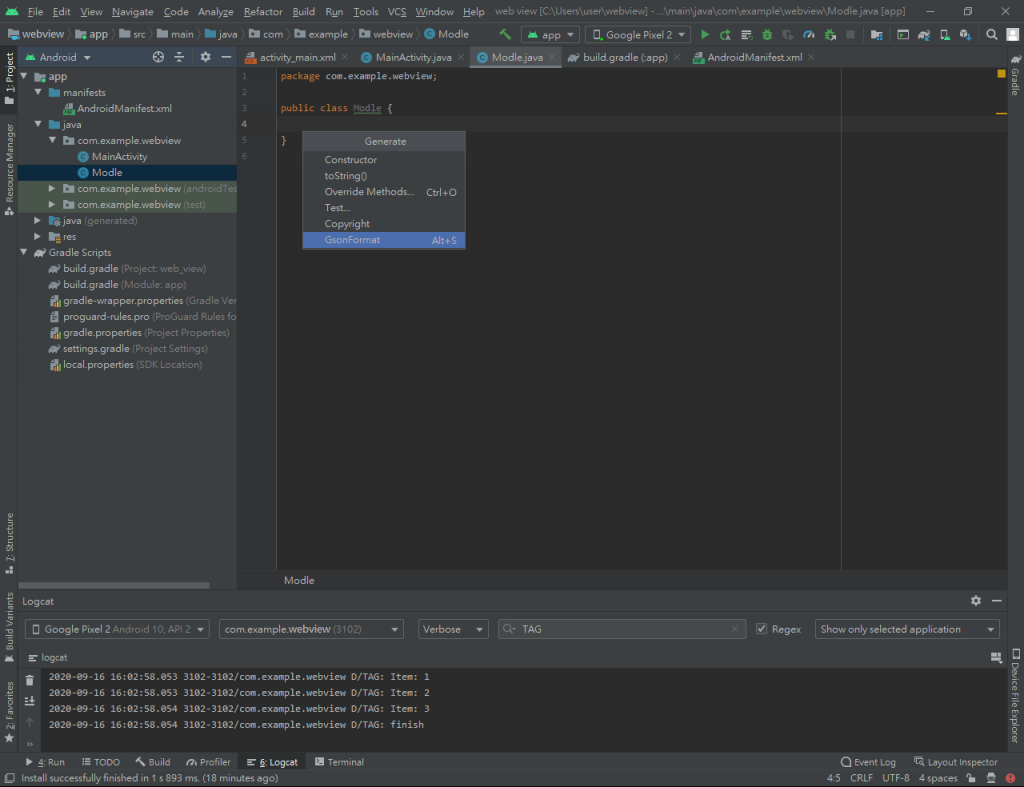 第二步:
第二步:
第三步:將資料匯到生成器按右上角的 Format 之後按 ok 讓他自動生成格式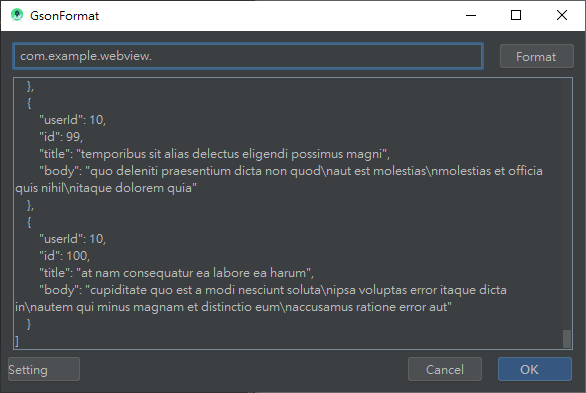
生成後的樣子 ▼▼▼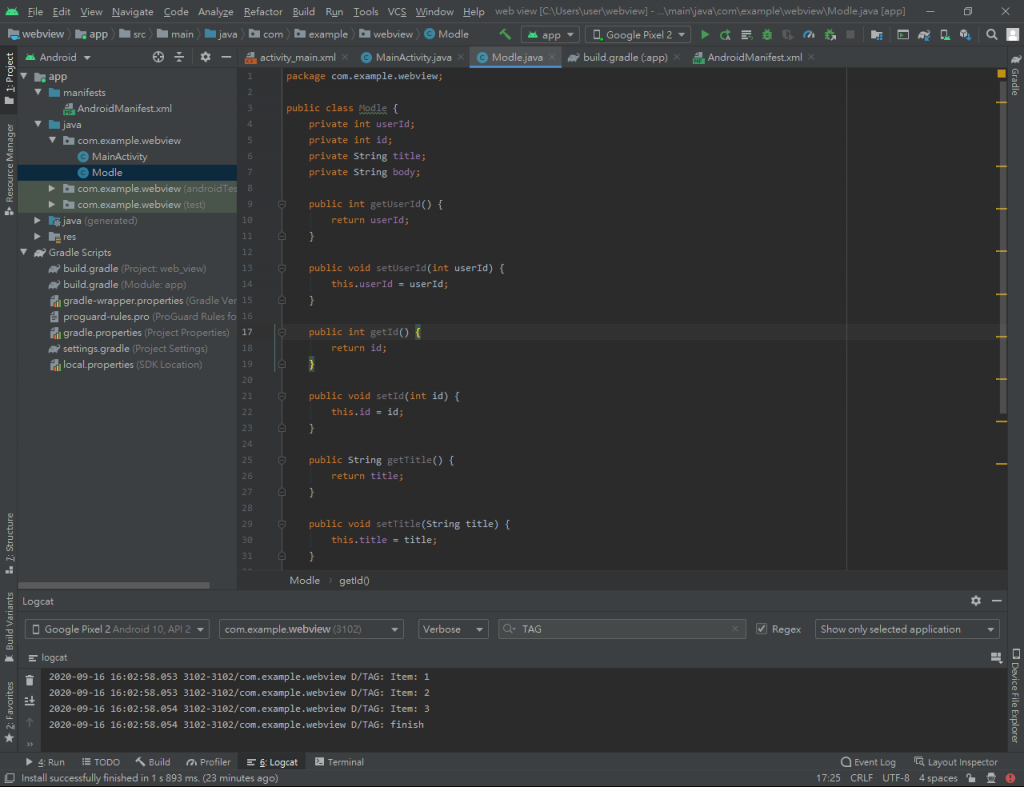
第四步:在主程式使用 retrofit 語法去 API 搜尋資料
 @Override
        protected void onCreate(Bundle savedInstanceState) {
            super.onCreate(savedInstanceState);
            setContentView(R.layout.activity_main);

            Retrofit retrofit = new Retrofit.Builder()
                    .addConverterFactory(GsonConverterFactory.create()) // 使用 Gson 解析
                    .baseUrl("https://jsonplaceholder.typicode.com")//api的網址
                    .build();
到這裡就完成當我們進到這支 API 拿資料時我們如何獲取他回傳的資料,再來我們就需要連結到創建資料格式的class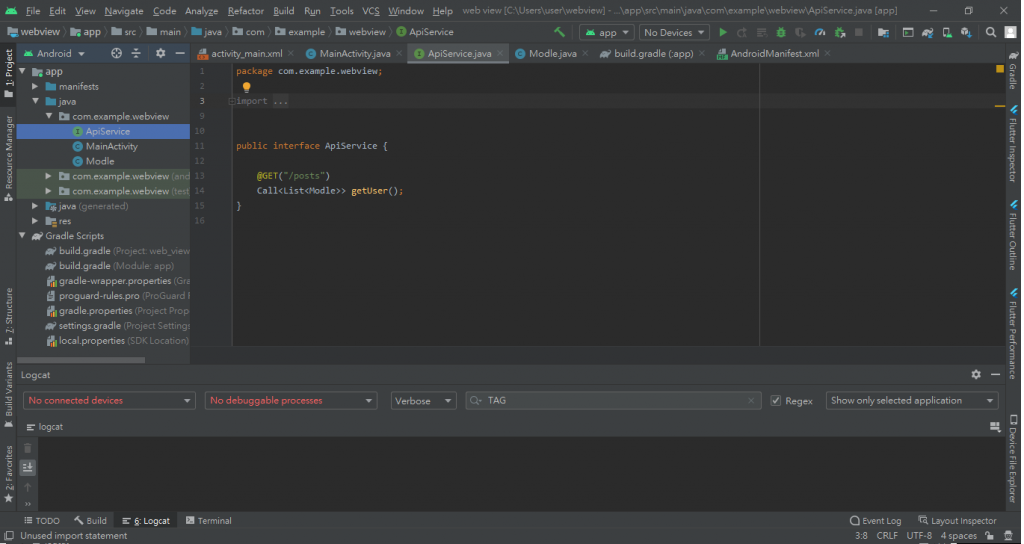
public interface ApiService {
    @GET("/posts")//路徑
    Call<List<Modle>> getUser();//裡面的Modle為你的資料格式的class
}
再把主程式跟上面創建的 interface 連結到一起即可使用了
public class MainActivity extends AppCompatActivity {
    private ApiService apiService;
    List<Integer> id=new ArrayList<>();//由於資料是複數以上的資料所以要用list
        @Override
        protected void onCreate(Bundle savedInstanceState) {
            super.onCreate(savedInstanceState);
            setContentView(R.layout.activity_main);

            Retrofit retrofit = new Retrofit.Builder()
                    .addConverterFactory(GsonConverterFactory.create()) // 使用 Gson 解析
                    .baseUrl("https://jsonplaceholder.typicode.com")
                    .build();
            apiService= retrofit.create(ApiService.class);
            apiService.getUser().enqueue(new Callback<List<Modle>>() {
                @Override
                public void onResponse(Call<List<Modle>> call, Response<List<Modle>> response) {

                    for (Modle zzz:response.body()){
                        id.add(zzz.getId());
                    }
                    for (int i=0;i<id.size();i++){
                        Log.d("TAG", "id:"+id.get(i));
                    }
                }

                @Override
                public void onFailure(Call<List<Modle>> call, Throwable t) {
                    Log.d("TAG", ""+t);
                }
            });
        }

    }