在架設部落格時,想要趕快搞定網站基礎設施與寫文環境,那你就必須先配置好你的 config、文章模板 archetypes,以及規劃模板中的 Front Matter 了。
只要依據個人需求把 Front Matter 設置好,就能在每次 new post 翻印出新的文章檔案時,改一改幾個特定參數,就能開始動手寫,縮短「建立新檔 -> 寫文章」這段時間,今天就帶大家認識一下什麼是 Hugo Front Matter。
在每個文章檔案.md 中,放在內容最前面那塊以 - - - 分隔的區塊內容,就是 Front Matter (- - - 只是其中一種格式);Hugo 支援四種 Front Matter 格式:
+++
categories = ["Hugo", "Test"]
date = "2020-09-25"
description = "spf13-vim is a cross platform distribution of vim plugins and resources for Vim."
slug = "test"
tags = [".vimrc", "plugins", "spf13-vim", "vim"]
title = "我是 toml 格式的 Front Matter"
+++

Boom!!
---
categories:
- Hugo
- Test
date: "2020-09-25"
slug: "test"
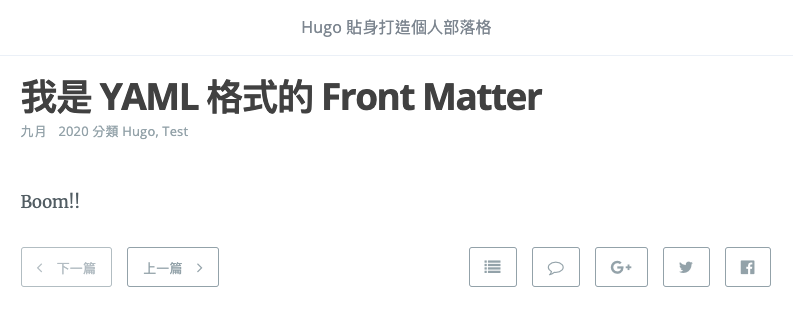
title: "我是 yaml 格式的 Front Matter"
---

Boom!!
{
   "categories": [
      "Hugo",
      "Test"
   ],
   "date": "2020-09-25",
   "slug": "test",
   "title": "我是 json 格式的 Front Matter"
}

Boom!!
#+categories[]: Hugo Test
#+date: 2020-09-25
#+slug: test
#+title: 我是 ORG 格式的 Front Matter

Boom!!
四種格式輸出的文章「都一樣」,就看你比較習慣用哪種格式設置參數:

在 Front Matter 中有許多可設置變數,以下介紹幾個筆者常用的參數:
hugo server -F 才看得到文章我們使用佈景之所以可以透過 Front Matter 微調一些文章佈局設定,就是新增了各種「自訂參數」,讓 hugo 語法可以從你設置的參數去套用 layout 的變化,舉例來說 (以下為佈景提供的設置):
筆者稍微追了一下佈景的原始碼,可以看到它背後是這樣取用參數,其中的 . 就是你設置的 value 參數值:
{{ with .Params.coverImage }}
  <meta property="og:image" content="{{ . | absURL }}">
  <meta property="twitter:image" content="{{ . | absURL }}">
{{ end }}
今天主要先讓大家簡單認識一下 Front Matter,好好規劃模板內容,可以讓我們提高個人的作業效率,運用 Front Matter 的便利性,甚至可仿效佈景的做法,延伸出高客製化的各種 layout。

感謝教學文章 讚讚
我找到首頁文字大綱如何設定的解答了
官方文件也有說明 原來是要加到每個文章的前面 Front Matter
---
title: "第一篇文章 文字風格設計詠咒寶典001"
date: 2023-03-23T20:28:56+08:00
draft: true
summary: "這是大綱"
---
![]()
![]()