技術文章
技術問答
My Project
iT 徵才
聊天室
2026 鐵人賽
登入/註冊
文章
問答
Tag
邦友
鐵人賽
搜尋
第 12 屆 iThome 鐵人賽
DAY
12
0
自我挑戰組
做動畫?!抱歉了時間,但我真的需要那個酷東西 ฅ^•ω•^ฅ
系列 第
12
篇
鐵人賽Day12-第七章:動畫3.2-倒滿水杯2(特效版)
12th鐵人賽
窩是一隻魚
團隊
對不起,你是個好人,但我們只是網友
2020-09-25 23:53:30
1014 瀏覽
分享至
那今天的我們一樣要喝一杯很純的.....我是說..可樂W
但是是用AE特效的方式來製作,那我們現在就開始吧!
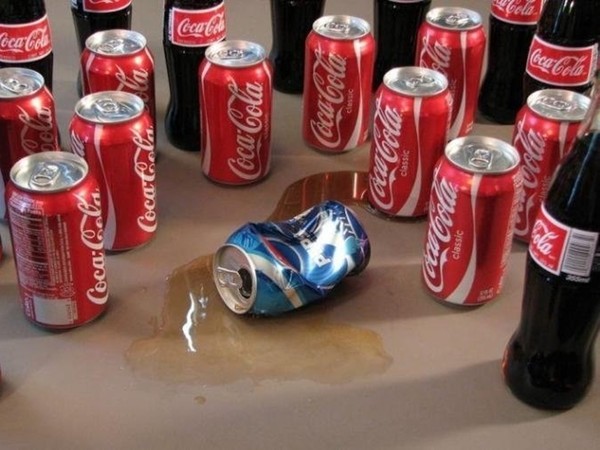
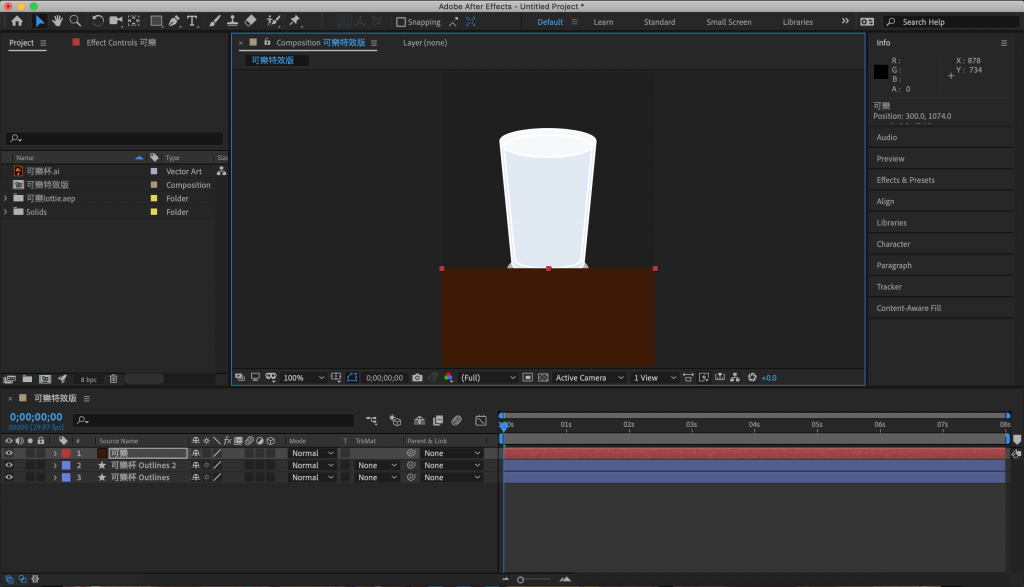
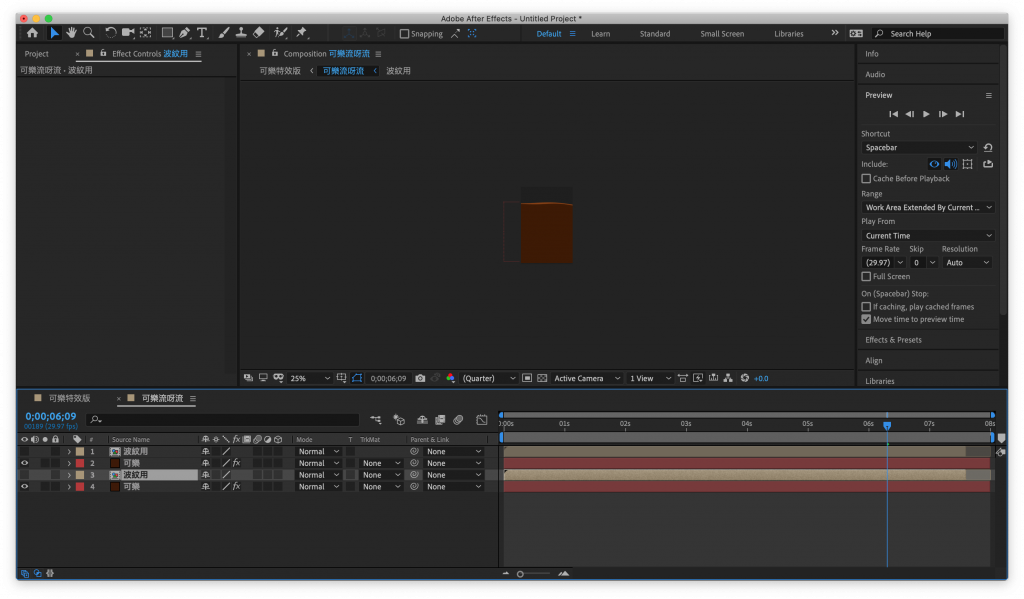
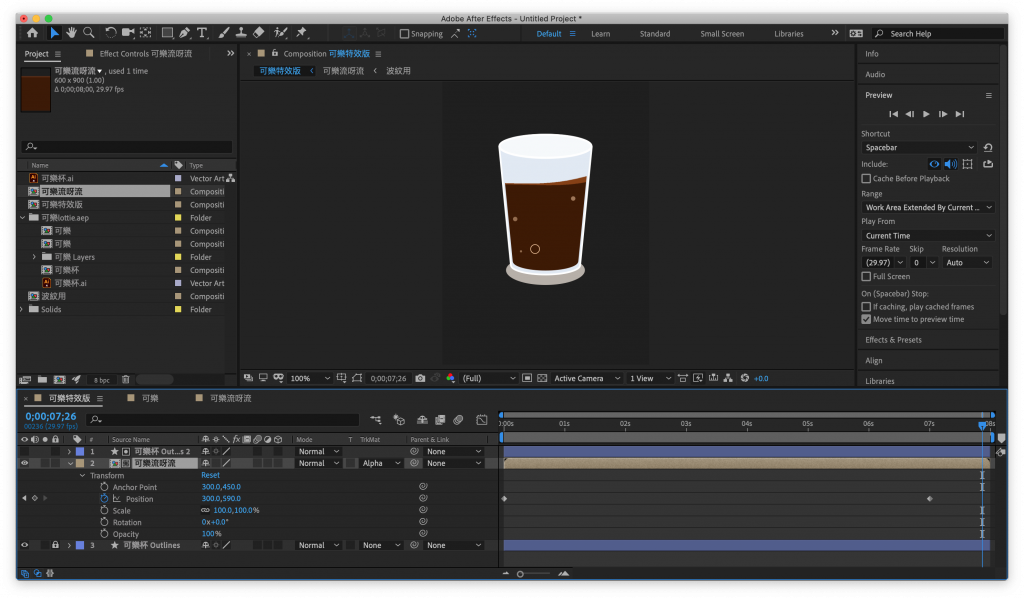
1.一樣,我們先將可樂杯子放進AE裡(記得放進來的時候要選Layer size不要忘了喔!)
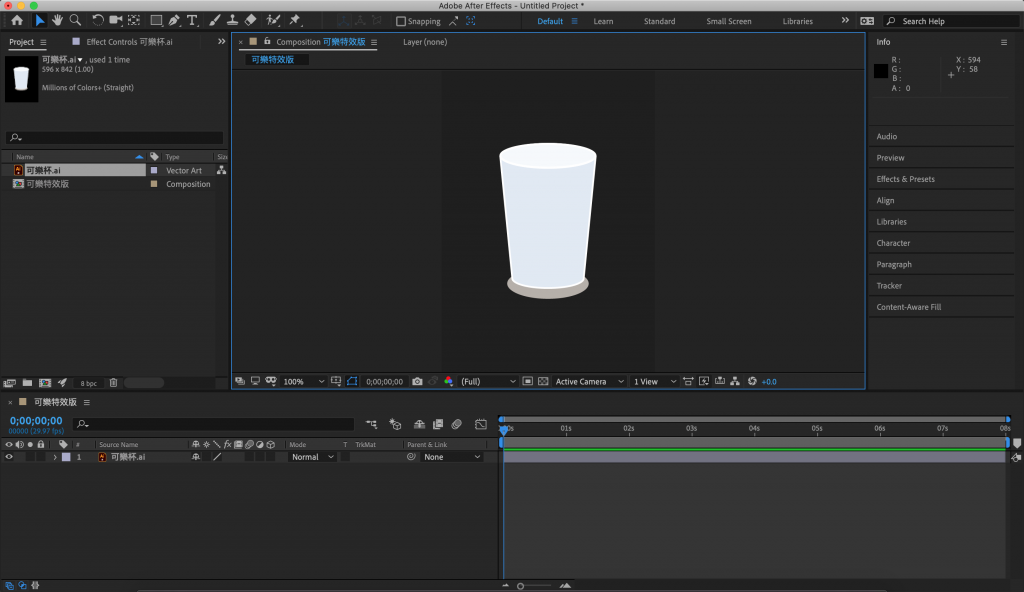
2.一樣複製一個杯子縮放備用
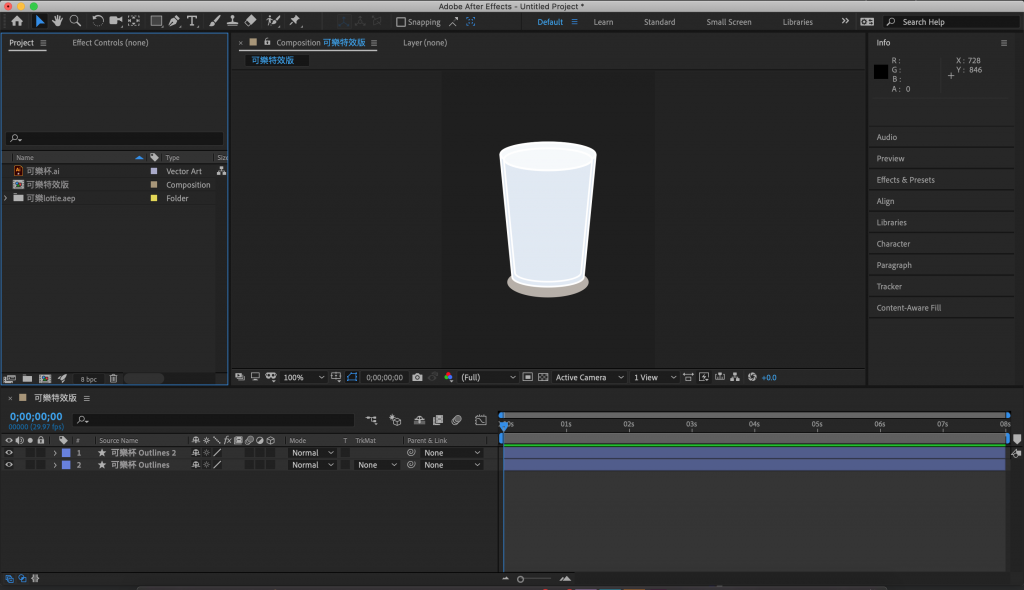
3.建立一個solid
4.我們叫他可樂,當然顏色也是可樂色。
5.可以拉下來對位置
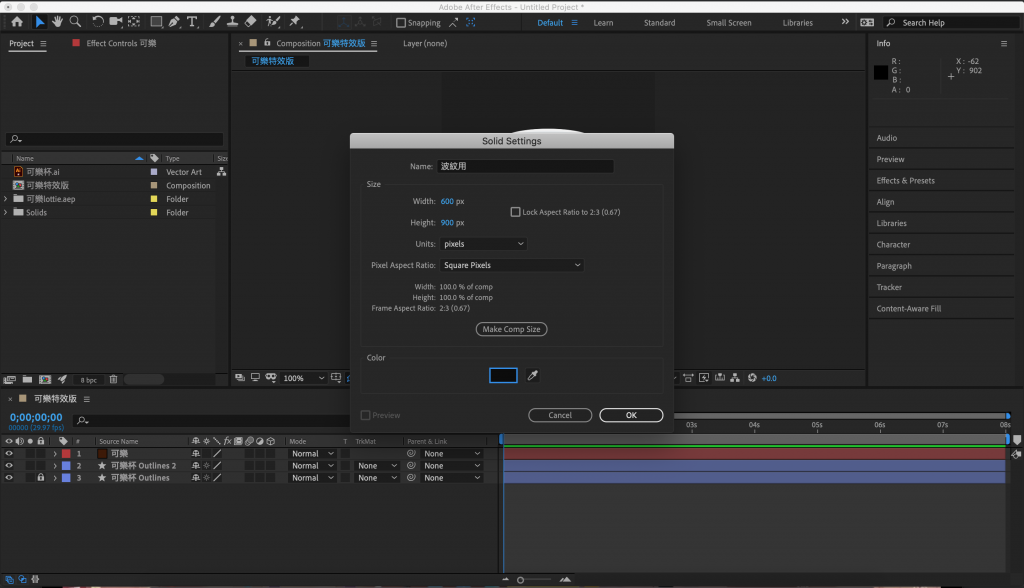
6.再建立一個solid叫他波紋用,顏色不是重點。
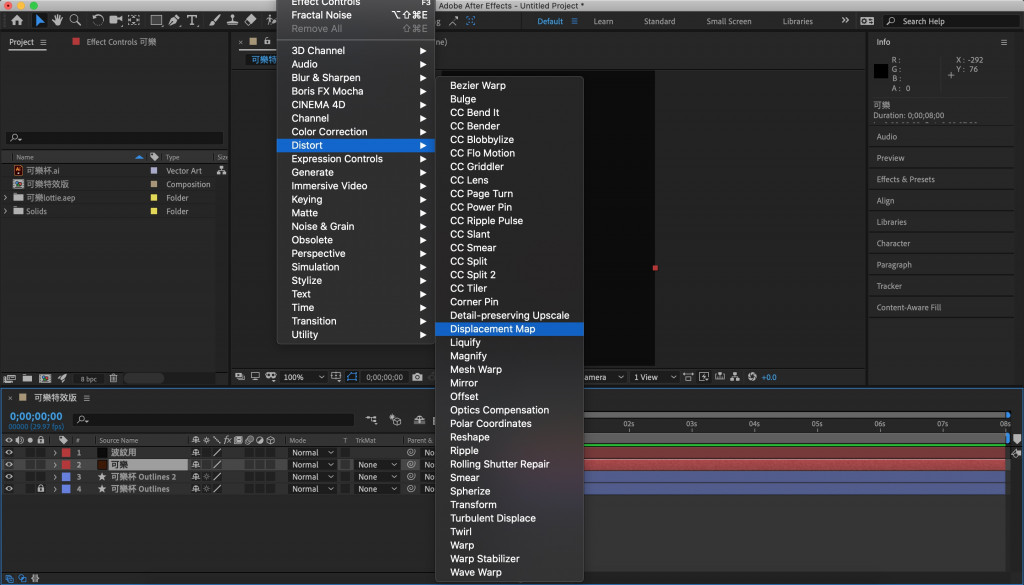
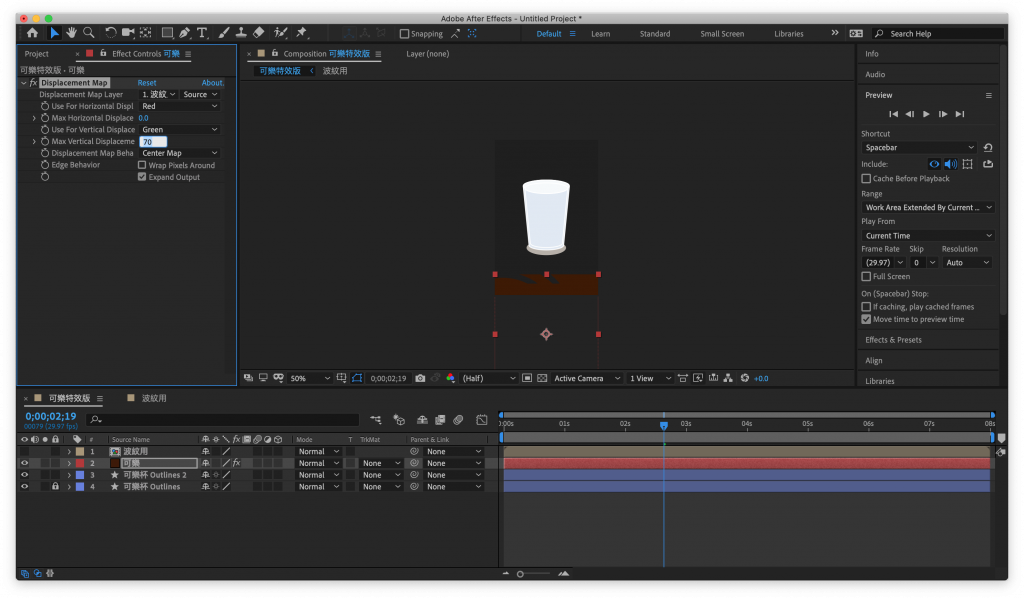
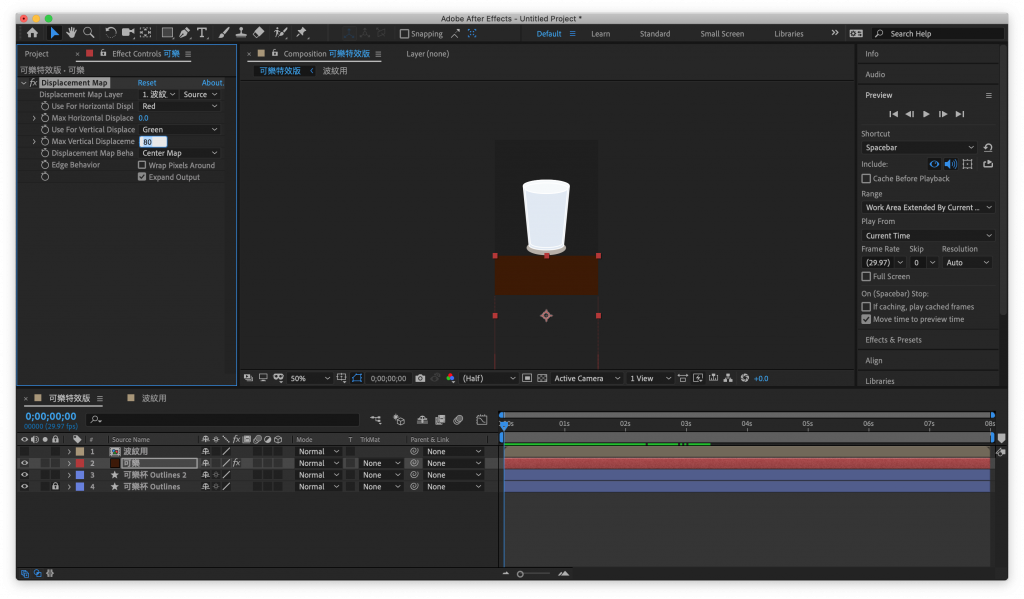
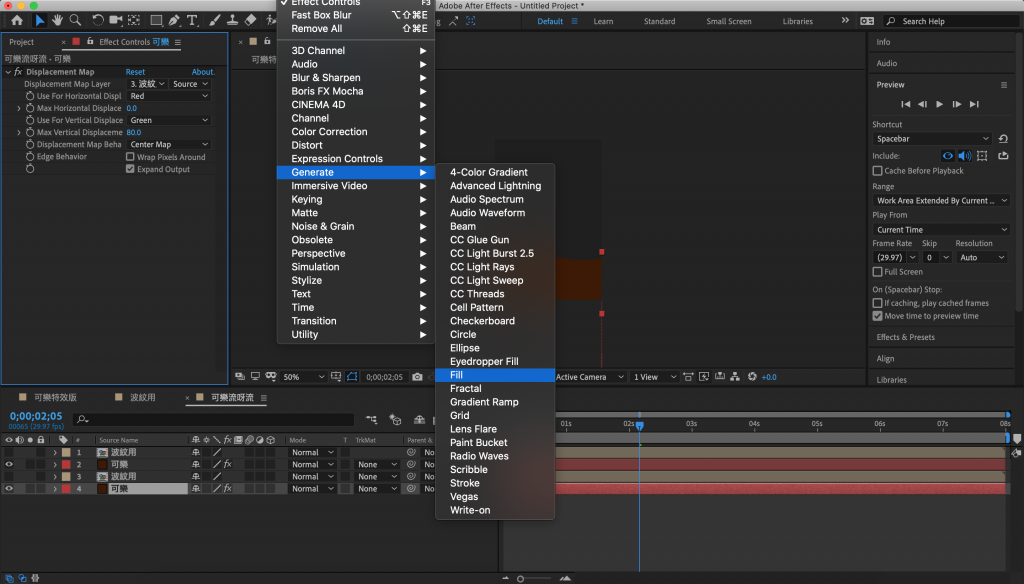
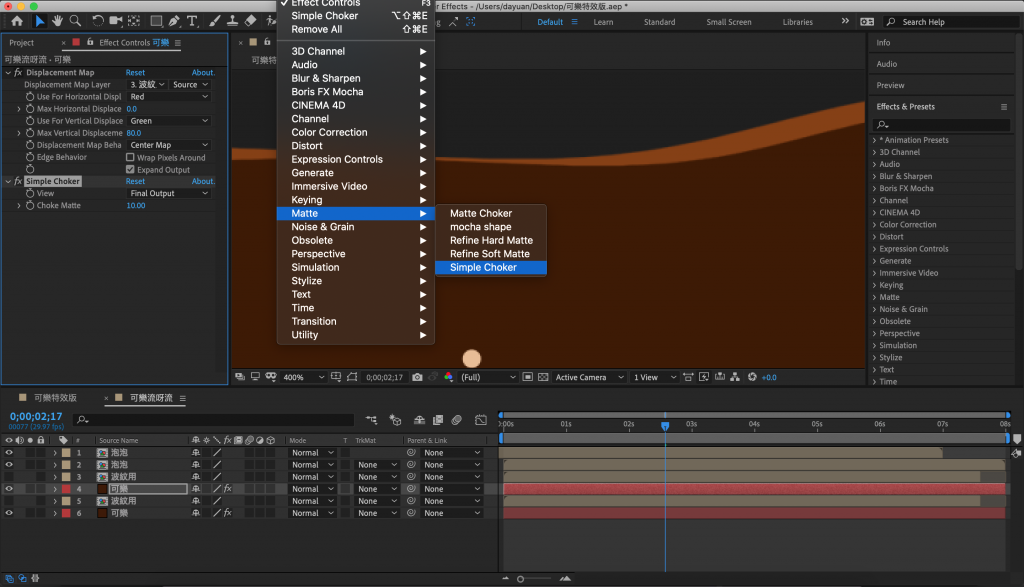
7.下來我們按可樂圖層,按Effects(特效)裡面,找到Displacement Map(置換)
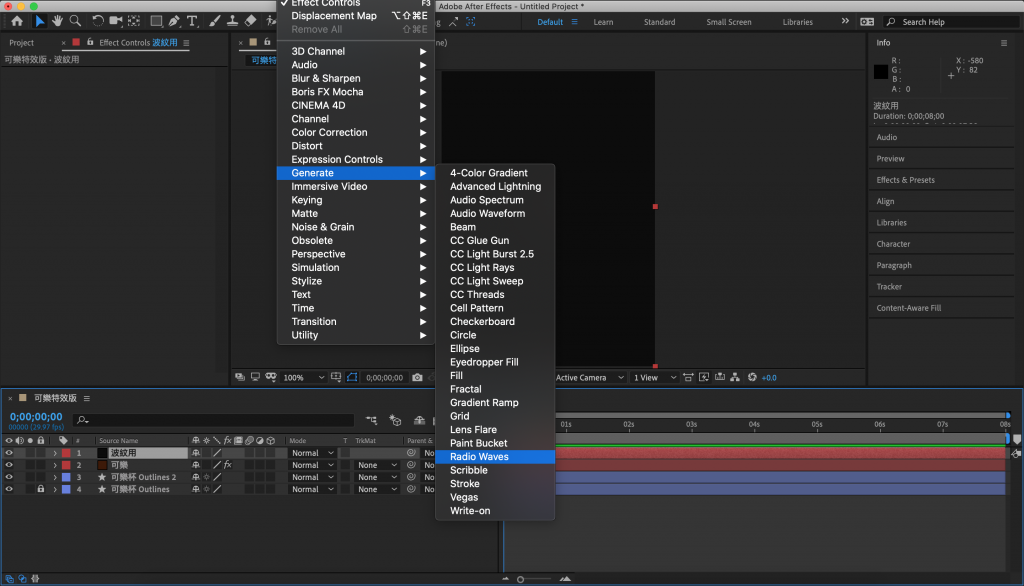
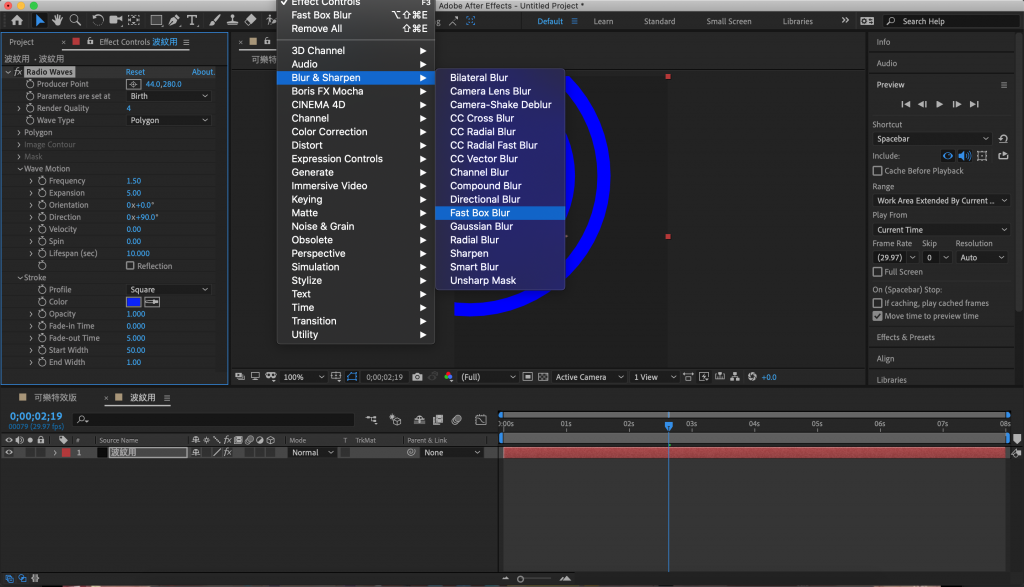
8.然後按波紋用圖層,按Effects(特效)裡面,找到Radio Wave(電波)
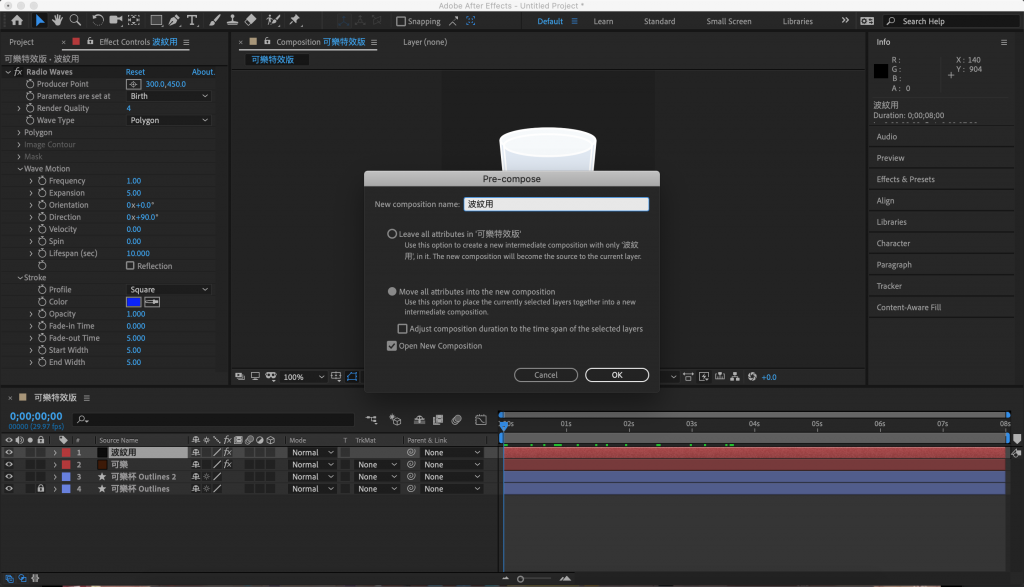
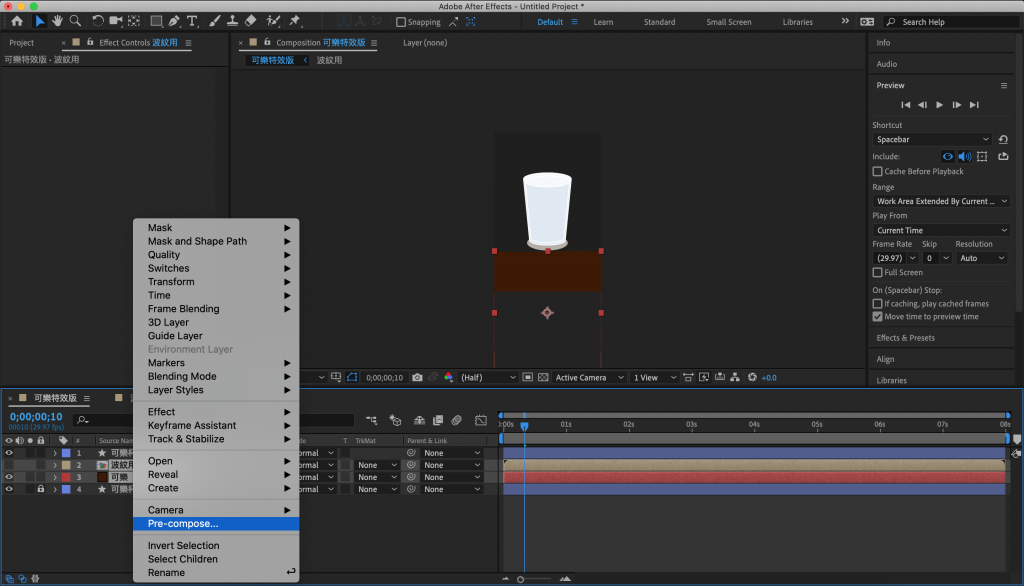
9.將波紋用圖層建立預集合
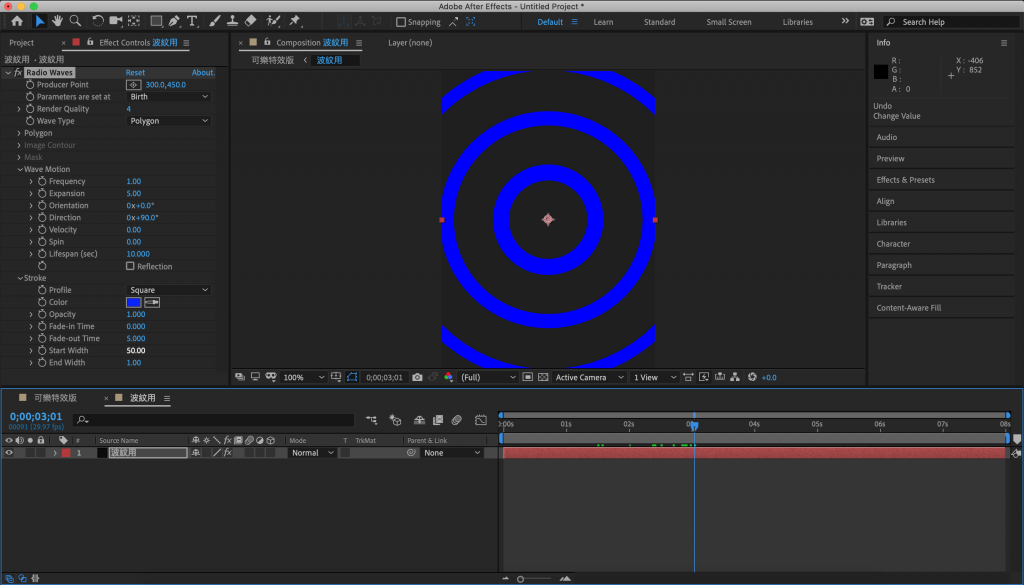
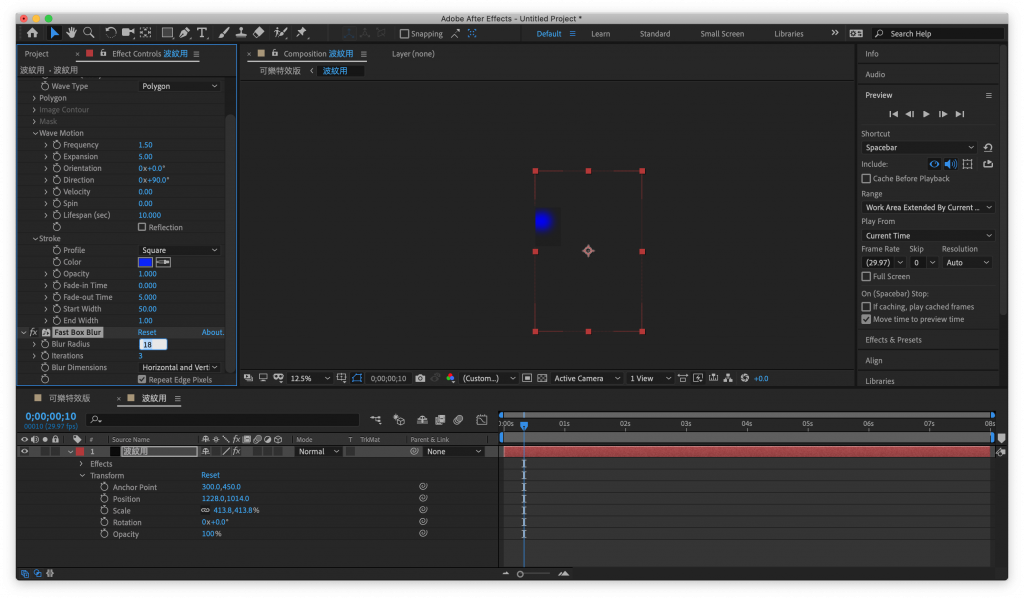
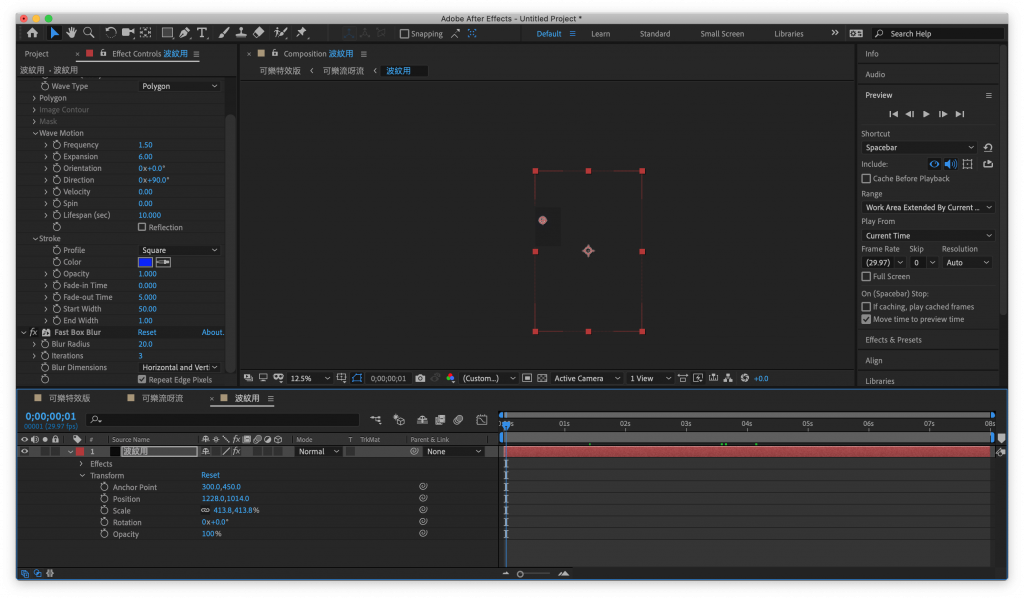
10.進去以後調整電波效果的stroke下拉箭頭,找到Start Width調成50,End Width調成1。
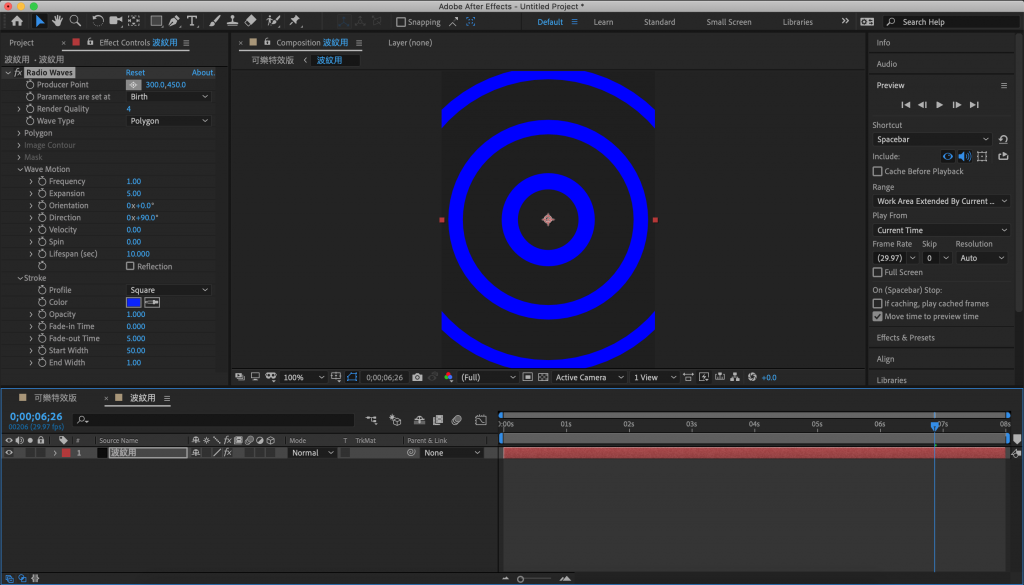
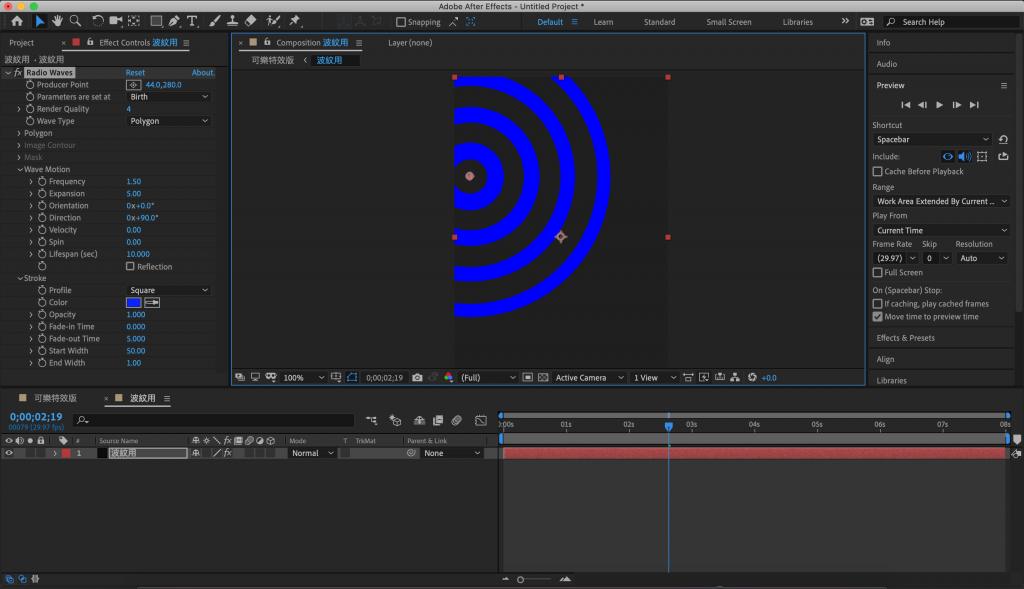
11.找到這個符號,我們要將他的中心移動到旁邊,以免到時候效果看起來不真實。
12.大概移到旁邊
13.再來,我們回到可樂特效版的頁面,找到可樂圖層,調整他的Max Vertical Displacement到70。
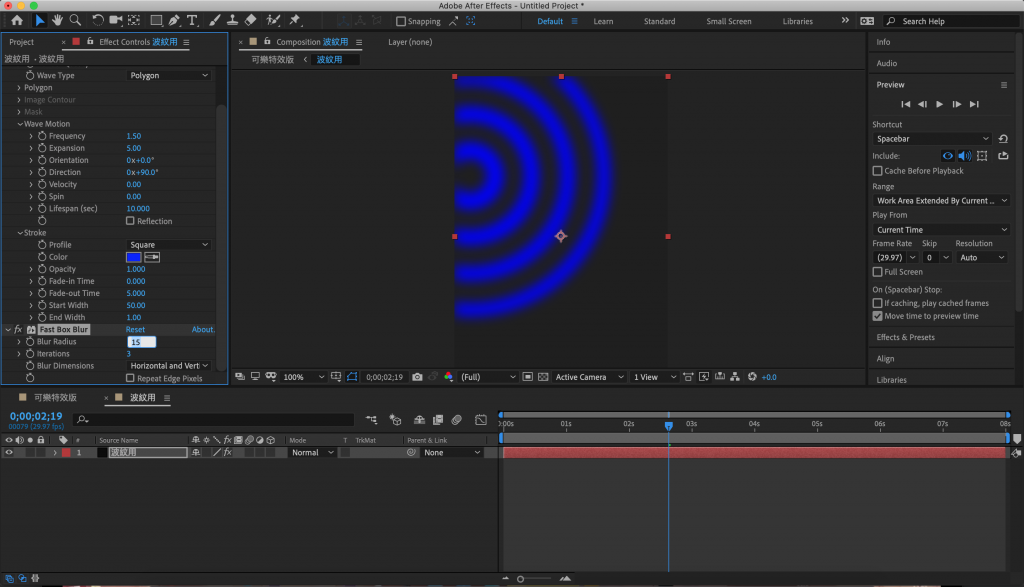
14.我們再回到波紋用預集合裡,在特效中找到Fast Box Blur(快速模糊)
15.調整Blur Radius到15(我們主畫面上的波紋才會變大及自然)
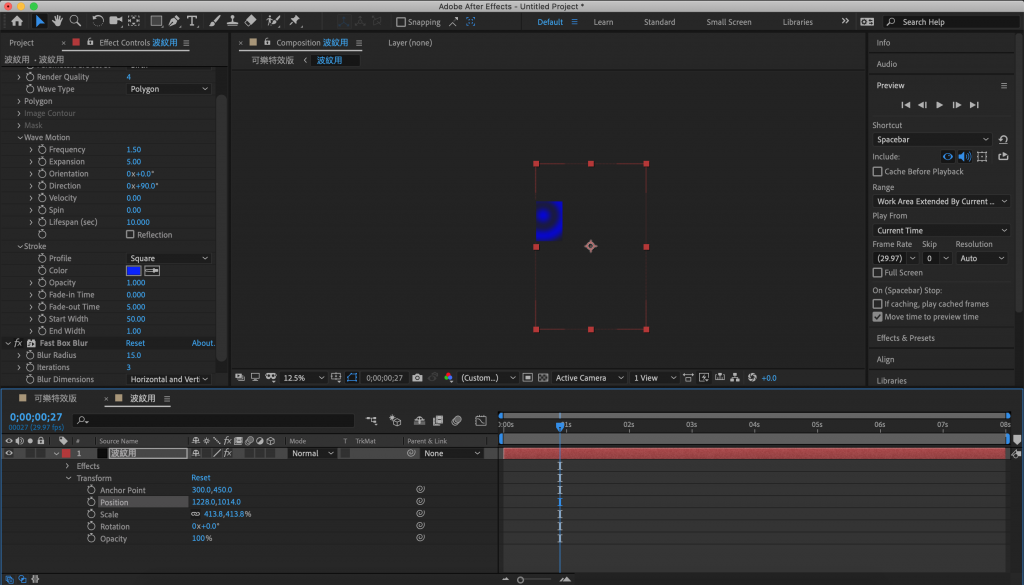
16.再來我們要將波紋用圖層放大(我們主畫面上的波紋才會變大及自然)
17.我們可以邊回到主畫面邊喬我們的數值跟縮放大小
18.包括主畫面可樂圖層的Max Vertical Displacement也會影響其形狀及自然度,也可以一起調整。
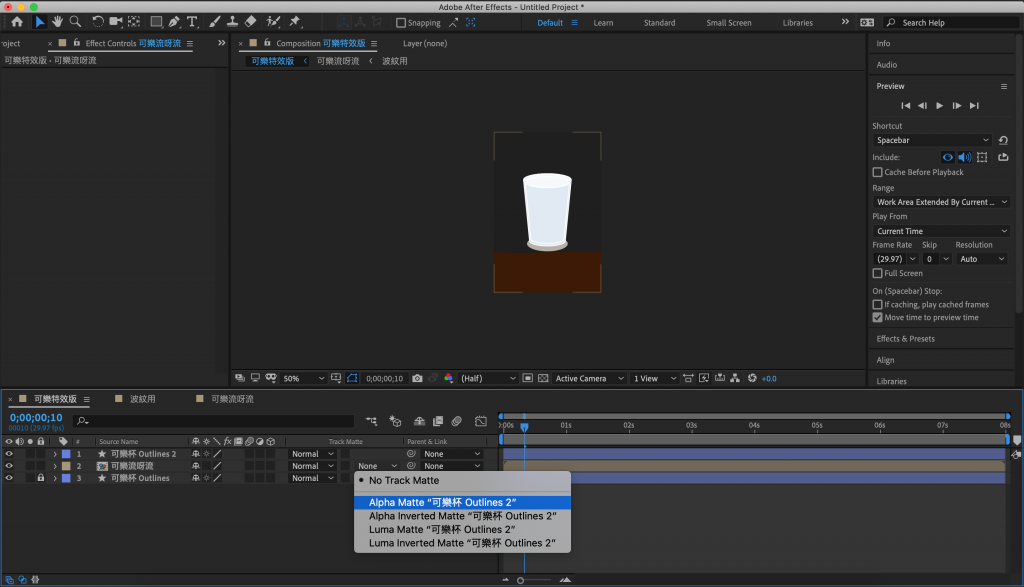
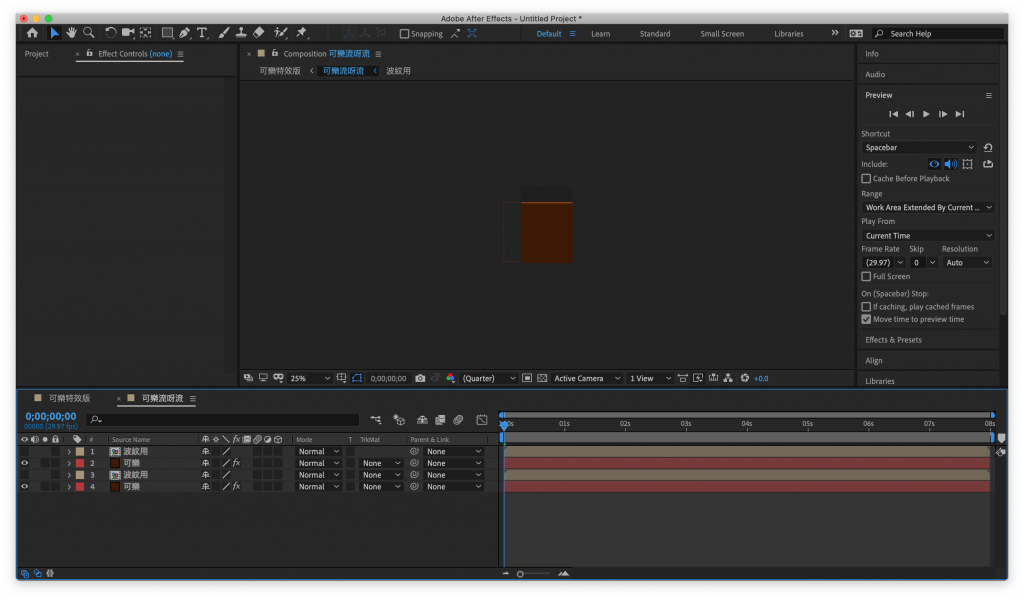
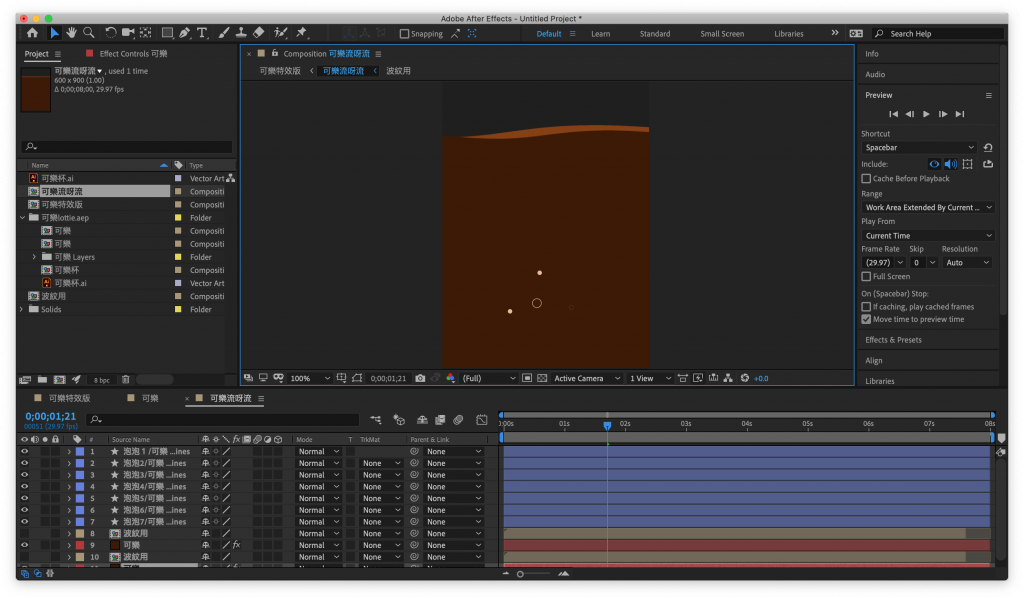
19.覺得調整的差不多的時候,我們將可樂及波紋用再做一個預集合,我叫他可樂流呀流。
20.並且將一開始備用縮放過的杯子置於最前,再將可樂流呀流的Track Matte下拉按Alpha可樂杯。
21.就快完成了!接下來我們將可樂流呀流裡面的可樂跟波紋用一起複製一個置後,並將後面的可樂按下特效找到Fill,填入較淺的顏色。
22.要順便調整後面的波紋用,因為若是數值相同疊再一起就看不出效果了。
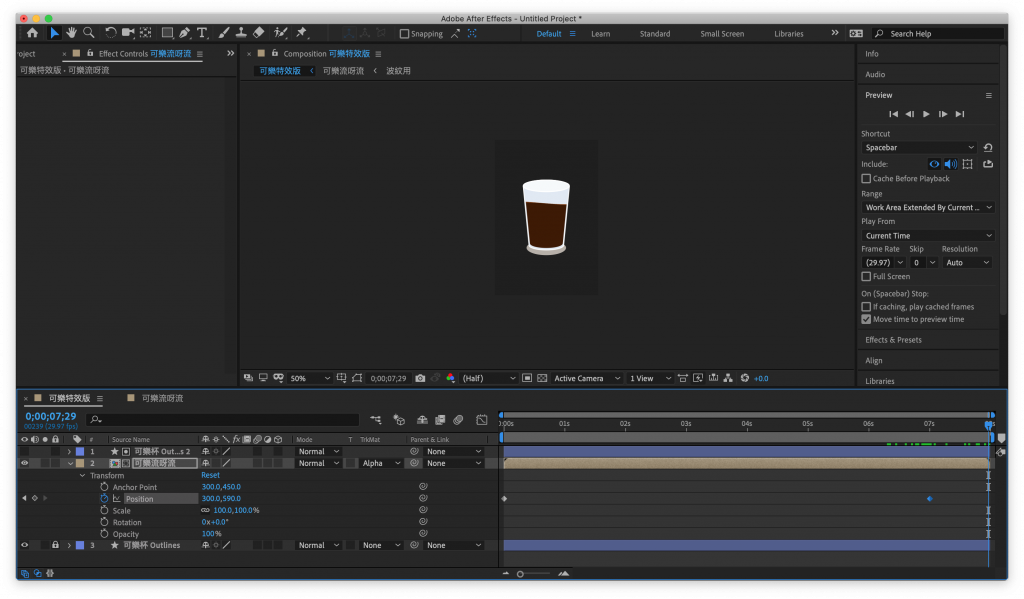
23.再把我們可樂流呀流裡的東西位置都往上移。
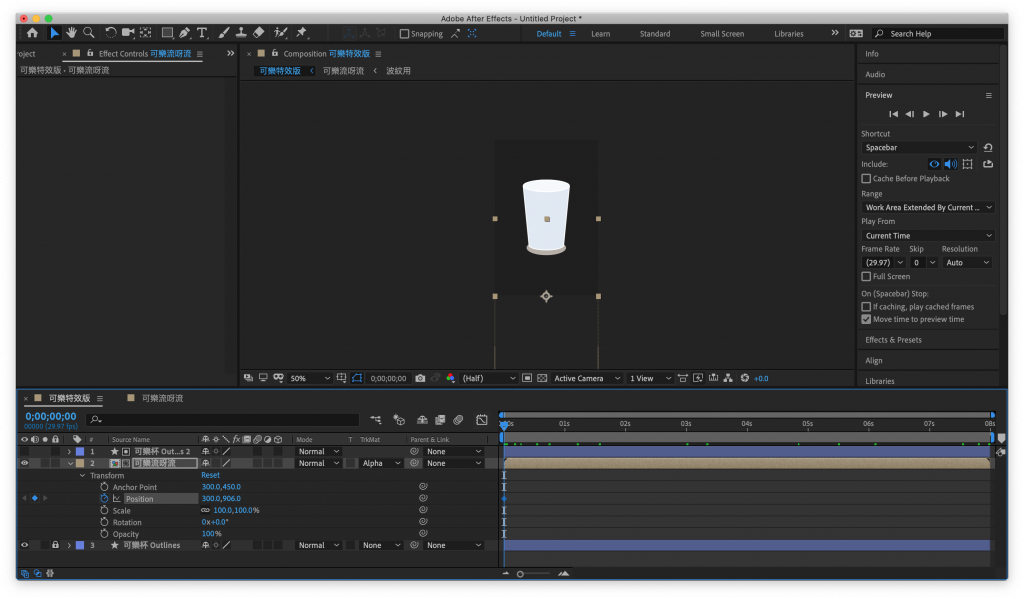
24.然後我們再回到我們的主畫面,按我們可樂流呀流的預集合,找到Position在最一開始的地方按下碼表。
25.將可樂流呀流裡的兩個波紋用的時間往內縮一些讓他效果只要到那時就好才不會晃過頭W。
26.將可樂流呀流的預集合的Position在7秒的地方往上拉到合適的位置。
27.去昨天做好的動畫裡複製我們做好的一堆泡泡並且對位置作微調W。
28.還可以用Simple Choker調整圓滑度喔W(其實這是遮罩)
29.這樣就完成了!!!
今天的教程是不是很煩瑣呢?當然,水流的做法超多種,我也是新手上路,那麼我們明天繼續研究,再見摟W
留言
追蹤
檢舉
上一篇
鐵人賽Day11-第七章:動畫3.1-倒滿水杯1(lottie版)
下一篇
鐵人賽Day13-休息一下,補班日簡單點W
系列文
做動畫?!抱歉了時間,但我真的需要那個酷東西 ฅ^•ω•^ฅ
共
30
篇
目錄
RSS系列文
訂閱系列文
9
人訂閱
26
鐵人賽Day26-第八章:研究過程,誰能告訴我怎麼辦2!
27
鐵人賽Day27-第八章:我終於完成了!!!恐龍成功了!!
28
鐵人賽Day28-第八章:恐龍在草地上奔跑吧!
29
鐵人賽Day29-第九章:動畫5.1-天氣與灣熊1
30
鐵人賽Day30-第九章:動畫5.2-天氣與灣熊,今天一次完成它!
完整目錄
熱門推薦
{{ item.subject }}
{{ item.channelVendor }}
|
{{ item.webinarstarted }}
|
{{ formatDate(item.duration) }}
直播中
立即報名
尚未有邦友留言
立即登入留言
看影片追技術
看更多
{{ item.subject }}
{{ item.channelVendor }}
|
{{ formatDate(item.duration) }}
直播中
熱門tag
15th鐵人賽
16th鐵人賽
13th鐵人賽
14th鐵人賽
17th鐵人賽
12th鐵人賽
11th鐵人賽
鐵人賽
2019鐵人賽
javascript
2018鐵人賽
python
2017鐵人賽
windows
php
c#
linux
windows server
css
react
熱門問題
WSUS伺服器近期客戶端更新都會出現0x80244010
vs code不能執行npm找了很多方法
outlook2024 郵件圖檔無法顯示的情況
熱門回答
vs code不能執行npm找了很多方法
WSUS伺服器近期客戶端更新都會出現0x80244010
outlook2024 郵件圖檔無法顯示的情況
熱門文章
【 AI Agents 架構】很多人都在談 Loop Engineering,但實際上到底要怎麼做?
[Tedium Is Stability-02] 與 AI 一起開發,看見冰山:一個「功能」,其實是一組沒說出口的隱形契約
【AI Agent 架構】從 0 開始學 AI Agent ,含 22 章完整教學
清洗 14 年台灣實價登錄資料,我踩到的坑
[Backup] 備份放哪裡才安全?從3-2-1原則聊到現代企業的做法
IT邦幫忙
×
標記使用者
輸入對方的帳號或暱稱
Loading
找不到結果。
標記
{{ result.label }}
{{ result.account }}