iT邦幫忙

第 12 屆 iThome 鐵人賽

DAY 14
1
Microsoft Azure

Azure Serverless 平步青雲,漫步雲端系列 第 14

Day 14- 掌中乾坤:狼人殺 - 實戰 - 後端開發 (一)- 服務設定

  • 分享至 

  • xImage
  •  

https://ithelp.ithome.com.tw/upload/images/20200929/20130168Xzl7jQv1CB.png

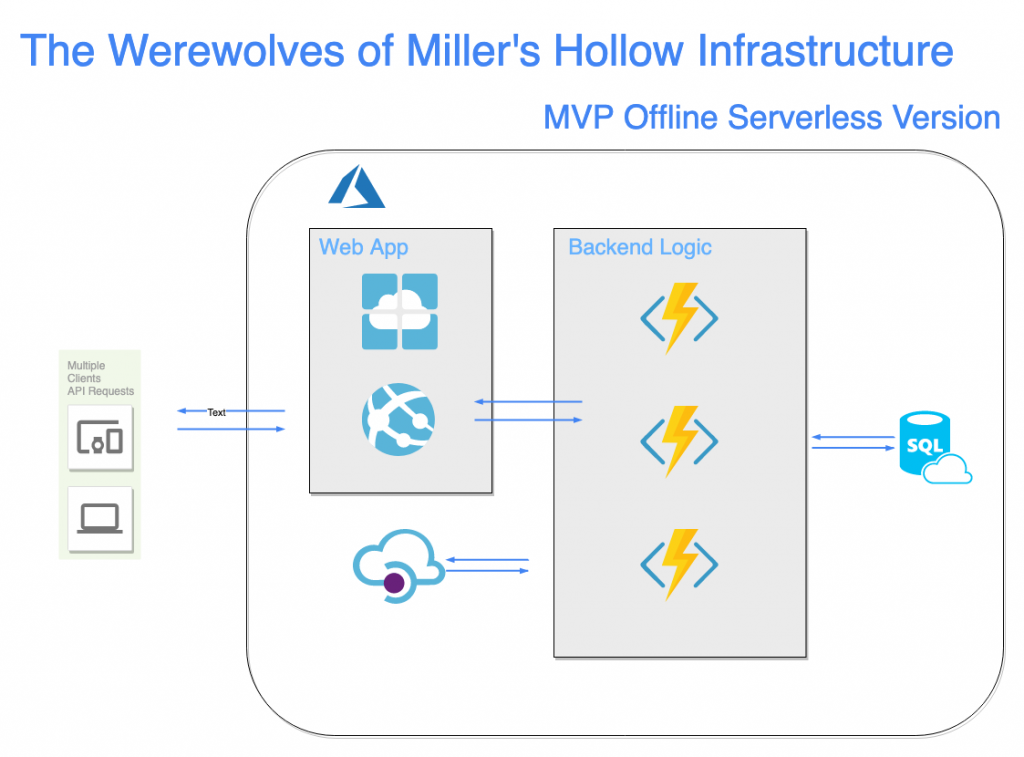
在開始後端開發之前需要先設定好服務,根據之前規劃的架構圖來開啟各項服務。
Azure Api Management

https://ithelp.ithome.com.tw/upload/images/20200929/20130168VGGLpMjBDn.png

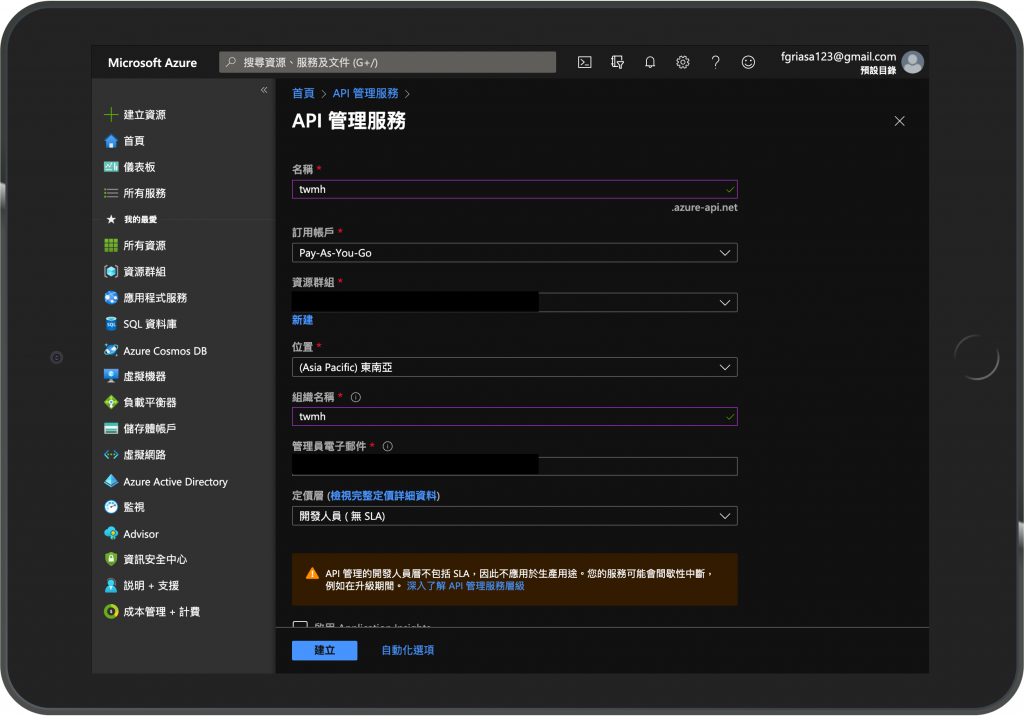
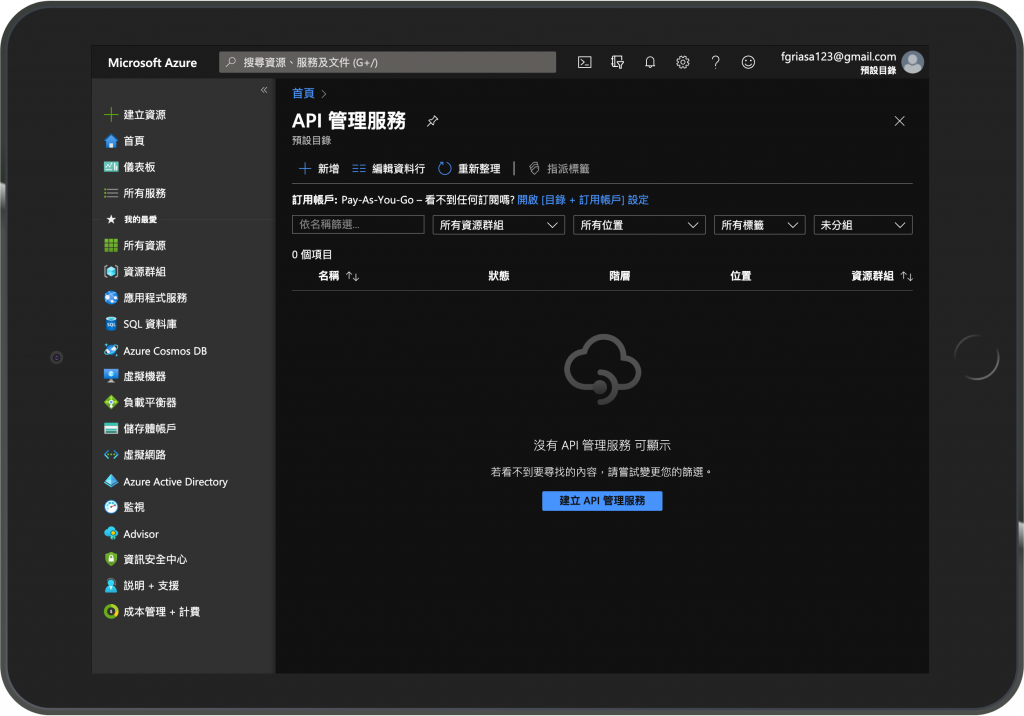
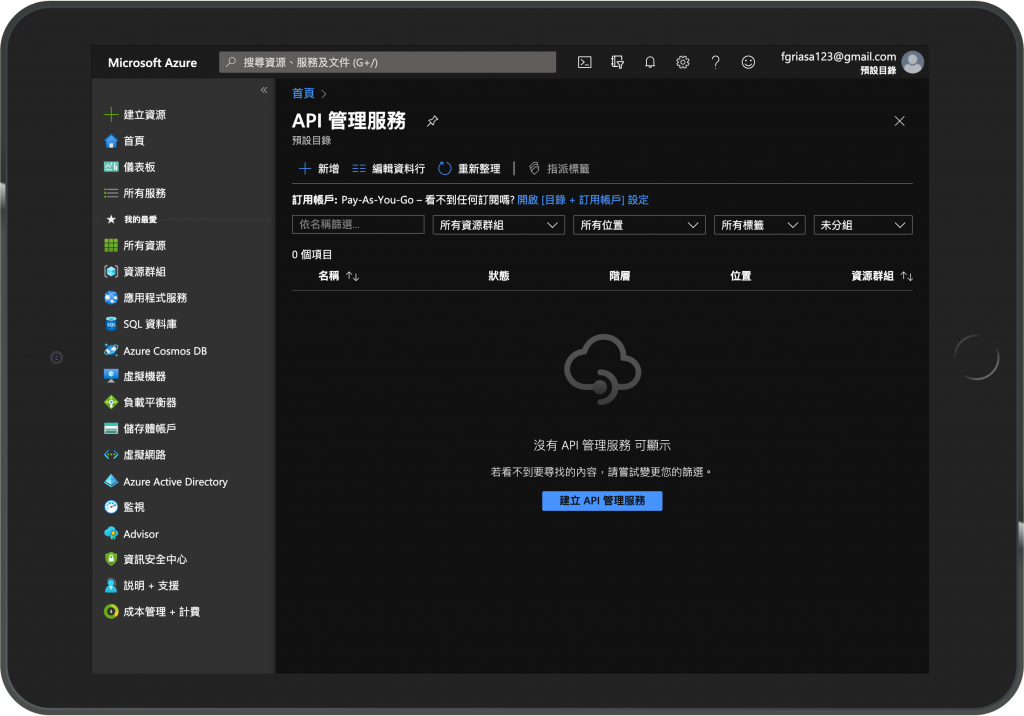
首先我們先開啟Api Management服務,

https://ithelp.ithome.com.tw/upload/images/20200929/20130168V17am39OuX.png

建立之後需要一點時間來部署服務。

Azure Functions

https://ithelp.ithome.com.tw/upload/images/20200929/20130168LWOs58edml.png

我們需要部署一個總管理的Function app來管理這個TWMH下的API
https://ithelp.ithome.com.tw/upload/images/20200929/20130168KUePjBf47J.png

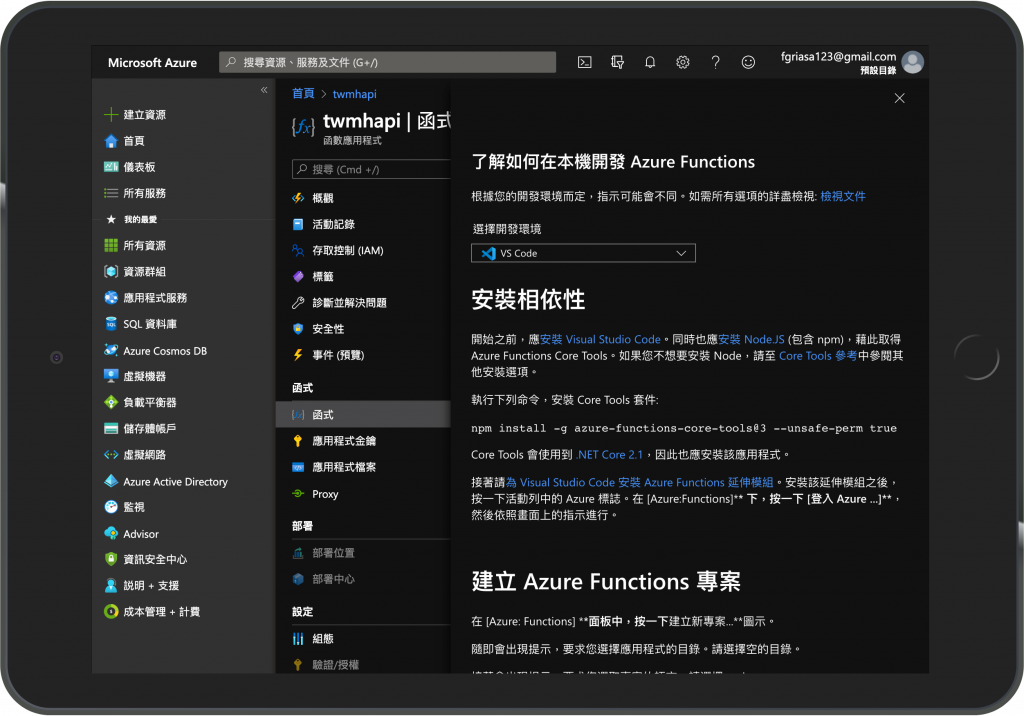
比較大的問題在於Azure不支援在網頁編輯程式,但對於一個架構有條理的組織來說這是好事,我們可以利用VS code來作為開發。
https://ithelp.ithome.com.tw/upload/images/20200929/201301682K642RX1f3.png
https://ithelp.ithome.com.tw/upload/images/20200929/201301681mvAViCvf0.png

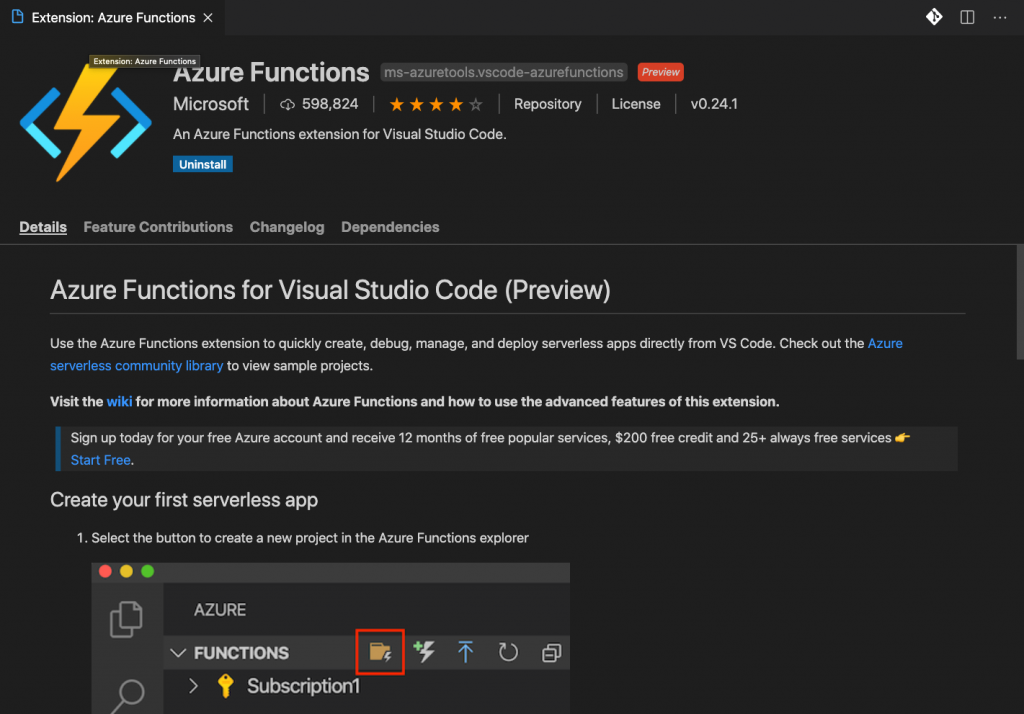
第一次安裝的讀者需要跟著Azure指示來安裝相對應套件來本機開發。

https://ithelp.ithome.com.tw/upload/images/20200929/20130168dX2sxGWR1Y.png

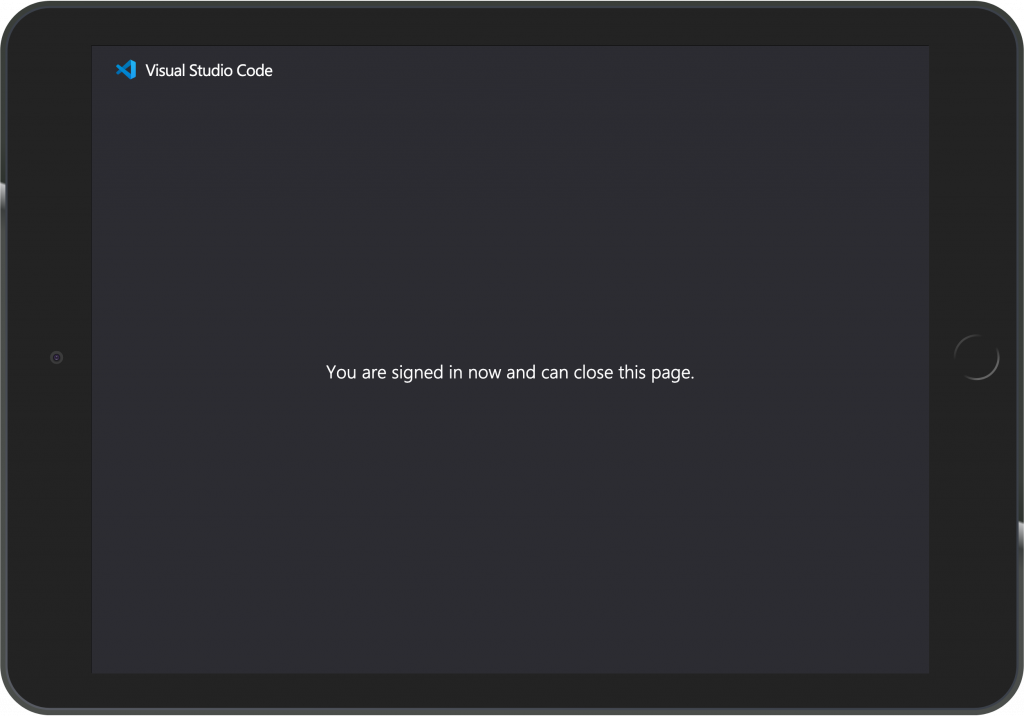
安裝完之後需要在VSCode登入Azure,方便直接在VSCode開發新的Functions
https://ithelp.ithome.com.tw/upload/images/20200929/20130168jgogrUE6qj.png

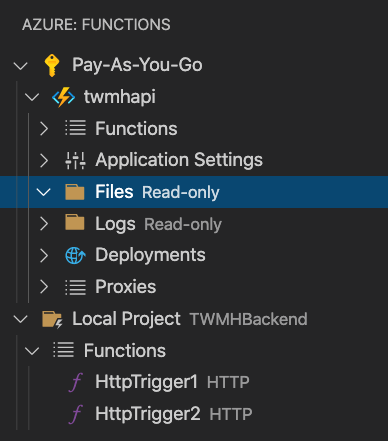
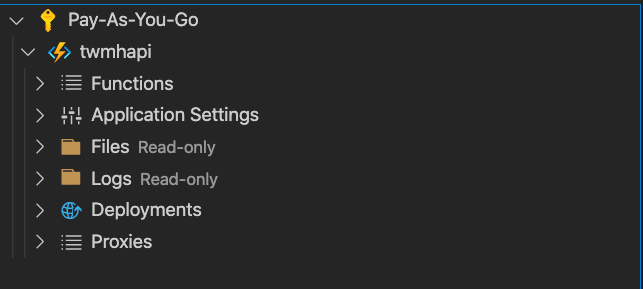
完成之後可以在這邊看到專案的各項設定可以在面板上調整。

https://ithelp.ithome.com.tw/upload/images/20200929/20130168RSwy49qnU3.png

接下來就要來建立一個新的Functions

https://ithelp.ithome.com.tw/upload/images/20200929/20130168TWIvktly4H.png

第一次建立的話可以選擇Http Trigger來建立基本的Functions
https://ithelp.ithome.com.tw/upload/images/20200929/20130168C5toTNbQR3.png

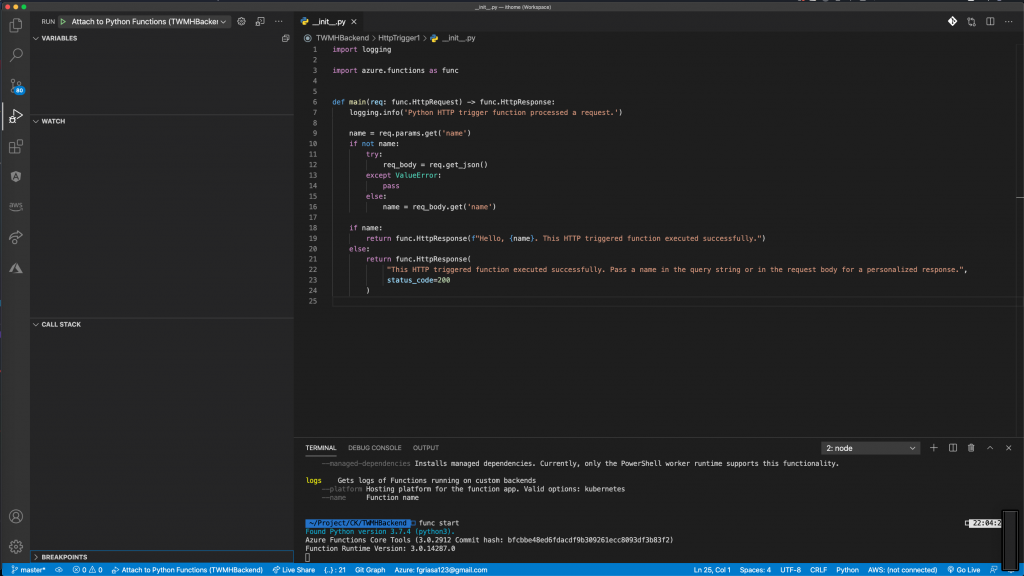
建立好之後我們直接進去程式碼,並直接來測試範本。在開始之前我們需要先把Function的模擬器開起來,只要在命令列打上

func start

就可以建起來,直接單純打func可以看到所有可用指令。

https://ithelp.ithome.com.tw/upload/images/20200929/20130168SIifCd0ZnG.png

建立完之後Azure會直接給你一個本機測試的連結,
首先我們看範本程式碼。

import logging

import azure.functions as func


def main(req: func.HttpRequest) -> func.HttpResponse:
    logging.info('Python HTTP trigger function processed a request.')

    name = req.params.get('name')
    if not name:
        try:
            req_body = req.get_json()
        except ValueError:
            pass
        else:
            name = req_body.get('name')

    if name:
        return func.HttpResponse(f"Hello, {name}. This HTTP triggered function executed successfully.")
    else:
        return func.HttpResponse(
             "This HTTP triggered function executed successfully. Pass a name in the query string or in the request body for a personalized response.",
             status_code=200
        )

基本上就是一個簡單的get帶params讀取name值,或是post拿body中的name值。

我們試著從本機開發的url裡面打看看。https://ithelp.ithome.com.tw/upload/images/20200929/20130168cAA8coWIN5.png
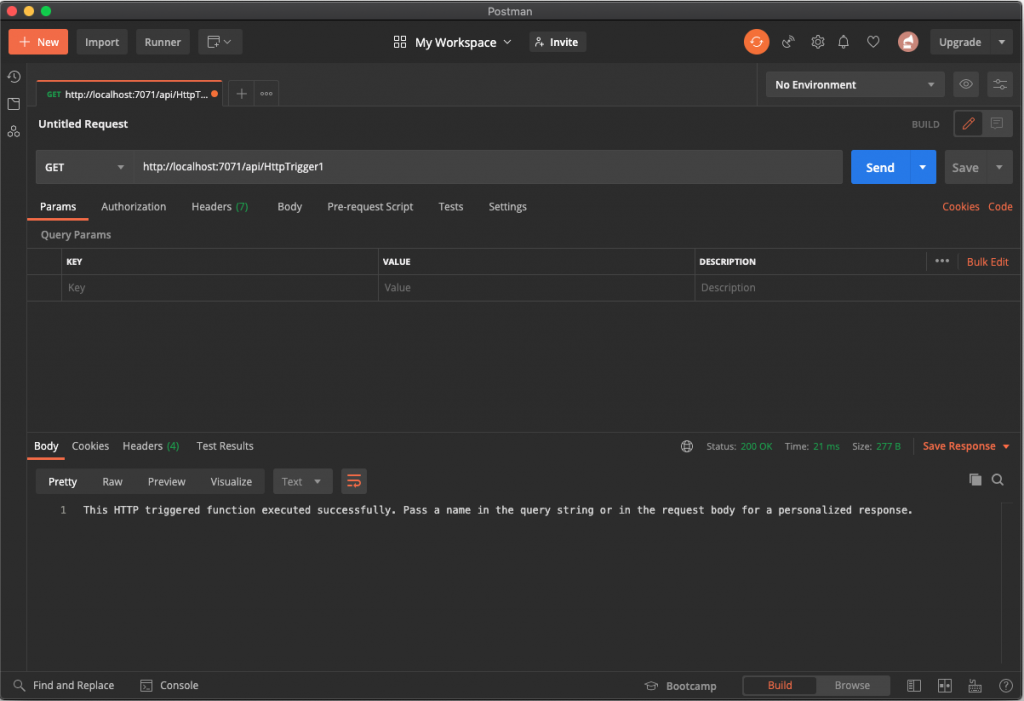
可以發現我們沒有帶name值的時候會回覆第21行的文字訊息。
假設我們更改status_code為403。
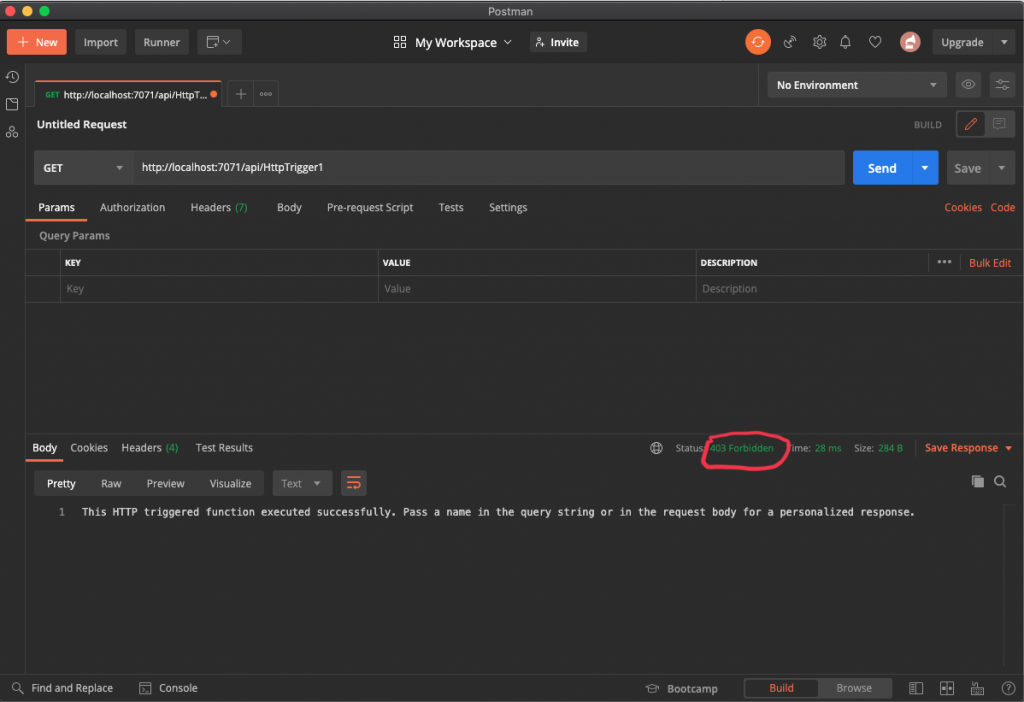
https://ithelp.ithome.com.tw/upload/images/20200929/20130168tTsWpdjwtq.png

更改完儲存的話本機伺服器會自動更新,而我們再次讀取的話就會看到變化。
這次我們試著給name。
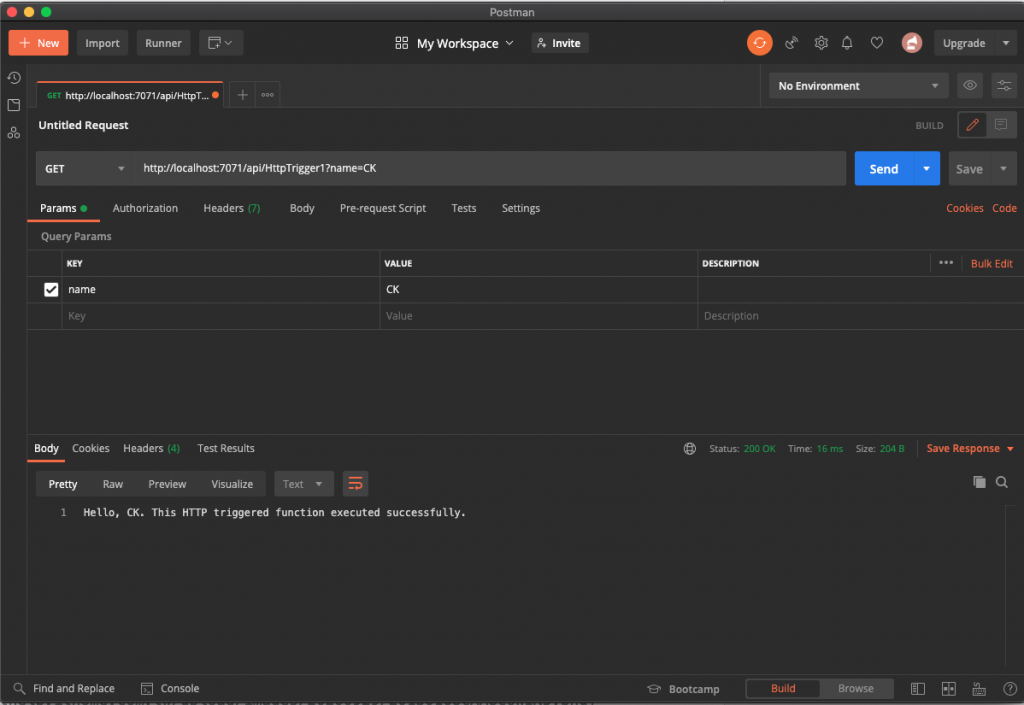
https://ithelp.ithome.com.tw/upload/images/20200929/20130168VlE3E7Oy4V.png

這時候就會回覆使用者名稱及文字。是我們要的內容,這次我們試著更改為POST
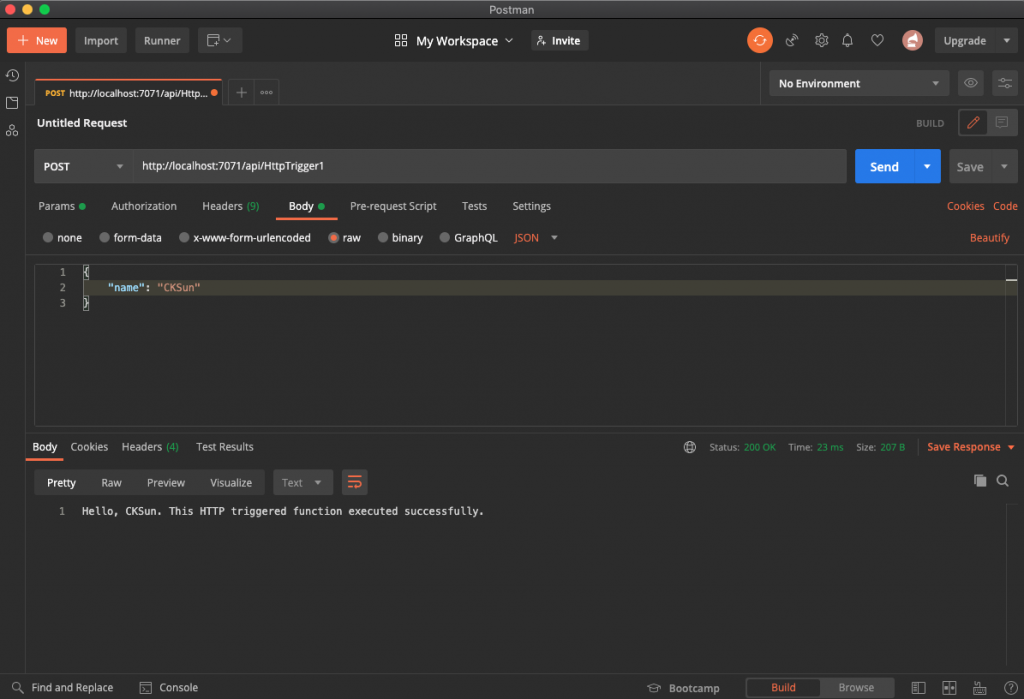
https://ithelp.ithome.com.tw/upload/images/20200929/20130168yOYFAyNtpU.png

這樣在程式裡面就會讀取到Body並讀取裡面的name屬性。
這次我們換一點不一樣的做法。

更改function.json

{
  "scriptFile": "__init__.py",
  "bindings": [
    {
      "authLevel": "anonymous",
      "type": "httpTrigger",
      "direction": "in",
      "name": "req",
      "methods": ["get", "post", "put", "delete"]
    },
    {
      "type": "http",
      "direction": "out",
      "name": "$return"
    }
  ]
}

並更改程式碼。

import logging

import azure.functions as func


def main(req: func.HttpRequest) -> func.HttpResponse:
    logging.info('Python HTTP trigger function processed a request.')
    method = req.method
    url = req.url
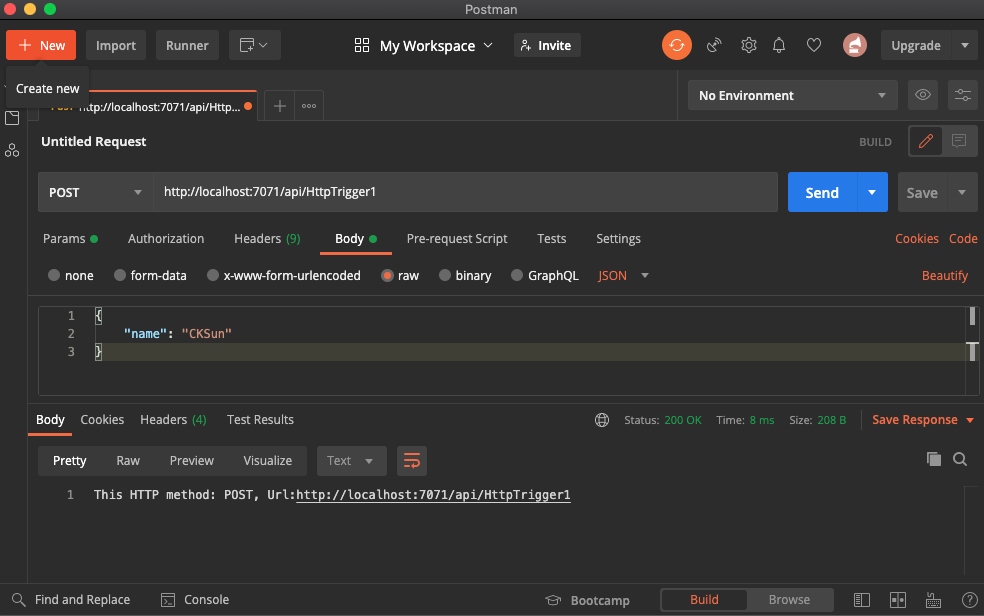
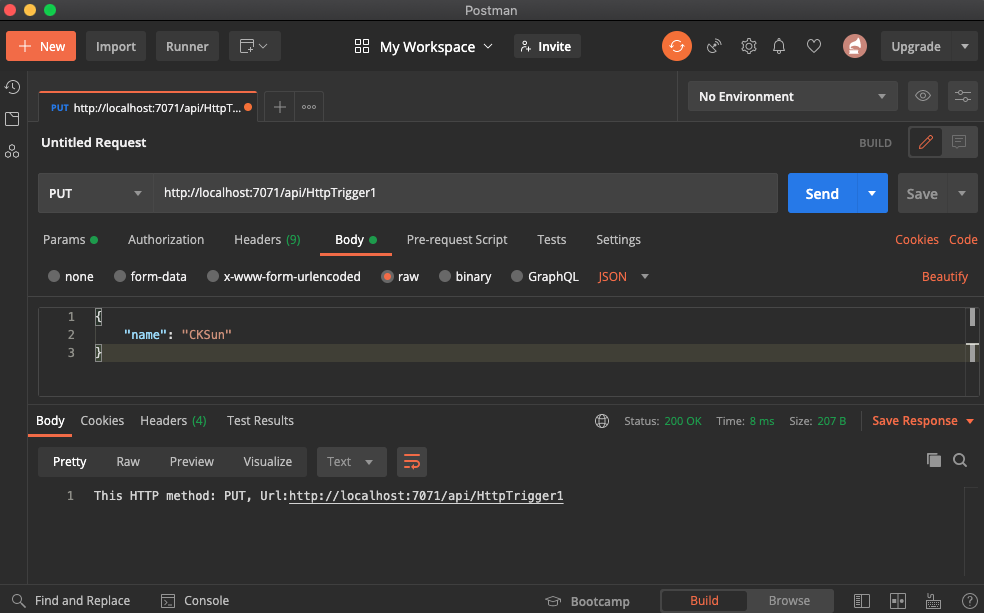
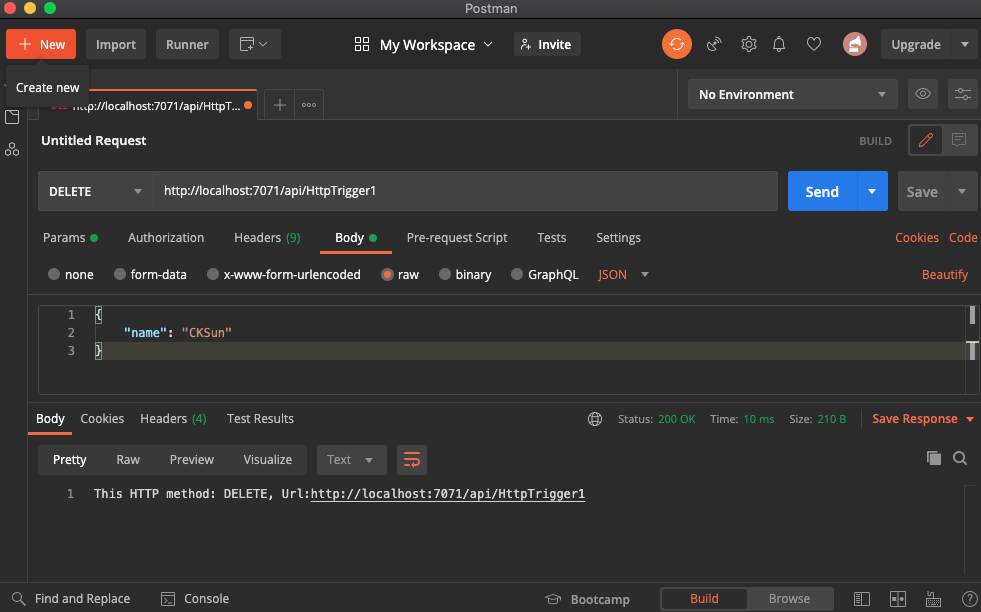
    return func.HttpResponse(f"This HTTP method: {method}, Url:{url}")
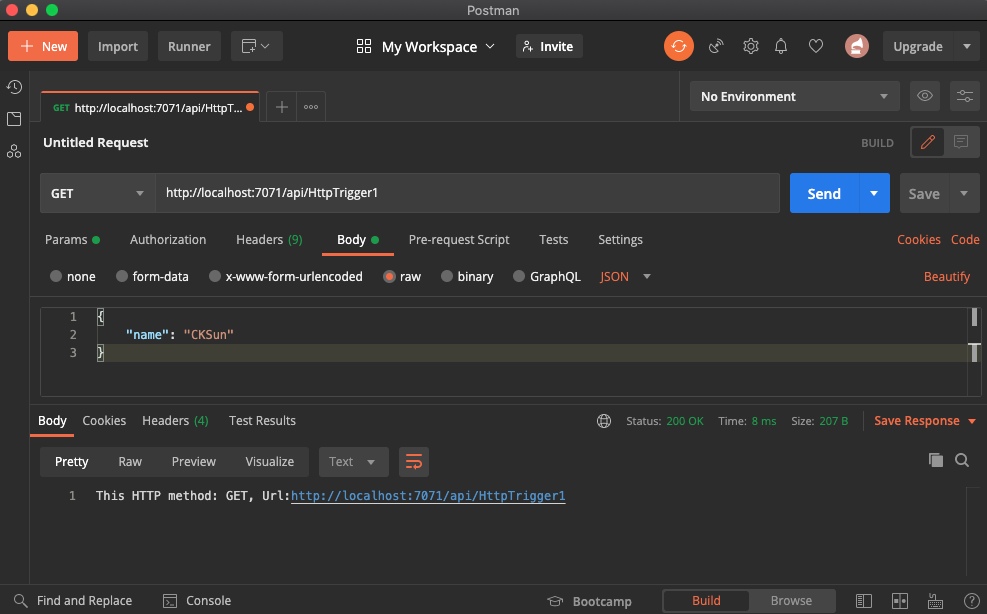
https://ithelp.ithome.com.tw/upload/images/20200929/20130168dsL9X5GJ1k.pnghttps://ithelp.ithome.com.tw/upload/images/20200929/20130168evpYafTSzA.pnghttps://ithelp.ithome.com.tw/upload/images/20200929/201301681okgGJAbzO.pnghttps://ithelp.ithome.com.tw/upload/images/20200929/201301687dlZSIE0LG.png

這樣我們就可以拿到所有CRUD的Method了。

https://ithelp.ithome.com.tw/upload/images/20200929/20130168H5nwi9aVVF.png

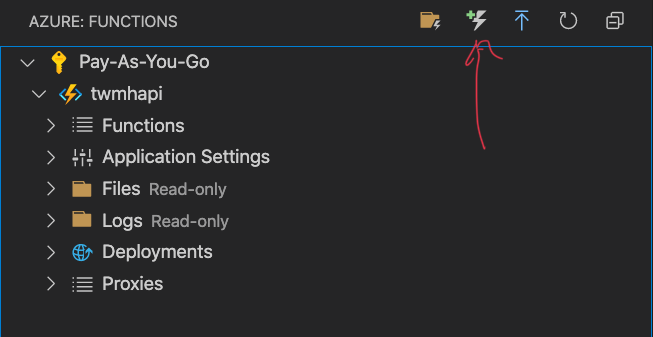
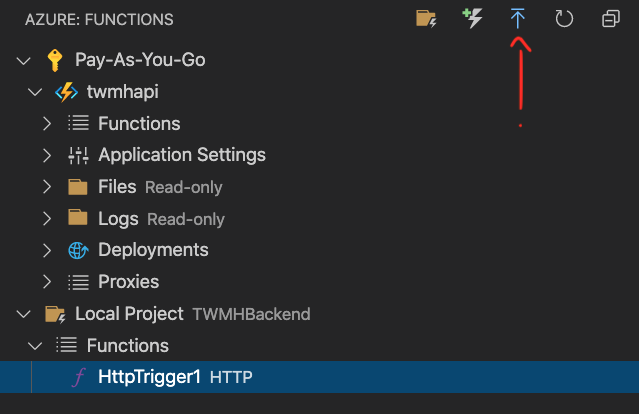
接下來我們要來部署了,點選這邊的符號。並選好自己的服務。接下來就會自動部署上去。
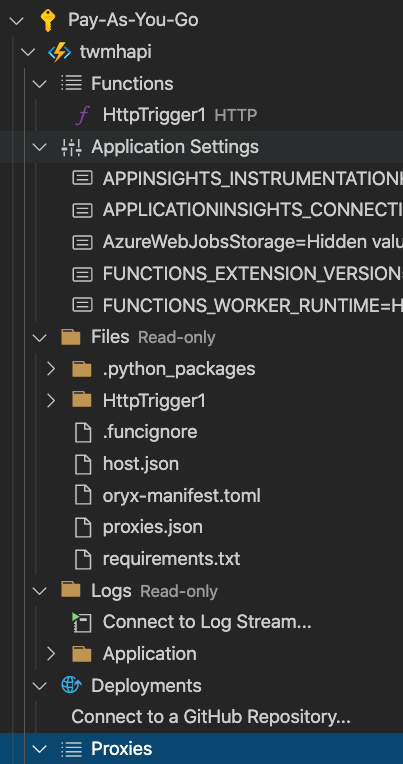
https://ithelp.ithome.com.tw/upload/images/20200929/201301682PZha2fBvX.png

接下來就會看到部署上去了,我們來測試。

整合API

https://ithelp.ithome.com.tw/upload/images/20200929/20130168mvY0TF22vL.png

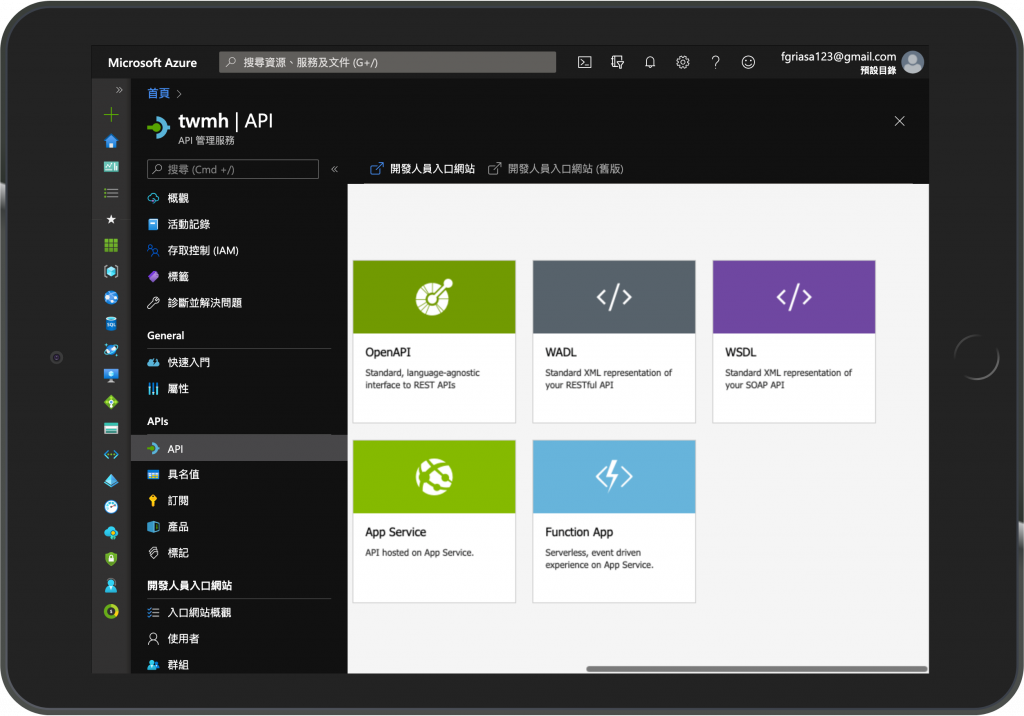
在Azure Api Management裡面有Function App可以選擇,我們選擇之後將剛剛部署上去的Function給整合進去
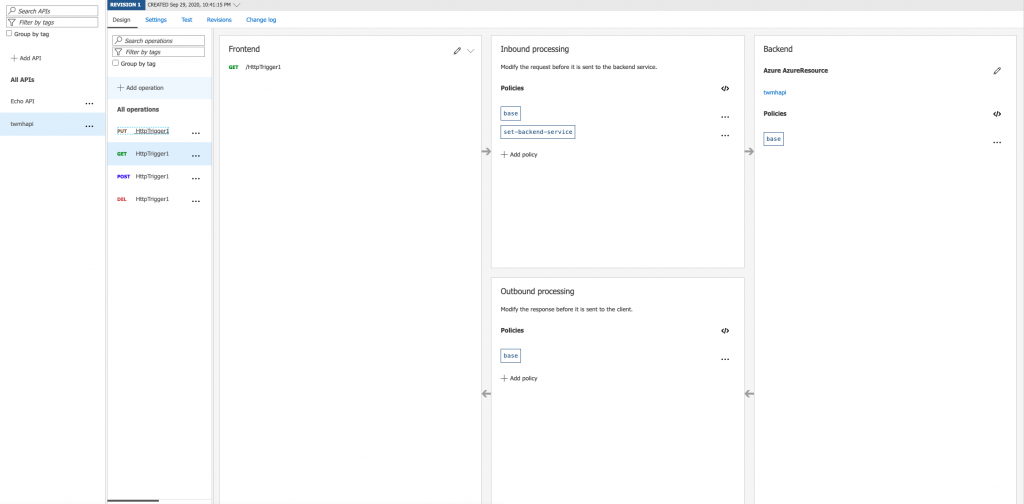
https://ithelp.ithome.com.tw/upload/images/20200929/20130168hqF6TTITZ8.png

整合完之後會發現Azure幫大家貼心的整理好入口網站,可以很方便的跟前端溝通測試及放範例請求,現在我們打看看正式api。
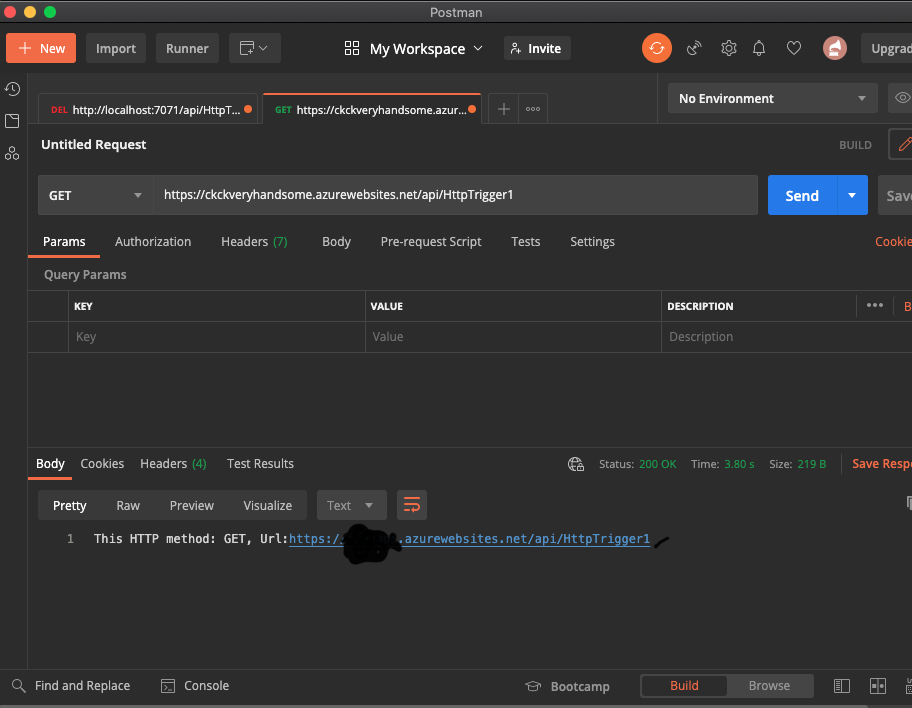
https://ithelp.ithome.com.tw/upload/images/20200929/20130168rdCRBvOhHa.png

本日小結

今天帶大家完成了 Azure Api Management及Azure Functions串接的部分,而資料庫則是由Azure Functions負責存取,所以在本篇沒有著墨,後續在開發上就會帶大家進入如何存取資料庫,實際上程式碼內就有蛛絲馬跡(import azure)

明天帶大家開始把狼人殺APP邏輯建構起來。


上一篇
Day 13- 掌中乾坤:狼人殺 - 實戰 - 前端開發 (五)功能開發
下一篇
Day 15- 掌中乾坤:狼人殺 - 實戰 - 後端開發 (二)- 邏輯處理
系列文
Azure Serverless 平步青雲,漫步雲端30
圖片
  直播研討會
圖片
{{ item.channelVendor }} {{ item.webinarstarted }} |
{{ formatDate(item.duration) }}
直播中

尚未有邦友留言

立即登入留言