我們先去 backend.vue b-sidebar更新一下我們的連結,多一個編輯文章,
原本的 ArticleEditor.vue 是新增文章,現在我把檔名它改成 AddArticle.vue 了,記得善用 IDE 搜尋功能把 name 和相關引用都改過來,而重新創一個新的 ArticleEditor.vue 是用來編輯現有文章的。
在等等的範例中 ArticleEditor.vue 為父組件 AddArticle.vue 為子組件,我們會在 ArticleEditor 中使用 AddArticle。
以上都在 component 資料夾下。
<div class="px-3 py-2">
  <div>
    <router-link :to="'/backend/'+ who +'/add_article'">新增文章</router-link>
  </div>
  <div>
    <router-link :to="'/backend/'+ who +'/article_editor'">編輯文章</router-link>
  </div>
  <div>
    <router-link :to="'/backend/'+ who +'/user_info_editor'">編輯個人資料</router-link>
  </div>
  <div @click="F_signOut">
    <router-link to="#">登出</router-link>
  </div>
</div>
現在的 router.js ,有些 import() 我是用開心地哈哈,應該統一。
import Vue from 'vue'
import VueRouter from 'vue-router'
import Home from '../views/Home.vue'
import Backend from '../views/Backend.vue'
import AddArticle from '../components/AddArticle.vue'
import UserInfo from '../components/UserInfo.vue'
import '../Model/FirebaseModel.js'

Vue.use(VueRouter)

const routes = [
  {
    path: '/',
    name: 'Home',
    component: Home
  },
  {
    path: '/about',
    name: 'About',
    // route level code-splitting
    // this generates a separate chunk (about.[hash].js) for this route
    // which is lazy-loaded when the route is visited.
    component: () => import(/* webpackChunkName: "about" */ '../views/About.vue')
  },
  {
    path: '/login',
    name: 'Login',
    component: () => import('../views/Login.vue')
  },
  {
    path: '/backend/:who',
    name: 'Backend',
    component: Backend,
    children: [
      {
        path: 'add_article',
        name: 'AddArticle',
        component: AddArticle
      },
      {
        path: 'user_info_editor',
        name: 'UserInfoEditor',
        component: UserInfo
      },
      {
        path: 'article_editor',
        name: 'ArticleEditor',
        component: () => import('../components/ArticleEditor.vue')
      }
    ]
  },
  {
    path: '/article/:articleId',
    name: 'ArticlePage',
    component: () => import('../components/ArticlePage.vue')
  }
]

const router = new VueRouter({
  mode: 'history',
  base: process.env.BASE_URL,
  routes
})

export { router }
新創的 ArticleEditor.vue,編輯文章的部分我們把 AddArticle.vue (原 ArticleEditor) 拉進來用
<template>
  <b-row>
    <b-col cols="4">
      <label>文章列表:</label>
      <b-list-group>
        <b-list-group-item
          button
          v-for="post in posts"
          :key="post.id"
          @click="putArticle(post)"
        >
          {{ post.title }}
        </b-list-group-item>
      </b-list-group>
    </b-col>
    <b-col cols="8">
      <AddArticle
        :editTitle="editTitle"
        :editValue="editValue"
        :id="id"
      ></AddArticle>
    </b-col>
  </b-row>
</template>

<script>
import AddArticle from '../components/AddArticle.vue'
export default {
  name: 'ArticleEditor',
  data () {
    return {
      posts: [],
      editTitle: '',
      editValue: '',
      id: ''
    }
  },
  components: {
    AddArticle
  },
  created () {
    this.F_getCollectionDocsSort('posts', { where: 'createdAt', order: 'desc' }).then(docs => {
      this.posts = docs
    })
  },
  methods: {
    putArticle (articleInfo) {
      this.editTitle = articleInfo.title
      this.editValue = articleInfo.value
      this.id = articleInfo.id
    }
  }
}
</script>
ArticleEditor.vue 中與 $attrs 有關的就在於傳進去 Markdown 套件的綁定屬性
<AddArticle
  :editTitle="editTitle"
  :editValue="editValue"
  :id="id"
></AddArticle>
另外一個關鍵動作,click 時每次都傳該次渲染的 post 參數資料進去方法中,如此點選時就可以動態改變傳進去當 $attrs 的變數值:
@click="putArticle(post)"
putArticle (articleInfo) {
  this.editTitle = articleInfo.title
  this.editValue = articleInfo.value
  this.id = articleInfo.id
}
接著是 AddArticle.vue 子組件,我們要利用 $attrs 做一些事情
<template>
  <b-row>
    <b-modal id="modal-1" title="下一步?" @ok="F_updateArticle(articleData, addOrupdate , $attrs)">
      <p class="my-4">如要{{ addOrupdate }}文章請按確認</p>
    </b-modal>
    <b-col cols="12">
      <label for="input-large">文章標題:</label>
      <b-form-input id="input-large" size="lg" placeholder="請輸入文章標題" v-model="title"></b-form-input>
    </b-col>
    <b-col cols="12">
      <MarkdownPro
        @on-save="updateData"
        v-model="value"
      ></MarkdownPro>
    </b-col>
    <b-col class="mt-2"><b-button v-b-modal.modal-1 variant="primary">點擊{{ addOrupdate }}文章</b-button></b-col>
  </b-row>
</template>

<script>
import { MarkdownPro } from 'vue-meditor'
export default {
  name: 'AddArticle',
  data () {
    return {
      articleData: {},
      title: '',
      value: '',
      addOrupdate: '新增'
    }
  },
  watch: {
    $attrs: function (newVal, oldVal) {
      this.addOrupdate = '更新'
      this.title = newVal.editTitle
      this.value = newVal.editValue
    }
  },
  components: {
    MarkdownPro
  },
  methods: {
    updateData (saveEventInfo) {
      const splitter = '<!-- more -->'
      if (saveEventInfo.value.indexOf(splitter) === -1) {
        saveEventInfo.value = saveEventInfo.value.slice(0, 20) + splitter + saveEventInfo.value.slice(20)
      }

      saveEventInfo.stopOnMore = saveEventInfo.value.split(splitter)
      saveEventInfo.stopOnMore = saveEventInfo.stopOnMore[0] + '...'

      this.articleData = saveEventInfo
      this.articleData.title = this.title
      this.articleData.createdAt = new Date().getTime()

      this.F_showUser().then(res => {
        const buffer = {
          displayName: res.displayName,
          email: res.email,
          uid: res.uid,
          photoURL: res.photoURL
        }

        this.articleData.authorInfo = buffer
      })
    }
  }
}
</script>

<style lang="scss" scope>
.pageAddArticle {
  padding: 1rem;

  & > .row {
    & > div {
      margin: 1rem;;
    }
  }
}

.markdown-body {
  border: #aaa 2px solid;
  border-radius: 5px;
  height: 100%;
  padding: 1rem;
}
</style>
關鍵變化是這些地方:
為了共用函數,多傳了兩個引數進去判斷
<b-modal id="modal-1" title="下一步?" @ok="F_updateArticle(articleData, addOrupdate , $attrs)">
  <p class="my-4">如要{{ addOrupdate }}文章請按確認</p>
</b-modal>
監看 ArticleEditor.vue (父層組件) 傳進來的 tag attribute,會跑到 $attrs 裡面,這是 Day 4: 組件事件 ,提到的可用參數,不管有沒有通過 props 驗證都會被抓進來,利用 $attrs 改變 Markdown 套件上顯示的值,和我們的 BV Input。
<b-form-input id="input-large" size="lg" placeholder="請輸入文章標題" v-model="title"></b-form-input>

...

<MarkdownPro
    @on-save="updateData"
    v-model="value"
></MarkdownPro>

...

watch: {
  $attrs: function (newVal, oldVal) {
    this.addOrupdate = '更新'
    this.title = newVal.editTitle
    this.value = newVal.editValue
  }
}
最後是 F_updateArticle,判斷字串是"更新"的話就 return 更新方法,若不是就代表要上傳新文章,其中更新文章的部分就是使用傳進來的 attrs.id 取得:
F_updateArticle(data, addOrupdate, attrs) {
  console.log('觸發了F_updateArticle')
  if (addOrupdate === '更新') {
    var docRef = db.collection('posts').doc(attrs.id)
    return docRef.update(data).then(function () {
      console.log('Document successfully updated!')
    }).catch(function (error) {
      // The document probably doesn't exist.
      console.error('Error updating document: ', error)
    })
  }
  console.log('走入更新就不會到這')
  db.collection('posts').add(data).then(function (res) {
    console.log('新增文章成功')
  }).catch(res => {
    console.log('新增文章失敗')
  })
}
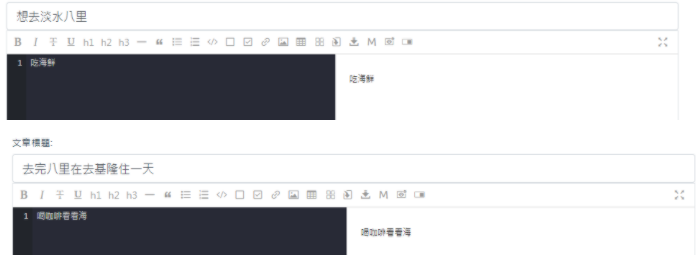
現在可以來測試新增,修改了,我們先新增個兩篇文章:
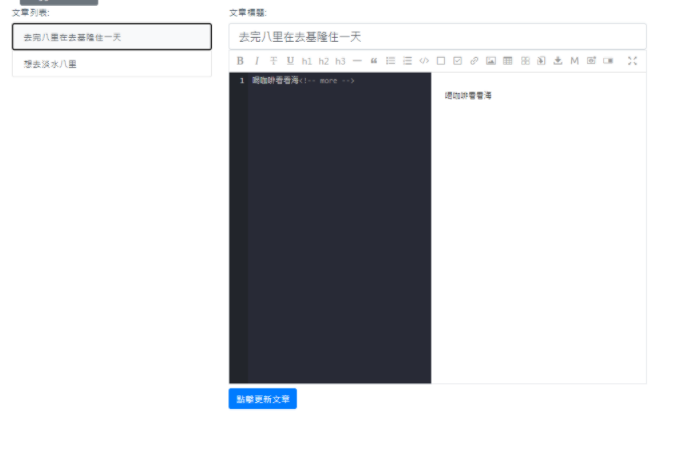
接著去到編輯文章頁面可以看見剛剛新增的兩篇文章被插入了列表,點擊隨意地都可以發現值被傳到子組件 AddArticle 中了:
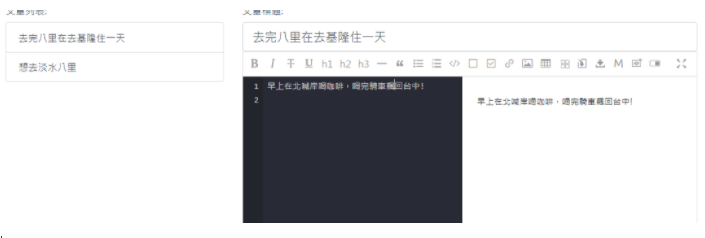
修改文章後按更新確認,如果沒有給套件啟用自動存檔的話,記得 CTRL+S 手動存檔再按更新:
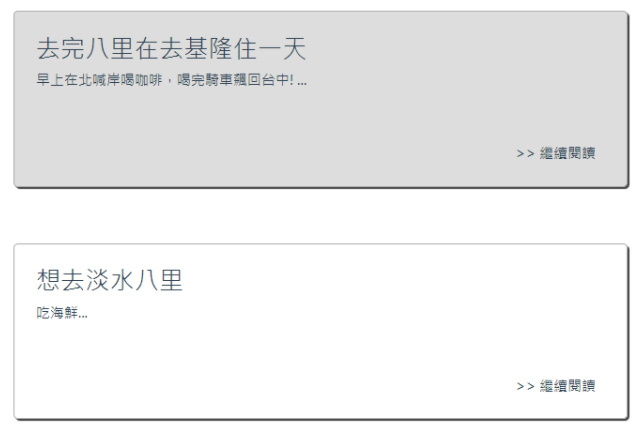
回去首頁看看,編輯文章成功,而且我們預設都會以現在時間重新上傳,所以如果在上方看到舊文,就可以明確知道有更新。
編輯並更新現有文章就到這,其實原本是想要做的分開一點,想說另外再建一個編輯現有文章的組件,不要共用 addArticle.vue,但是想到我們專案好像還沒用到什麼父子組件傳遞資料,所以就硬著頭皮給套下去啦哈哈,整個專案其實真的滿雜亂的,而且很多東西都是應急解法...
比如說 if (addOrupdate === '更新') 這種方法老實說不是很好,假如你是個多國語系的系統,這是會有很大問題的,不過我們這只是個人使用的部落格,就不用苛求太多啦哈哈。
下一篇講啥呢,我也不知道,可能留言區功能吧...
沒事也可以逛逛我們其他團隊成員的文章啦 ~~
eien_zheng: 前端小嘍嘍的Golang學習旅程_The journey of learning Golang 系列
PollyPO技術: 前端設計轉前端工程師-JS踩坑雜記 30 天 系列
阿電: 忍住不打牌位,只要30天VueJS帶你上A牌 系列
喬依司: 實作經典 JavaScript 30 系列


 iThome鐵人賽