今天稍微中場休息一下,我們來準備個留言區塊的版面就好,首先小小優化一下我們的寫新文章上傳的部分,給他完整一點的資料結構:
AddArticle.vue:
methods: {
    updateData (saveEventInfo) {
      const splitter = '<!-- more -->'
      const self = this
      if (saveEventInfo.value.indexOf(splitter) === -1) {
        saveEventInfo.value = saveEventInfo.value.slice(0, 20) + splitter + saveEventInfo.value.slice(20)
      }

      saveEventInfo.stopOnMore = saveEventInfo.value.split(splitter)
      saveEventInfo.stopOnMore = saveEventInfo.stopOnMore[0] + '...'

      if (this.addOrUpdate !== '更新') this.createdAt = new Date().getTime()

      this.F_showUser().then(res => {
        this.articleData.contentData = {
          title: self.title,
          createdAt: self.createdAt,
          value: saveEventInfo.value,
          stopOnMore: saveEventInfo.stopOnMore,
          html: saveEventInfo.html
        }

        this.articleData.authorInfo = {
          displayName: res.displayName,
          email: res.email,
          uid: res.uid,
          photoURL: res.photoURL
        }

        this.articleData.aboutCategory = {
          tags: self.tags
        }
      })
    }
}
首頁抓文章也相對應更新接的值:
ArticleList.vue:
<template>
  <div class="article__blocks">
    <div class="article__blocks__block" v-for="article in mainPosts" :key="article.id">
      <div class="article__blocks__block_title">
        <h3>{{ article.contentData.title }}</h3>
      </div>
      <div class="article__blocks__block_content">
        <p>{{ article.contentData.stopOnMore }}</p>
      </div>
      <div class="goto" @click="gotoArticle(article.id)"  :data-articleId="article.id">
        <p> >> 繼續閱讀</p>
      </div>
    </div>
  </div>
</template>

<script>
export default {
  name: 'ArticleList',
  props: {
    msg: String
  },
  created () {
    this.F_getCollectionDocsSort('posts', { where: 'contentData.createdAt', order: 'desc' }).then(docs => {
      console.log(docs)
      this.mainPosts = docs
    })
  },

  data () {
    return {
      mainPosts: []
    }
  },

  methods: {
    gotoArticle (articleID) {
      const targetArticle = this.mainPosts.find(ele => {
        return articleID === ele.id
      })
      this.$router.push(`/article/${targetArticle.id}`)
    }
  }
}
</script>
最後顯示文章的頁面作如下更新:
ArticlePage.vue:
<template>
  <b-container fluid>
    <b-row>
      <b-col md="12">
        <div class="article">
          <div class="content__header">
            <h3>{{ articleInfo.title }}</h3>
            <p>文章作者: {{ articleInfo.authorInfo.displayName }}</p>
            <p>上傳時間: {{ articleInfo.contentData.createdAt }}</p>
          </div>
          <div class="article__content" v-html="articleInfo.contentData.html"></div>
        </div>
      </b-col>

      <b-col md="12">
        <b-card
            border-variant="secondary"
            header="討論板"
            header-border-variant="secondary"
            align="center"
          >
          <b-card-text v-if="noComments">看起來目前乏人問津呢...</b-card-text>
        </b-card>
      </b-col>

      <b-col md="5">
        <b-card border-variant="info" header="我想說話..." align="center">
          <div>
            <b-form-input v-model="iAm" placeholder="我叫做..." autocomplete="off"></b-form-input>
          </div>
          <b-form-textarea
            autocomplete="off"
            id="textarea"
            v-model="commentTextarea"
            placeholder="Enter something..."
            rows="3"
            max-rows="6"
            class="mt-2"
          ></b-form-textarea>
          <b-button variant="light" class="mt-2">留言</b-button>
        </b-card>
      </b-col>
    </b-row>
  </b-container>
</template>

<script>
import { db } from '../Model/FirebaseModel.js'
export default {
  name: 'ArticlePage',
  data () {
    return {
      articleId: this.$route.params.articleId,
      articleInfo: {
        aboutCategory: {
          tags: []
        },
        authorInfo: {
          displayName: '',
          email: '',
          uid: '',
          photoURL: ''
        },
        contentData: {
          title: '',
          createdAt: '',
          stopOnMore: '',
          value: '',
          html: ''
        }
      },
			comments: [],
      iAm: '',
      commentTextarea: '',

      noComments: true
    }
  },
  created () {
    const articleRef = db.collection('posts').doc(this.articleId)
    articleRef.get().then((doc) => {
      if (doc.exists) {
        this.articleInfo = doc.data()
      } else {
        console.log('No such document!')
      }
    }).catch(function (error) {
      console.log('Error getting document:', error)
    })
  }
}
</script>

<style lang="scss" scoped>
.container-fluid {
  padding: 3rem;

  .card {
    margin-top: 2rem
  }
}
</style>
現在你有類似像這樣的寫文區和讀文區
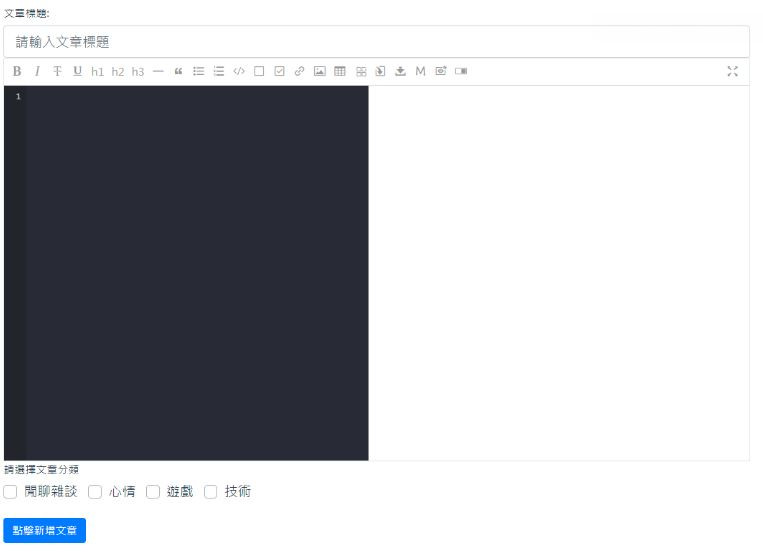

沒什麼美觀值,我們的重點展現在後續的實現思路,別介意阿哈哈。
我們將在下一章完成: 我們輸入留言後 → 將留言上傳到所屬文章之下的資料中 → 上傳成功後就會將留言推到討論版中 → 重新整理時,在 created 階段把留言資料抓下來。
沒事也可以逛逛我們其他團隊成員的文章啦 ~~
eien_zheng: 前端小嘍嘍的Golang學習旅程_The journey of learning Golang 系列
PollyPO技術: 前端設計轉前端工程師-JS踩坑雜記 30 天 系列
阿電: 忍住不打牌位,只要30天VueJS帶你上A牌 系列
喬依司: 實作經典 JavaScript 30 系列


 iThome鐵人賽