op.15 與IoT穿越時空的通訊
為了能夠盡快找到妳......
跟妳說上幾句話
緩解我對妳的思念之情
我決定要來建置穿越時空的通訊平台
今天是一個在台北的裝死之日XDD,晚一點還要去玩音樂呢 :)
還記得前幾天的文章有提到 MQTT 的通訊方式,中間需要一個 代理商(Broker),那麼今天我們便需要來為此用 C# 寫出一個 Broker 出來!
首先第一步需要先新增一個 主控台應用程式 的專案,並且對專案命名。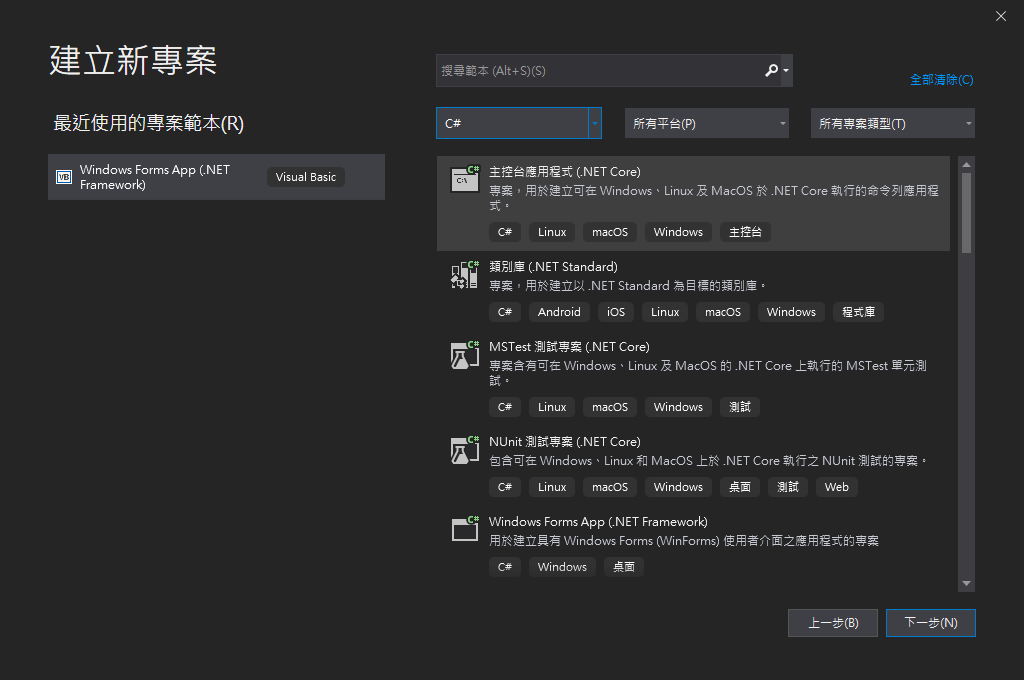
進到主頁面時,找到方案總管,右鍵點選 管理 NuGet 套件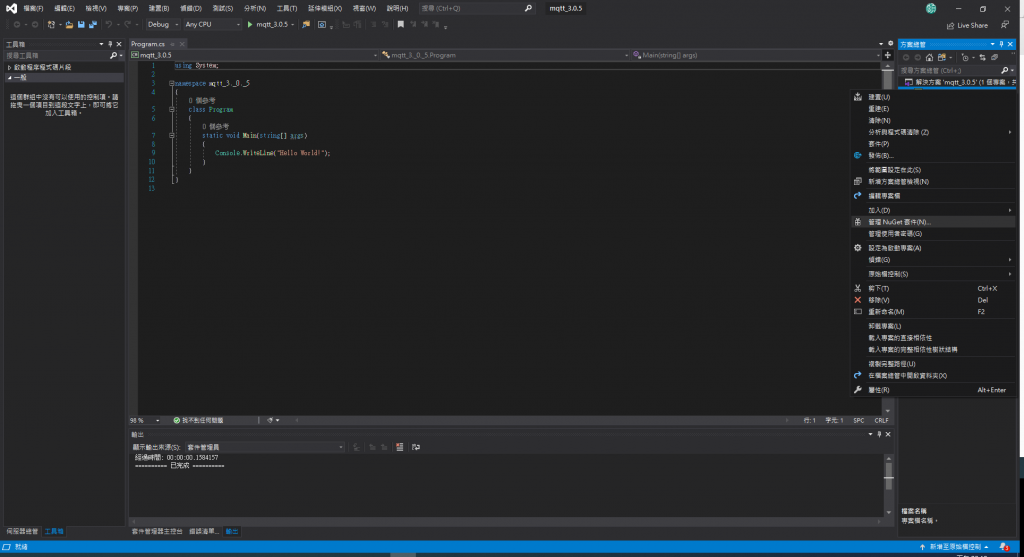
然後切換到瀏覽,輸入 MQTTnet ,右邊版本這裡選擇 3.0.5,按下安裝。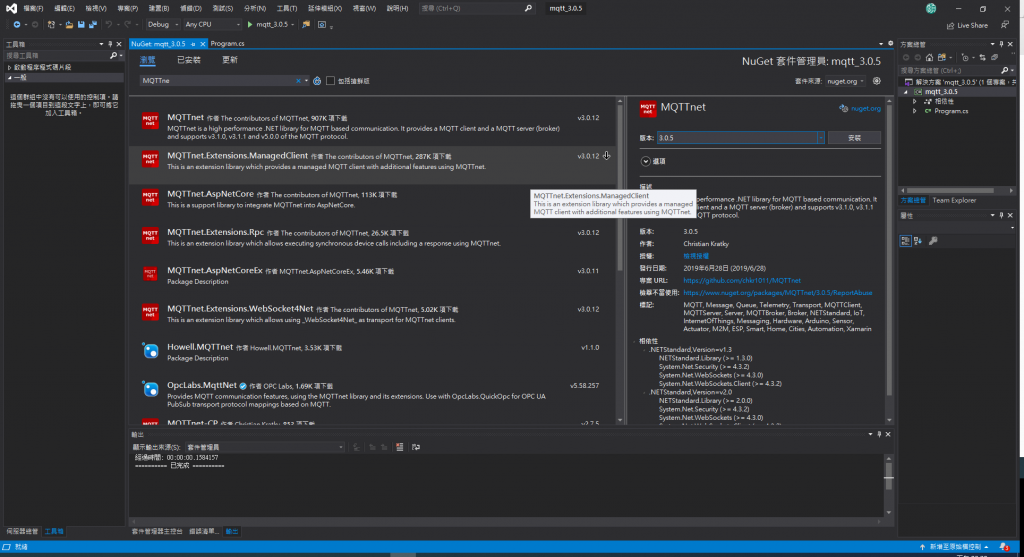
此時下方會出現開始安裝等字樣
中途會跳出需要按下授權接受的視窗,按下 我接受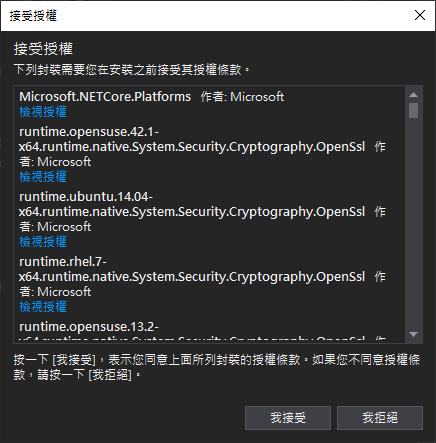
接著可以切回程式碼的區域,進行程式的撰寫。
需要先 using MQTTnet 的東西。
using MQTTnet;
using MQTTnet.Adapter;
using MQTTnet.Client.Connecting;
using MQTTnet.Client.Receiving;
using MQTTnet.Diagnostics;
using MQTTnet.Protocol;
using MQTTnet.Server;
以及 using C#提供的一些進階功能
using System.Text;
using System.Threading;
using System.Threading.Tasks;
接下來要把 Mqtt 服務寫成 Task (外部參考連結 使用 async 和 await 進行非同步程式設計)
主要建構 MQTT 的程式碼
var optionsBuilder = new MqttServerOptionsBuilder().WithConnectionBacklog(100).WithDefaultEndpointPort(1883);
//設定MQTT連接的相關參數建置,如Backlog、Port等
var mqttServer = new MqttFactory().CreateMqttServer();
//使用 MqttFactory 的 CreateMqttServer 方法來完成建置
await mqttServer.StartAsync(optionsBuilder.Build());
//使用非同步的方式啟用服務,並引入相關的參數
完整的 Task Code 會長這樣。
private static async Task MqttAsync()
{
    var optionsBuilder = new MqttServerOptionsBuilder().WithConnectionBacklog(100).WithDefaultEndpointPort(1883);
    var mqttServer = new MqttFactory().CreateMqttServer();
    await mqttServer.StartAsync(optionsBuilder.Build());
}
此時即可在 Main 裡面呼叫使用
static void Main(string[] args)
{
    MqttAsync();
    while (true);    //防止程式執行完自行結束
}
因為現在只有將服務建置起來,但我們還是想透過介面來觀看是否有人連線、離線,或是有發送訊息等,那這裡就要在Task裡新增相關的監聽事件!
訊息監聽:
mqttServer.ApplicationMessageReceivedHandler = new MqttApplicationMessageReceivedHandlerDelegate(e =>
{
    Console.WriteLine($"Client:{e.ClientId} Topic:{e.ApplicationMessage.Topic} Message:{Encoding.UTF8.GetString(e.ApplicationMessage.Payload ?? new byte[0])}");
});
客戶端連線監聽:
mqttServer.ClientConnectedHandler = new MqttServerClientConnectedHandlerDelegate(e =>
{
    Console.WriteLine($"Client:{e.ClientId} 已連接!");
});
客戶端離線監聽:
mqttServer.ClientDisconnectedHandler = new MqttServerClientDisconnectedHandlerDelegate(e =>
{
    Console.WriteLine($"Client:{e.ClientId}已離線!");
});
完整程式碼:
using System;
using System.Text;
using System.Threading;
using System.Threading.Tasks;
using MQTTnet;
using MQTTnet.Adapter;
using MQTTnet.Client.Connecting;
using MQTTnet.Client.Receiving;
using MQTTnet.Diagnostics;
using MQTTnet.Protocol;
using MQTTnet.Server;

namespace mqtt_3._0._5
{
    class Program
    {
        private static MqttServer MqttServer = null;
        static void Main(string[] args)
        {
            MqttAsync();
            while (true) ;

        }
        private static async Task MqttAsync()
        {
            var optionsBuilder = new MqttServerOptionsBuilder().WithConnectionBacklog(100).WithDefaultEndpointPort(1883);
            var mqttServer = new MqttFactory().CreateMqttServer();
            await mqttServer.StartAsync(optionsBuilder.Build());
            mqttServer.ApplicationMessageReceivedHandler = new MqttApplicationMessageReceivedHandlerDelegate(e =>
            {
                Console.WriteLine($"Client:{e.ClientId} Topic:{e.ApplicationMessage.Topic} Message:{Encoding.UTF8.GetString(e.ApplicationMessage.Payload ?? new byte[0])}");
            });
            mqttServer.ClientConnectedHandler = new MqttServerClientConnectedHandlerDelegate(e =>
            {
                Console.WriteLine($"Client:{e.ClientId} 已連接!");
            });
            mqttServer.ClientDisconnectedHandler = new MqttServerClientDisconnectedHandlerDelegate(e =>
            {
                Console.WriteLine($"Client:{e.ClientId}已離線!");
            });
        }
    }
}
好啦!到這邊就完成 C# 的程式,可以開始執行,接著可以準備手機來進行測試!
可以下載 Google Play 的 MyMQTT APP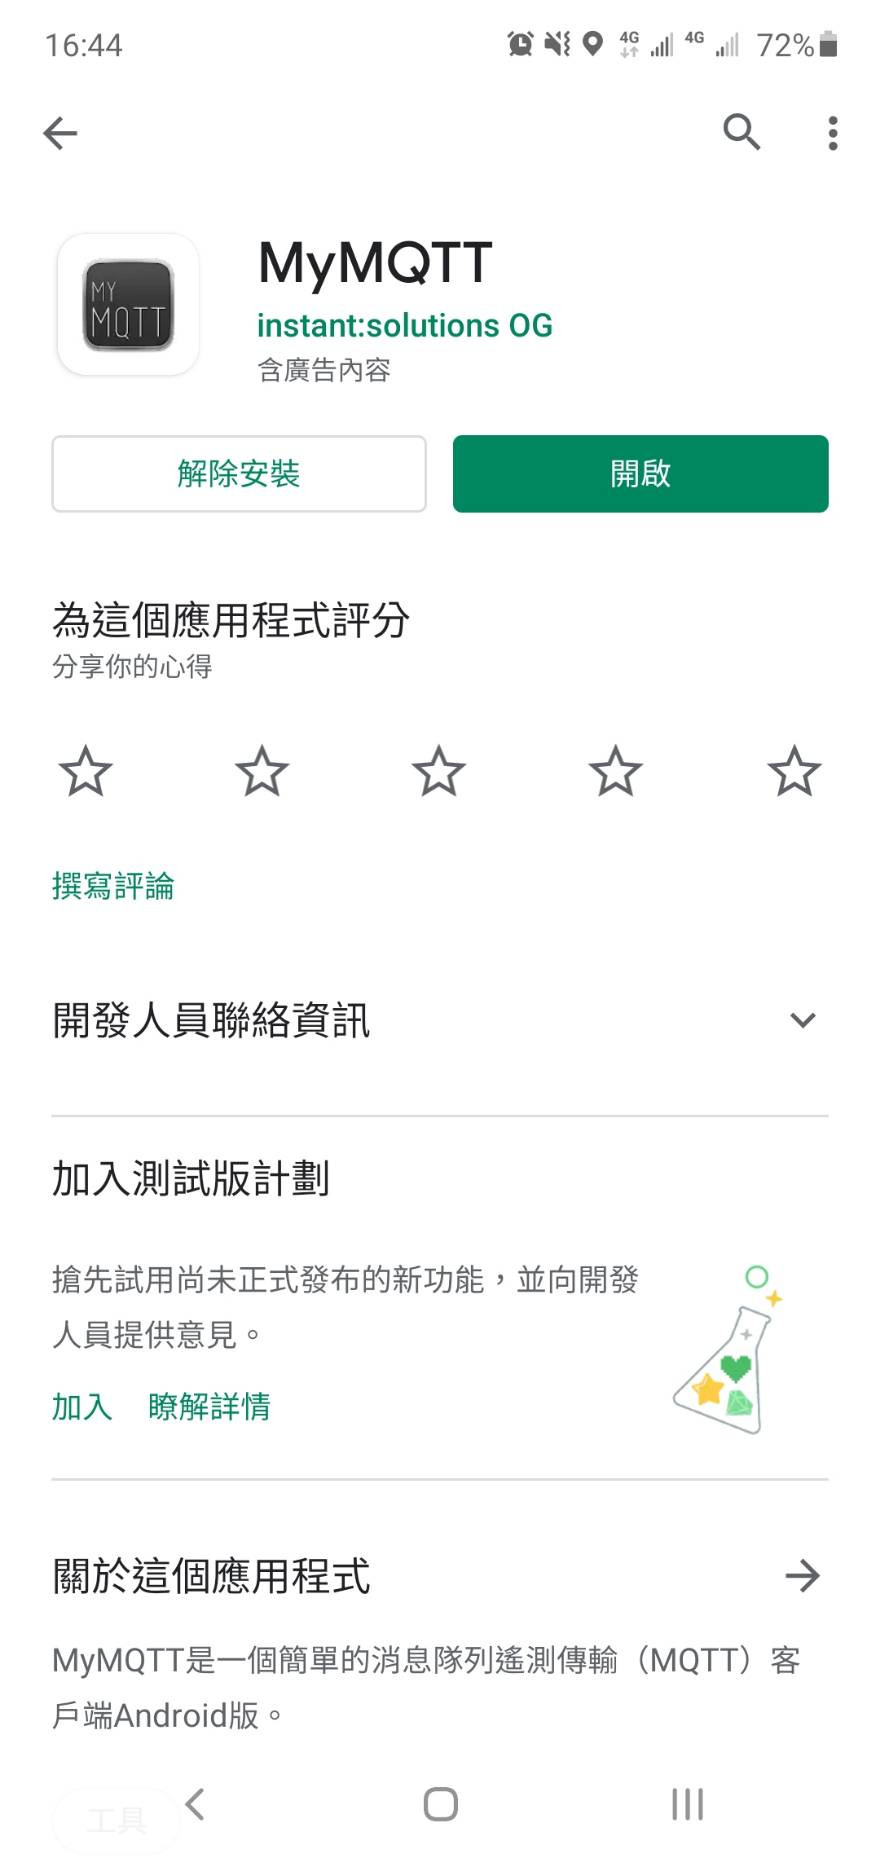
打開程式會需要先設定相關的參數,不知道自己電腦的 IP 可以使用 這個 查看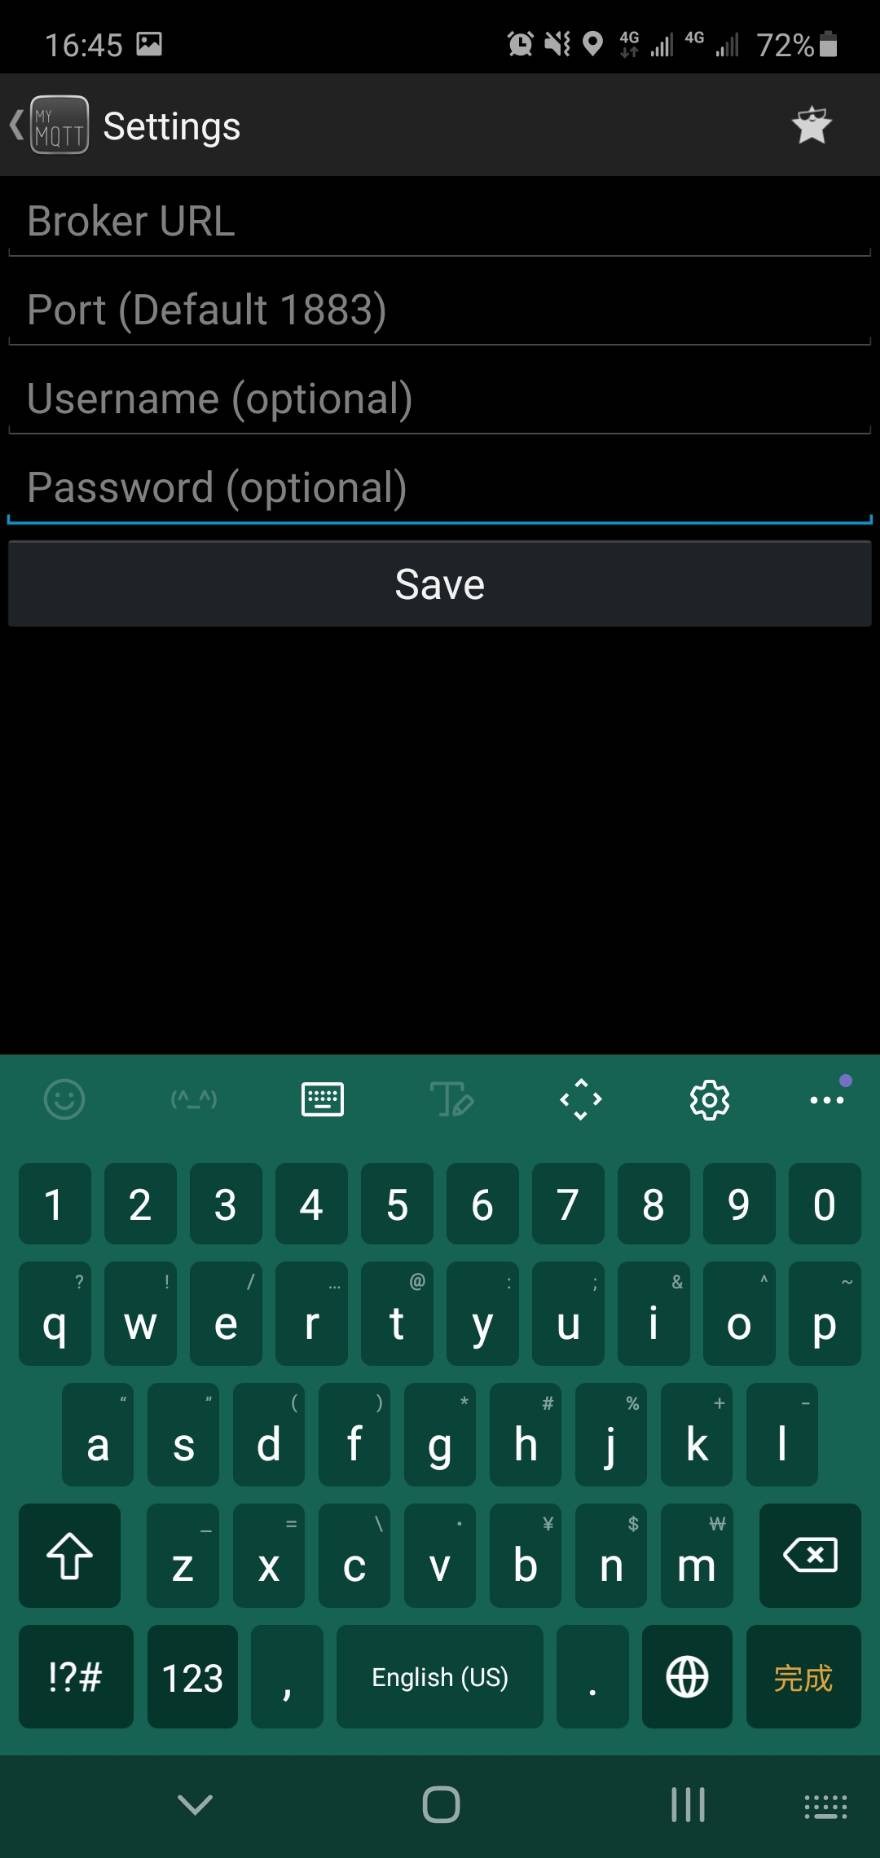
設定成功後此時 C# 應該會顯示已連接的字樣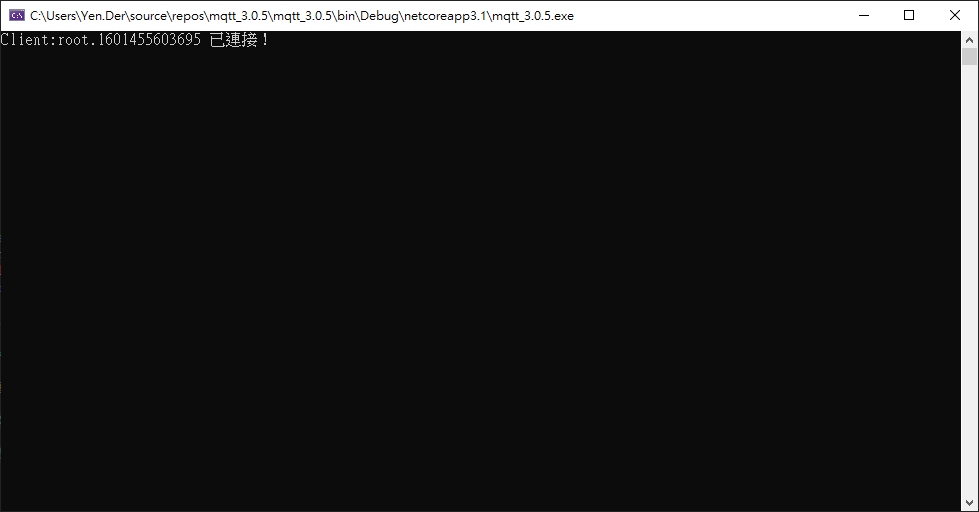
可以切換 APP 的 Publish 頁面,輸入 Topic & Message 後發送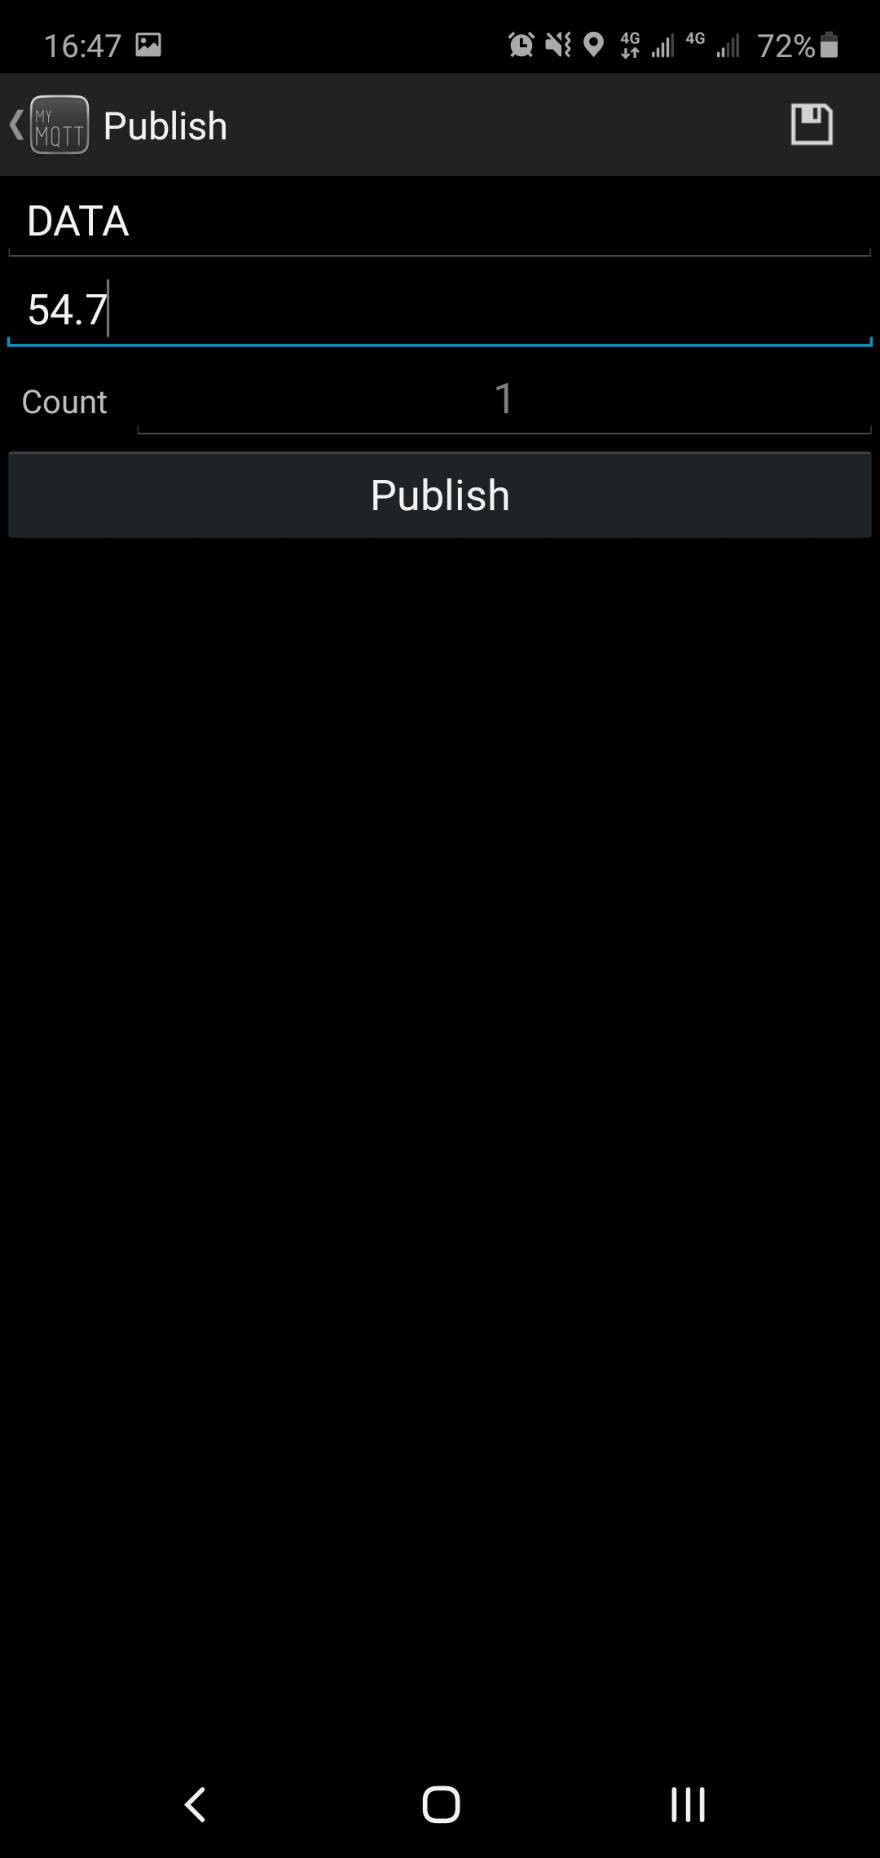
C# 應該會顯示相關的推送資訊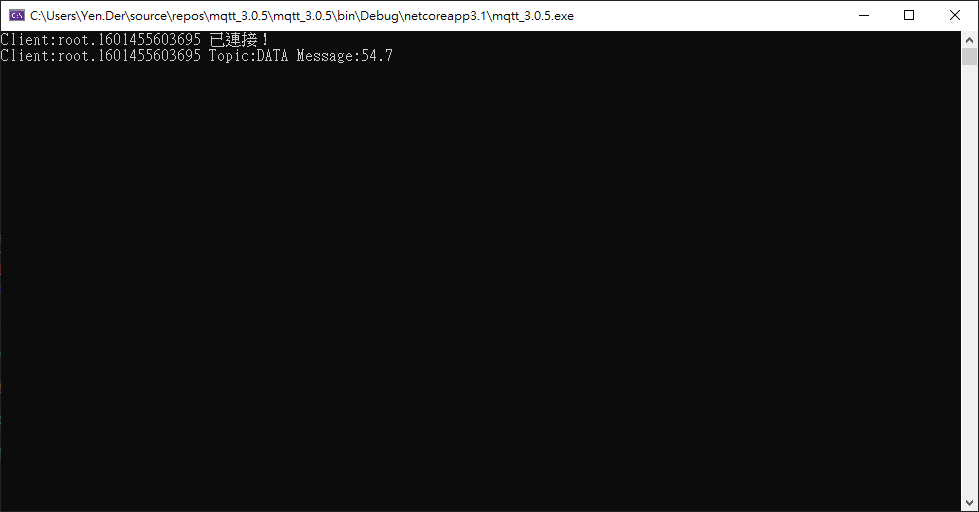
到這裡就算是完成測試啦~恭喜完成基本的 Broker 實戰,感謝各位的閱讀。