我們將手機上方滑下來會有一片通知欄,
而裡面的通知就是Notification,
這種通知可以不限定時間或開啟APP推撥通知,
且可以設定一些按鈕和按下後要做的事,
相當的方便~
1.EditText內輸入要通知的內容
2.按下廣播通知推撥通知
3.按下廣播的通知會跳轉至activity_main_b_test
4.按下清除所有廣播通知清除該APP所有的通知信息
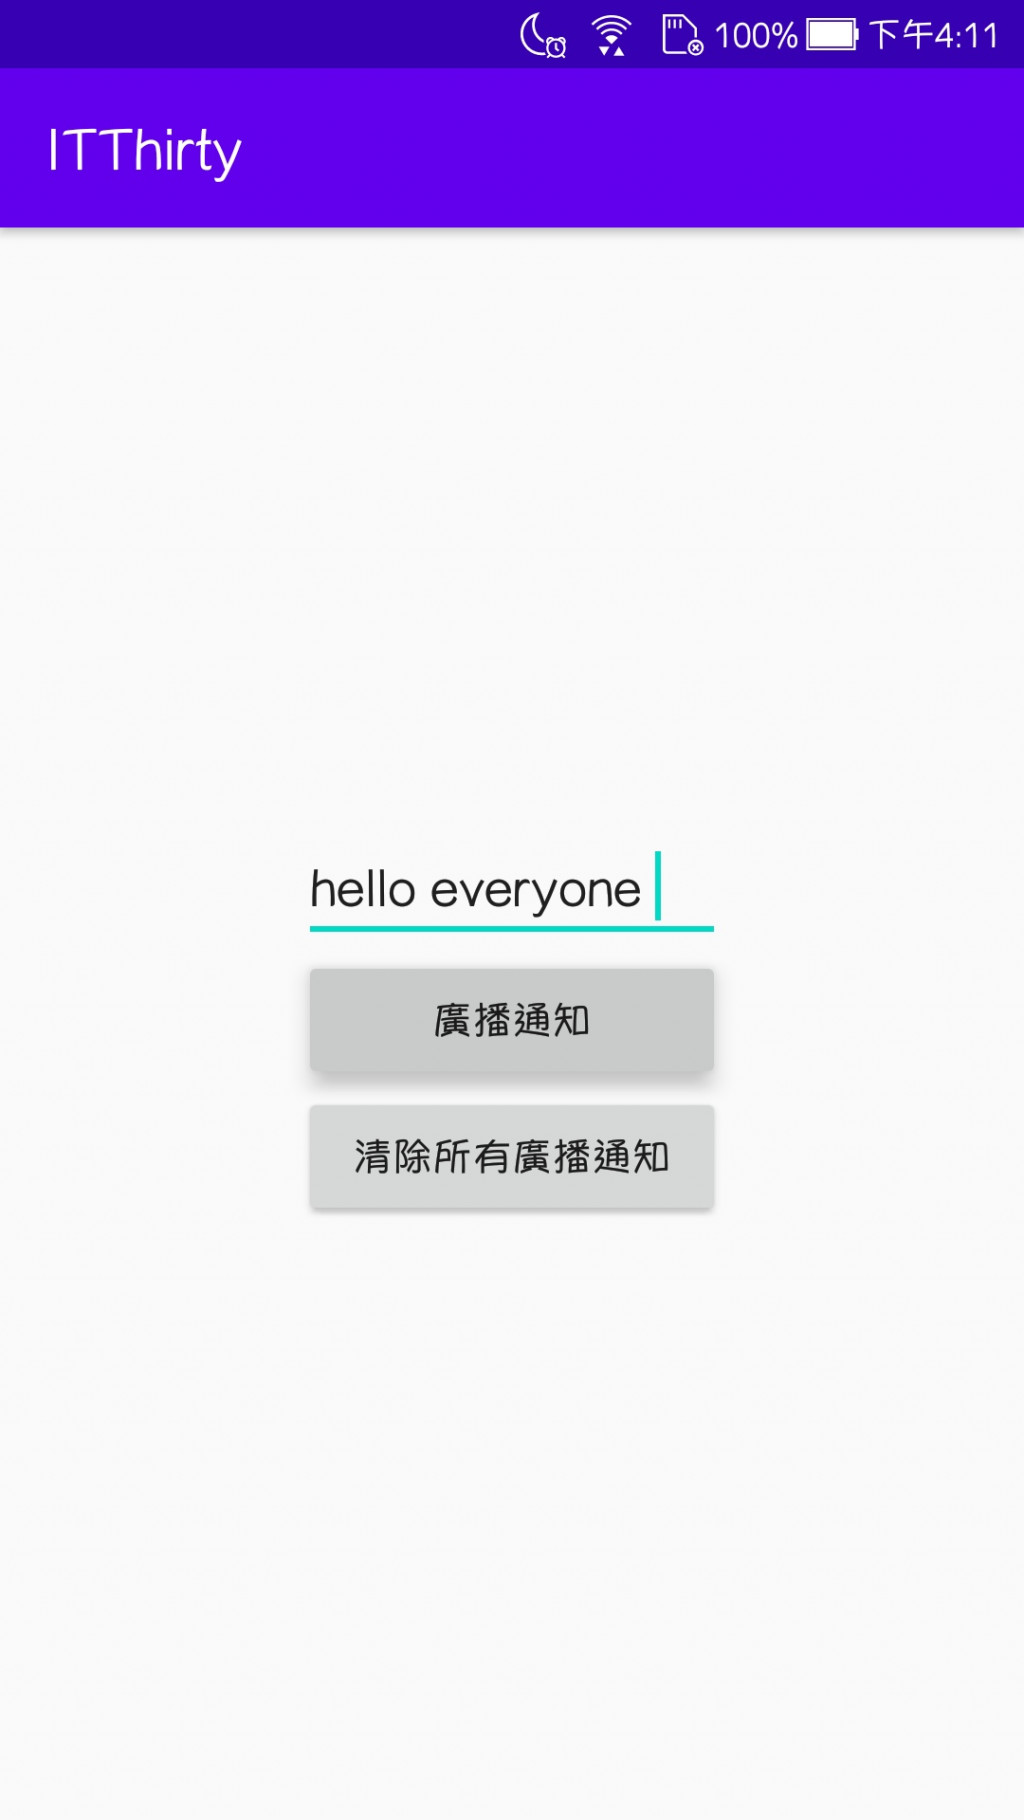
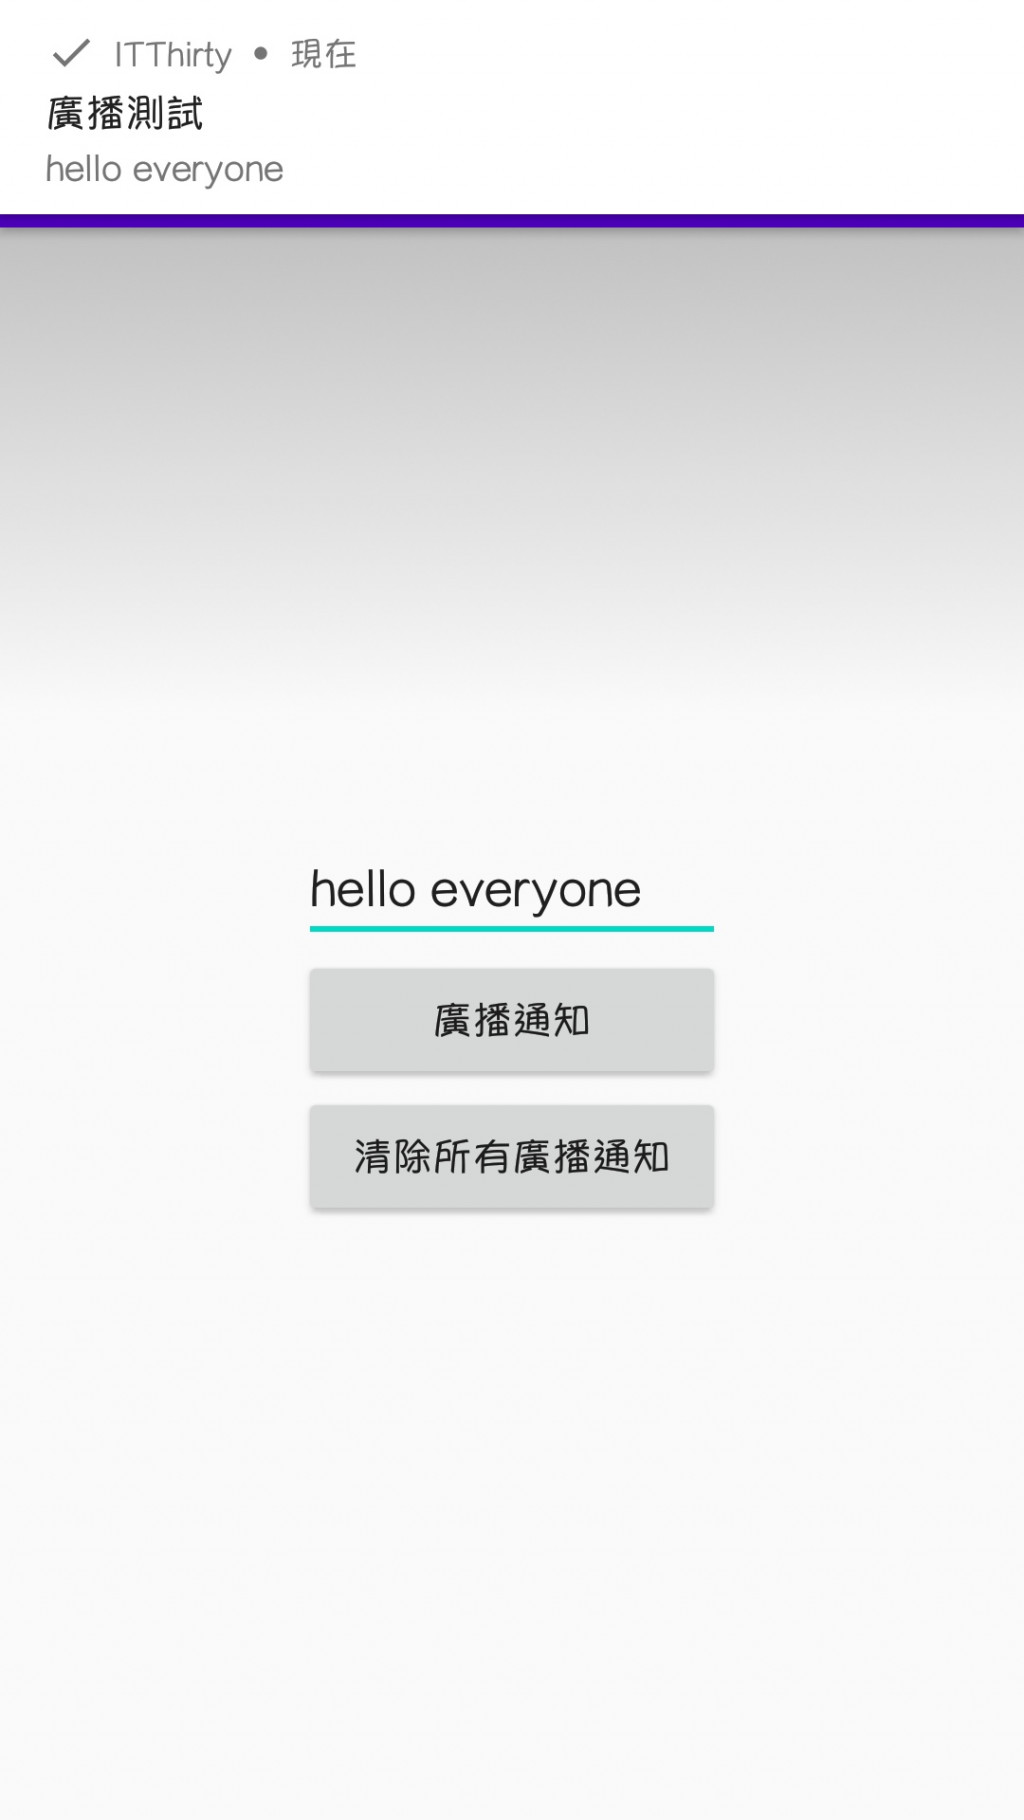
按下廣播的通知會跳轉至activity_main_b_test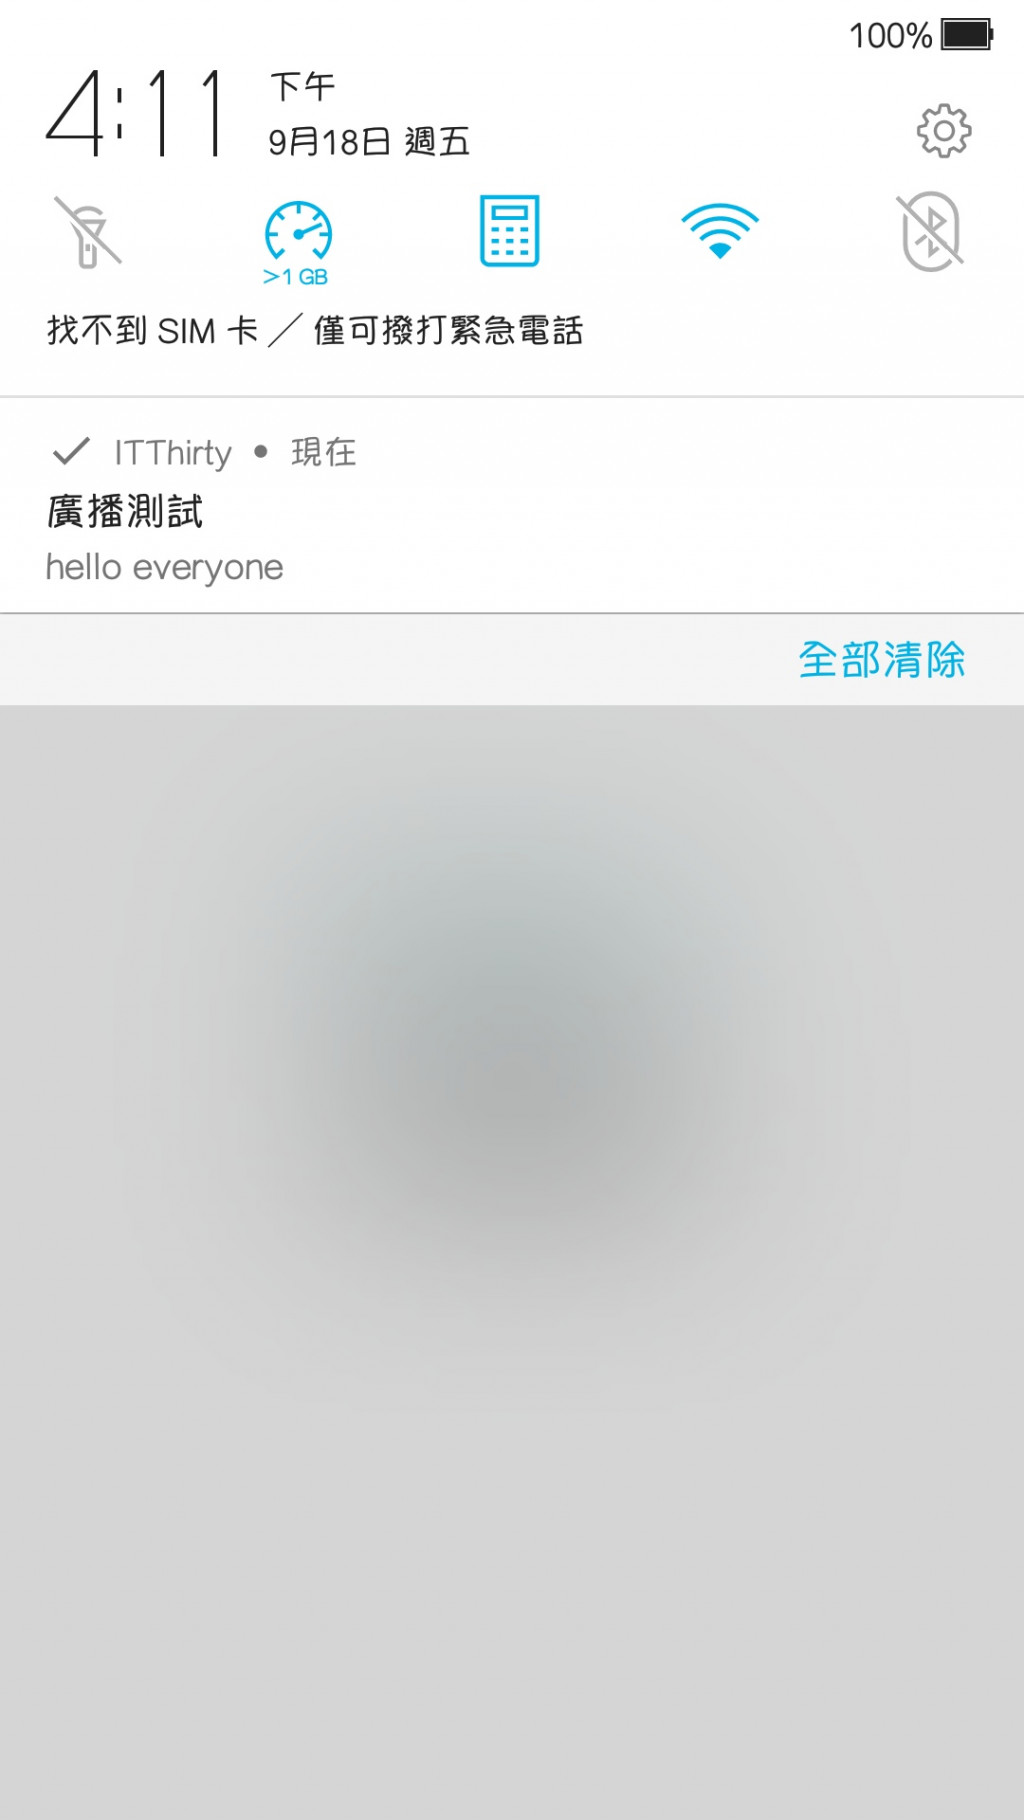
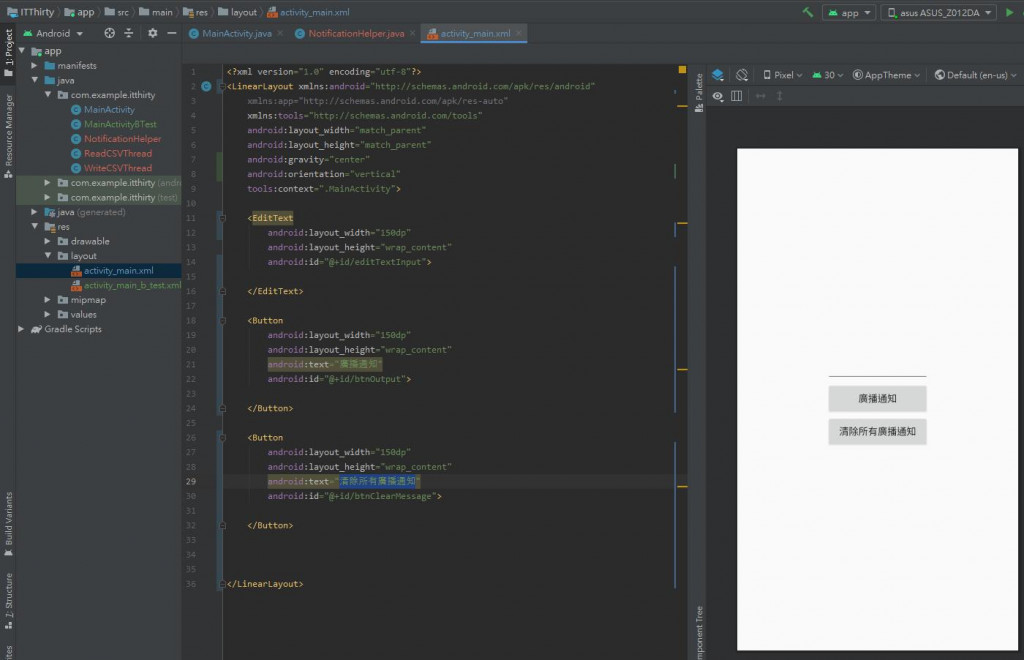
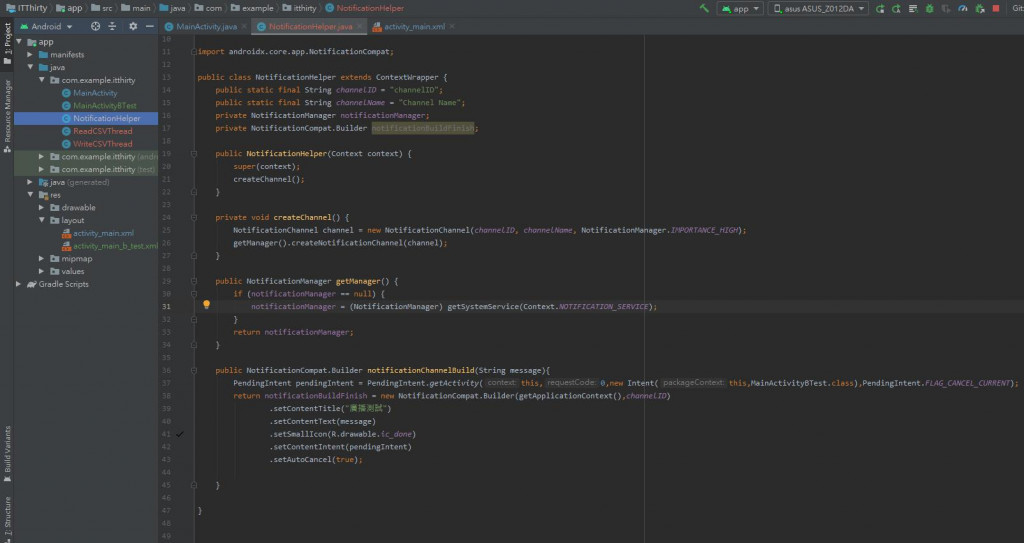
public class NotificationHelper extends ContextWrapper{

}
public static final String channelID = "channelID";
public static final String channelName = "Channel Name";
private NotificationManager notificationManager;
private NotificationCompat.Builder notificationBuildFinish;
獲得呼叫此方法當下的Context,
並呼叫 Step04-創建頻道方法
public NotificationHelper(Context context) {
    super(context);
    createChannel();
}
private void createChannel() {
    NotificationChannel channel = new NotificationChannel(channelID, channelName, NotificationManager.IMPORTANCE_HIGH);
    getManager().createNotificationChannel(channel);
}
NotificationManager 是Android系統的通知管理器,
我們要初始化NotificationManager,
讓APP獲得Notification服務。
public NotificationManager getManager() {
    if (notificationManager == null) {
        notificationManager = (NotificationManager) getSystemService(Context.NOTIFICATION_SERVICE);
    }
    return notificationManager;
}
public NotificationCompat.Builder notificationChannelBuild(String message){

}
參數PendingIntent.XXXXX
PendingIntent pendingIntent = PendingIntent.getActivity(this,0,new Intent(this,MainActivityBTest.class),PendingIntent.FLAG_CANCEL_CURRENT);
設計你相想要的通知樣式與文字
return notificationBuildFinish = new NotificationCompat.Builder(getApplicationContext(),channelID)
        .setContentTitle("廣播測試")
        .setContentText(message)
        .setSmallIcon(R.drawable.ic_done)
        .setContentIntent(pendingIntent)
        .setAutoCancel(true);
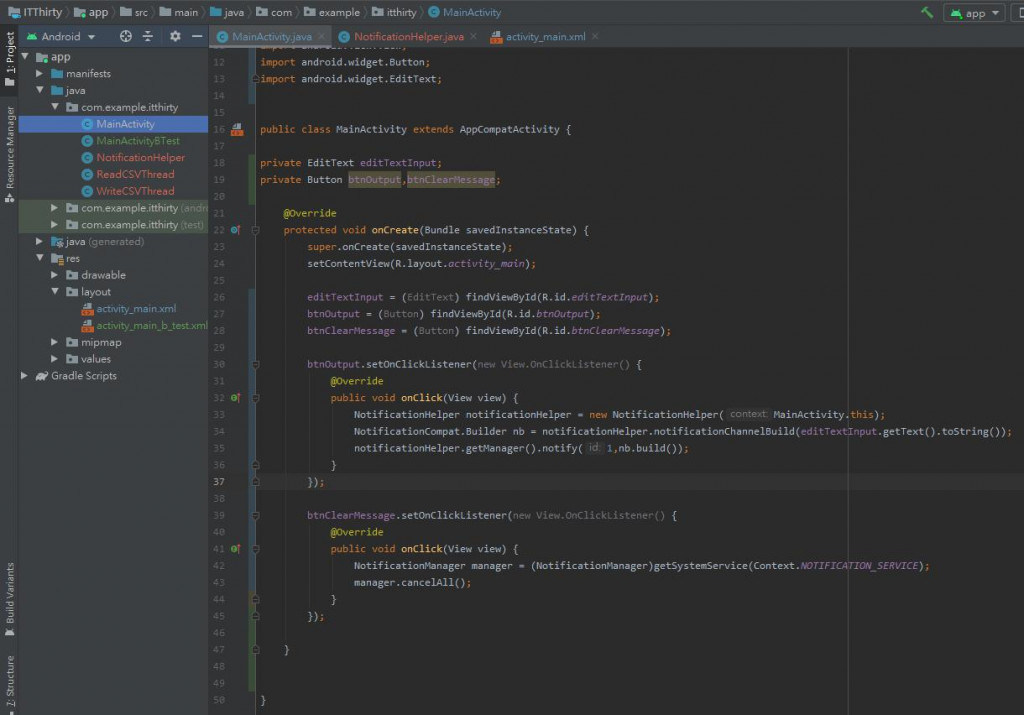
NotificationHelper notificationHelper = new NotificationHelper(MainActivity.this);
給予EditText輸入字串
NotificationCompat.Builder nb = notificationHelper.notificationChannelBuild(editTextInput.getText().toString());
notificationHelper.getManager().notify(1,nb.build());
清除該APP所有的通知信息
NotificationManager manager = (NotificationManager)getSystemService(Context.NOTIFICATION_SERVICE);
manager.cancelAll();
