上一篇我們用到了Azure Device Provision Service(ADPS)來做快速設定Device到IoT Hub這段,但實際做之後就會發現,欸?Device好像沒辦法指定我想要去哪個IoT Hub耶?其實是可以的,這篇就會跟大家介紹該怎麼把Device找到自己的家!!
準備
我們先建立兩個IoT Hub,讓我們可以分配到不同的IoT Hub
登入Azure
az login
建立資源群組
az group create --name my-rg --location westus
建立IoT Hub
az iot hub create --name sensor-fan --resource-group my-rg --location westus --sku S1
az iot hub create --name sensor-led --resource-group my-rg --location westus --sku S1
這邊我們會透過Azure Functions去做分配IoT Hub的動作,到Azure Portal搜尋函數應用程式,並且新增
基本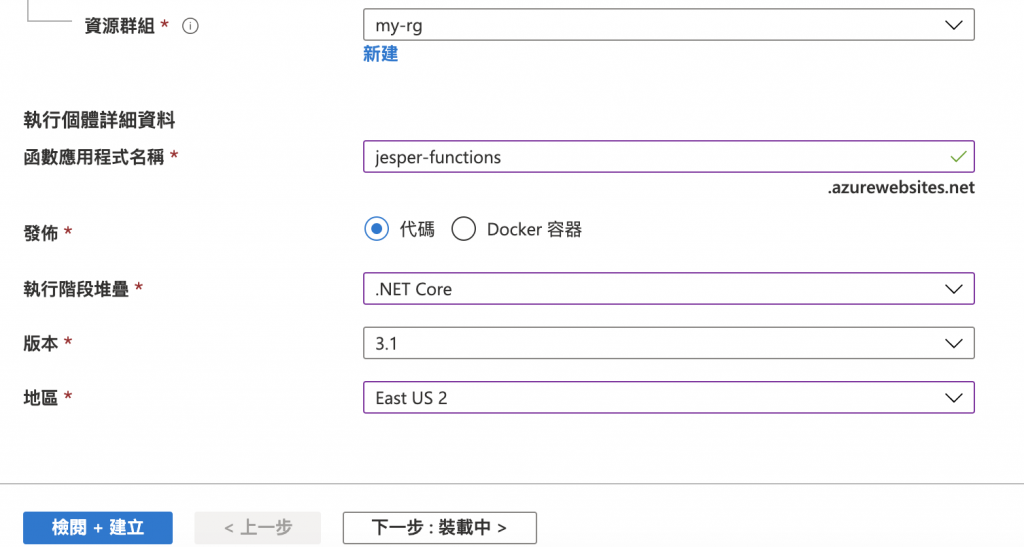
裝載中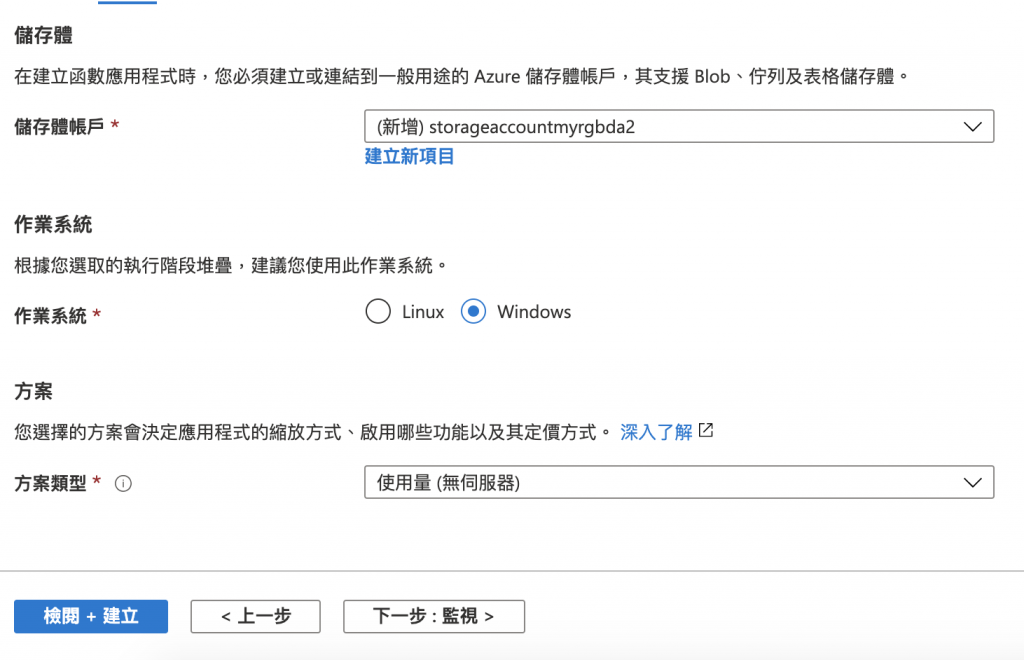
-監視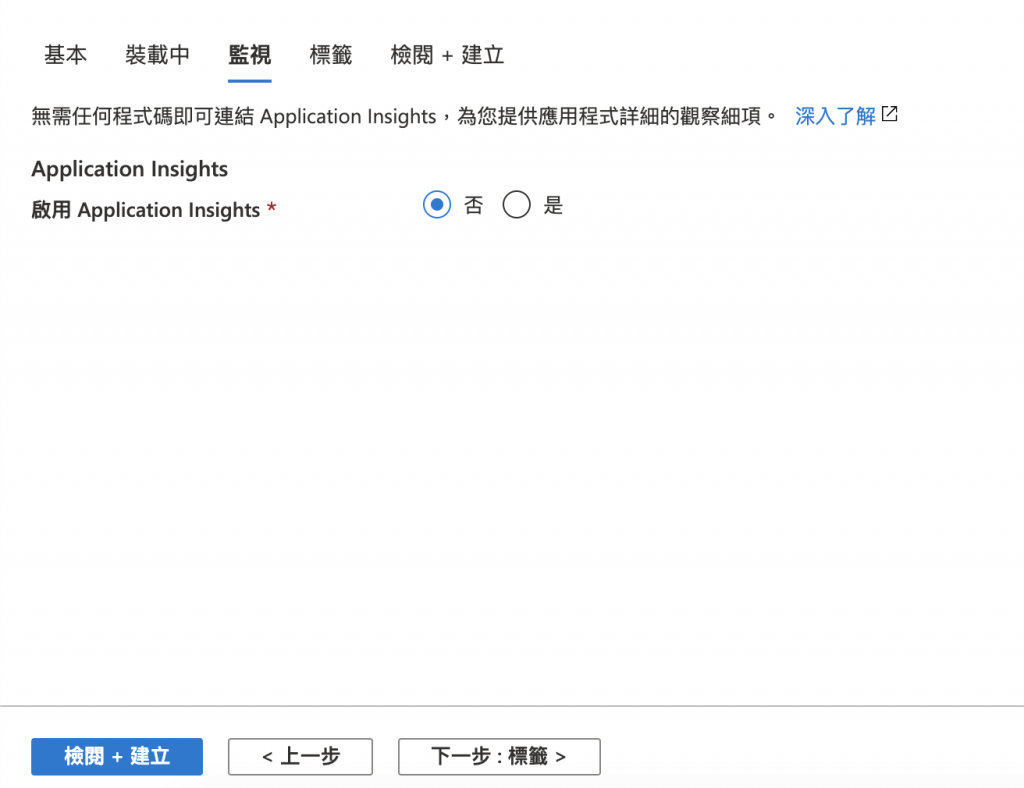
接著按下建立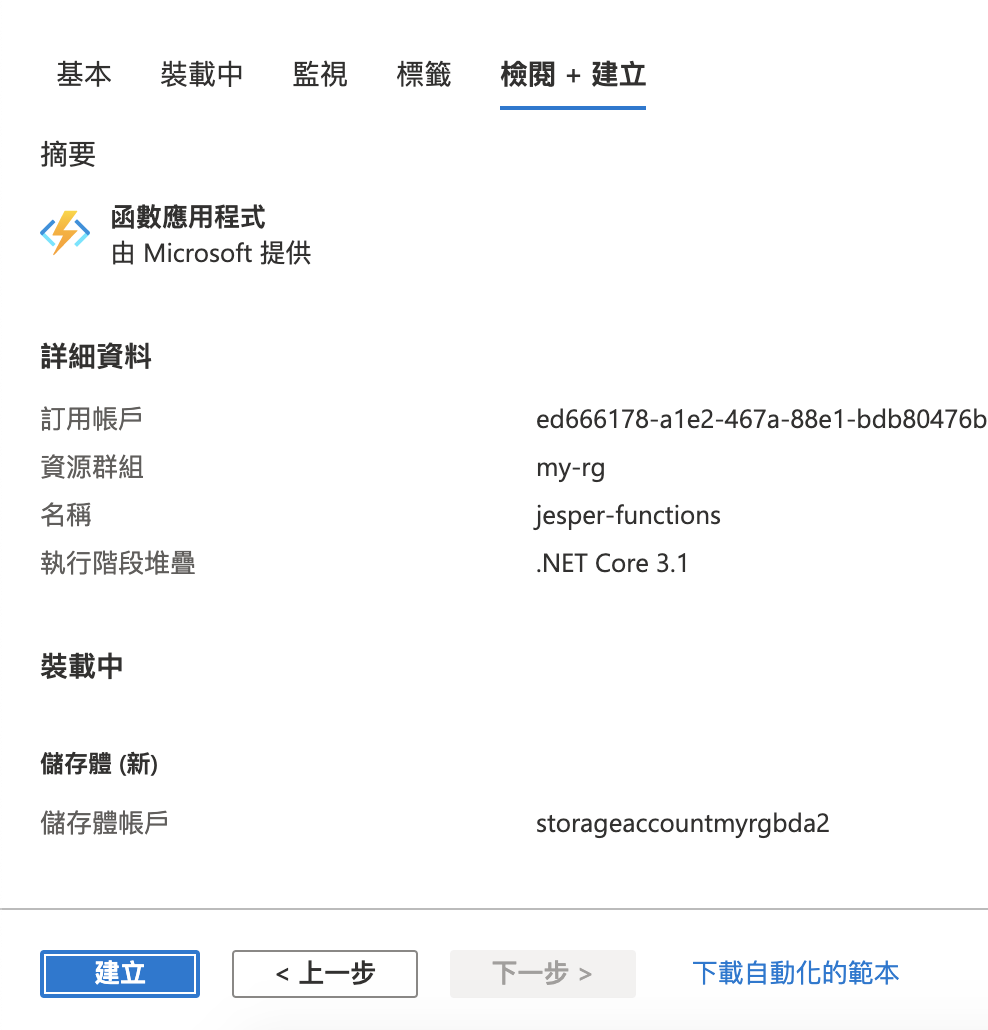
再來到Azure Functions的頁面選擇函式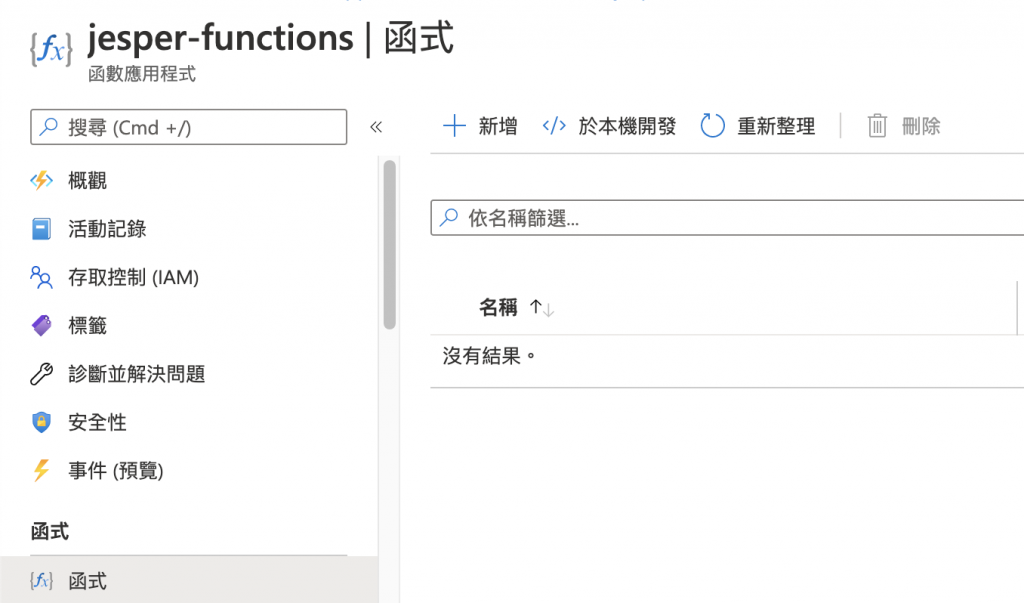
按下新增,選擇Http trigger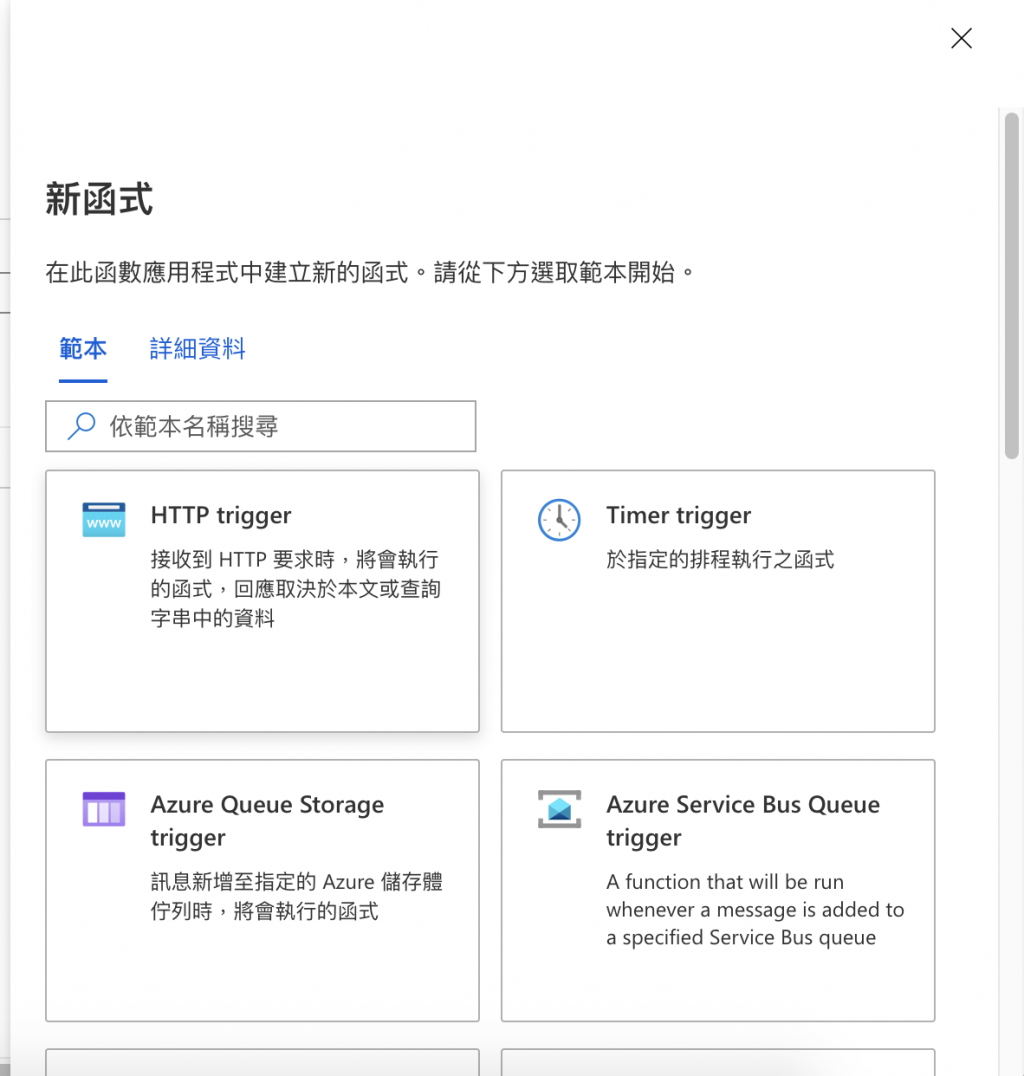
定義你想要的名字後,按下建立函式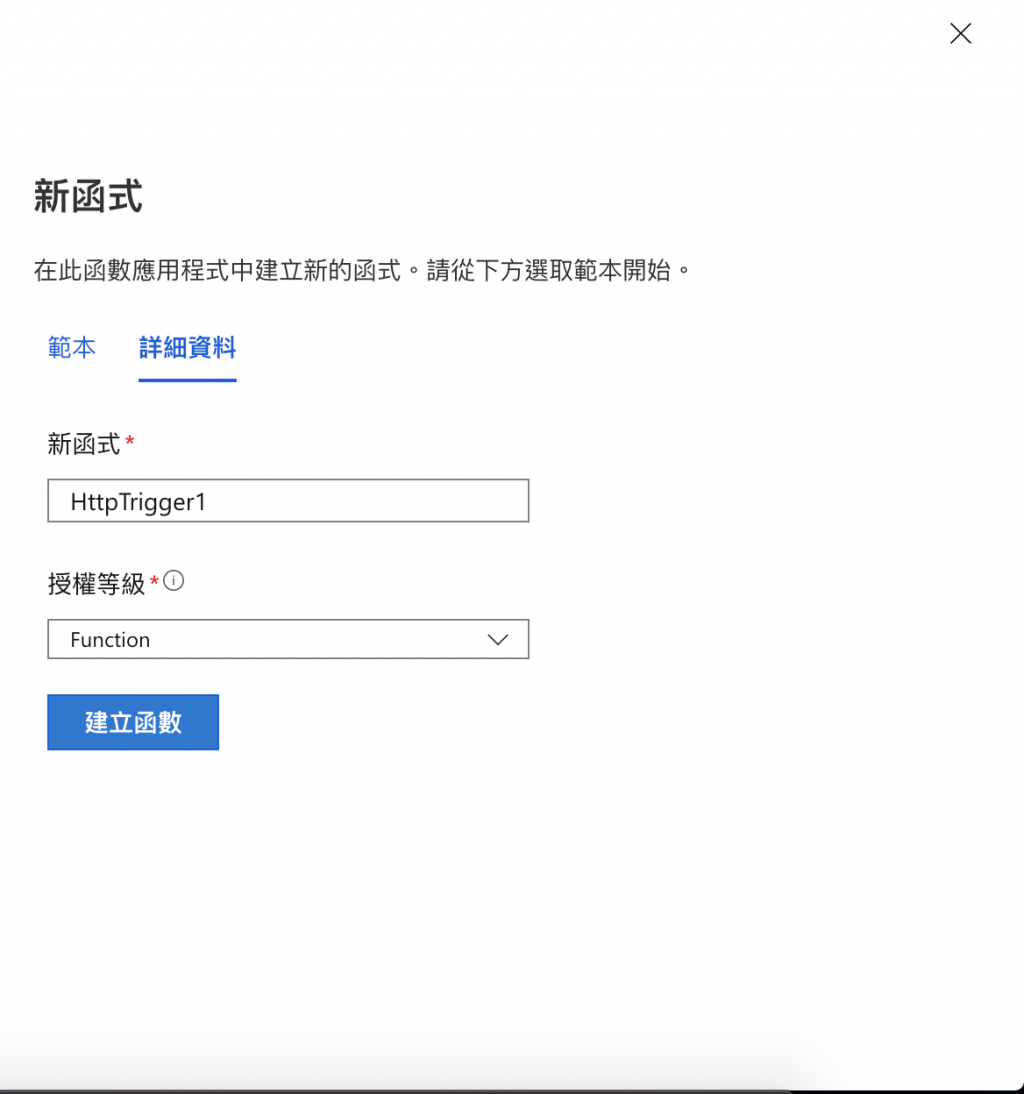
到編碼 + 測試的地方已經有一個基本範本了!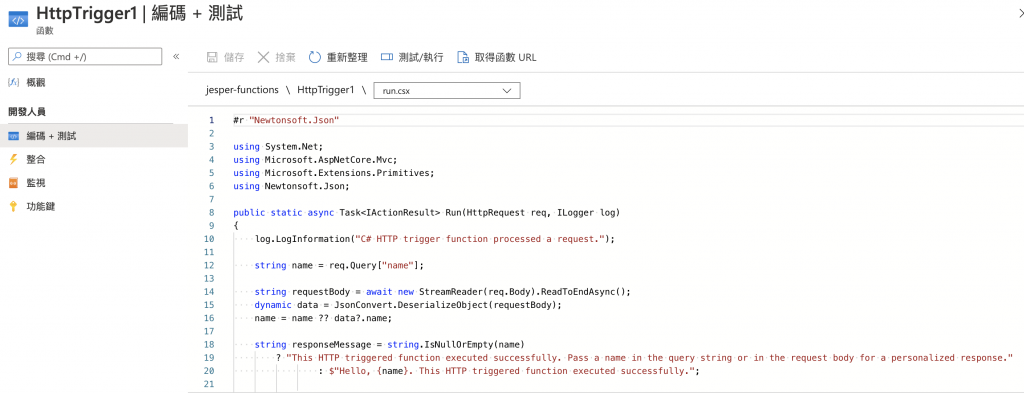
可以測試看看有沒有問題,點選取得函數URL
得到URL後,在URL後面加上name的參數
https://xxxxx&name=jesper
就可以看到已經成功的畫面了
接著把下面的程式碼貼上去run.csx內
run.csx (主要就是抓request的red_id)
#r "Newtonsoft.Json"

using System.Net;
using Microsoft.AspNetCore.Mvc;
using Microsoft.Extensions.Primitives;
using Newtonsoft.Json;

public static async Task<IActionResult> Run(HttpRequest req, ILogger log)
{
    log.LogInformation("C# HTTP trigger function processed a request.");

    // Get request body
    string requestBody = await new StreamReader(req.Body).ReadToEndAsync();
    dynamic data = JsonConvert.DeserializeObject(requestBody);

    log.LogInformation("Request.Body:...");
    log.LogInformation(requestBody);

    // Get registration ID of the device
    string regId = data?.deviceRuntimeContext?.registrationId;

    string message = "Uncaught error";
    bool fail = false;
    ResponseObj obj = new ResponseObj();

    if (regId == null)
    {
        message = "Registration ID not provided for the device.";
        log.LogInformation("Registration ID : NULL");
        fail = true;
    }
    else
    {
        string[] hubs = data?.linkedHubs.ToObject<string[]>();

        // Must have hubs selected on the enrollment
        if (hubs == null)
        {
            message = "No hub group defined for the enrollment.";
            log.LogInformation("linkedHubs : NULL");
            fail = true;
        }
        else
        {
            if (regId.Contains("fan-"))
            {
                foreach(string hubString in hubs)
                {
                    if (hubString.Contains("sensor-fan"))
                        obj.iotHubHostName = hubString;
                }

                if (obj.iotHubHostName == null)
                {
                    message = "No hub found for the enrollment.";
                    log.LogInformation(message);
                    fail = true;
                }
            }
            else if (regId.Contains("led-"))
            {
                foreach(string hubString in hubs)
                {
                    if (hubString.Contains("sensor-led"))
                        obj.iotHubHostName = hubString;
                }

                if (obj.iotHubHostName == null)
                {
                    message = "No heat pumps hub found for the enrollment.";
                    log.LogInformation(message);
                    fail = true;
                }
            }
            // Unrecognized device.
            else
            {
                fail = true;
                message = "Unrecognized device registration.";
                log.LogInformation("Unknown device registration");
            }
        }
    }

    log.LogInformation("\nResponse");
    log.LogInformation((obj.iotHubHostName != null) ? JsonConvert.SerializeObject(obj) : message);

    return (fail)
        ? new BadRequestObjectResult(message)
        : (ActionResult)new OkObjectResult(obj);
}

public class ResponseObj
{
    public string iotHubHostName {get; set;}
}
首先建立一個群組註冊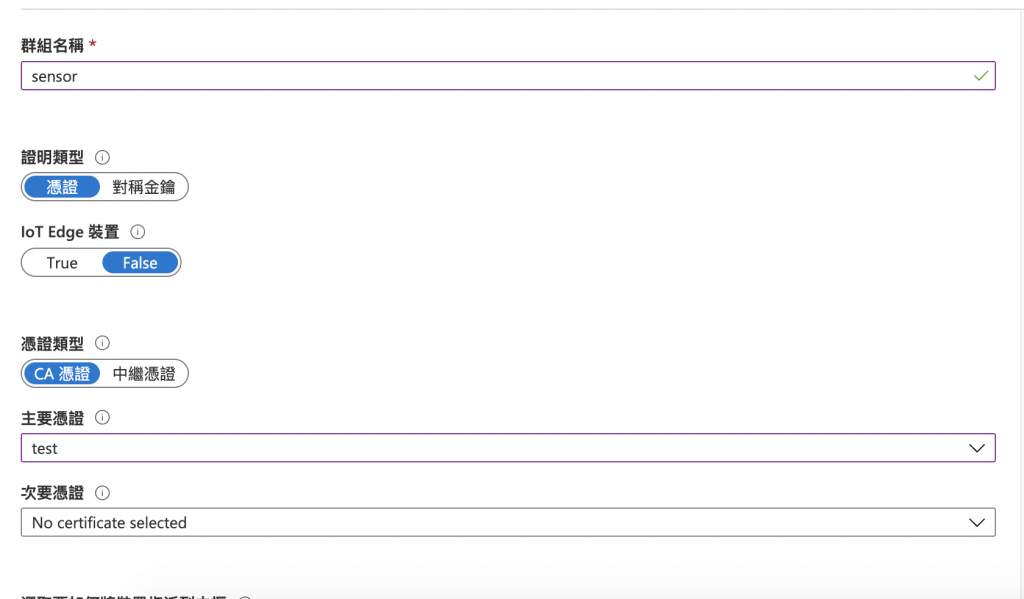
接著就可以按下儲存了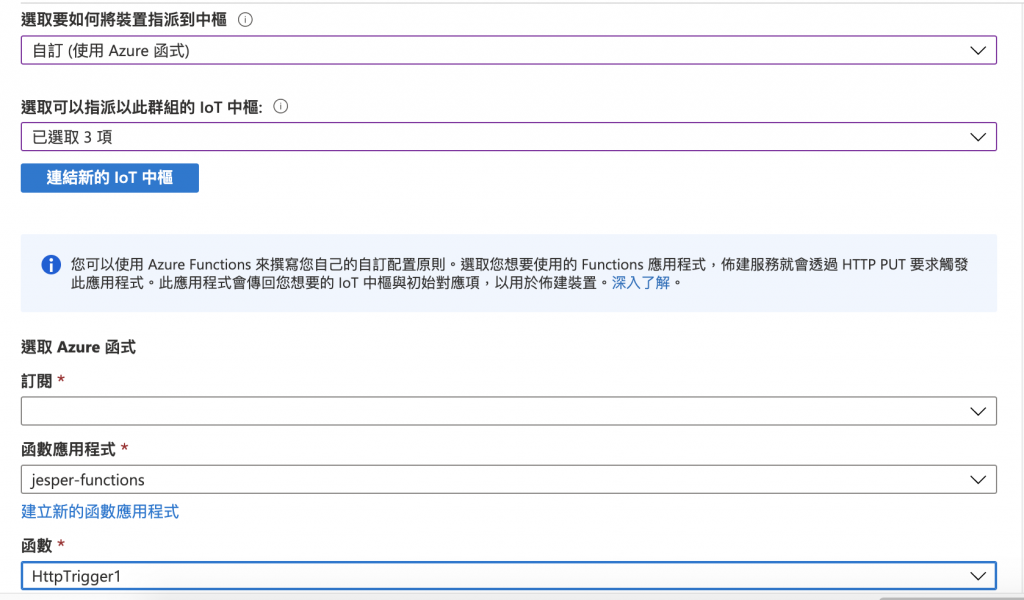
可以參考這篇,去建立憑證
這一段是建立裝置的憑證,以fan-001做示範
sudo ./certGen.sh create_verification_certificate fan-001
接下來我們就可以將裝置註冊到ADPS
首先,下載範例程式碼
git clone https://github.com/Azure/azure-iot-sdk-node
進入應用程式目錄
cd azure-iot-sdk-node/provisioning/device/samples
安裝依賴
npm install
編輯register_x509.js
register_x509.js
// Copyright (c) Microsoft. All rights reserved.
// Licensed under the MIT license. See LICENSE file in the project root for full license information.

'use strict';

var iotHubTransport = require('azure-iot-device-mqtt').Mqtt;
var Client = require('azure-iot-device').Client;
var Message = require('azure-iot-device').Message;

var fs = require('fs');
// You can change the following using statement if you would like to try another protocol.
var Transport = require('azure-iot-provisioning-device-mqtt').Mqtt;
// var Transport = require('azure-iot-provisioning-device-amqp').Amqp;
// var Transport = require('azure-iot-provisioning-device-amqp').AmqpWs;
// var Transport = require('azure-iot-provisioning-device-http').Http;
// var Transport = require('azure-iot-provisioning-device-mqtt').MqttWs;

var X509Security = require('azure-iot-security-x509').X509Security;
var ProvisioningDeviceClient = require('azure-iot-provisioning-device').ProvisioningDeviceClient;

var provisioningHost = "{your-dps}";
var idScope = "{your-idscope}";
var registrationId = "fan-001";
var deviceCert = {
  cert: fs.readFileSync(certs_path).toString(),
  key: fs.readFileSync(key_path).toString()
};

var transport = new Transport();
var securityClient = new X509Security(registrationId, deviceCert);
var deviceClient = ProvisioningDeviceClient.create(provisioningHost, idScope, transport, securityClient);

// Register the device.  Do not force a re-registration.
deviceClient.register(function(err, result) {
  if (err) {
    console.log("error registering device: " + err);
  } else {
    console.log('registration succeeded');
    console.log('assigned hub=' + result.assignedHub);
    console.log('deviceId=' + result.deviceId);
    var connectionString = 'HostName=' + result.assignedHub + ';DeviceId=' + result.deviceId + ';x509=true';
    var hubClient = Client.fromConnectionString(connectionString, iotHubTransport);
    hubClient.setOptions(deviceCert);
    hubClient.open(function(err) {
      if (err) {
        console.error('Failure opening iothub connection: ' + err.message);
      } else {
        console.log('Client connected');
        var message = new Message('Hello world');
        hubClient.sendEvent(message, function(err, res) {
          if (err) console.log('send error: ' + err.toString());
          if (res) console.log('send status: ' + res.constructor.name);
          process.exit(1);
        });
      }
    });
  }
});
執行應用程式
node register_x509.js
就可以看到已經指派到sensor-fan的Iot Hub了!
到ADPS註冊群組的註冊紀錄也可以看到已經註冊成功了!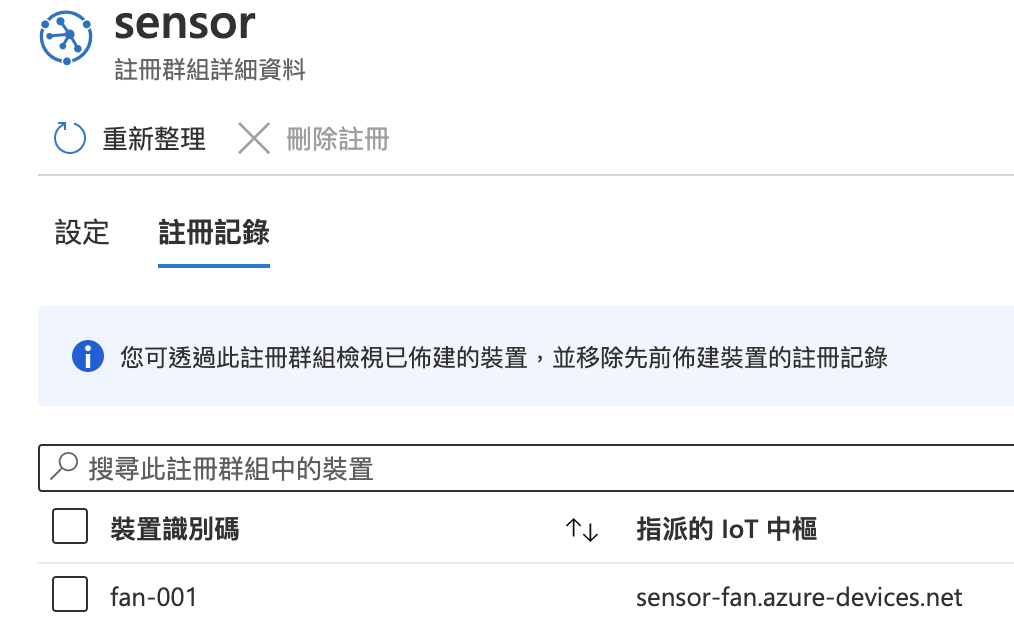
透過上面的方式我們就可以指定某些前綴名稱的裝置到指定的IoT Hub,但這時候又會發現一件事情?欸?那我可以收到他的訊息,那我可不可以控制裝置啊?下一篇會來告訴大家如何透過IoT Hub Twins控制裝置!!
