那接下來就要先來做版面的部分囉!
首先呢,先在activity_main.xml的地方,先把androidx.constraintlayout.widget.ConstraintLayout 改成 LinearLayout
再將中間
    <TextView
        android:layout_width="wrap_content"
        android:layout_height="wrap_content"
        android:text="Hello World!"
        app:layout_constraintBottom_toBottomOf="parent"
        app:layout_constraintLeft_toLeftOf="parent
        app:layout_constraintRight_toRightOf="parent"
        app:layout_constraintTop_toTopOf="parent" />
全部清空
那下面呢是我目前全部的程式碼
<?xml version="1.0" encoding="utf-8"?>
<LinearLayout
    xmlns:android="http://schemas.android.com/apk/res/android"
    xmlns:app="http://schemas.android.com/apk/res-auto"
    xmlns:tools="http://schemas.android.com/tools"
    android:layout_width="match_parent"
    android:layout_height="match_parent"
    android:orientation="vertical"
    tools:context=".MainActivity">

    <Button
        android:layout_width="match_parent"
        android:layout_height="wrap_content"
        android:text="penguinFrist"
        />
    <TextView
        android:layout_width="match_parent"
        android:layout_height="wrap_content"
        android:text="Frist Friend"
        />

</LinearLayout>
那可以先按run看看,接下來手機應該可以看到這樣的畫面。
那第一個按鈕"小企鵝"就出現囉!
那偶們明天再來看程式碼的內容。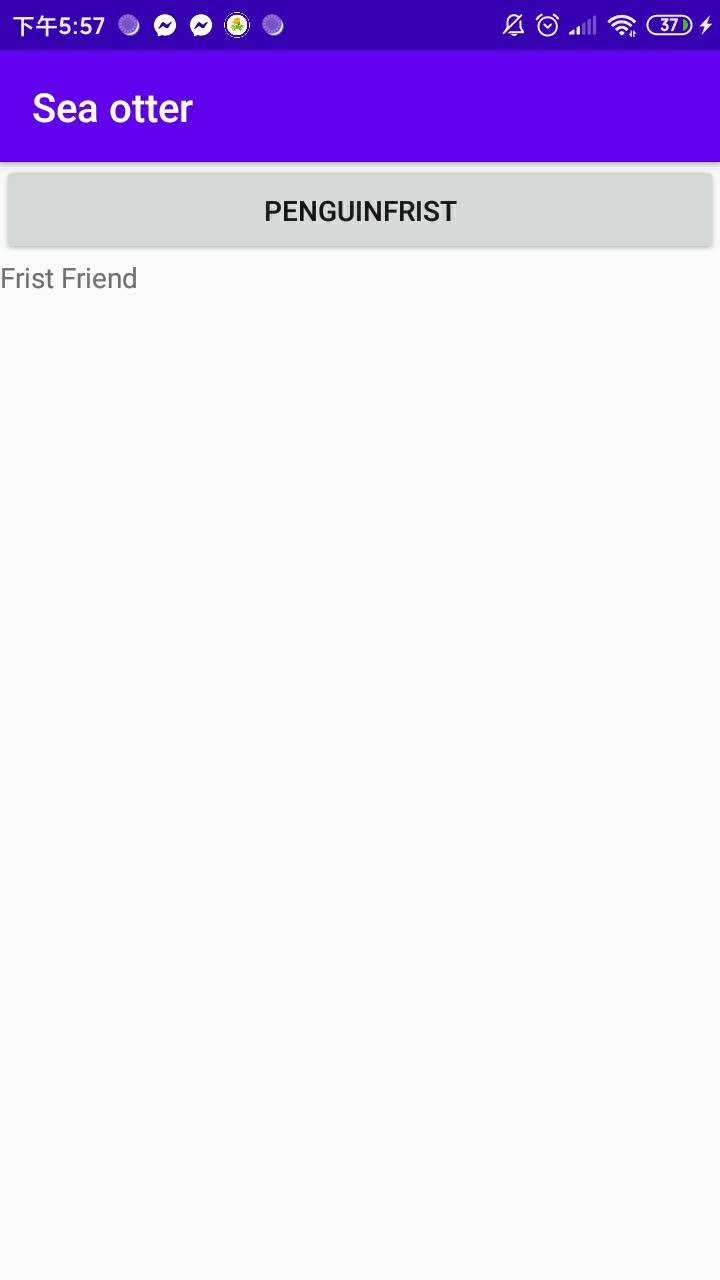


 iThome鐵人賽