我們在製作APP時,
常常需要讓使用者在不跳頁的情況,
配合一些按鈕或選單讓頁面切換,
而同頁面切換就可以使用Fragment容器。
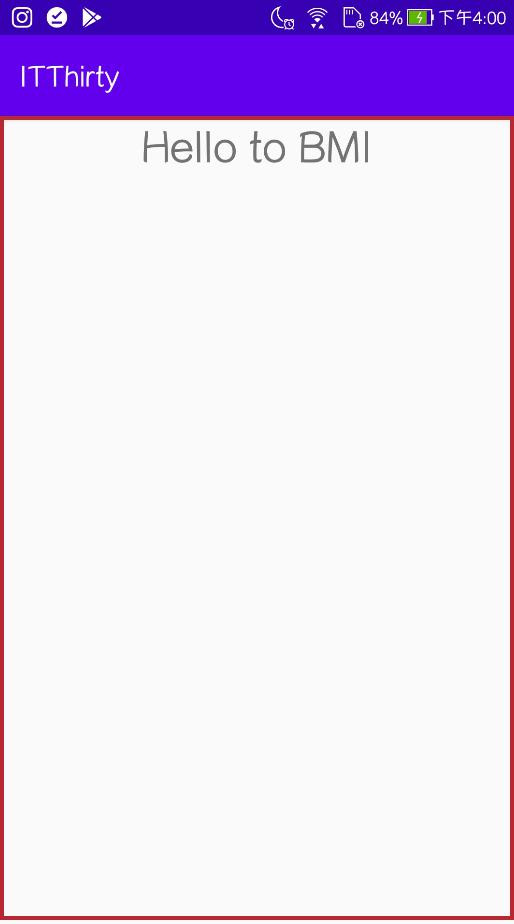
Fragment讓我們可以將我們所需的介面都放在裡面顯示,
切換頁面就直接切換內容即可,
非常方便~~
加入androidx.fragment套件
implementation 'androidx.fragment:fragment:1.3.0-alpha08'
我這邊選擇空的樣板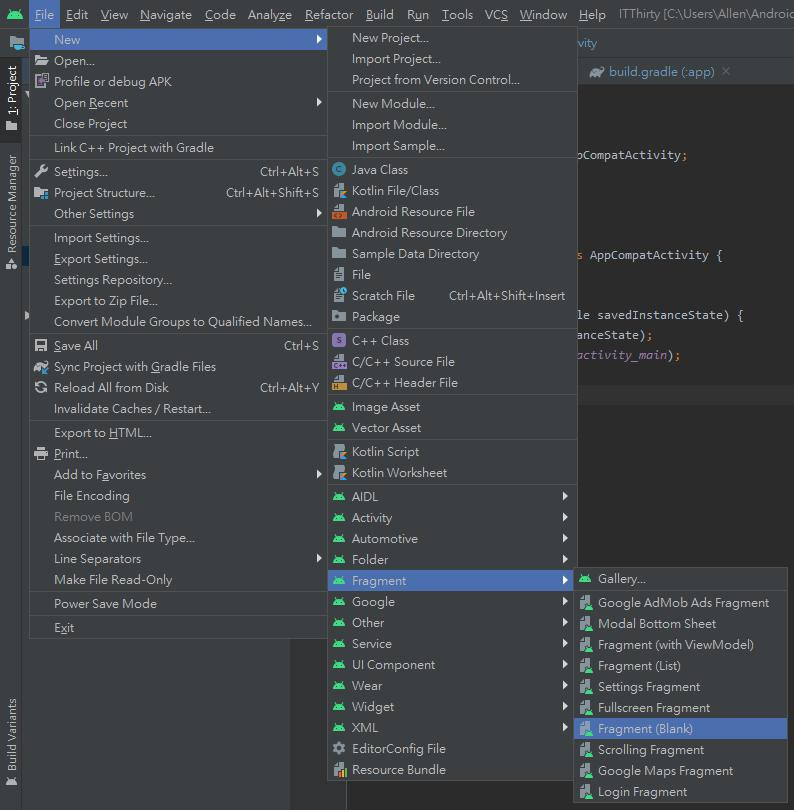
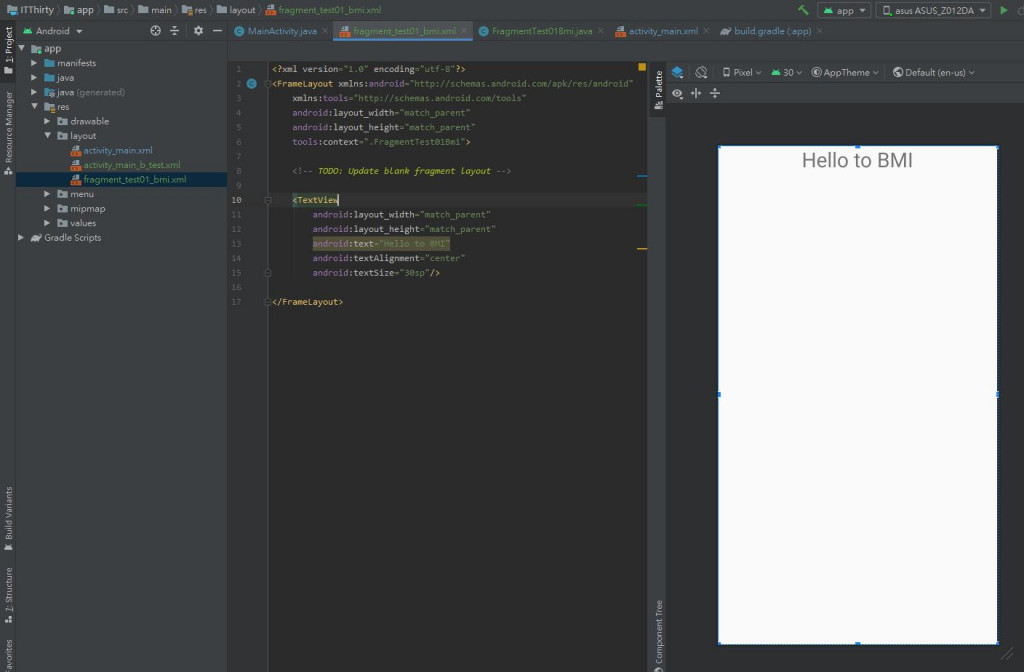
<?xml version="1.0" encoding="utf-8"?>
<FrameLayout xmlns:android="http://schemas.android.com/apk/res/android"
    xmlns:tools="http://schemas.android.com/tools"
    android:layout_width="match_parent"
    android:layout_height="match_parent"
    tools:context=".FragmentTest01Bmi">

    <!-- TODO: Update blank fragment layout -->

    <TextView
        android:layout_width="match_parent"
        android:layout_height="match_parent"
        android:text="Hello to BMI"
        android:textAlignment="center"
        android:textSize="30sp"/>

</FrameLayout>
我這邊先沒有製作,
但這邊要注意的大重點是:
(1)平常我的使用的this,
這邊需要改為this.getActivity()或this.getContext(),
這樣才抓的到目前的Activity或Context。
(2)起始程式需撰寫在onCreateView,
而不是onCreate。
詳細Fragment生命週期請見官方文件:
Fragment生命週期
<?xml version="1.0" encoding="utf-8"?>
<LinearLayout xmlns:android="http://schemas.android.com/apk/res/android"
    xmlns:app="http://schemas.android.com/apk/res-auto"
    xmlns:tools="http://schemas.android.com/tools"
    android:layout_width="match_parent"
    android:layout_height="match_parent"
    android:orientation="vertical"
    tools:context=".MainActivity">


    <androidx.constraintlayout.widget.ConstraintLayout
        android:layout_width="match_parent"
        android:layout_height="match_parent">

        <androidx.fragment.app.FragmentContainerView
            android:layout_width="match_parent"
            android:layout_height="match_parent"
            android:id="@+id/fragment_test"
            app:layout_constraintEnd_toEndOf="parent"
            app:layout_constraintStart_toStartOf="parent"
            app:layout_constraintTop_toTopOf="parent"
            >

        </androidx.fragment.app.FragmentContainerView>

    </androidx.constraintlayout.widget.ConstraintLayout>


</LinearLayout>
<androidx.constraintlayout.widget.ConstraintLayout
        android:layout_width="match_parent"
        android:layout_height="match_parent">

</androidx.constraintlayout.widget.ConstraintLayout>
<androidx.fragment.app.FragmentContainerView
   android:layout_width="match_parent"
   android:layout_height="match_parent"
   android:id="@+id/fragment_test"
   app:layout_constraintEnd_toEndOf="parent"
   app:layout_constraintStart_toStartOf="parent"
   app:layout_constraintTop_toTopOf="parent"
   >

</androidx.fragment.app.FragmentContainerView>
public class MainActivity extends AppCompatActivity {

    private FragmentTest01Bmi fragmentTest01Bmi;

    @Override
    protected void onCreate(Bundle savedInstanceState) {
        super.onCreate(savedInstanceState);
        setContentView(R.layout.activity_main);

        FragmentManager fragmentManager = getSupportFragmentManager();
        FragmentTransaction fragmentTransaction = fragmentManager.beginTransaction();
        fragmentTest01Bmi = new FragmentTest01Bmi();
        fragmentTransaction.add(R.id.fragment_test,fragmentTest01Bmi,"BMI");
        fragmentTransaction.show(fragmentTest01Bmi);
        fragmentTransaction.commit();

    }


}
FragmentManager fragmentManager = getSupportFragmentManager();
FragmentTransaction fragmentTransaction = fragmentManager.beginTransaction();
fragmentTest01Bmi = new FragmentTest01Bmi();
fragmentTransaction.add(R.id.fragment_test,fragmentTest01Bmi,"BMI");
fragmentTransaction.show(fragmentTest01Bmi);
fragmentTransaction.commit();
加入指定的Fragment頁面。
刪除指定的Fragment頁面。
它其實就是先進行.remove(),
再執行.add()。
注意:
replace()因為會使Fragment的生命週期重置,
所以依照不同情況可以選擇使用add() + show() + hide()來取代replace()
將已存在的Fragment隱藏。
將已隱藏的Fragment顯示。
讓內容堆疊,
使用者可以使用返回鍵回上一個Fragment。
一定放在最後下這個指令,
它將執行FragmentTransaction內剛剛所下的所有指令。