這篇會大量使用position 進行排版,但我一直跌進坑裡,不過也藉機更認識position的運作了,那就讓我們開始吧!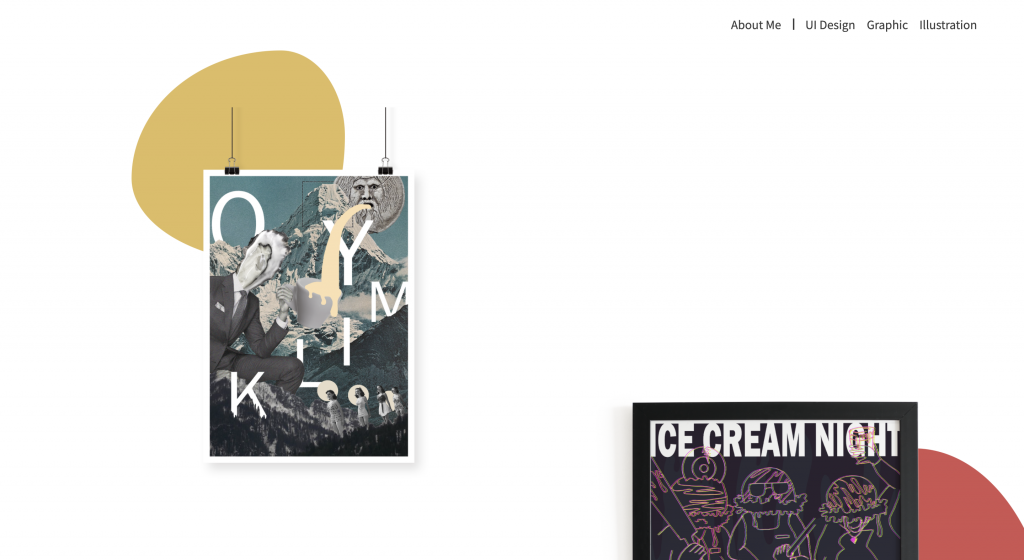
<div class="gra-poster">
    <div class=" gra01">
        <img src="./img/gra-poster02.png" alt="" width="500px">
        <div class="blob01"></div>
     </div>
     <div class="gra02">
        <img src="./img/gra-poster01.png" alt="" width="500px">
        <div class="blob02"></div>
    </div>
</div>
在做出圖片排版之前,先來說說那個氣泡的形狀是怎麼做的。
.blob01{
    border-radius: 70% 30% 30% 70% / 60% 40% 60% 40%;
    width: 300px;
    height: 300px;
    background-color: #E0BD5E;
}
是將div 的四個角的border-radius 做更進階的調整,劃分為八個可以調整的邊(?)。
網路上有生成器可以用滑桿去調整每個數值,也能即時顯示形狀,然後再複製數值就可以囉!
.gra-poster{
    display: flex;
    flex-flow: row;
    padding: 5px;
    width: 100%;
    margin-top: 50px;
    height: 1000px;
    justify-content: space-between;
}
.gra01{
    position: relative;
    width: 40%;
    height: 800px;
}
.gra02{
    position: relative;
    width: 40%;
    height: 600px;
    align-self: flex-end;
}
.gra01 img,.gra02 img{
    position: absolute;
    top: 10%;
    z-index: 2;
}
看起來就是普通的position,但不知道是自己太久沒用position 還是太不熟悉屬性,遇到一些坑:
overflow-x: hidden;就能解決。下一章 Keep Going 12 - 相片區 與Footer
※本文章所使用之圖片皆為本人作品,內容則為本人之經驗分享

 iThome鐵人賽