先去 https://developer.android.com/studio
下載Android Studio
接著安裝完成之後
選擇 Create new Project -> Empty Compose Activity
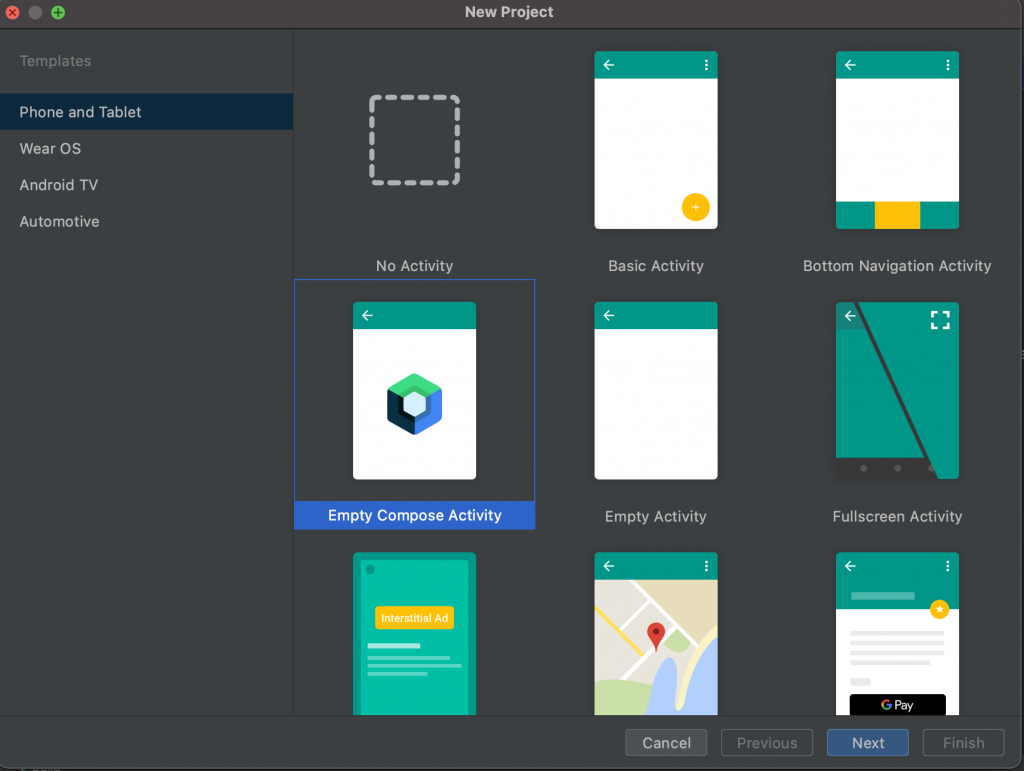
接著剛下載的人可能需要等他下載一些套件,可以先去喝杯茶休息休息XD,我用手機網路花了23分鐘~
完成後我們來看看熟悉的目錄:
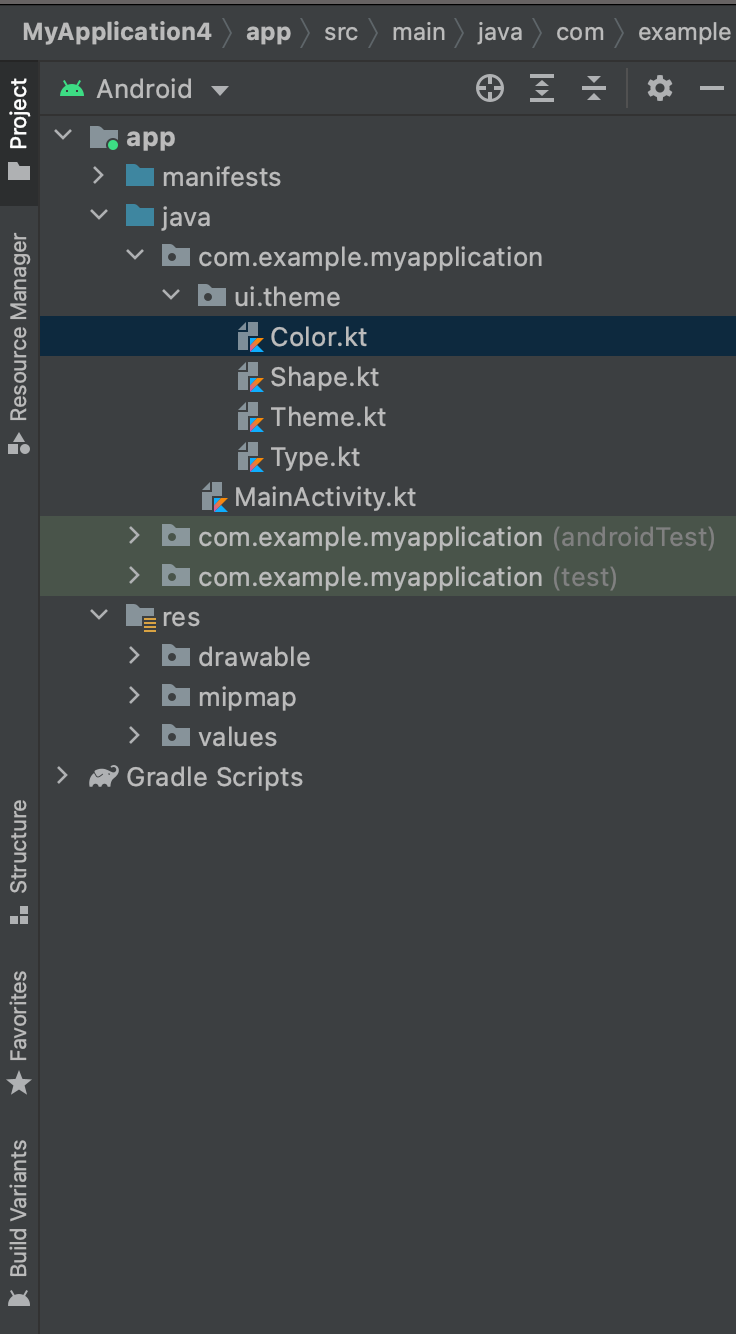
我們發現除了Activity之外還多了一個Ui.theme的package,點開就會發現裡面預設包含
-Color.kt
-Shape.kt
-Theme.kt
-Type.kt
之後我們定義相關變數(尤其是Theme)就可以定義在這裡
接著我們就執行看看預設的專案吧~
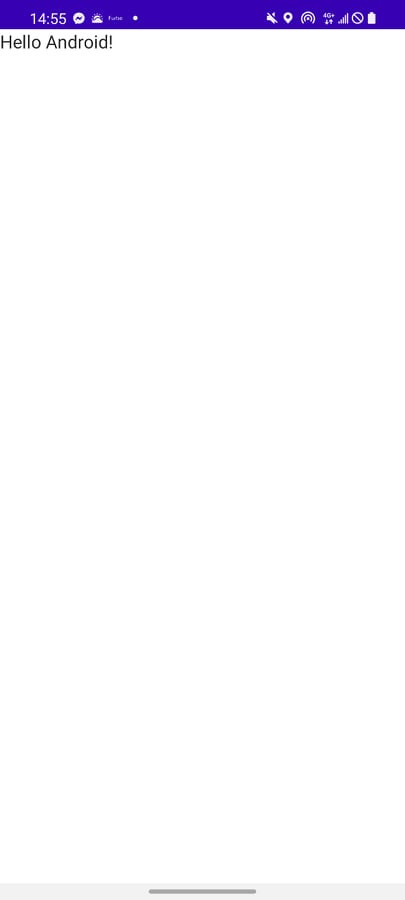
就是很簡單的Show出Hello Android!
現在我們來看看程式碼,跟以前用xml的差別在於,setContentView裡面放了一段奇怪的語法
MyApplicationTheme {
                // A surface container using the 'background' color from the theme
                Surface(modifier = Modifier.fillMaxSize(), color = MaterialTheme.colors.background) {
                    Greeting("Android")
                }
            }
這個我們可以用一層一層的Component的想法去分析他:
MyApplicationTheme裡面含有一個Surface元件,Surface元件裡面含有一個Greeting元件。
那這個MyApplicationTheme是什麼東西呢?
我們去ui.theme裡面點開theme.kt看看:
@Composable
fun MyApplicationTheme(darkTheme: Boolean = isSystemInDarkTheme(), content: @Composable () -> Unit) {
    val colors = if (darkTheme) {
        DarkColorPalette
    } else {
        LightColorPalette
    }

    MaterialTheme(
            colors = colors,
            typography = Typography,
            shapes = Shapes,
            content = content
    )
}
所以其實他就是一個function,裡面定義了他會顯示什麼東西
那我們先來看Body:
val colors = if (darkTheme) {
        DarkColorPalette
    } else {
        LightColorPalette
    }
這應該算是基本的kotlin語法,用if-else給colors賦值
MaterialTheme(
            colors = colors,
            typography = Typography,
            shapes = Shapes,
            content = content
    )
再來就是這個function要顯示什麼東西,他使用了MaterialTheme來當作最後要顯示的元件,參數除了上面定義的顏色字體形狀外,還有我們傳進來的contnet,他是一個@Composable的function,即是UI元件。
回到最外層:
Surface(modifier = Modifier.fillMaxSize(), color = MaterialTheme.colors.background) {
                    Greeting("Android")
}
看看原始定義:
Material surface is the central metaphor in material design. Each surface exists at a given elevation, which influences how that piece of surface visually relates to other surfaces and how that surface casts shadows.
@Composable
fun Surface(
    modifier: Modifier = Modifier,
    shape: Shape = RectangleShape,
    color: Color = MaterialTheme.colors.surface,
    contentColor: Color = contentColorFor(color),
    border: BorderStroke? = null,
    elevation: Dp = 0.dp,
    content: () -> Unit
): @Composable Unit
簡單來說,你可以利用他定義的屬性快速建立出你要的平面效果,比如說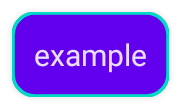
Surface的部分就是設定為
Surface(
    color = MaterialTheme.colors.primarySurface,
    border = BorderStroke(1.dp, MaterialTheme.colors.secondary),
    shape = RoundedCornerShape(8.dp),
    elevation = 1.dp
)
最後就是裡面的
Greeting("Android")
他呼叫了另一個定義在下面的composable元件:
@Composable
fun Greeting(name: String) {
    Text(text = "Hello $name!")
}
參數是一個String,裡面則是另一個composable元件: Text
@Composable
fun Text(
    text: String,
    modifier: Modifier = Modifier,
    color: Color = Color.Unspecified,
    fontSize: TextUnit = TextUnit.Unspecified,
    fontStyle: FontStyle? = null,
    fontWeight: FontWeight? = null,
    fontFamily: FontFamily? = null,
    letterSpacing: TextUnit = TextUnit.Unspecified,
    textDecoration: TextDecoration? = null,
    textAlign: TextAlign? = null,
    lineHeight: TextUnit = TextUnit.Unspecified,
    overflow: TextOverflow = TextOverflow.Clip,
    softWrap: Boolean = true,
    maxLines: Int = Int.MAX_VALUE,
    onTextLayout: (TextLayoutResult) -> Unit = {},
    style: TextStyle = LocalTextStyle.current
)
可以看到他的參數其實就是本身文字要顯示的樣子,像是fontWeight, fontFamily, fontSize等等, 而內容就的參數是text。
再來就是使用@Preview來看自己定義的composable元件長什麼樣子,以預設來說
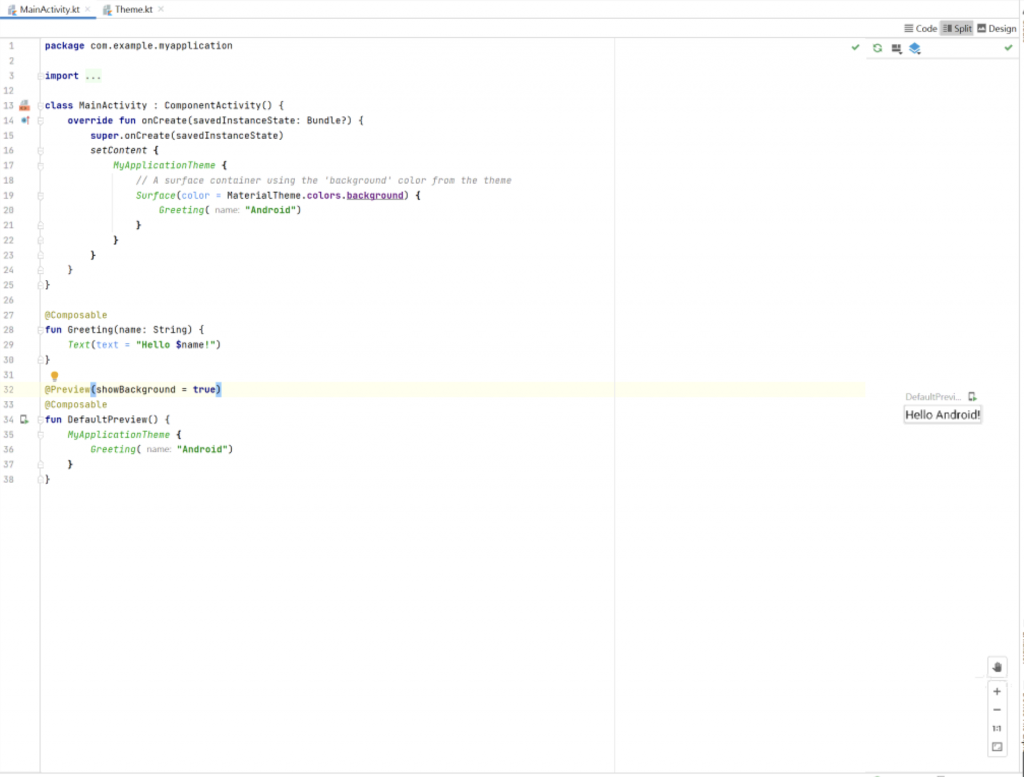
@Preview(showBackground = true)
@Composable
fun DefaultPreview() {
    MyApplicationTheme {
        Greeting("Android")
    }
}
他在defaultPreview()這個function上面使用了Preview,所以我們看圖片右邊就會顯示出這個元件,如果覺得太小,可以點選右上角的design就可以把code隱藏然後整個畫面顯示出來。
這樣就講完了預設的activity裡面在做什麼了,簡單來說,Jetpack compose的UI建構方式是由一個一個定義為composable的function組成,藉由一層包一層的方式來達到UI的建構。
