本文章將會是閱讀官方文件Add navigation with routing 內容所做的筆記。
主要內容是如何在專案中設定路由路徑並設定相對應的元件。
在本文的練習我們需要引入 router 到我們的專案中。一般來說當 router 模組被我們引入之後,它的模組 class 名稱會是 AppRoutingModule 且這個模組隸屬於 app-routing.module.ts 這個檔案。
所以,我們要在終端機輸入以下的指令
ng generate module app-routing --flat --module=app
在官方文件上有特別說明 -- flat 是直接將產出的 router 檔案放到 src/app 目錄底下,而不是像元件那樣被放在自己的資料夾中。 --module=app 是叫 CLI 直接將這個 router 模組直接註冊到 AppModule 模組的 imports 陣列裡面。
當輸入完上面的指令後,應該可以成功地在 src/app 目錄底下看到 app-routing.module.ts 這個檔案,接著,我們就要在這個檔案中加入各頁面的路由路徑設定了。
首先,在 app-routing-module.ts 將以下內容取代它原本的內容,並引入 heroes 元件:
--- app-routing-module.ts ---
import { NgModule } from '@angular/core';
import { RouterModule, Routes } from '@angular/router';
import { HeroesComponent } from './heroes/heroes.component';

const routes: Routes = [
  { path: 'heroes', component: HeroesComponent }
];

@NgModule({
  imports: [RouterModule.forRoot(routes)],
  exports: [RouterModule]
})
export class AppRoutingModule { }
以上的設定就代表,當網頁的路由被切換到 heroes 這個路徑的時候,Angular 必須為我們將 HeroesComponent 元件掛載到畫面上。
接著來看一下同樣在 routing 檔案裡面的另一個區塊 @NgModule。
--- app-routing-module.ts ---
const routes: Routes = [
  { path: 'hero', component: HeroesComponent }
];

@NgModule({
  imports: [RouterModule.forRoot(routes)],
  exports: [RouterModule]
})
imports 部分,會將我們定義的 routes 變數的內容設定到 RouterModule 裡面。
接著, exports 部分,會將設定完成的 RouterModule 輸出出去,讓我們的專案檔可以引入這個模組,進而讓整個專案檔都可以吃到這個路由設定。
接著,要搭配我們設定的路由將該路由對應的元件掛載到畫面中。
我們就要到 app.component.html 檔案中,將原本的 <app-heroes></app-heroes> 替換成 <router-outlet></router-outlet> ,這個替換的動作,就是從原本直接指定要呈現 HeroesComponent 元件的內容,轉成交由 router 模組來判斷當當下路由被切換到哪一個 url ,就掛載對應的元件上去畫面。
--- app.component.html ---
<h1>
  {{ title }}
</h1>
<!--<app-heroes></app-heroes>-->  // 拿掉 HeroesComponent 元件的 html 標籤
<router-outlet></router-outlet>   // 加入路由模組的 html 標籤
加入這個 router-outlet 標籤之後,此時,畫面中應該只有出現 title 的內容,那是因為現在網站的 url 路徑是 http://localhost:4200/ ,結尾是 / ,而不是 hero 結尾,所以,只要我們將 url 改成 http://localhost:4200/hero ,就可以看到 HeroesComponent 元件的內容被渲染到畫面上囉~
最後的結果就像下面這樣子囉~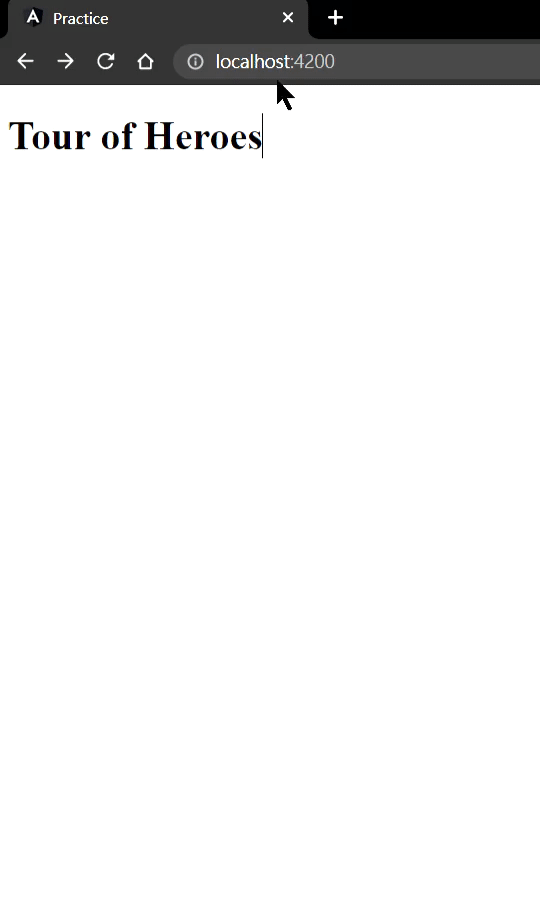
可以看到當將後面的路由路徑改成 heroes 之後,就可以看到 heroes 的內容囉。
這邊做個總結