
「指月錄」卷二十八有道:
「見山是山,見水是水;見山不是山,見水不是水;見山仍是山,見水仍是水。」
這乃是學習深度學習時三種不同的境界,
從只看表面、看細節處再到綜觀全局,
就是「是山、非山、仍是山」的過程。
今天我們要使用預訓練模型EfficientNet去提取圖片特徵,
看看這些特徵就會體悟到剛剛的境界轉換
from tensorflow.keras.applications.efficientnet import EfficientNetB0
from scipy.spatial.distance import cdist
from sklearn.cluster import KMeans
from tensorflow.keras.utils import to_categorical
import tensorflow as tf
import pandas as pd
import numpy as np
import os
import matplotlib.pyplot as plt
import cv2
def prepare_data(data):

    image_array = np.zeros(shape=(len(data), 48, 48, 1))
    image_label = np.array(list(map(int, data['emotion'])))

    for i, row in enumerate(data.index):
        image = np.fromstring(data.loc[row, 'pixels'], dtype=int, sep=' ')
        image = np.reshape(image, (48, 48, 1))
        image_array[i] = image

    return image_array, image_label


def plot_one_emotion(data, img_arrays, img_labels, label=0):
    fig, axs = plt.subplots(1, 5, figsize=(25, 12))
    fig.subplots_adjust(hspace=.2, wspace=.2)
    axs = axs.ravel()
    for i in range(5):
        idx = data[data['emotion'] == label].index[i]
        axs[i].imshow(img_arrays[idx][:, :, 0], cmap='gray')
        axs[i].set_title(emotions[img_labels[idx]])
        axs[i].set_xticklabels([])
        axs[i].set_yticklabels([])


def plot_conv_feature(data, img_arrays, img_labels, label = 0):
    fig, axs = plt.subplots(4, 4, figsize=(16, 16))
    fig.subplots_adjust(hspace=.2, wspace=.2)
    axs = axs.flatten()
    for i in range(16):
        idx = data[data['cluster'] == label].index[i]
        axs[i].imshow(img_arrays[idx], cmap='gray')
        axs[i].set_title(f"feature {i}, cluster {label}", size = 20)
        axs[i].set_xticklabels([])
        axs[i].set_yticklabels([])


def convert_to_3_channels(img_arrays):
    sample_size, nrows, ncols, c = img_arrays.shape
    img_stack_arrays = np.zeros((sample_size, nrows, ncols, 3))
    for _ in range(sample_size):
        img_stack = np.stack(
            [img_arrays[_][:, :, 0], img_arrays[_][:, :, 0], img_arrays[_][:, :, 0]], axis=-1)
        img_stack_arrays[_] = img_stack/255
    return img_stack_arrays
由於待會要下載的EfficientNet的輸入層需要RGB彩色圖片,
但我們只有灰階圖(單通道),
所以用convert_to_3_channels將圖片轉成3通道,
注意!這裡不是將圖片變成彩色,只是單純將第1通道複製貼到第2和第3通道。
df_raw = pd.read_csv("D:/mycodes/AIFER/data/fer2013.csv")
df_train = df_raw[df_raw['Usage'] == 'Training']
X_train, y_train = prepare_data(df_train)
X_train = convert_to_3_channels(X_train)
y_train_oh = to_categorical(y_train)
emotions = {0: 'Angry', 1: 'Disgust', 2: 'Fear',
            3: 'Happy', 4: 'Sad', 5: 'Surprise', 6: 'Neutral'}
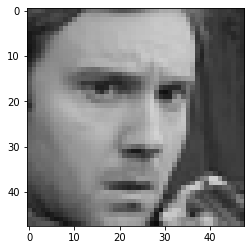
先選定一張我們要拿來萃取特徵的表情圖片,
就決定是第一張了!
plt.imshow(X_train[0],cmap='gray')
efn = EfficientNetB0(include_top=False, weights='imagenet',
                        input_shape=(48, 48, 3), pooling='max')
在這裡我們選擇一個位於模型很前面的卷積層,獲得低階特徵(low-level)。
b1_result的shape為(1, 24, 24, 96),
含意是1張圖片透過卷積後,
原圖縮小成(24,24)的特徵圖,並且每張原圖可對應到96個特徵圖。
block1_conv_model = tf.keras.Model(efn.inputs, efn.get_layer(name='block2a_expand_conv').output)
b1_result = block1_conv_model(X_train[0]).numpy()
print(b1_result.shape)
# output: (1, 24, 24, 96)
我們可以看出某些特徵圖很有效地抓到了人臉的輪廓(例如: featrue 3, cluster 0)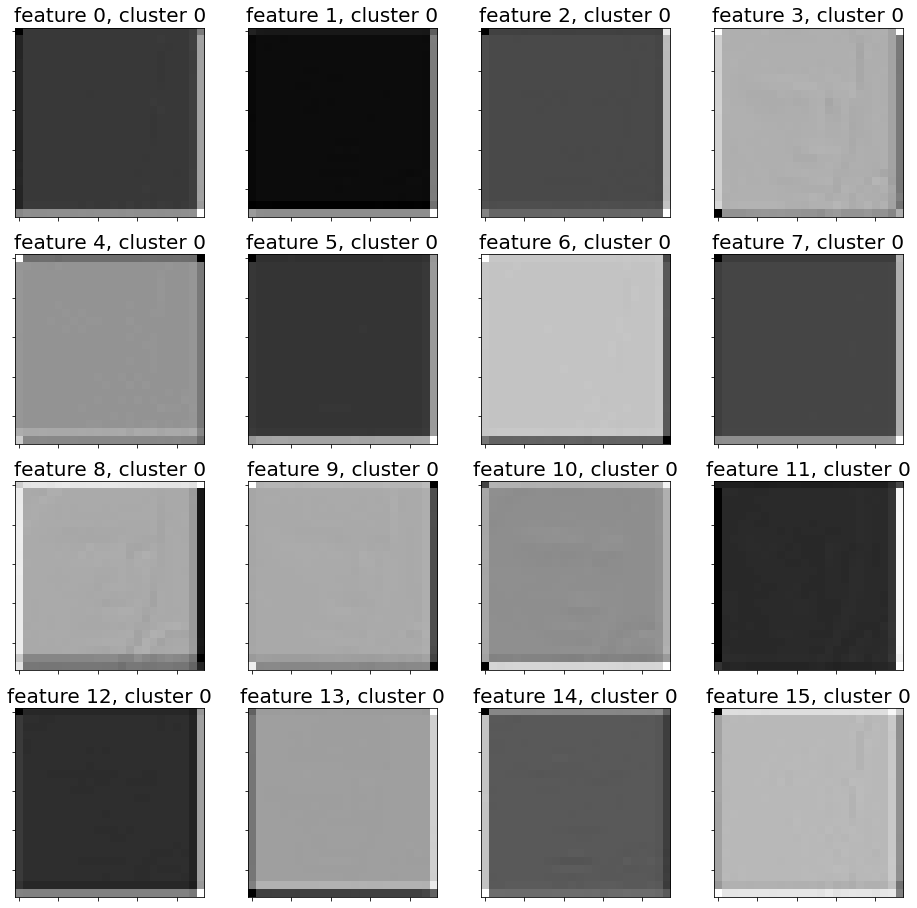
在這裡我們選擇模型最後一個卷積層,獲得高階特徵(high-level)。
top_result的shape為(1, 2, 2, 1280),
含意是1張圖片透過卷積後,
獲得(2,2)的特徵圖,並且每張原圖可對應到1280個特徵圖(feature map)。
top_conv_model = tf.keras.Model(efn.inputs, efn.get_layer(name='top_conv').output)
top_result = top_conv_model(X_train[0]).numpy()
print(top_result.shape)
# output: (1, 2, 2, 1280)
我們可以看出畢卡索再世,畫出了原圖的精神象徵(?) XD
OK,今天學會了如何讀取預訓練模型,
並將自己的圖片透過模型萃取出低階與高階的特徵。
這在業界是很常使用的技巧,
網路上也有許多大神提供的預訓練模型。
明天就讓我們來將這1280張高階特徵圖進行分群,
看看可以分成幾群吧!

 iThome鐵人賽