在前幾篇中介紹了 Template-driven forms 和 reactive forms 的用法與概念,雖然建立的方式不同但在根本上都是可以建立一個表單的,而兩種表單中都會需要驗證使用者輸入的資料的準確性與完整性來保持整體數據的質量,本章中將會介紹如何驗證使用者輸入的內容。

首先先介紹 template-driven forms 中的 validator,要在 template-driven forms 中添加驗證可以添加與原生 HTML 表單驗證相同的驗證 attribute,比如說可以在 <input> 中添加 required attribute 這樣這個輸入框就不能為空,又或是可以填入 max 代表填入的數字不能大於指定的數字等等,Angular 會使用 directive 將這些 attribute 和框架中的 validator functions 做匹配。
每次表單控制元件的值發生變化時,Angualr 都會運行驗證並生成導致 INVALID 狀態的錯誤列表或是生成 VALID 狀態的 null。
<div class="content">
  <input
    type="text"
    id="name"
    name="name"
    class="form-control"
    required
    minlength="4"
    appForbiddenName="bob"
    [(ngModel)]="hero.name"
    #name="ngModel"
  />

  <div *ngIf="name.invalid && (name.dirty || name.touched)" class="alert">
    <div *ngIf="name.errors?.required" class="alert alert-danger">Name is required.</div>
    <div *ngIf="name.errors?.minlength" class="alert alert-danger">
      Name must be at least 4 characters long.
    </div>
    <div *ngIf="name.errors?.forbiddenName" class="alert alert-danger">Name cannot be Bob.</div>
  </div>
</div>
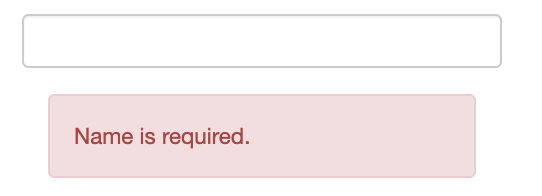
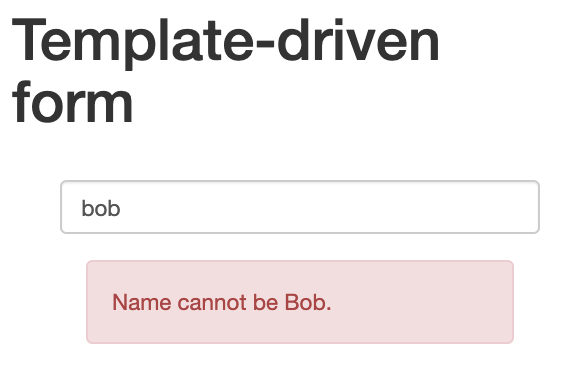
在一個 <input> 中加入 required、minlength 和 appForbiddenName,代表這個輸入框不能為空不能小於 4 個字且不能是 bob,可以利用 name ( template variable ) 的 errors 來判斷是哪一個驗證出錯進而顯示不同的提示,而使用 *ngIf 判斷當狀態為 INVALID 和表單已經被觸碰過或更改過時,才會顯示提示畫面。
如果輸入框為空
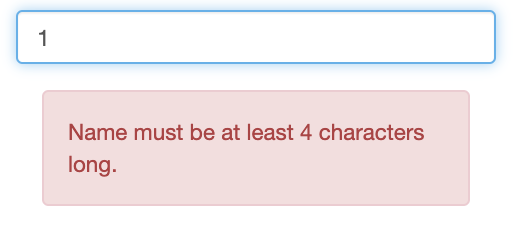
如果輸入的內容字數小於4個
至於名字不能是 bob 由於這個是客製化驗證的部分,留到後面再補上。
在 Reactive forms 中的驗證是通過直接在 component 中的 FormControl 添加驗證,每當 FormControl 發生變化 Angular 就會調用這些函數,而 reactive forms 的驗證器可以是同步也可以是非同步的
同步函數,可以在實例化 FormControl 的時候將驗證函數作為第二個參數傳入。promise 或 Observable,隨後會發出一組驗證錯誤或是驗證成功(null),可以在實例化 FormControl 的時候將驗證函數作為第三個參數傳入。設置同步與非同步驗證器時需要注意,Angular 因為出於性能的問題,如果所有 Sync validators 都通過,Angular 就只會運行 Async validators。
要設置 reactive forms 的驗證器可以和 template-driven forms 在 template 中添加的驗證器一樣,比如使用 required 制定這個表單不能為空等等,以下列一個 validators 的表單
| Name | Description |
|---|---|
| min | 輸入的內容要大於等於 validator 設定的值 |
| max | 輸入的內容要小於等於 validator 設定的值 |
| required | 輸入的值不能為空 |
| requiredTrue | 輸入的值必須為 true,常用在複選框中的必選欄位 |
輸入的值需要通過電子郵件驗證測試,常用正則表達式驗證 |
|
| minLength | 要求輸入的長度需要大於等於 validator 設置的值,他僅用於舉有數字長度 property 的類型(字串或陣列) |
| maxLength | 要求輸入的長度需要小於等於 validator 設置的值,規則與 minLength 一樣 |
| pattern | 輸入的值需要匹配正則表達式的設定 |
| nullValidator | 不執行任何操作的 validator |
| compose | 將多個 validator 合成一個函數,該函數返回提供 FormControl 的各個錯誤映射的聯合 |
| composeAsync | 將多個 Async validator 合成一個函數,該函數返回提供 FormControl 的各個錯誤映射的聯合 |
在 reactive.component.ts 中建立 FormControl
import { Component, OnInit } from '@angular/core';
import { FormControl, FormGroup, Validators } from '@angular/forms';

@Component({
  selector: 'app-reactive',
  templateUrl: './reactive.component.html',
  styleUrls: ['./reactive.component.css'],
})
export class ReactiveComponent implements OnInit {
  hero = new FormGroup({                                                 // (1)
    name: new FormControl('', [Validators.required, Validators.minLength(4)]),
  });
  constructor() {}

  ngOnInit(): void {}

  errorDetect() {
    return this.name?.invalid && (this.name.touched || this.name.dirty); // (2)
  }

  getErrorType (): string {                                              // (3)
    if (this.name?.errors !== null) {
      if (this.name?.errors.required) {
        return 'required';
      } else if (this.name?.errors.minlength) {
        return 'minlength';
      }
    }
    return '';
  }

  get name() {                                                           // (4)
    return this.hero.get('name');
  }
}
在 reactive.component.html 中綁定 FormControl
<form [formGroup]="hero">
  <div>
    <label for="name">Hero Name</label>
    <input type="text" id="name" class="form-control" formControlName="name" />
    <div *ngIf="errorDetect()" class="alert alert-danger">
      <ng-container [ngSwitch]="getErrorType()">
        <div *ngSwitchCase="'required'">Name is required.</div>
        <div *ngSwitchCase="'minlength'">
          Name must be at least 4 characters long.
        </div>
        <div *ngSwitchDefault></div>
      </ng-container>
    </div>
  </div>
</form>
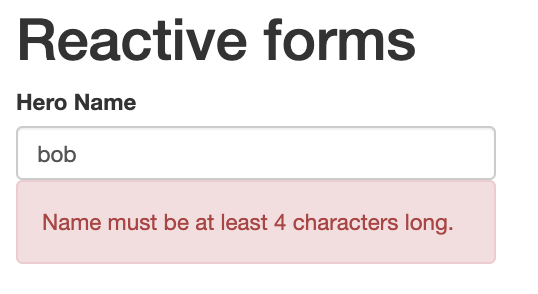
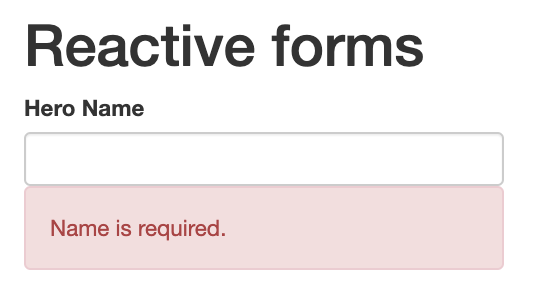
在 tempalte 中綁定 component 中的 FormControl,這邊我的寫法會跟 Angular 官方文檔的寫法不一樣,因為個人喜歡把顯示的邏輯放在 component 中,所以無論是判斷 name 是否 INVALID 或判斷 name error 的型態都是綁定 component 中的 method。
除了上面介紹的預設 Validator function 之外還可以客製化自己的 Validator 用於驗證各種表單內容,template-driven forms 和 reactive forms 都可以客製化自己的 Validator 但他們的方式不一樣,首先先介紹 template-driven forms 的方式。
在上面的例子中有使用一個 appForbiddenName 名稱不能為 bob 的 validator,但上面目前不會對 bob 這個名字進行驗證,是因為還沒建立屬於他的 validator,那麼就來創建這個客製化的驗證器吧
使用 Angular CLI 建立一個 directive
ng generate directive forbidden-name
在 forbidden-name.directive.ts 中加入 validator function
import { Directive, Input } from '@angular/core';                     // (1)
import {
  AbstractControl,
  NG_VALIDATORS,
  ValidationErrors,
  Validator,
  ValidatorFn,
} from '@angular/forms';                                              // (2)

@Directive({                                                          // (3)
  selector: '[appForbiddenName]',
  providers: [{provide: NG_VALIDATORS, useExisting: ForbiddenNameDirective, nulti: true}]
})
export class ForbiddenNameDirective implements Validator {            // (4)
  @Input('appForbiddenName') forbiddenName = '';                      // (5)
  constructor() {}

  forbiddenNameValidator(nameRe: RegExp): ValidatorFn {               // (6)
    return (control: AbstractControl): ValidationErrors | null => {
      const forbidden = nameRe.test(control.value);
      return forbidden ? { forbiddenName: { value: control.value } } : null;
    };
  }

  validate(control: AbstractControl): ValidationErrors | null {       // (7)
    return this.forbiddenName
      ? this.forbiddenNameValidator(new RegExp(this.forbiddenName, 'i'))(
          control
        )
      : null;
  }
}
@angular/core 中引入 Input
@angular/forms 中引入
AbstractControl 用於為傳入 validate function 的 input 定義型態NG_VALIDATORS 用於註冊與 AbstractControl 一起使用的 sync validators InjectionTokenValidationErrors 用於定義失敗的驗證檢查返回錯誤的映射Validator 是執行 sync validator 的 class 的 InterfaceValidatorFn 用於接收 FormControl 並 sync 的返回驗證錯誤的映射或返回 nullNG_VALIDATORS 使用 useExisting 以 ForbiddenNameDirective 為模板創建一個實例@Input() 裝飾 forbiddenName property 為輸入,並取別名為 appForbiddenName
介紹完 template-driven forms 的客製化驗證器後,接著介紹 reactive forms 的客製化驗證,他不像 template-driven forms 一樣需要建立一個 directive,只需要在 component 中的 FormControl 加入客製化驗證函數即可。
先在 reactive.component.ts 中新增一個客製化驗證函數
forbiddenNameValidator(nameRe: RegExp): ValidatorFn {
  return (control: AbstractControl): ValidationErrors | null => {
    const forbidden = nameRe.test(control.value);
    return forbidden ? { forbiddenName: { value: control.value } } : null;
  };
}
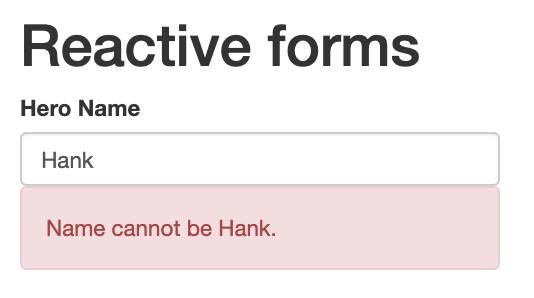
在 reactive.component.ts 中 FormGroup 的 name (FormControl) 的 Validator 中添加客製化驗證函數
hero = new FormGroup({
  name: new FormControl('', [
    Validators.required,
    Validators.minLength(4),
    this.forbiddenNameValidator(/hank/i),
  ]),
  alterEgo: new FormControl(''),
  power: new FormControl('', Validators.required),
});
本章介紹了如何在 template-driven forms 和 reactive forms 中添加預設的 validators function,也介紹了如何建立客製化的 validators function 然後加入到兩種不同的 forms 中,表單驗證在開發表單時非常重要,可以確保資料的確定性。
明天將會介紹 Form 的另一種使用方法,雖然再開發大型表單時可以使用 FormGroup 將類似的 FormControl 分組管理,但真的很大型的表單時還是會顯得非常雜亂難以維護,這時就需要使用 Control Value Accessor 這個功能,可以把它想像成 component 中的父子層,在上層的 Component 中定義大概的 Form Model,將細節放在子層的 component 中,這樣將整個表單內容以 Component 分割,可以更好的維護與測試,詳細該怎麼使用就明天再詳細講解吧,那麼明天見