參考頁面:
https://www.tensorflow.org/text/tutorials/classify_text_with_bert?hl=zh_tw
以及colab:
https://www.tensorflow.org/tutorials/images/segmentation?hl=zh_tw
首先,建議使用colab 開啟GPU的環境來運行,
本地端在只有CPU的情況運行,非常緩慢。
資料集使用的是IMDB影評的電影評論分成正向的評論及負面的評論,
未來希望能以未知的評論來預測,該評論是正面的還是負面的。
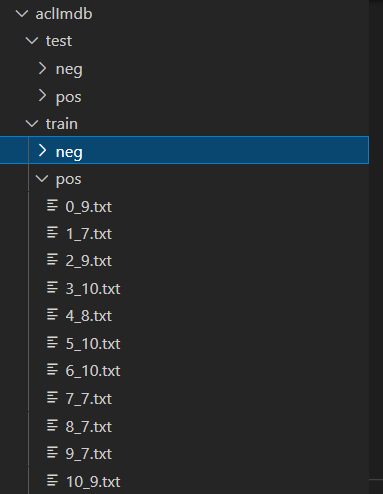
在使用tf.keras.preprocessing.text_dataset_from_directory(),請記得要把與訓練集與測試集檔案、資料夾等不相關的資訊移除,避免訓練錯誤。
可以發現資料集有train、test兩個資料夾,來區分訓練集與測試集,
個別又有pos、neg兩個類別,放置正向評論以及負向評論。
由於會對文字輸入資料進行處理,所以安裝tensorflow-text這個套件:
相對於過去我們只使用adam優化器,
這次我們想使用adamw優化器,所以安裝套件,如果改回使用adam也能正常使用: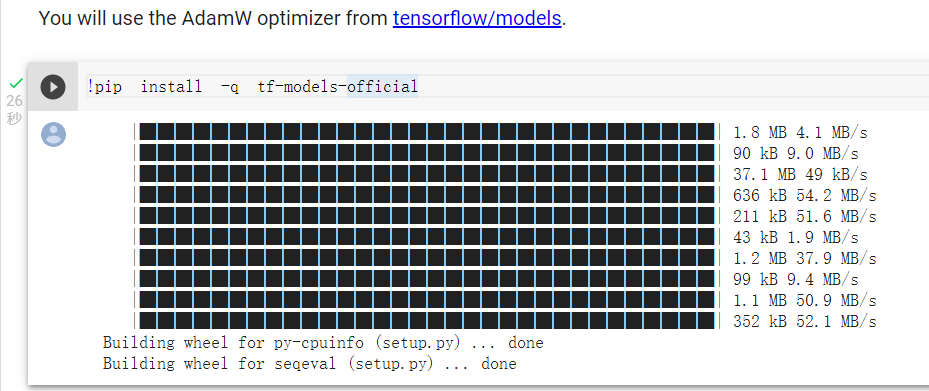
引入套件: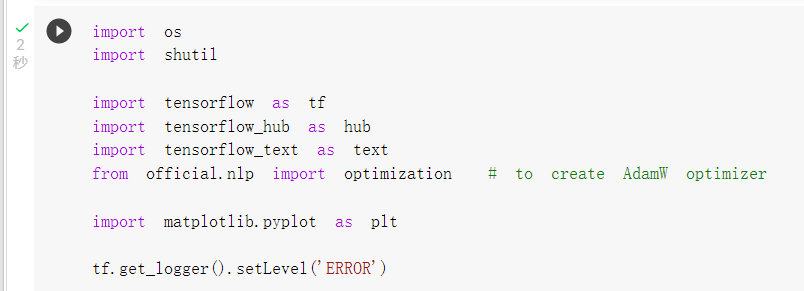
下載資料集,去除不相關的unsup資料夾: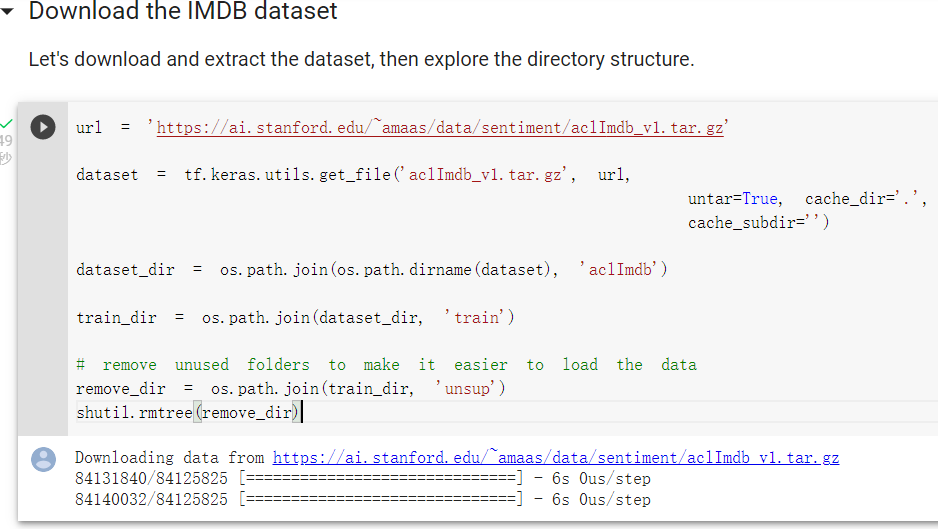
切分訓練、驗證、測試集(使用緩存來增加訓練速度):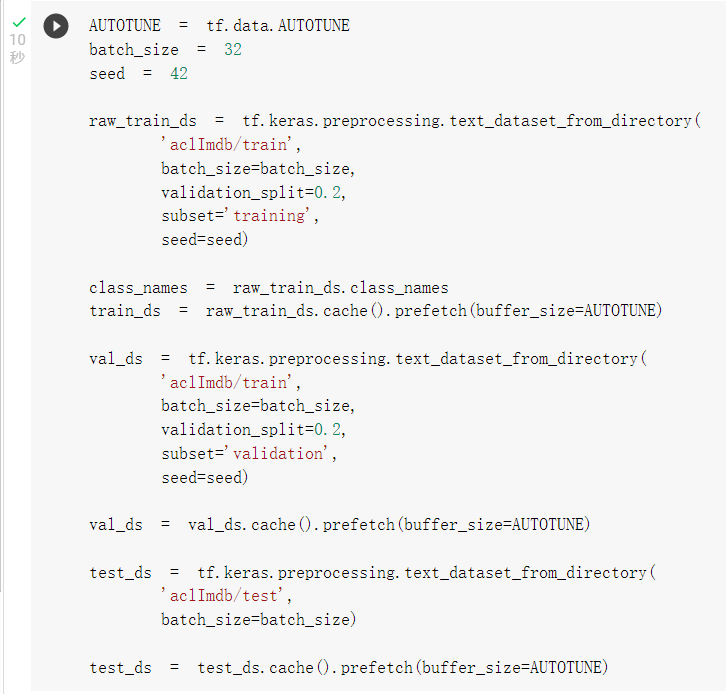
後面我們會用tf hub套件來載入前處理層(tfhub_handle_preprocess )及BERT模型(tfhub_handle_encoder),
這裡先設定要載入的url:
tfhub_handle_encoder = 'https://tfhub.dev/tensorflow/small_bert/bert_en_uncased_L-4_H-512_A-8/1'
tfhub_handle_preprocess = 'https://tfhub.dev/tensorflow/bert_en_uncased_preprocess/3'
如果想要使用中文的模型:
tfhub_handle_encoder = "https://hub.tensorflow.google.cn/tensorflow/bert_zh_L-12_H-768_A-12/4"
中文前處理:
import tensorflow_hub as hub
import tensorflow_text as text

tfhub_handle_preprocess = "https://hub.tensorflow.google.cn/tensorflow/bert_zh_preprocess/3"
bert_preprocess_model = hub.KerasLayer(tfhub_handle_preprocess)

text_test = ['我來自長庚大學']
text_preprocessed = bert_preprocess_model(text_test)

print(f'Keys       : {list(text_preprocessed.keys())}')
print(f'Shape      : {text_preprocessed["input_word_ids"].shape}')
print(f'Word Ids   : {text_preprocessed["input_word_ids"][0, :12]}')
print(f'Input Mask : {text_preprocessed["input_mask"][0, :12]}')
print(f'Type Ids   : {text_preprocessed["input_type_ids"][0, :12]}')

可以看到前處理層有三個輸出input_words_id, input_mask and input_type_ids以及他們的格式。
如果有更中意的BERT模型或是前處理層也可以從tf hub頁面搜尋BERT來尋找。
BERT模型輸出格式查看(還沒訓練,所以數值沒有意義):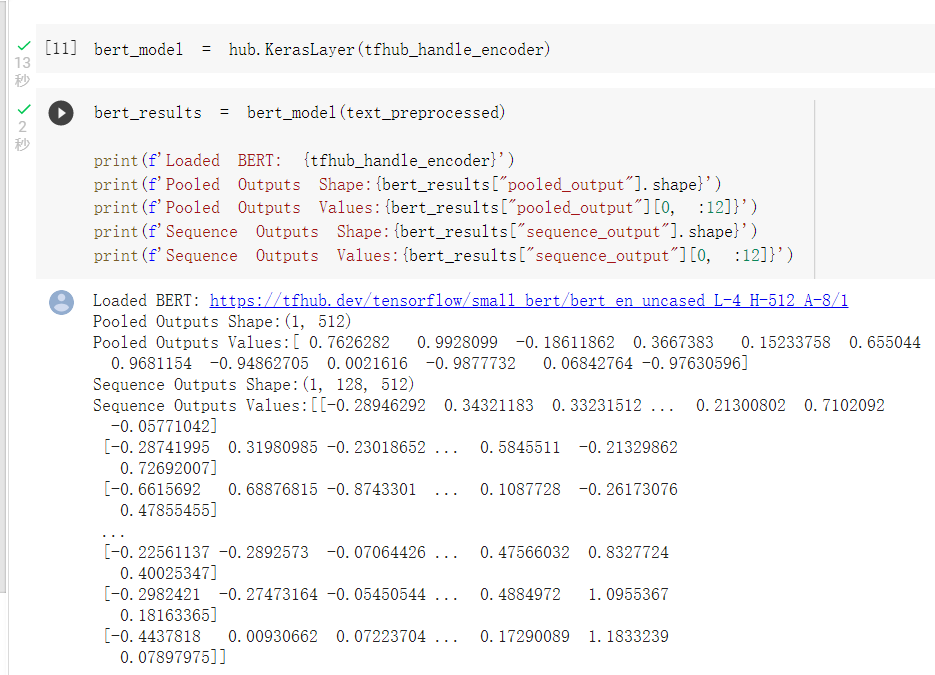
建立model:
模型結構: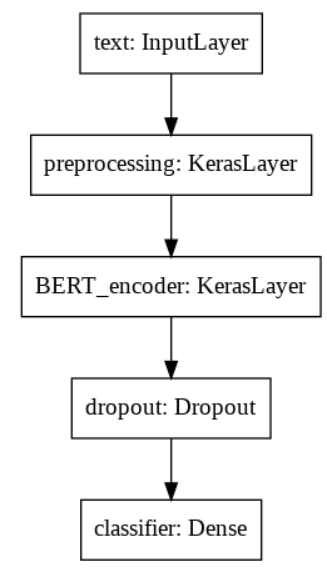
損失函數,由於類別只有兩類所以使用tf.keras.losses.BinaryCrossentropy(from_logits=True),而不是使用之前多個類別的losses.SparseCategoricalCrossentropy(from_logits=False):
設定adamw優化器:
compile以及訓練: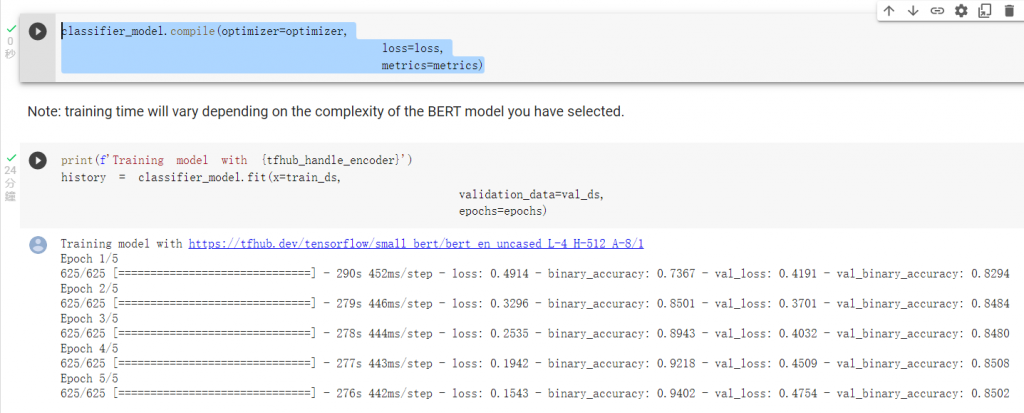
那可以以損失函數及準確度作圖: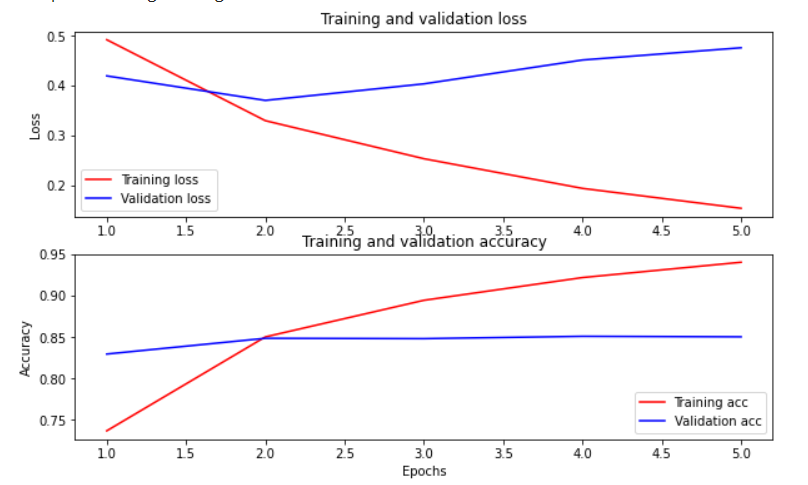
可以將模型進行保存及載入: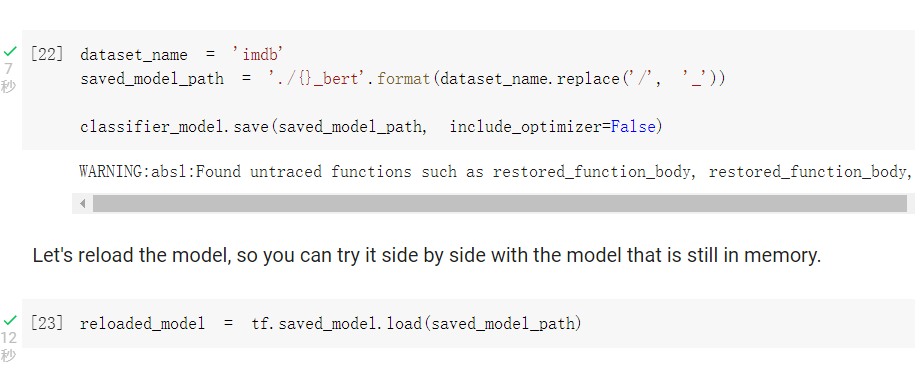
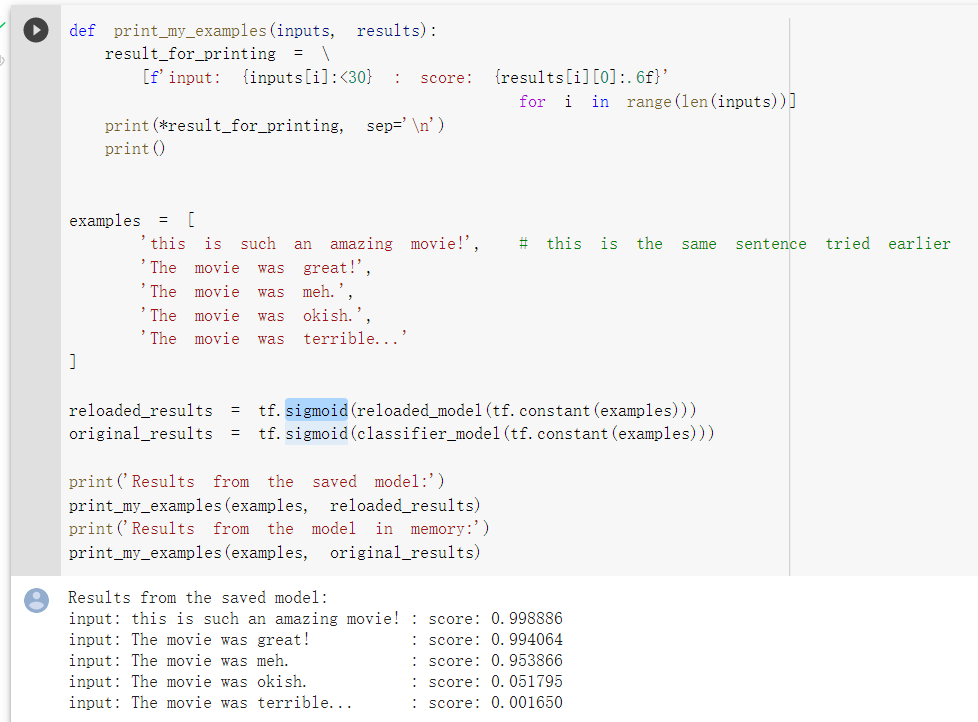
未來將文字進行預測: