預設已經幫我們建立一個 Text 元件"Hello world",且會看到Automatic Preview,這是一個執行預覽的的區塊,當我們打完程式碼的同時,該區塊就會立即呈現結果,可點擊 Resume 啟動 Automatic Preview,會從 Automatic Preview 看到"Hello world"。
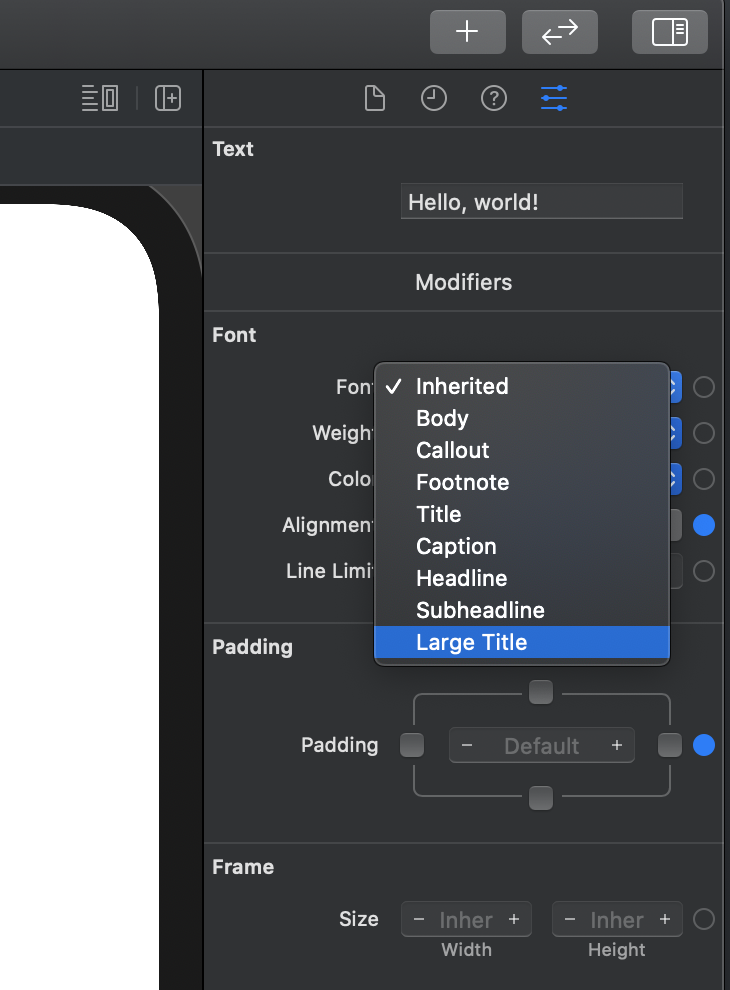
此時可以在工具區( Utility Area )下點選屬性檢閱器( Attributes Inspector ),對預設的Text 編輯屬性,會看到程式區塊的編輯區也將會同步更改
像是在 Automatic Preview 上選取預設的Text 後,在 Attributes Inspector 對 Font 進行編輯,選擇為 Large Title,預設的Text 就會標題就會變大
一樣的方式,換在 Attributes Inspector 對 Color 進行編輯,預設的Text 顏色就會更新至您選的顏色
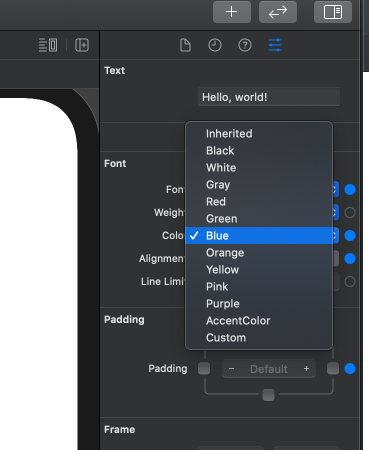
並且我們這邊編輯的結果,程式區塊的編輯區也會更新
struct ContentView: View {
    var body: some View {
        Text("Hello, world!")
            .font(.largeTitle)
            .foregroundColor(Color.blue)
            .multilineTextAlignment(.center)
            .padding()
    }
}
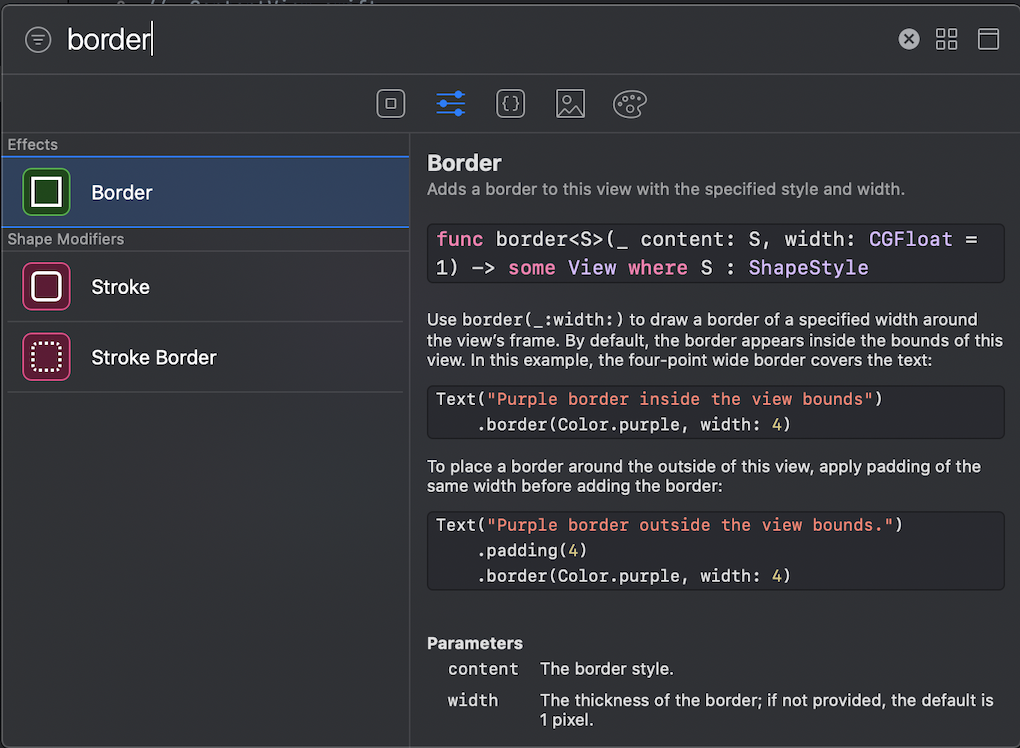
接下來我們來新增看看 Attributes Inspector 上沒有的屬性,首先點選 Xcode 右上角的元件庫(+)按鈕來顯示元件庫,類型選擇 Modifiers,搜尋 border 並拖拉至 Automatic Preview 的"Hello World" Text 上
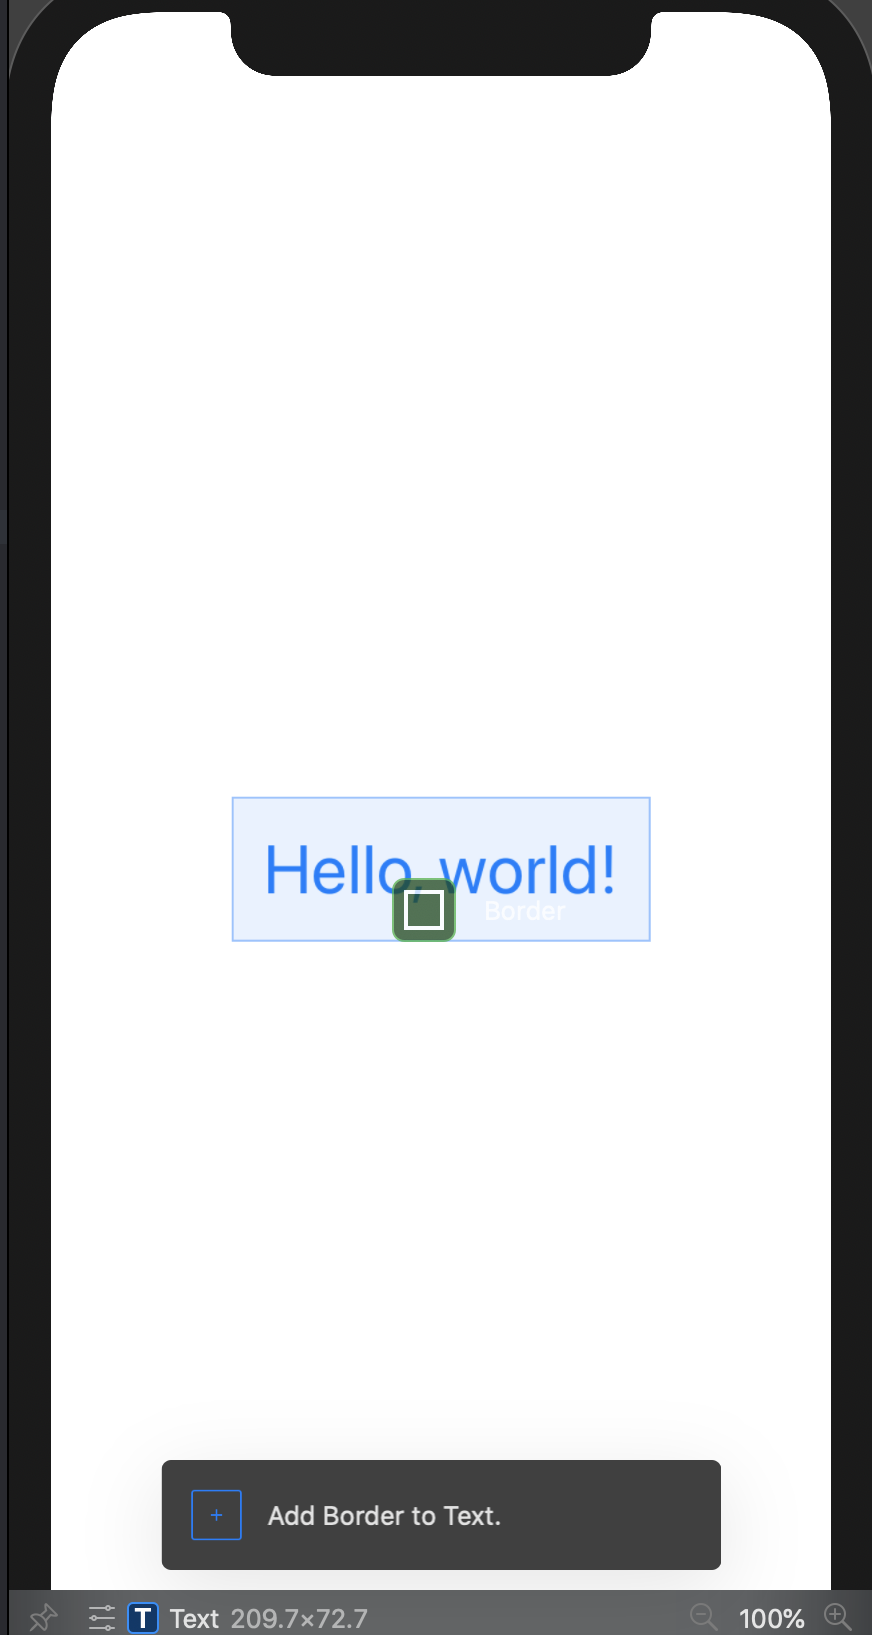
這樣就成功加上 border 這個屬性至 Text 上了
接下來我們試著從 Text 下方再加入一個 Text,首先一樣在 Xcode 右上角的元件庫(+)按鈕來顯示元件庫,類型選擇 Views,然後搜尋 Text,並拖拉至 Automatic Preview 預設的"Hello World" Text ,會依你拖曳至的位置,幫你預覽說新的 Text 會放在此 View(預設的HelloWorld Text)的哪個位置,如下圖
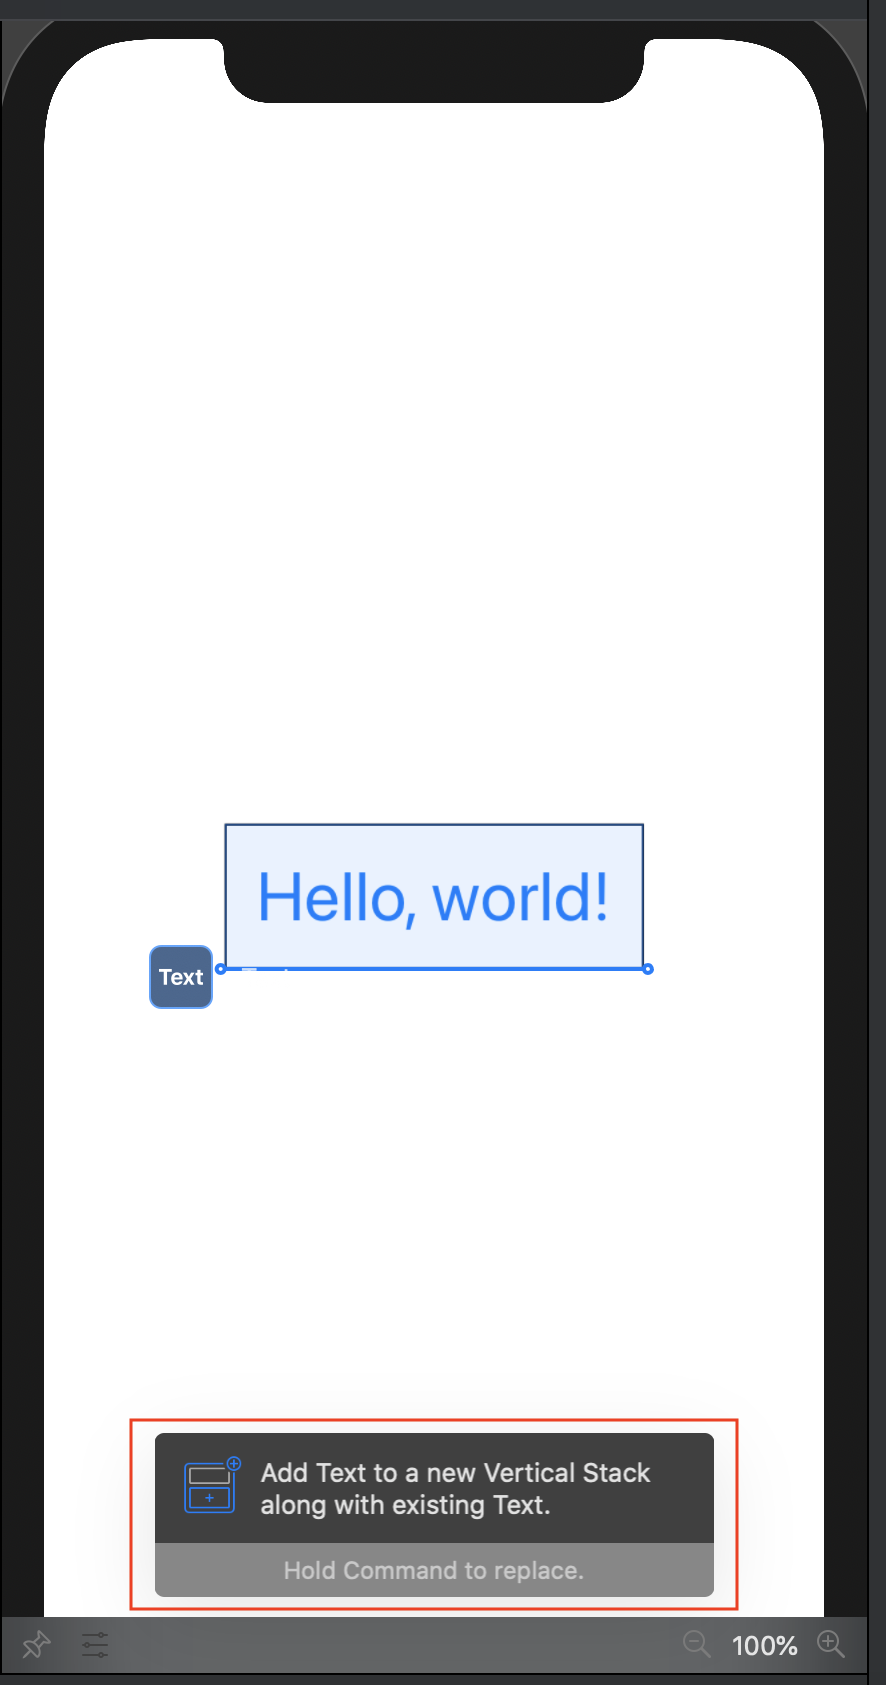
它會自動幫你依的拖曳完的位置,幫我們加上了 Vstack(垂直排列) 或 Hstack(水平排列),以作為ContentView的 body View物件
從元件庫拉進去後,程式區塊會幫我們產生預設的程式碼,有些地方會需要我們自行再去設計編輯,Xcode 會幫我們標注起來,如下圖
這邊直接點擊它並編輯成我們要顯示的文字即可
struct ContentView: View {
    var body: some View {
        VStack {
            Text("Hello, world!")
                .font(.largeTitle)
                .foregroundColor(Color.blue)
                .multilineTextAlignment(.center)
                .padding()
                .border(Color.black, width: 1)
            Text("Test")
        }
    }
}
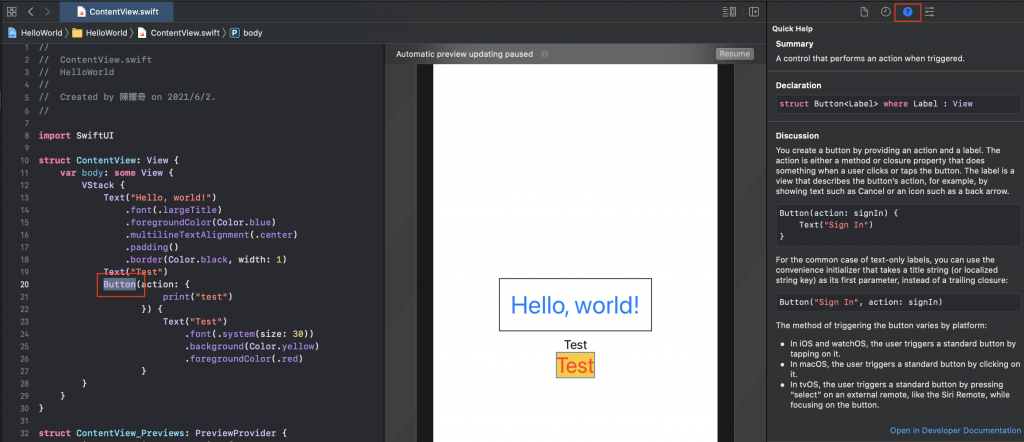
一樣的做法,我們來新增一個按鈕,在元件庫的Views 搜尋Button 並拖曳至您要的位置後,我們會發現,我們需要再去設定按鈕的 Action 點擊事件以及 Content 顯示的內容,這邊我們將按鈕設計如下
struct ContentView: View {
    var body: some View {
        VStack {
            Text("Hello, world!")
                .font(.largeTitle)
                .foregroundColor(Color.blue)
                .multilineTextAlignment(.center)
                .padding()
                .border(Color.black, width: 1)
            Text("Test")
            Button(action: {
                       print("test")
                   }) {
                       Text("Test")
                           .font(.system(size: 25))
                           .background(Color.yellow)
                           .foregroundColor(.red)
                   }
        }
    }
}
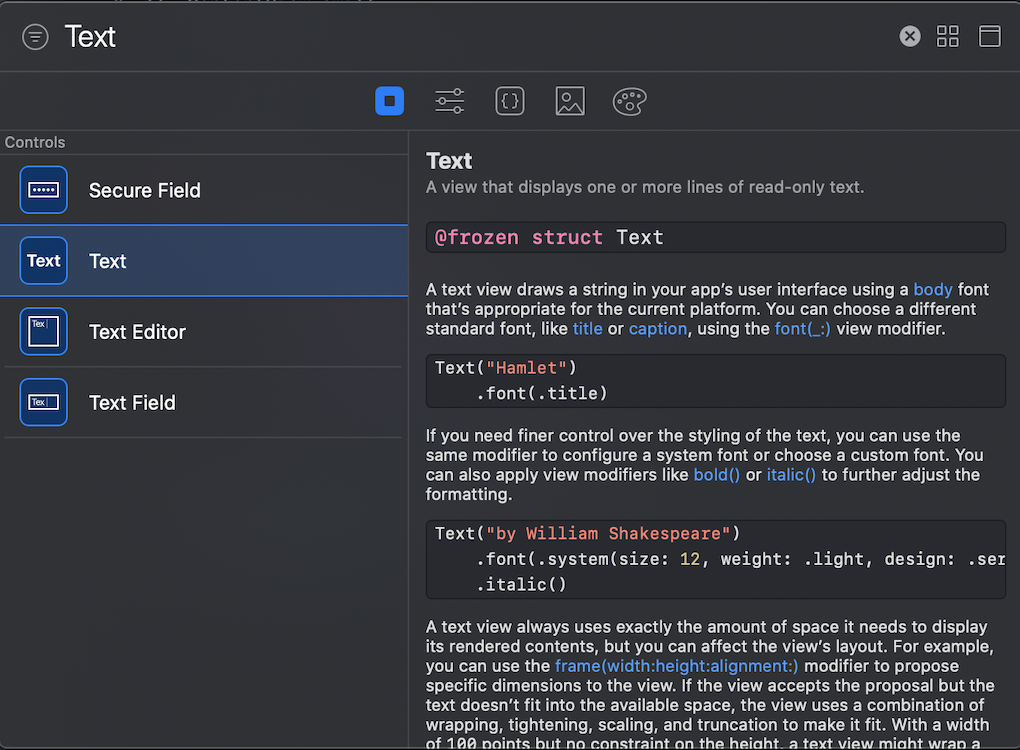
Xcode 還有個工具,可以讓我們看元件的一些介紹文件,在工具區( Utility Area )下點選Quick Help,就會顯示關於現在點擊或選取的元件簡介
以此類推就可以設計我們SwiftUI 下的畫面了
在介紹多頁面的轉換前,下面想先跟大家介紹一下 SwiftUI 的數據流向控制


 iThome鐵人賽