iT邦幫忙

2021 iThome 鐵人賽

DAY 6
0

創建Heroku APP

https://www.heroku.com/
進入網站註冊並登入Heroku
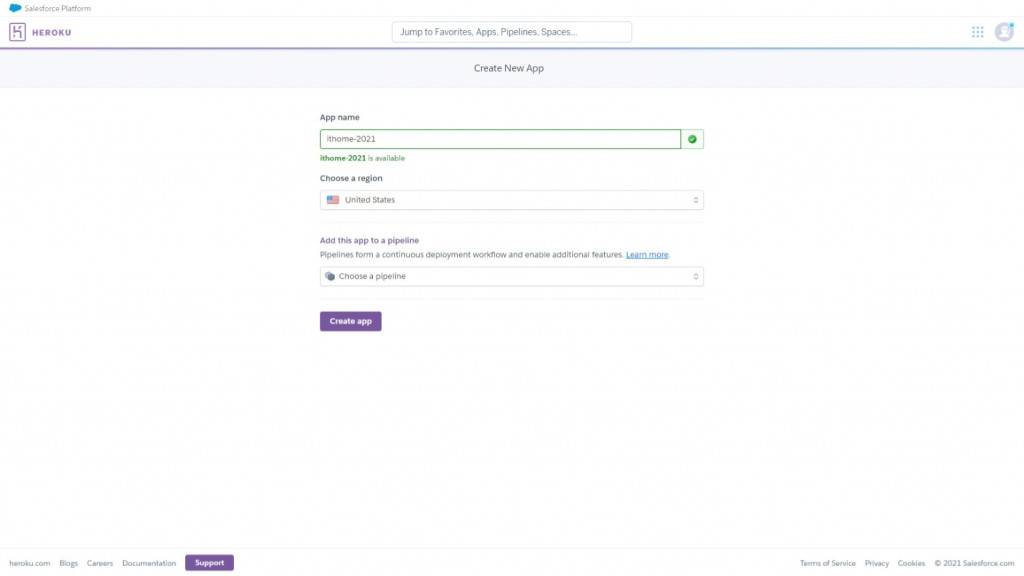
在儀表板頁面右上角New => Create new app
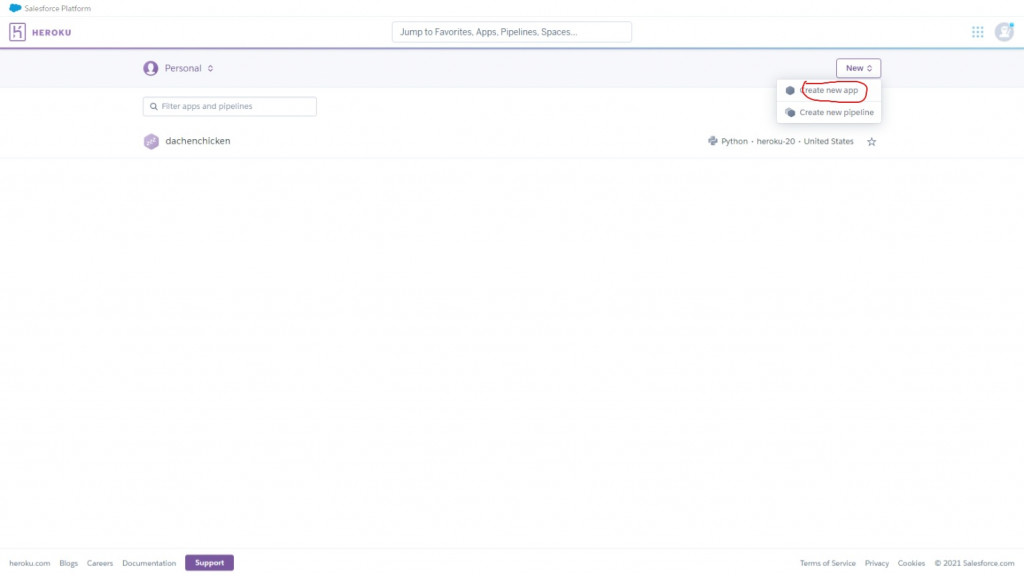
https://ithelp.ithome.com.tw/upload/images/20210905/20140165frTsATyfCU.jpg
在App name輸入你的app名字,並點Create app創建app
https://ithelp.ithome.com.tw/upload/images/20210905/20140165zQOCvxwOuc.jpg
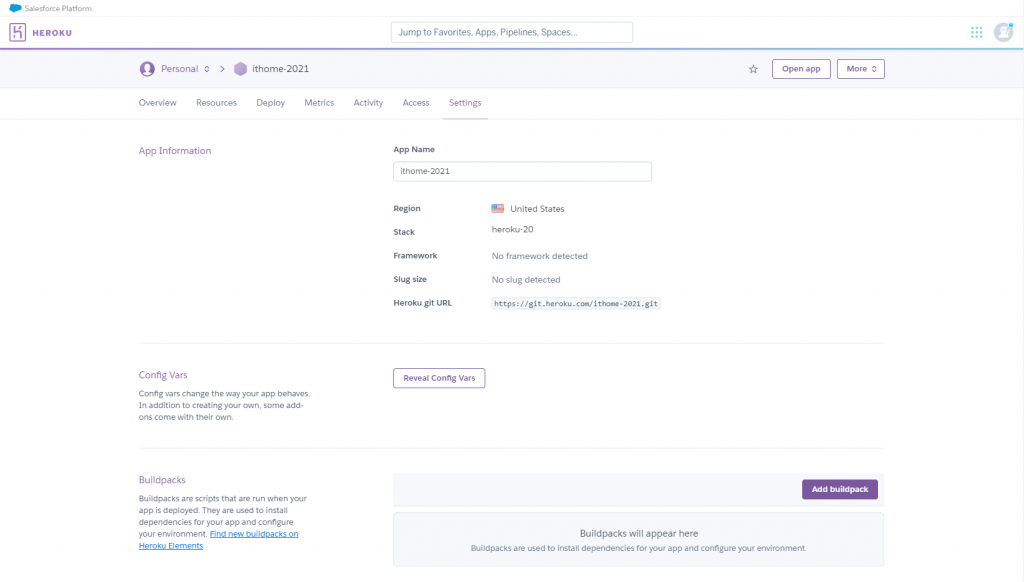
創建後至最右方Setting設定https://ithelp.ithome.com.tw/upload/images/20210905/20140165M5zxBpAgVU.png

Heroku CLI下載

進入網頁並下載Heroku CLI
https://devcenter.heroku.com/articles/heroku-command-line
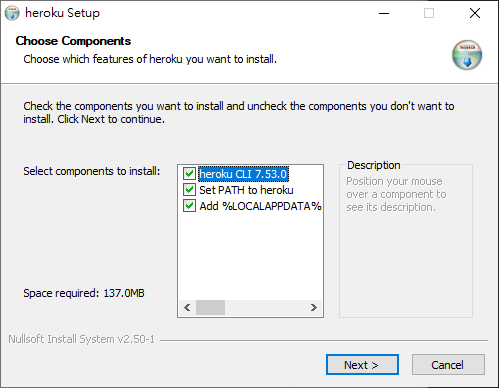
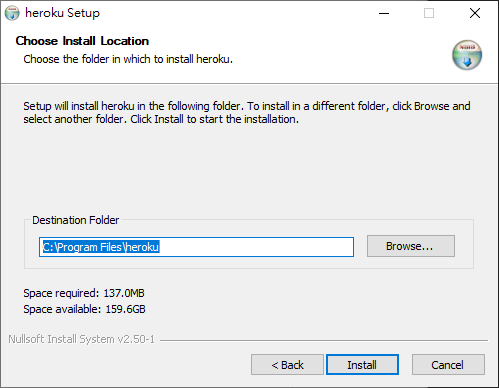
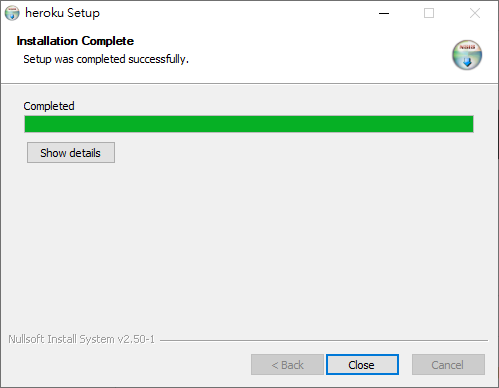
https://ithelp.ithome.com.tw/upload/images/20210905/20140165RTTsFL8j9y.pnghttps://ithelp.ithome.com.tw/upload/images/20210905/20140165c89E66Ic1r.png
close結束安裝
https://ithelp.ithome.com.tw/upload/images/20210905/201401650IS7IutO3F.png

部署Heroku

必要檔案建置

先在VS Code左邊檔案總管新增一個名為Procfile的檔案,並在裡面輸入

web: python app.py
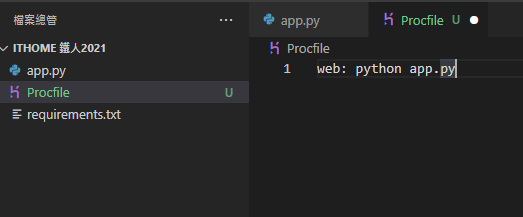
https://ithelp.ithome.com.tw/upload/images/20210905/20140165FMHCmRqiAM.png
requirements.txt檔案在前面測試時已經建立了

line-bot-sdk
flask
numpy
psycopg2

程式修改

這邊程式在本地端測試不會有問題,在部署至heroku前須要做修改,不然後面會報錯
將前面的這段程式

if __name__ == "__main__":
    app.run()

修改成下面這樣

import os
if __name__ == "__main__":
    port = int(os.environ.get('PORT', 5000))
    app.run(host='0.0.0.0', port=port)

部署

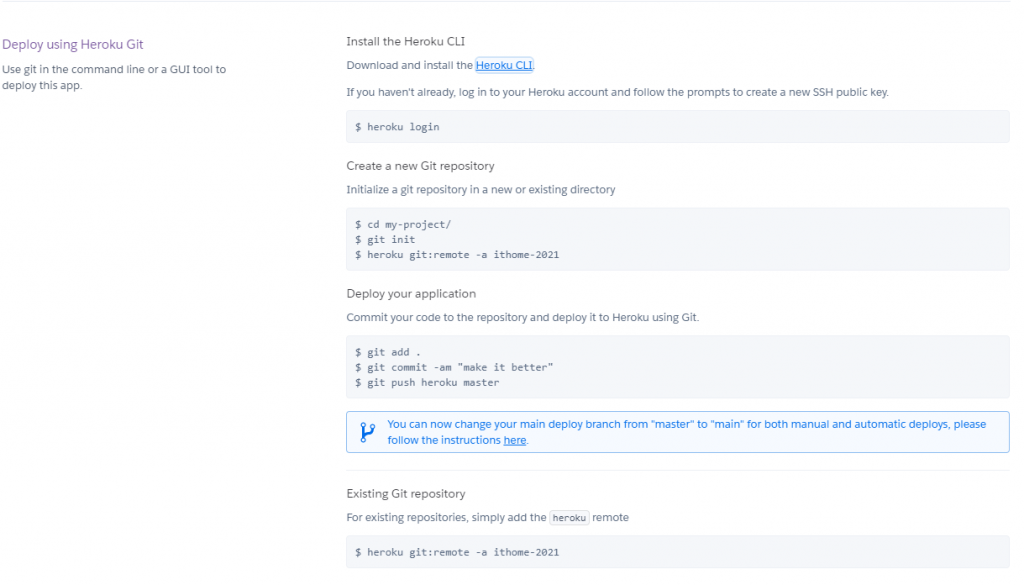
在Heroku儀表的Deploy有完整的教學
https://ithelp.ithome.com.tw/upload/images/20210905/20140165fGCG3XhjtQ.png
接著在VS Code右下新增一個命令提示字元分頁
輸入下方後,按任意鍵開啟瀏覽器登入你的heroku

heroku login

登入後關閉網頁
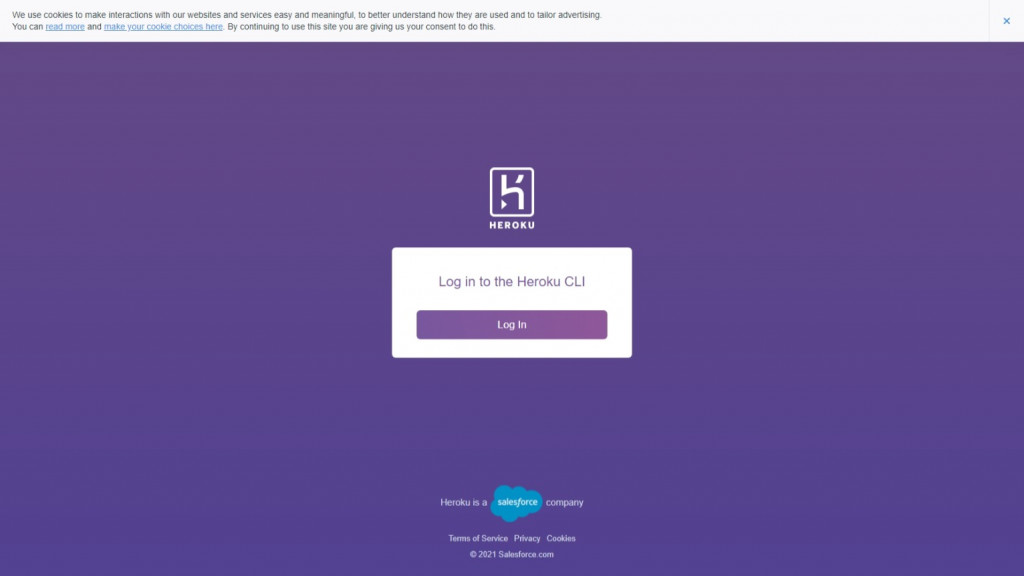
https://ithelp.ithome.com.tw/upload/images/20210905/20140165He2eXBk0xR.jpg
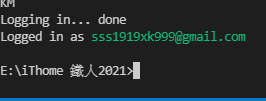
顯示這個代表登入成功
https://ithelp.ithome.com.tw/upload/images/20210905/20140165ALzlErJVc9.png
接著輸入下方新增Git Repository

git init

https://ithelp.ithome.com.tw/upload/images/20210905/20140165cXtRVpIRAU.png
接著把你的app的遠端節點添加至git

heroku git:remote -a 你的App名稱

https://ithelp.ithome.com.tw/upload/images/20210905/20140165TsrtRym9Ky.png
將你的buildpack設定為python

heroku buildpacks:set heroku/python

https://ithelp.ithome.com.tw/upload/images/20210905/20140165C3FUGZP8n7.png
設定你的git作者資訊

git config --global user.email "you@example.com"
git config --global user.name "Your Name"

提交你的程式到git儲存目錄,並部署至heroku

git add .
git commit -am "first deploy"
git push heroku master
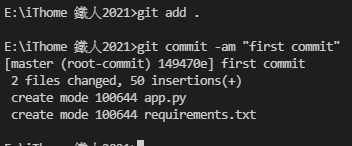
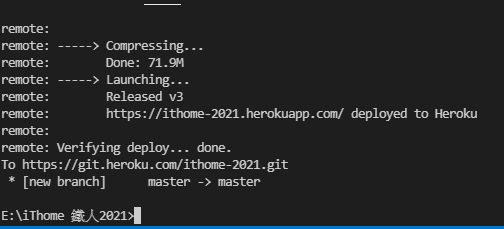
https://ithelp.ithome.com.tw/upload/images/20210905/20140165Jo5pMBWkgs.png
部屬完成
https://ithelp.ithome.com.tw/upload/images/20210905/201401652o2BiY11iL.png

接著開啟頻道頁面內的Messaging API
更改你的Webhook URL到你的heroku
按Update更新

https://你的App名稱.herokuapp.com/callback

接著點擊Verify,顯示Success代表連接成功了
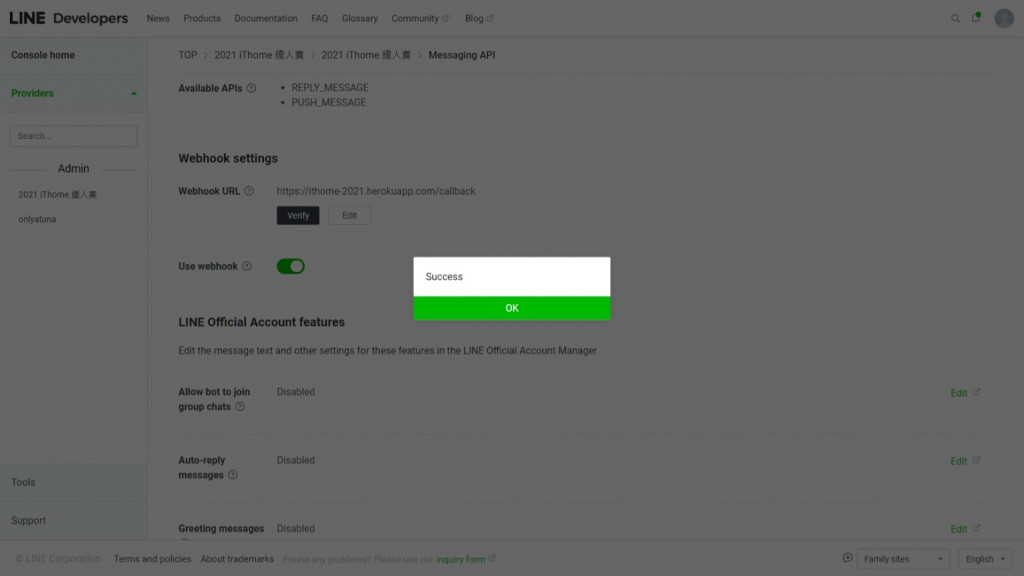
https://ithelp.ithome.com.tw/upload/images/20210905/20140165NiV71cawMC.jpg

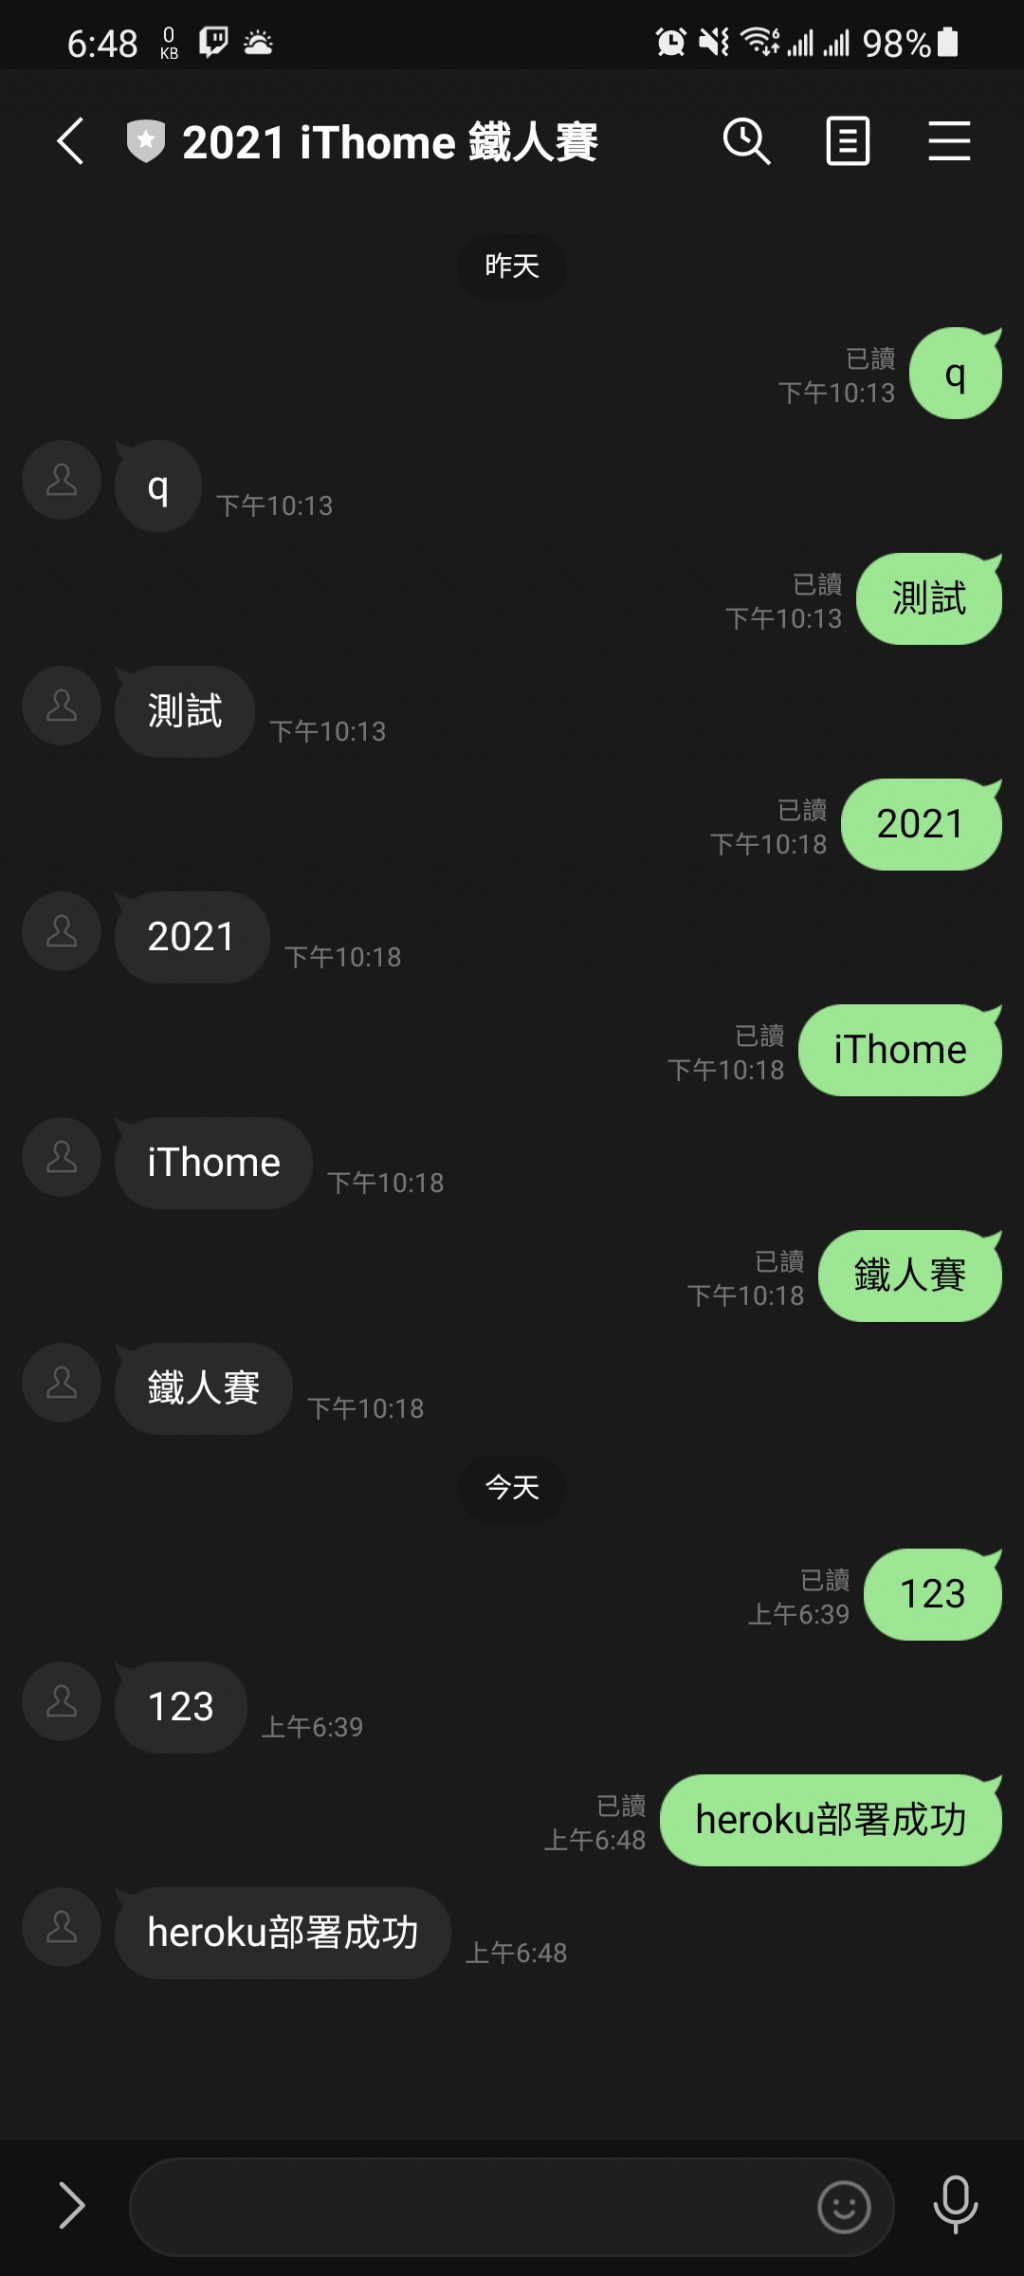
測試

https://ithelp.ithome.com.tw/upload/images/20210905/20140165gsj7Hk7wee.jpg

結語

在這篇之前切順利,這邊在部屬後發現報錯,不過問題很快就解決了


上一篇
Day 05 LINE bot上的Webhooks
下一篇
Day 07 line bot sdk python範例程式在做什麼
系列文
LINE Messaging API SDK for Python 實現群組團購輔助機器人30
圖片
  直播研討會
圖片
{{ item.channelVendor }} {{ item.webinarstarted }} |
{{ formatDate(item.duration) }}
直播中

尚未有邦友留言

立即登入留言