昨天我們已經成功地使用 HttpClient 發送 Http 請求,從 mock db 取得了英雄資料,並將資料列印在 console 裏。今天我們要進一步在畫面上顯示資料,並且加上 Angular Material 的元件,優化 app 畫面表現。
(現在,我們要召喚英靈們...)
我們不是已經召喚出來了嗎,他們在 console 裡躺得好好的呢。
(他們可是英靈,人家是有偶像包袱的,嫌你醜,不想被召喚。)
話要說清楚啊,妳應該是說這個 app 都沒樣式畫面醜吧?
(總之就是你自己得好好打理打理。)
妳是說好好處理 app 畫面吧!我發現妳說話越來越省略我很困擾。
(快去打理吧。)
首先,我們先使用 Angular 提供的結構指令 *ngFor 來顯示陣列資料。在 hero-list.component.html 中輸入:
<pre *ngFor="let hero of heroList">
    {{ hero | json }}
</pre>
這是一個很快可以將物件資料呈現在畫面上的寫法,簡單說明這些語法提供的效果:
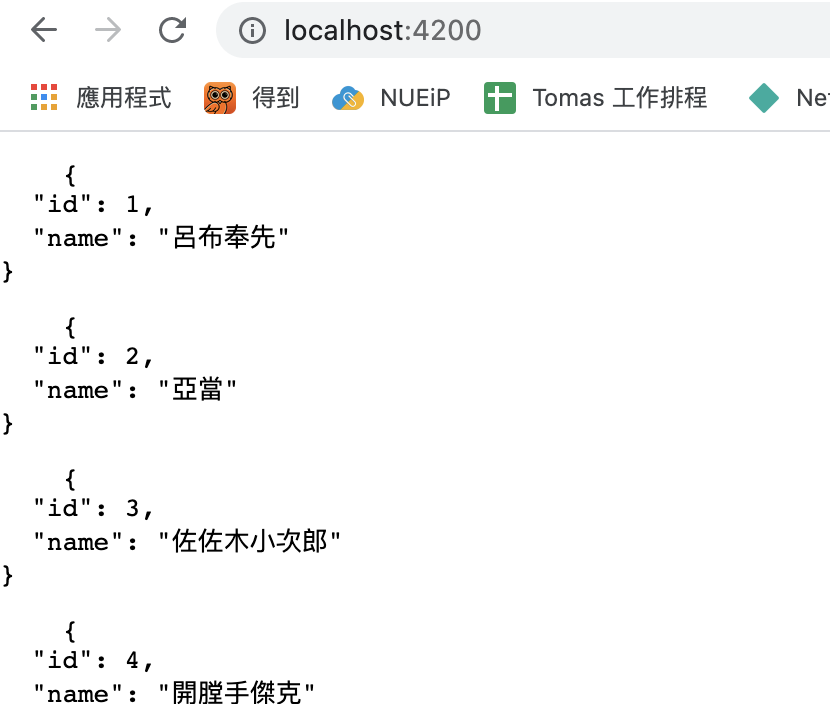
<pre> 標籤,會將標籤中的資料依原格式顯示,這會讓物件資料的排版更好地閱讀上面的程式碼輸出的結果如下,我在開發時很常使用它們來確認取得的資料:
將資料放到畫面上後,接著我們就要使用 Angular Material 元件來改善畫面體驗。
不得不說,現在要在專案中添加 Angular Material 簡直太容易了,只要進入專案目錄執行:
ng add @angular/material
它會詢問幾個設定配置問題,我一樣都是選擇預設值(Enter 鍵連發)。
接著馬上來試試看 Angular Material 提供給我們的元件,稍微逛了一下文件,作為展示英雄資訊,覺得可以讓每位英雄的資訊都用一個卡片來呈現。那我們就來試試看吧!
將文件中的範例 Copy Paste 到 hero-list.component.html 中,並使用 *ngFor 放上英雄資料:
  <mat-card class="hero-item" *ngFor="let hero of heroList">
    <mat-card-header>
      <div mat-card-avatar class="example-header-image"></div>
      <mat-card-title>{{ hero.name }}</mat-card-title>
      <mat-card-subtitle>Dog Breed</mat-card-subtitle>
    </mat-card-header>
    <img mat-card-image src="https://material.angular.io/assets/img/examples/shiba2.jpg" alt="Photo of a Shiba Inu">
    <mat-card-content>
      <p>
        The Shiba Inu is the smallest of the six original and distinct spitz breeds of dog from Japan.
        A small, agile dog that copes very well with mountainous terrain, the Shiba Inu was originally
        bred for hunting.
      </p>
    </mat-card-content>
    <mat-card-actions>
      <button mat-button>LIKE</button>
      <button mat-button>SHARE</button>
    </mat-card-actions>
  </mat-card>
首先,Angular Material 是將不同的元件封裝成不同的 module,所以我們在使用之前,需要先在 module 檔匯入對應的 Angular Material Module,所以我們打開 app.module.ts,在 imports 陣列中加入 MatCardModule:
import { NgModule } from '@angular/core';
import { BrowserModule } from '@angular/platform-browser';
import { HttpClientModule } from '@angular/common/http';

import { MatCardModule } from '@angular/material/card';

import { AppComponent } from './app.component';
import { HeroListComponent } from './hero-list/hero-list.component';
import { BrowserAnimationsModule } from '@angular/platform-browser/animations';

@NgModule({
  declarations: [
    AppComponent,
    HeroListComponent
  ],
  imports: [
    BrowserModule,
    HttpClientModule,
    BrowserAnimationsModule,
    MatCardModule,
  ],
  providers: [],
  bootstrap: [AppComponent]
})
export class AppModule { }
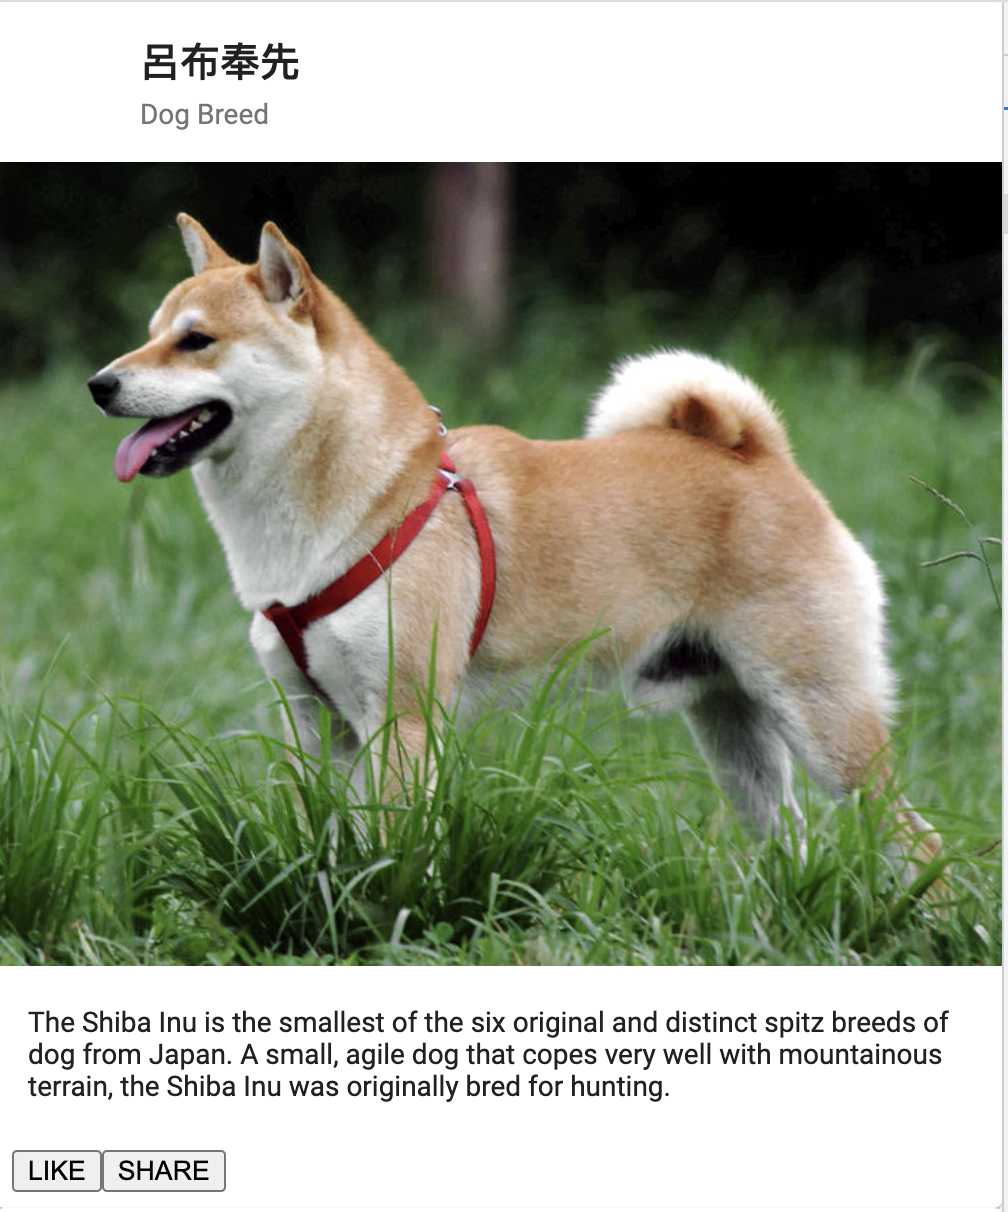
可以看到,目前我們並沒有那麼多資料需要顯示(subtitle、description),因此我們只是在 title 的資料顯示欄位,使用 Angular 的文字插值(interpolation),也就是兩個大括弧 {{ hero.name }} 來將資料顯示在畫面上。目前畫面會這樣呈現:

我們很快就會發現幾個問題:
針對最後一個問題,這是因為 Angular Material 的文件 Mat-Card 提供的範例程式碼就使用了 Mat-Button 提供的功能。目前,我們並沒有在 AppModule 匯入 MatButtonModule,所以我們的按鈕看起來比較沒質感。讓我們來匯入它:
(略)

import { MatCardModule } from '@angular/material/card';
import { MatButtonModule } from '@angular/material/button';

(略)

@NgModule({
  (略)
  imports: [
    BrowserModule,
    HttpClientModule,
    BrowserAnimationsModule,
    MatCardModule,
    MatButtonModule
  ],
  providers: [],
  bootstrap: [AppComponent]
})
export class AppModule { }
之後我們在打開 hero-list.component.html 將它的外層加上一個 <div class="hero-container"> 標籤:
<div class="hero-container">
  <mat-card class="hero-item" *ngFor="let hero of heroList">
    (略)
  </mat-card>
</div>
接著,hero-list.component.css 添加一些樣式:
.hero-container {
  display: flex;
  flex-wrap: wrap;
  justify-content: center;
}

.hero-item {
  flex-basis: 300px;
}
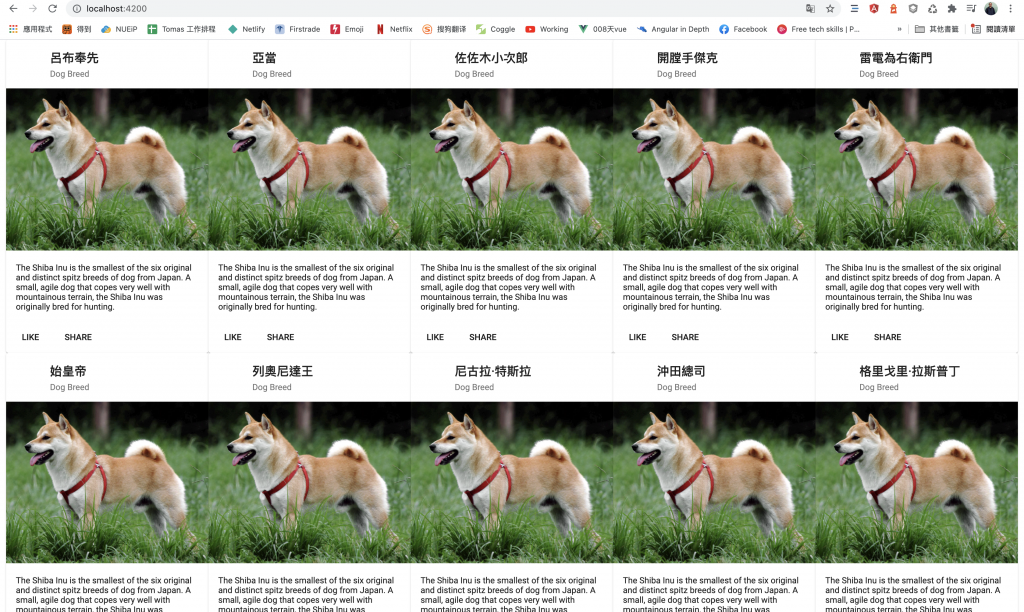
這樣英雄列表就會如下呈現啦:

就把人類存亡的命運交給他們吧>///////////<
