將英雄們顯示在 Mat-Card 上後,我們進一步地要對英雄資料做點加工,並且製作英雄詳細介紹頁面。今天會完成下列事項:
現在這些狗狗都召喚出來了,今天天氣不錯,請問現在是要去遛狗嗎?
(說話小心一點,呂布在你後面他很火。)
請問,這群狗是要怎麼拯救世界呢?他們是能變狗狗幣嗎?
(狗狗幣你確定不是來亂的嗎...看來你被外表所迷惑了啊。今天我們來讓你對這些英靈有更深刻的認識吧!)
你是說品種之類的嗎,我看他們品種都一樣啦...。
在 TypeScript 裡,我們可以用介面(interface)來製作資料模型檔案。這可以在開發期間提供很大的幫助,比如在資料傳遞時提供靜態檢核,或是在使用物件時,能夠提示你物件所擁有的屬性,大幅地減少拼字錯誤的可能性——這些,都仰賴我們確實地製作資料模型檔案。
我們可以將資料模型檔案放置在 shared 目錄下:
src
⌞app
  ⌞ shared
      ⌞ models
          hero.model.ts
現在我們在 hero.model.ts 檔案製作規範英雄物件會有的屬性或方法:
export interface Hero {
  id: number;        // id
  name: string;      // 姓名
  image?: string;    // 圖像
  hp: number;        // 生命值
  attack: number;    // 攻擊力
  defence: number;   // 防禦力
  weapon?: string;   // 武器
  skill?: string;    // 必殺技
}
在介面中,若後方帶有 ? 表示這是可選屬性,物件中可能有這個屬性、也可能沒有。例如,英雄可能不會配有武器(weapon),例如葉問。葉問拿武器就好比 macbook 配滑鼠會被笑的(亂講)。
接著,我們就製作好的介面放置到對應的位置,打開 hero-list.component.ts,我們在使用 Http 請求英雄資料時,同時宣告會取得的資料型態(在 http.get後方加上 <Hero[]>):
import { Component, OnInit } from '@angular/core';
import { HttpClient } from '@angular/common/http';

import { Hero } from './../shared/models/hero.model';
@Component({
  selector: 'app-hero-list',
  templateUrl: './hero-list.component.html',
  styleUrls: ['./hero-list.component.css']
})
export class HeroListComponent implements OnInit {

  heroList: Hero[] = [];

  constructor(
    private http: HttpClient
  ) {}

  ngOnInit(): void {
    this.http.get<Hero[]>('api/heros').subscribe((heroList) => {
      this.heroList = heroList;
    });
  }
}
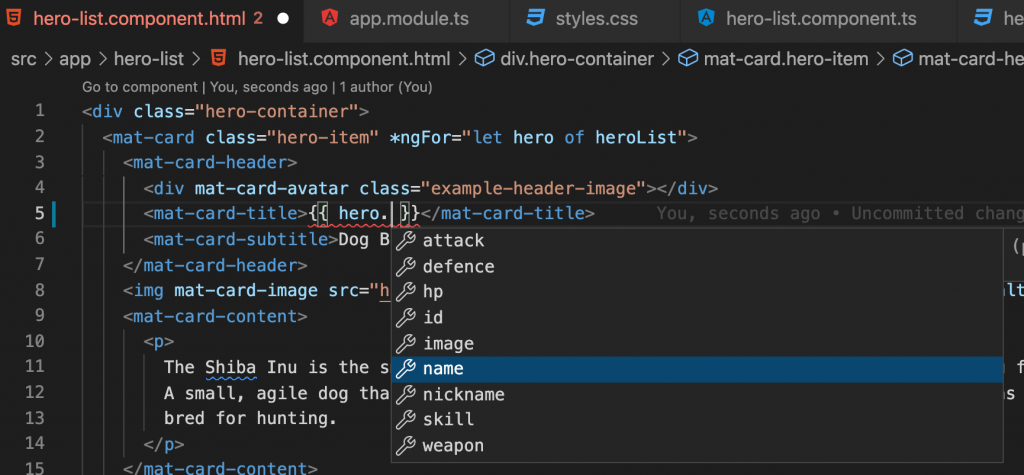
同時,也在宣告屬性 heroList 的同時標註他的介面為 Hero[]。這樣當取得資料型態不一致時,在開發階段就會看到錯誤訊息。也因為確實地標明了屬性的介面,在開發時就可以享受到屬性提示的好處:
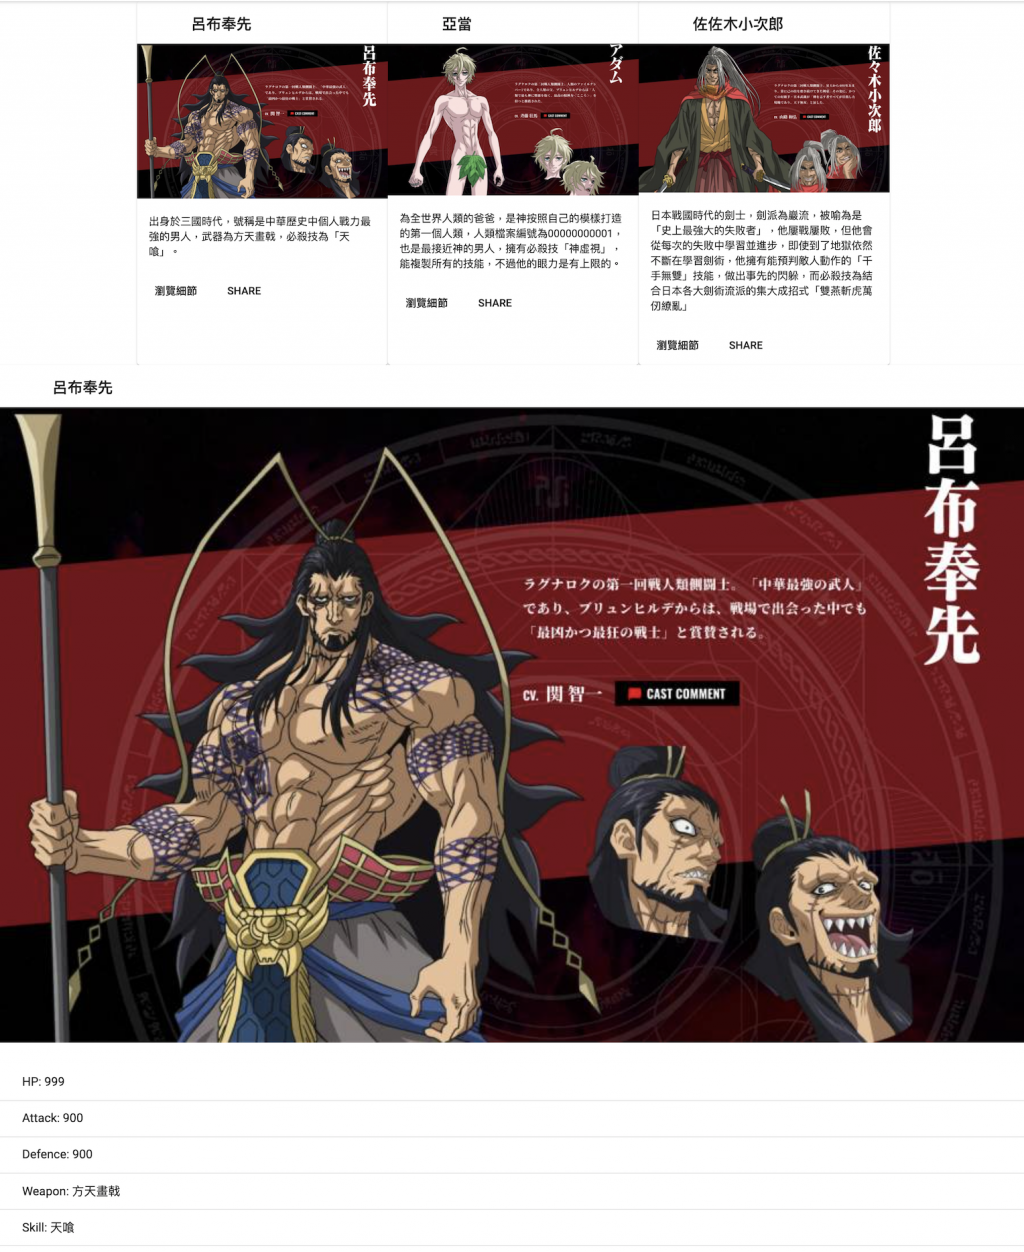
因為我們的經費沒有那麼多,請不起這麼多的英靈(其實是為了演示方便),我們先將英靈總數調降為 3 人,並為他們填上較詳盡的資料,請將下列資料更新到 db.json 中:
{
  "heros": [
    {
      "id": 1,
      "name": "呂布奉先",
      "image": "https://i0.zi.org.tw/ddm/2021/06/1624399697-0ad6a83f8d158a95db281bdd223a56b1.jpg",
      "hp": 999,
      "attack": 900,
      "defence": 900,
      "weapon": "方天畫戟",
      "skill": "天喰",
      "description": "出身於三國時代,號稱是中華歷史中個人戰力最強的男人,武器為方天畫戟,必殺技為「天喰」。"
    },
    {
      "id": 2,
      "name": "亞當",
      "image": "https://i0.zi.org.tw/ddm/2021/06/1624400056-7d129b933d846f4350625816bb9d5992.jpg",
      "hp": 500,
      "attack": 999,
      "defence": 100,
      "weapon": "指虎",
      "skill": "神虛視",
      "description": "為全世界人類的爸爸,是神按照自己的模樣打造的第一個人類,人類檔案編號為00000000001,也是最接近神的男人,擁有必殺技「神虛視」,能複製所有的技能,不過他的眼力是有上限的。"
    },
    {
      "id": 3,
      "name": "佐佐木小次郎",
      "image": "https://i0.zi.org.tw/ddm/2021/06/1624400405-c2a2d77d29397a6bfef69367fbeba681.jpg",
      "hp": 600,
      "attack": 700,
      "defence": 600,
      "weapon": "備前長船長光",
      "skill": "雙燕斬虎萬仞繚亂",
      "description": "日本戰國時代的劍士,劍派為巖流,被喻為是「史上最強大的失敗者」,他屢戰屢敗,但他會從每次的失敗中學習並進步,即使到了地獄依然不斷在學習劍術,他擁有能預判敵人動作的「千手無雙」技能,做出事先的閃躲,而必殺技為結合日本各大劍術流派的集大成招式「雙燕斬虎萬仞繚亂」"
    }
  ]
}
資料來源:多多看電影。《終末的女武神》對戰名單|13位最強人類+13最強神祇 必殺技角色解析總整理!
並調整 hero-list.component.html 顯示的資料:
<div class="hero-container">
  <mat-card class="hero-item" *ngFor="let hero of heroList">
    <mat-card-header>
      <div mat-card-avatar></div>
      <mat-card-title>{{ hero.name }}</mat-card-title>
    </mat-card-header>
    <img mat-card-image [src]="hero.image" [alt]="hero.name">
    <mat-card-content>
      <p>
        {{ hero.description }}
      </p>
    </mat-card-content>
    <mat-card-actions>
      <button mat-button>LIKE</button>
      <button mat-button>SHARE</button>
    </mat-card-actions>
  </mat-card>
</div>
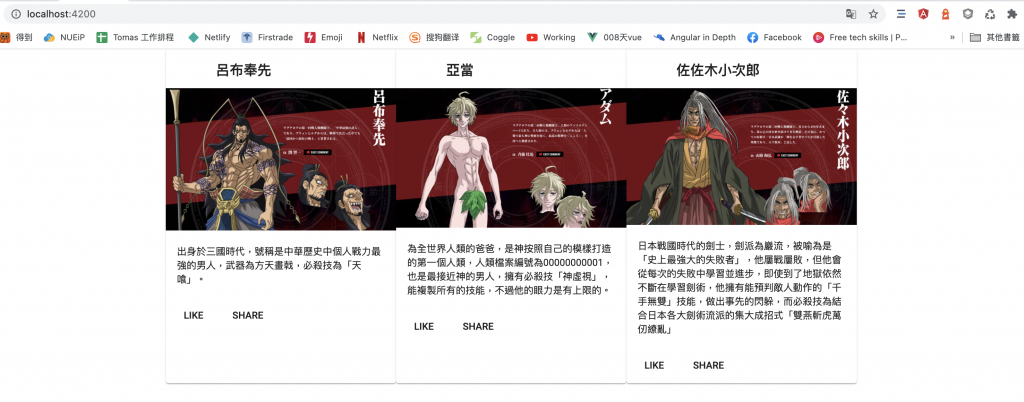
這裡,我們在 中使用了屬性繫結(property binding),將 <img> 擁有的屬性放入英雄資料。目前我們的畫面如下:
現在我們要製作一個英雄資訊細節元件,讓使用者可以進一步瀏覽英雄資訊,讓我們到 app 資料夾下執行:
ng g c hero-detail // g for generate, c for component
檔案目錄結構如下:
src
⌞app
  ⌞ hero-list
  ⌞ hero-detail
      ⌞ hero-detail.component.html
      ⌞ hero-detail.component.css
      ⌞ hero-detail.component.ts
接著分別編輯下列檔案:hero.detail.component.ts:
import { Component, Input, OnInit } from '@angular/core';

import { Hero } from '../shared/models/hero.model';

@Component({
  selector: 'app-hero-detail',
  templateUrl: './hero-detail.component.html',
  styleUrls: ['./hero-detail.component.css']
})
export class HeroDetailComponent implements OnInit {

  @Input() hero: Hero | null = null;

  constructor() { }

  ngOnInit(): void {
  }

}
@Input() 是個裝飾器,當一個屬性加上此裝飾器時,使用 HeroDetailComponent 元件的地方,就可以針對這個屬性 hero 使用屬性繫結來傳遞資料。等等我們也會在 HeroListComponent 使用 HeroDetailComponent,並對 hero 進行屬性繫結。
以及hero.detail.component.html:
<mat-card *ngIf="hero">
  <mat-card-header>
    <div mat-card-avatar></div>
    <mat-card-title>{{ hero.name }}</mat-card-title>
  </mat-card-header>
  <img mat-card-image [src]="hero.image" [alt]="hero.name">
  <mat-card-content>
    <mat-list>
      <mat-list-item>HP: {{ hero.hp}}</mat-list-item>
      <mat-divider></mat-divider>
      <mat-list-item>Attack: {{ hero.attack }}</mat-list-item>
      <mat-divider></mat-divider>
      <mat-list-item>Defence: {{ hero.defence}}</mat-list-item>
      <mat-divider></mat-divider>
      <mat-list-item>Weapon: {{ hero.weapon}}</mat-list-item>
      <mat-divider></mat-divider>
      <mat-list-item>Skill:  {{ hero.skill}}</mat-list-item>
      <mat-divider></mat-divider>
    </mat-list>
  </mat-card-content>
</mat-card>
並且,因為使用了更多 Angular Material 元件,我們也要在 app.module.ts 匯入 MatDividerModule 及 MatListModule:
import { NgModule } from '@angular/core';
import { BrowserModule } from '@angular/platform-browser';
import { HttpClientModule } from '@angular/common/http';
import { BrowserAnimationsModule } from '@angular/platform-browser/animations';

import { MatCardModule } from '@angular/material/card';
import { MatButtonModule } from '@angular/material/button';
import { MatDividerModule } from '@angular/material/divider';
import { MatListModule } from '@angular/material/list';

import { AppComponent } from './app.component';
import { HeroListComponent } from './hero-list/hero-list.component';
import { HeroDetailComponent } from './hero-detail/hero-detail.component';

@NgModule({
  declarations: [
    AppComponent,
    HeroListComponent,
    HeroDetailComponent
  ],
  imports: [
    BrowserModule,
    HttpClientModule,
    BrowserAnimationsModule,
    MatCardModule,
    MatButtonModule,
    MatDividerModule,
    MatListModule
  ],
  providers: [],
  bootstrap: [AppComponent]
})
export class AppModule { }
我們已經完成了 HeroDetailComponent ,現在我們將它放到 HeroListComponent 上來使用。請調整 hero-list.component.html:
<div class="hero-container">
  <mat-card class="hero-item" *ngFor="let hero of heroList">
    <mat-card-header>
      <div mat-card-avatar></div>
      <mat-card-title>{{ hero.name }}</mat-card-title>
    </mat-card-header>
    <img mat-card-image [src]="hero.image" [alt]="hero.name">
    <mat-card-content>
      <p>
        {{ hero.description }}
      </p>
    </mat-card-content>
    <mat-card-actions>
      <button mat-button (click)="viewHeroDetail(hero.id)">瀏覽細節</button>
      <button mat-button>SHARE</button>
    </mat-card-actions>
  </mat-card>
</div>

<app-hero-detail [hero]="selectedHero"></app-hero-detail>
我們在下方使用新元件 <app-hero-detail> ,並屬性繫結 hero ,傳入的資料為 selectedHero。而在第一個按鈕,我們綁定 click 事件,當發生 click 事件時就要呼叫 viewHeroDetail 方法,並且要將 hero.id 作為參數傳入此方法中。
我們的規劃是:viewHeroDetail 這個方法會找到選擇英雄資料,將資料賦予 selectedHero。之後 selectedHero 便會透過屬性繫結(綁定 HeroDetailComponent 的 hero 屬性),selectedHero 便會將自己傳入 <app-hero-detail> 中。現在,我們來 hero-detail.component.ts 實現這個機制:
import { Component, OnInit } from '@angular/core';
import { HttpClient } from '@angular/common/http';

import { Hero } from './../shared/models/hero.model';
@Component({
  selector: 'app-hero-list',
  templateUrl: './hero-list.component.html',
  styleUrls: ['./hero-list.component.css']
})
export class HeroListComponent implements OnInit {

  heroList: Hero[] = [];
  selectedHero: Hero | null = null;

  constructor(
    private http: HttpClient
  ) {}

  ngOnInit(): void {
    this.http.get<Hero[]>('api/heros').subscribe((heroList) => {
      this.heroList = heroList;
    });
  }

  viewHeroDetail(heroId: number): void {
    this.selectedHero = this.heroList.find((hero) => hero.id === heroId)!;
  }

}
目前的畫面如下,如果點擊不同英雄卡片中的按鈕「瀏覽細節」,下方的細節資訊就會切換顯示。