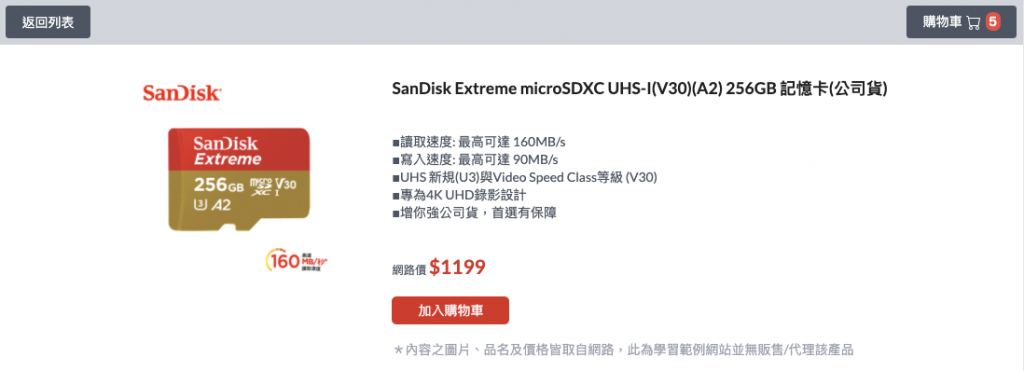
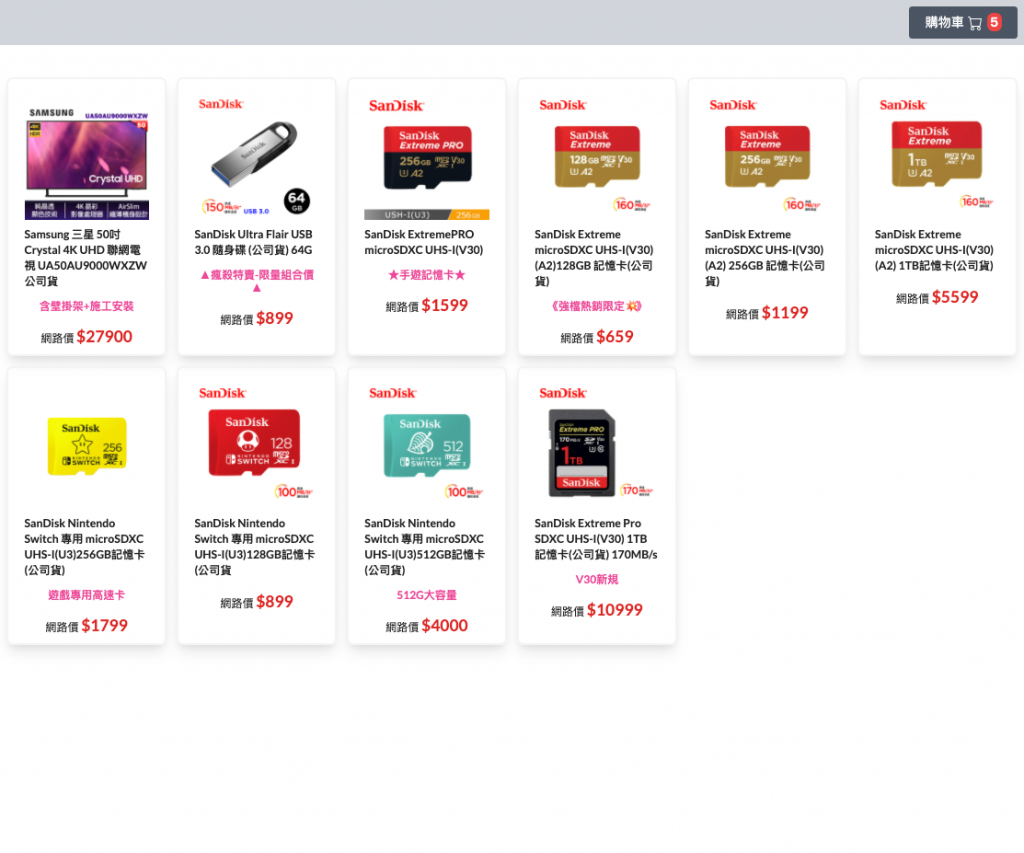
實作了商品細節頁之後就要把商品加進購物車啦,今天會把要買的東西存進 Laravel 的 Session 中。那就來看看怎麼做吧!
很多購物網站在最上方的導航列都會有一個購物車按鈕讓你點進去看到底在購物車中放了什麼東西,我們目前還沒有所以就先刻一個!順便讓他顯示購物車中有多少項目!

這邊稍微修改一下昨天最後做的導航列,一樣在 index.blade.php 中。
    <div class="h-15 bg-gray-300 p-2 -mx-2 -mt-2 mb-10 flex justify-between">
        <div>
            @if($selectedItem)
                <button class="bg-gray-600 text-white px-5 py-2 h-10 rounded" wire:click="cleanItem">返回列表</button>
            @endif
        </div>

        <button class="bg-gray-600 text-white px-5 py-2 h-10 rounded">
            <span>購物車</span>
            <svg xmlns="http://www.w3.org/2000/svg" width="16" height="16" fill="currentColor" class="bi bi-cart inline" viewBox="0 0 16 16">
                <path d="M0 1.5A.5.5 0 0 1 .5 1H2a.5.5 0 0 1 .485.379L2.89 3H14.5a.5.5 0 0 1 .491.592l-1.5 8A.5.5 0 0 1 13 12H4a.5.5 0 0 1-.491-.408L2.01 3.607 1.61 2H.5a.5.5 0 0 1-.5-.5zM3.102 4l1.313 7h8.17l1.313-7H3.102zM5 12a2 2 0 1 0 0 4 2 2 0 0 0 0-4zm7 0a2 2 0 1 0 0 4 2 2 0 0 0 0-4zm-7 1a1 1 0 1 1 0 2 1 1 0 0 1 0-2zm7 0a1 1 0 1 1 0 2 1 1 0 0 1 0-2z"/>
            </svg>
            <div class="bg-red-500 text-white font-extrabold rounded-lg inline px-1">5</div>
        </button>
    </div>

因為只會有兩個按鈕,所以偷懶了一下用左右對齊的排版 flex justify-between 方式來做!
這時我們要回到商品細節頁 item-detail.blade.php 中,去實作按鈕的功能,讓他按了能觸發後端的 Function:
<button class="..." wire:click="addToCart">加入購物車</button>
當然別忘記後端,為了之後在顯示時不用逐一去拉資料庫的資料,因此直接整理一下顯示購物車時會用到的資料然後直接存入 Session 中。並發一個 $emit 好讓主畫面能夠知道 Session 有被更新過。
註:這是懶散的做法,嚴謹一點的話只能存
id並在顯示列表時所有的商品資料都從資料庫拿。
public function addToCart()
{
    $item = array(
        'id' => $this->item->id,
        'name' => $this->item->name,
        'image_url' => $this->item->image_url,
        'price' => $this->item->price,
    );

    session()->push('cart', $item);

    // 推送事件,讓主畫面能更新 Session
    $this->emit('addToCart');
}
剛剛刻畫面時我們暫且放了一個數字5,現在就可以做成動態的了!
首先在後端宣告一個 $cart 變數來存目前購物車中的數量,之後再宣告一個函式去拿 Session 的值。別忘了剛剛做的 $emit 需要一個 $listeners 來做監聽並指派到對應的 Function。
public $cart;


protected $listeners = [
    'selectItem',
    'addToCart' => 'getCart',
];

public function getCart()
{
    $cart = session()->get('cart');
    if ($cart) {
        $this->cart = count($cart);
    }
}
為了在重新整理後也能立刻拿到購物車的數量,因此也要在渲染時呼叫 getCart():
public function render()
{

    $this->getCart();

    return view('livewire.shopping.index', [
        'list' => Good::all(),
    ]);
}
之後到前端頁面把靜態資料替換成 {{ $cart }} ,之後只要按下加入購物車就會讓購物車的數字自己往上加啦!

一樣附上包含今天內容的 DEMO頁面
