在程式中如果需要用到很多判斷時,大部分會改使用switch多條件判斷控制。
switch(ex)
{
case a:
//上方小括號內常數值等於此條件a,則會執行此區塊程式
break;
case b:
//上方小括號內常數值等於此條件b,則會執行此區塊程式
break;
case c:
//上方小括號內常數值等於此條件c,則會執行此區塊程式
break;
default :
假設上方條件皆不成立,則會執行此區塊
}
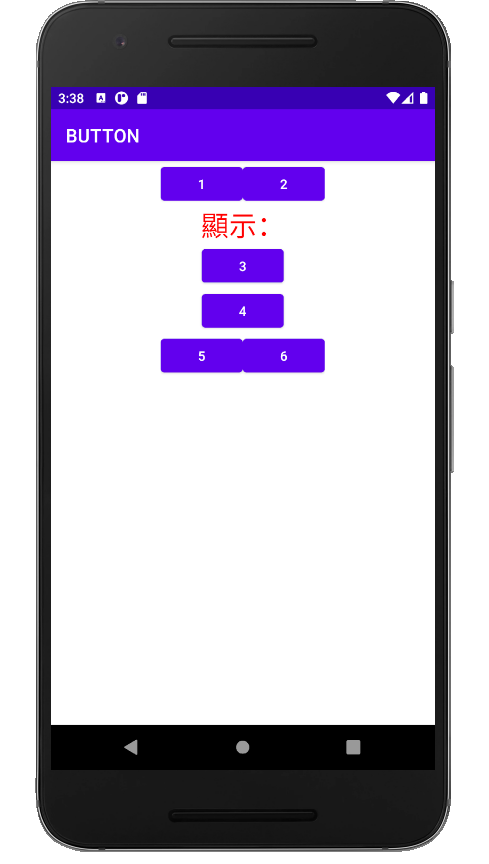
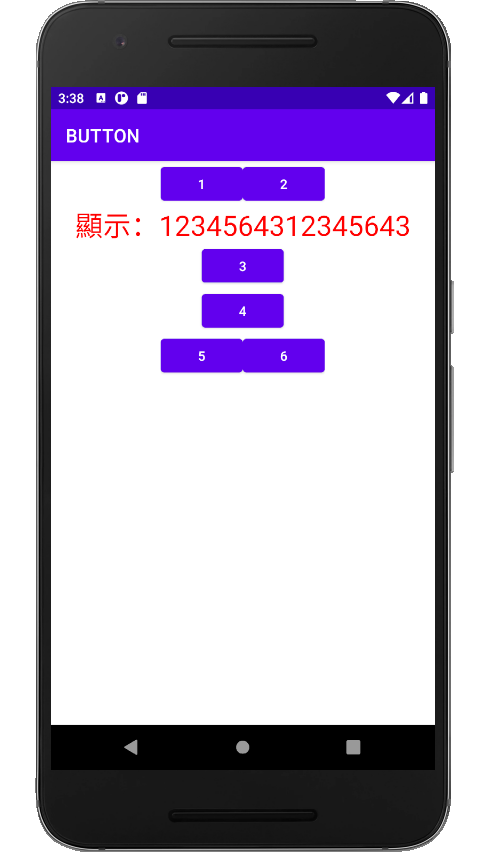
我們利用Switch case的語法製作一個按下Button後累加文字輸出於TextView
xml範例如下:
<?xml version="1.0" encoding="utf-8"?>
<LinearLayout xmlns:android="http://schemas.android.com/apk/res/android"
    xmlns:app="http://schemas.android.com/apk/res-auto"
    xmlns:tools="http://schemas.android.com/tools"
    android:layout_width="match_parent"
    android:layout_height="wrap_content"
    android:orientation="vertical"
    tools:context=".MainActivity">
    <LinearLayout
        android:layout_width="wrap_content"
        android:layout_height="wrap_content"
        android:layout_gravity="center"
        android:orientation="horizontal">
        <Button
            android:id="@+id/button1"
            android:layout_width="wrap_content"
            android:layout_height="wrap_content"
            android:layout_weight="1"
            android:text="1" />
        <Button
            android:id="@+id/button2"
            android:layout_width="match_parent"
            android:layout_height="wrap_content"
            android:layout_weight="1"
            android:text="2" />
    </LinearLayout>
    <TextView
        android:id="@+id/textView"
        android:layout_width="match_parent"
        android:layout_height="wrap_content"
        android:textSize="30dp"
        android:textColor="#FFFF0000"
        android:gravity="center"
        android:text="顯示:" />
    <Button
        android:id="@+id/button3"
        android:layout_width="wrap_content"
        android:layout_height="wrap_content"
        android:layout_gravity="center"
        android:text="3" />
    <Button
        android:id="@+id/button4"
        android:layout_width="wrap_content"
        android:layout_height="wrap_content"
        android:layout_gravity="center"
        android:text="4" />
    <LinearLayout
        android:layout_width="wrap_content"
        android:layout_height="wrap_content"
        android:layout_gravity="center"
        android:orientation="horizontal">
        <Button
            android:id="@+id/button5"
            android:layout_width="wrap_content"
            android:layout_height="wrap_content"
            android:layout_weight="1"
            android:text="5" />
        <Button
            android:id="@+id/button6"
            android:layout_width="wrap_content"
            android:layout_height="wrap_content"
            android:layout_weight="1"
            android:text="6" />
    </LinearLayout>
</LinearLayout>
MainActivity.java檔範例如下:
package com.example.button;

import androidx.appcompat.app.AppCompatActivity;

import android.os.Bundle;
import android.view.View;
import android.widget.Button;
import android.widget.TextView;

public class MainActivity extends AppCompatActivity {
    private Button button1,button2,button3,button4,button5,button6;
    private TextView textView;
    @Override
    protected void onCreate(Bundle savedInstanceState) {
        super.onCreate(savedInstanceState);
        setContentView(R.layout.activity_main);
        button1 = (Button)findViewById(R.id.button1);
        button2 = (Button)findViewById(R.id.button2);
        button3 = (Button)findViewById(R.id.button3);
        button4 = (Button)findViewById(R.id.button4);
        button5 = (Button)findViewById(R.id.button5);
        button6 = (Button)findViewById(R.id.button6);
        textView = (TextView)findViewById(R.id.textView);
        button1.setOnClickListener(this::onClick);
        button2.setOnClickListener(this::onClick);
        button3.setOnClickListener(this::onClick);
        button4.setOnClickListener(this::onClick);
        button5.setOnClickListener(this::onClick);
        button6.setOnClickListener(this::onClick);
    }
    public void onClick (View view)
    {
        switch (view.getId())
        {
            case R.id.button1:
                try {
                    textView.setText(textView.getText()+"1");
                } catch (Exception e) {
                    e.printStackTrace();
                }
                break;
            case R.id.button2:
                try {
                    textView.setText(textView.getText()+"2");
                } catch (Exception e) {
                    e.printStackTrace();
                }
                break;
            case R.id.button3:
                try {
                    textView.setText(textView.getText()+"3");
                } catch (Exception e) {
                    e.printStackTrace();
                }
                break;
            case R.id.button4:
                try {

                    textView.setText(textView.getText()+"4");
                } catch (Exception e) {
                    e.printStackTrace();
                }
                break;
            case R.id.button5:
                try {

                    textView.setText(textView.getText()+"5");
                } catch (Exception e) {
                    e.printStackTrace();
                }
                break;
            case R.id.button6:
                try {

                    textView.setText(textView.getText()+"6");
                } catch (Exception e) {
                    e.printStackTrace();
                }
                break;
        }
    }
}
輸出結果: