今天的實作內容主要根據教學網站進行。
Django提供了身份認證與授權系統,不論是登入、登出、密碼管理,都有現成的模組可以使用。
今天將實作如何啟用身份認證,並建立登入和登出頁面。
在建立startproject時,身份認證預設已經啟用,可於settings.py確認以下配置內容是否正確:
INSTALLED_APPS = [
    'django.contrib.auth',
    'django.contrib.contenttypes',
]

MIDDLEWARE = [
    'django.contrib.sessions.middleware.SessionMiddleware',
    'django.contrib.auth.middleware.AuthenticationMiddleware',
]
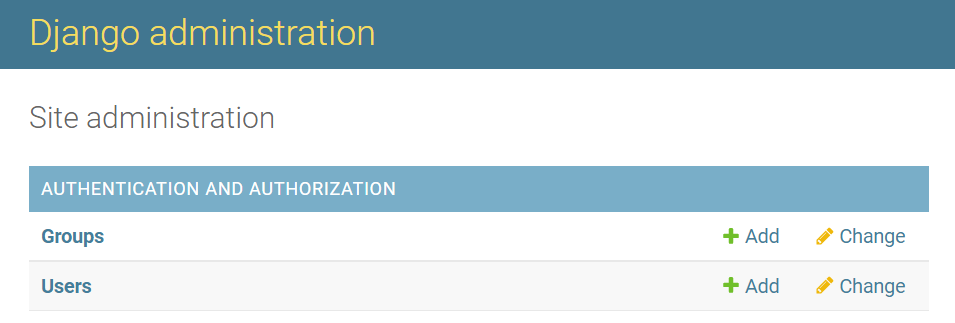
使用瀏覽器進入管理員網站,於網站上進行新增群組和使用者。
from django.contrib.auth.models import User

# Create user and save to the database
user = User.objects.create_user('myusername', 'myemail@crazymail.com', 'mypassword')

# Update fields and then save again
user.first_name = 'John'
user.last_name = 'Citizen'
user.groups
user.save()
from django.contrib.auth.models import Group

mygroup = Group.objects.get(name='mygroupname')
mygroup.user_set.add(myuser)
在專案資料夾下的urls.py增加以下內容:
urlpatterns += [
    path('accounts/', include('django.contrib.auth.urls')),
]
django.contrib.auth.urls 中包含登入、登出、密碼變更等各子項目的url設定。
使用user.is_authenticated屬性來判斷是否已通過身份驗證:
  {% if user.is_authenticated %}
    <p>Your account doesn't have access to this page. To proceed,
    please login with an account that has access.</p>
  {% else %}
    <p>Please login to see this page.</p>
  {% endif %}
{% extends "base_generic.html" %}

{% block content %}
  <p>Logged out!</p>
  <a href="{% url 'login'%}">Click here to login again.</a>
{% endblock %}
TEMPLATES = [
{
   'DIRS': ['./templates',],
   'APP_DIRS': True,
}
修改「base_generic.html」,加入登入和登出兩個頁面的連結,並根據user.is_authentication作為判斷條件進行顯示。
{% if user.is_authenticated %}
<li>User: {{ user.get_username }}</li>
<li><a href="{% url 'logout'%}?next={{request.path}}">Logout</a></li>
{% else %}
<li><a href="{% url 'login'%}?next={{request.path}}">Login</a></li>
{% endif %}
