為了處理bootstrapVue的問題,也是花了一點時間處理,不過好在,慢慢地熟悉Vue和bootstrapVue的寫法,可以真的開始做登入功能了,不過註冊功能,暫時不太確定社區網站,是否需要提供註冊功能,就先不開發這件事!
跟教學不同的是,我們是使用Json Server,所以就先啟動
json-server db.json
可以看到我們的資料後端服務起來了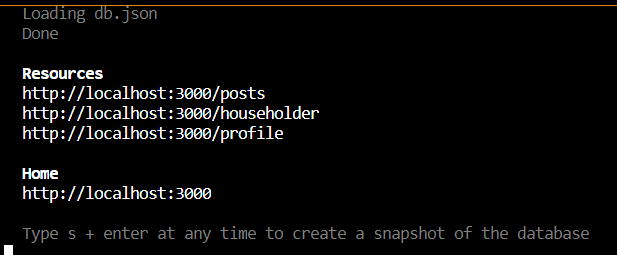
我們要呼叫的是http://localhost:3000/householder
新增提示工具SweetAlert
npm install sweetalert2
import Swal from 'sweetalert2';
window.Swal = Swal;
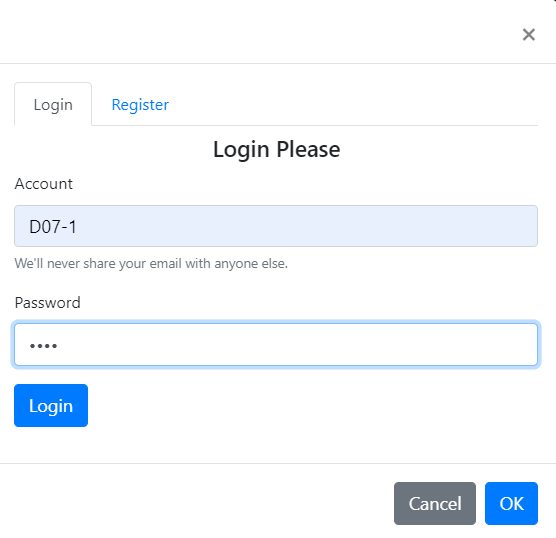
<input type="email" v-model="email" class="form-control" id="email" aria-describedby="emailHelp" placeholder="Enter Account">
...省略
<button class="btn btn-primary" @click="login">Login</button>
script內容建置
<script>
import global from '../Global.vue';
import axios from'axios'
export default {
name: 'Login',
props: {
msg: String
},
data() {
return {
email:null,
password:null,
db_api:global.db_api
}},
methods:{
async login(){
//登入方法
console.log(`${this.db_api}`+"householder/?loginId=D07-1&loginPass=d071")
let result = await axios.get(`${this.db_api}`+"householder?loginId="+`${this.email}`+"&loginPass="+`${this.password}`)
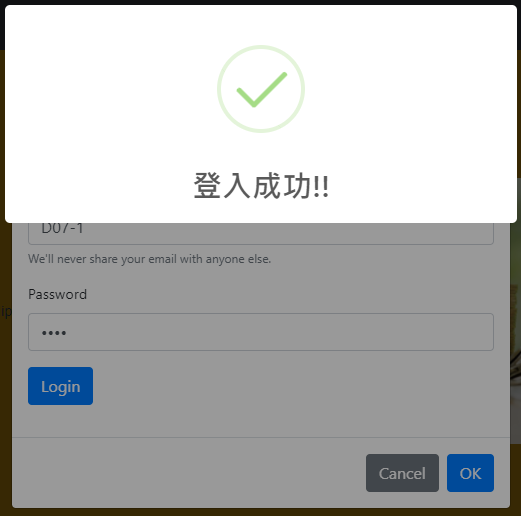
if(result.status==200 && result.data.length==1 ){
sessionStorage.setItem("user-info",JSON.stringify(result.data[0]))
let user=sessionStorage.getItem('user-info')
Swal.fire({
position: 'top',
icon: 'success',
title: '登入成功!!',
showConfirmButton: false,
timer: 1500
}).then(() => {
this.$refs['login'].hide()
window.location.reload()
});
}
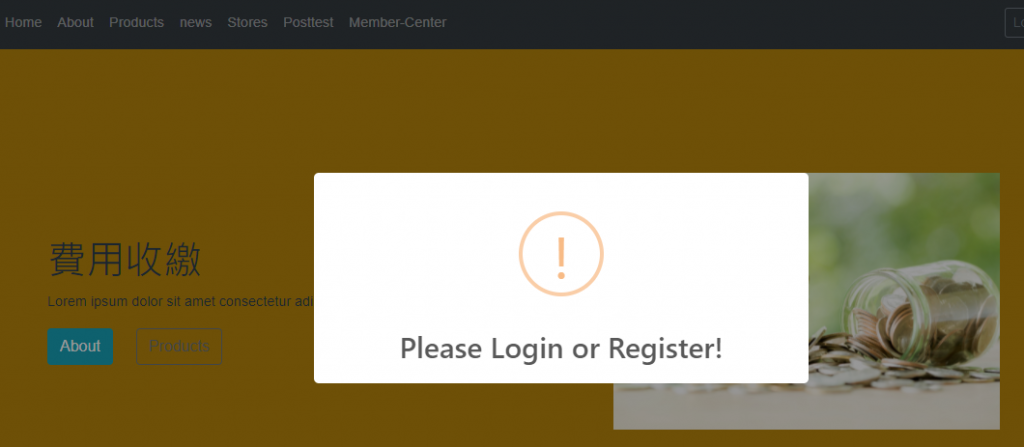
else{
// 密碼錯誤提醒
Swal.fire({
position: 'top',
icon: 'error',
title: 'Wrong account or password.',
showConfirmButton: false,
timer: 5000
});
}
}
}
</script>
<script>
const db_api=" http://localhost:3000/"
export default {
   db_api,
}
</script>

跟範例網站的內容比較,因為後端的內容不同,寫法就會有差異,這邊就呈現我調整過後的樣子!!
透過調整也可以學到更多,了解差異,就讓我們繼續下去吧~


 iThome鐵人賽