iT邦幫忙

2021 iThome 鐵人賽

DAY 23
0
DevOps

把玩Azure DevOps系列 第 23

【把玩Azure DevOps】Day23 CI/CD從這裡:建立第一個Releases Pipeline

這篇我們來建立Release pipeline吧!

從Azure DevOps Project左邊的Pipelines選單底下的Releases點擊之後,第一次進入會看到下面這個空的畫面:

https://ithelp.ithome.com.tw/upload/images/20211005/20033961moLp9u44by.png

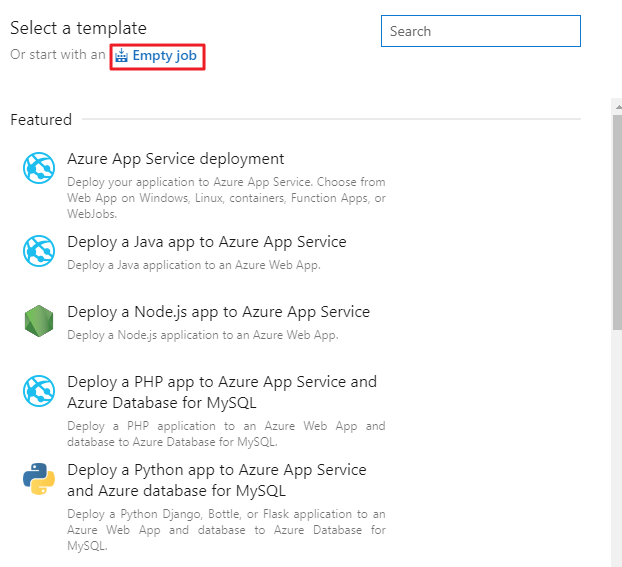
點擊New pipeline之後右邊會跳出選擇範本的畫面,我們選擇Empty job:

https://ithelp.ithome.com.tw/upload/images/20211005/20033961lYEgvzMhuX.png

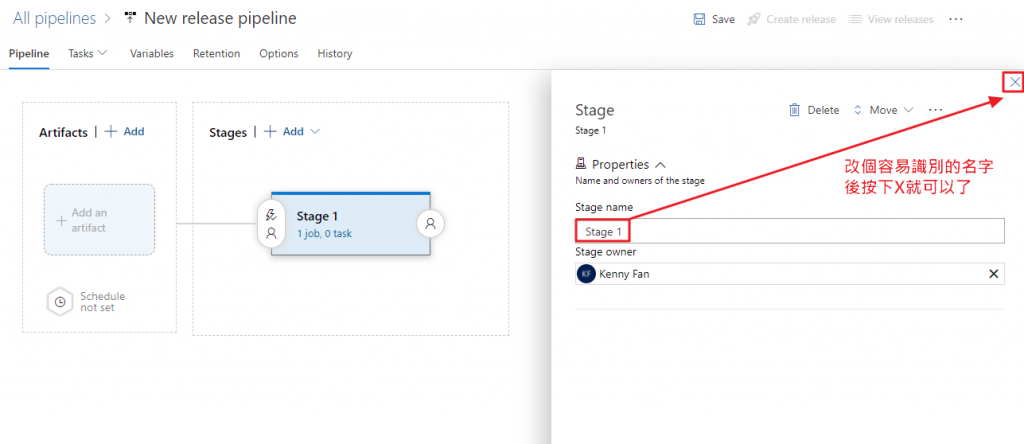
接著出現Stage的設定畫面,可以改一下容易識別的名稱,然後按右上角的X關閉對話框就行:

https://ithelp.ithome.com.tw/upload/images/20211005/20033961tNRqBVoRvQ.png

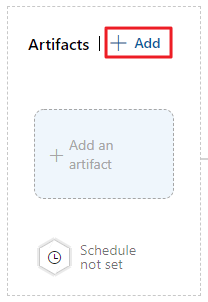
接著點擊Artifacts的+ Add:

https://ithelp.ithome.com.tw/upload/images/20211005/20033961l5l4pwDvNH.png

這邊我將前面建立Liunx Container Image相關的檔案放到另外一個Git Repo用來作為這篇的範例:

https://ithelp.ithome.com.tw/upload/images/20211005/20033961LMBS3awiNS.png

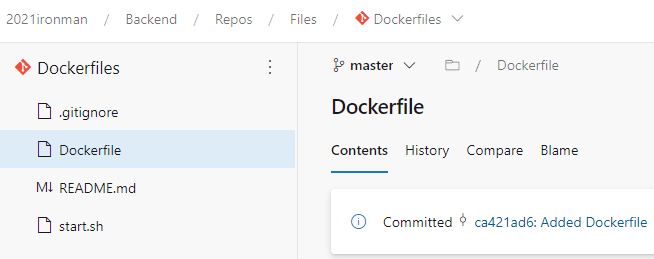
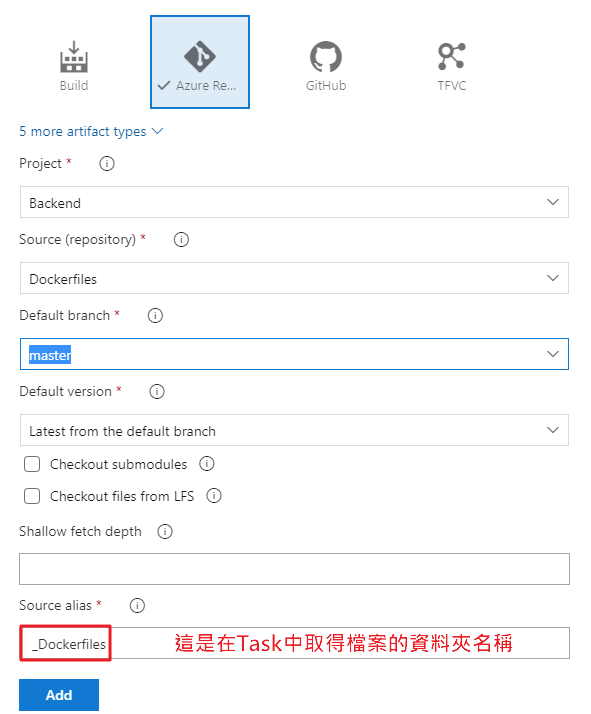
所以在Add Artifacts Source的部份選擇第二個Azure Repo,並且選擇來源的Project、Source (repository)、Default branch等…,不一定要和Release pipeline相同的Project。

https://ithelp.ithome.com.tw/upload/images/20211005/20033961AtsGS271fB.png

接著點擊右邊Stage底下的1 job, 0 task就可以進入Task的編輯畫面:

https://ithelp.ithome.com.tw/upload/images/20211005/200339617ffp7ggl6D.png

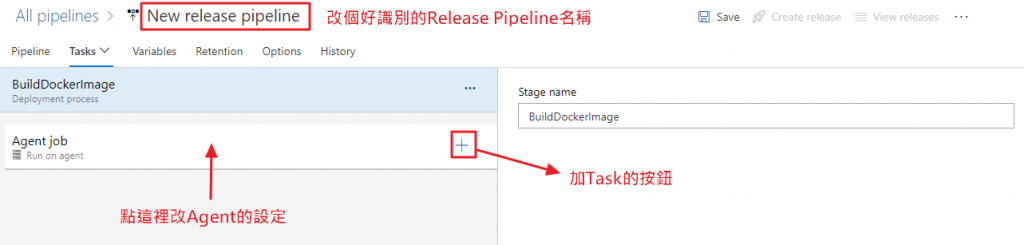
因為是要建立Linux的Image,所以點擊Agent job要修改一下Agent改為Linux的Agent(這裡用的是雲端的Agent):

https://ithelp.ithome.com.tw/upload/images/20211005/20033961nuHxAUTJzh.png

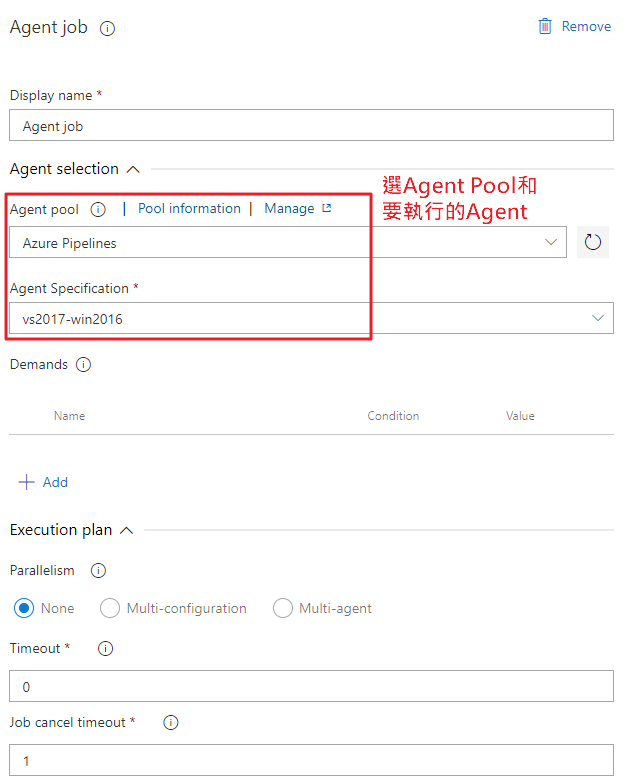
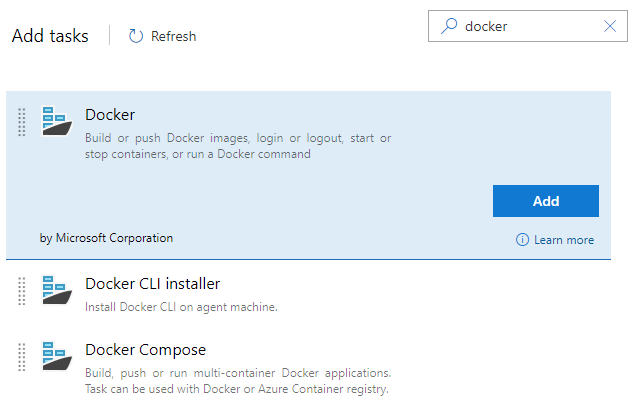
Agent Specification改為ubuntu-20.04之後,點擊Agent job右邊的+號新增Task,搜尋Docker這個Task並按下Add加入:

https://ithelp.ithome.com.tw/upload/images/20211005/20033961hy17N2w11a.png

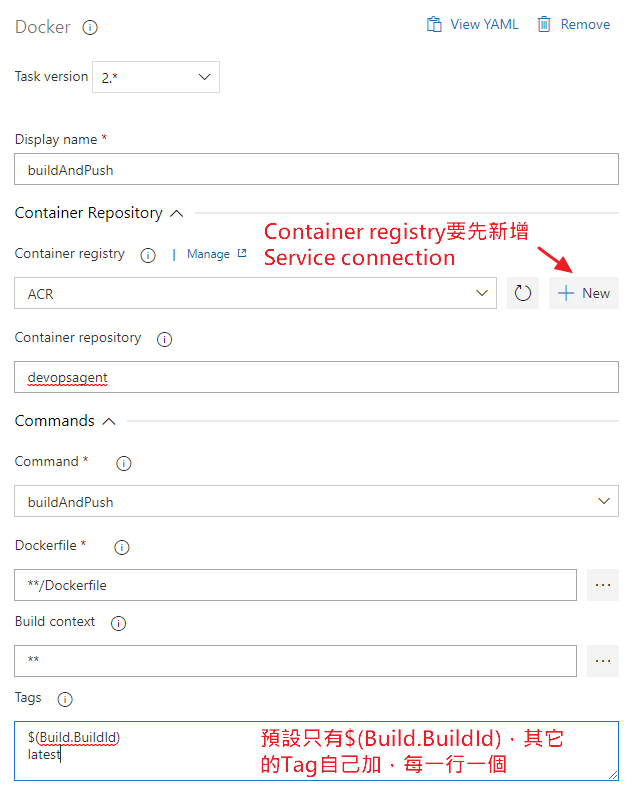
設定Task的屬性,Container registry第一次要先新增Service connection,Tags的部份如果需要額外的tag以每一行一個新增:

https://ithelp.ithome.com.tw/upload/images/20211005/20033961HiEqYxH8L6.png

改完之後也修改了Release pipeline的名稱就可以按下Save,旁邊的Create release按鈕就會變成可以按的狀態。按下之後會出現下面的對話框:

https://ithelp.ithome.com.tw/upload/images/20211005/20033961Jf0yLK3fFx.png

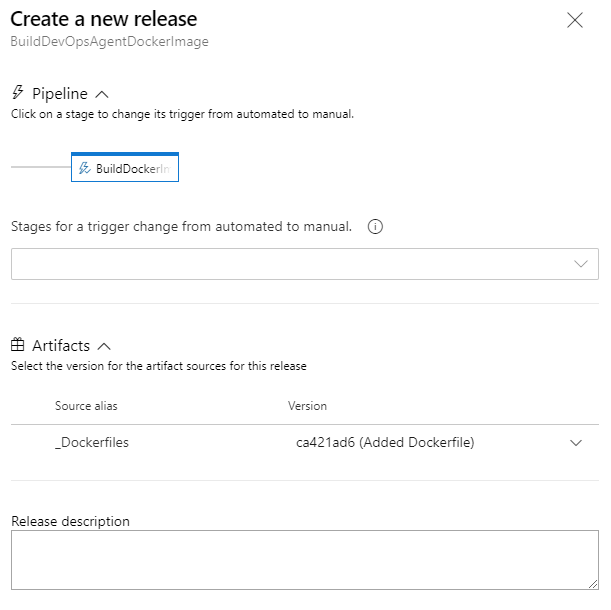
這邊因為沒有什麼特別要調整的,所以點擊對話框下面的Create就行。接著在左上角會有淺綠底的提示訊息,裡面有文字快速連結可以進入剛建立的Release:

https://ithelp.ithome.com.tw/upload/images/20211005/200339618hFeOtrAtl.png

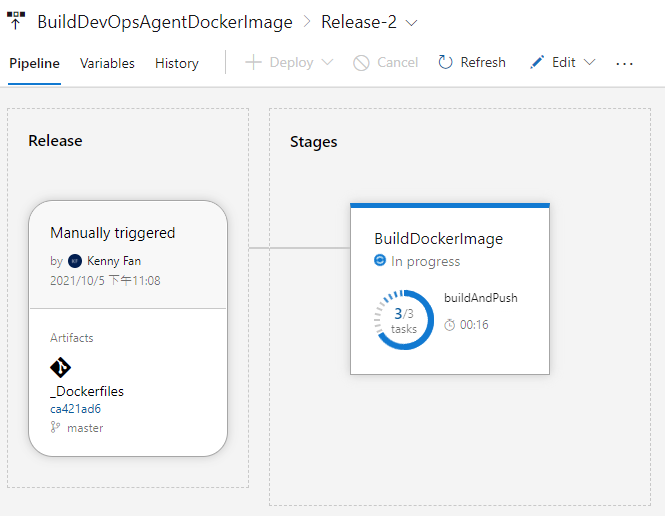
進入後可以看到建立的Release狀態(Queued等待中或In progress執行中):

https://ithelp.ithome.com.tw/upload/images/20211005/20033961WU5oignstZ.png
https://ithelp.ithome.com.tw/upload/images/20211005/200339613THRGAoOcr.png

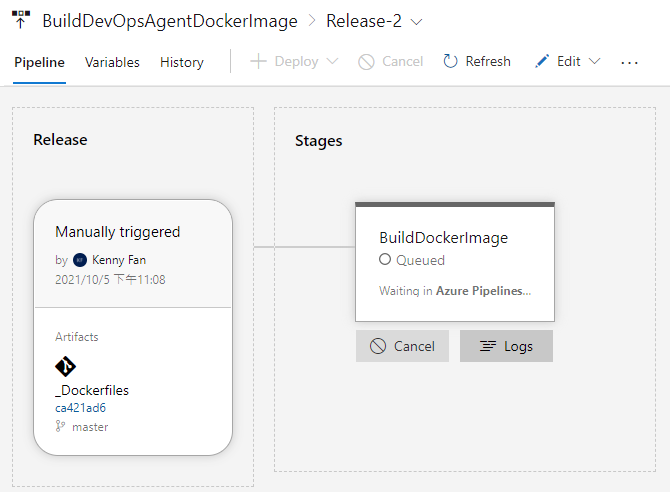
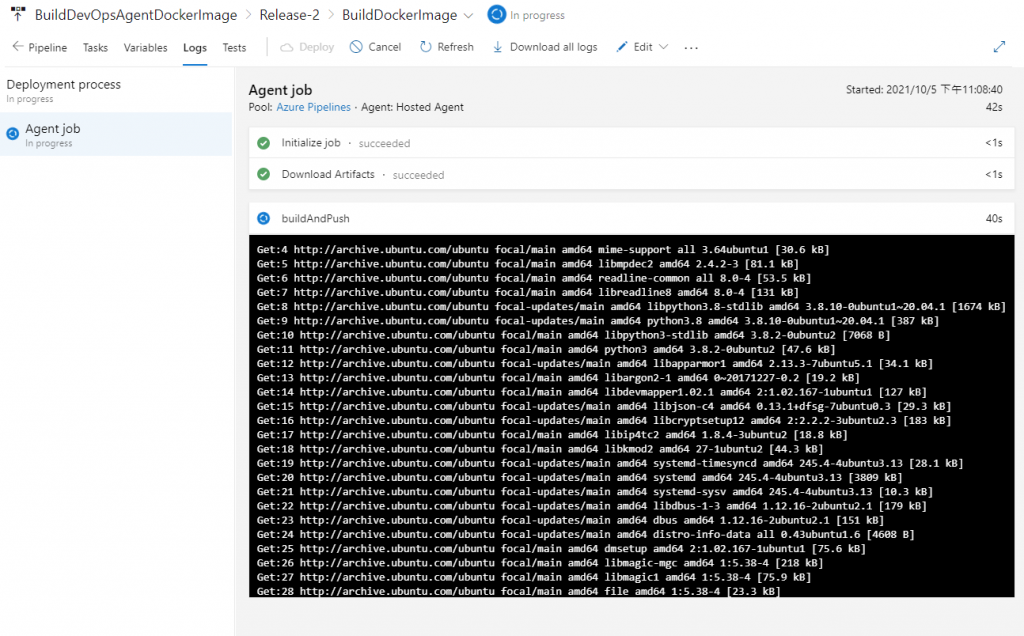
點擊底下的Logs就可以進入看各步驟詳細的Logs:

https://ithelp.ithome.com.tw/upload/images/20211005/20033961W4lzc7WEv2.png

這篇就先快速的帶大家簡單的建立一個Release pipeline,後續的文章再做複雜一點的說明。


上一篇
【把玩Azure DevOps】Day22 建立自管的Azure DevOps Agent(Linux Container agent)
下一篇
【把玩Azure DevOps】Day24 設定Build Pipeline與Release Pipeline的執行權限
系列文
把玩Azure DevOps30
圖片
  直播研討會
圖片
{{ item.channelVendor }} {{ item.webinarstarted }} |
{{ formatDate(item.duration) }}
直播中

尚未有邦友留言

立即登入留言