承昨天的繼續
接著就進入美化的部分
首先最重要的是要讓圖片符合我們的框框大小
先將包裹所有內容的.attraction_hover的高度寬度都拉滿
然後因為我的圖片比較寬,所以我這邊是設置高度要拉滿,然後把圖片挪到框框的中間
這邊是利用位置left設置成50%,但這會讓圖片從正中間開始排,所以要利用神奇的translate魔法,扣50%回來,他就會置中了
.attraction_hover {
    width: 100%;
    height: 100%;
}
.attraction_hover img {
    height: 100%;
    filter: contrast(110%);
    left: 50%;
    transform: translateX(-50%);
}
設置left前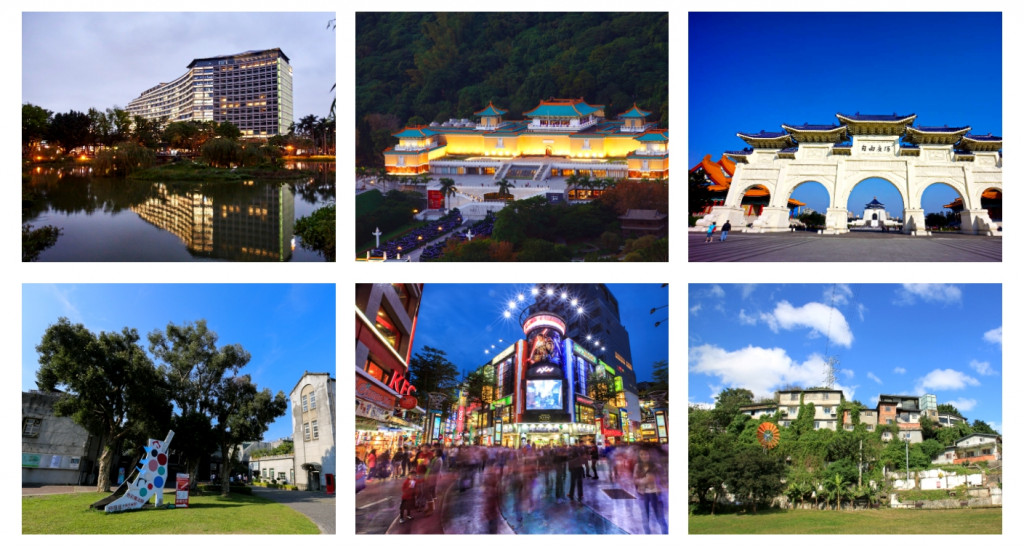
設置left後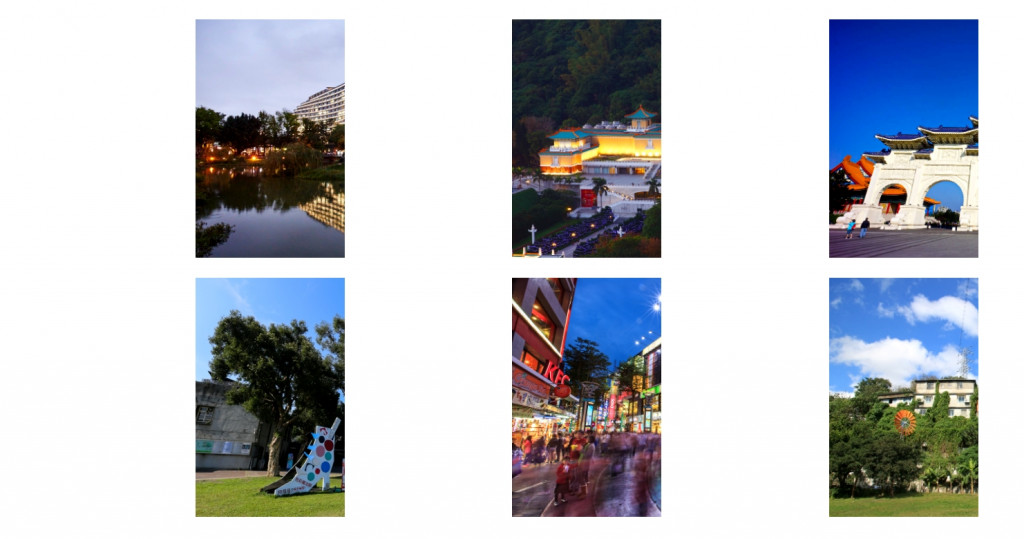
設置translate後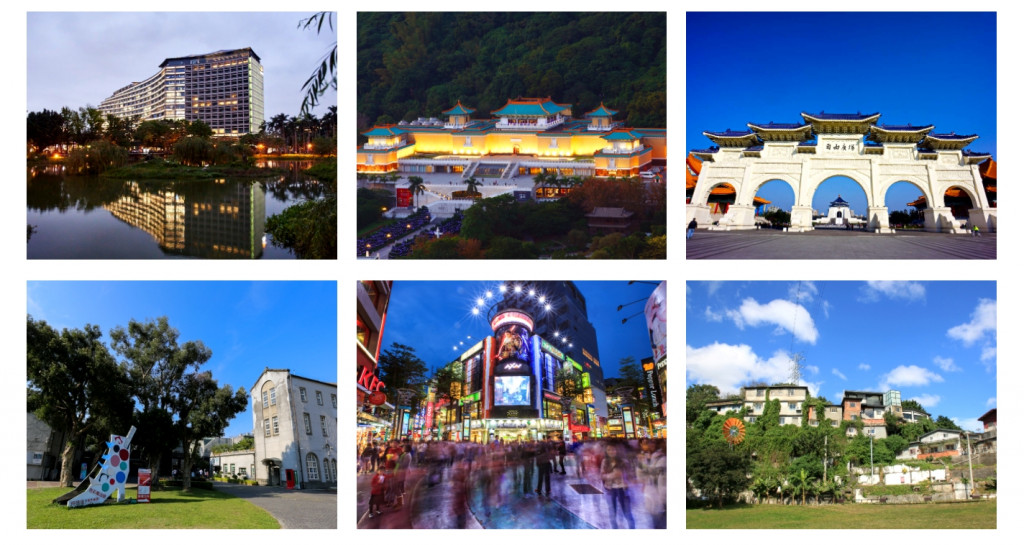
圖片放好後來設hover時的變化
先設顯現的字
我是放在.intbox_mask的部分
因為要在圖片上面,所以position要設置absolute,然後把長寬拉滿,top設置0讓他跟圖片完全貼合
內文div的部分一樣用魔法讓他置中
.intbox_mask {
    position: absolute;
    width: 100%;
    height: 100%;
    background: rgba(8, 8, 8, 0.6);
    color: rgba(247, 255, 252, 0.9);
    font-size: 1.1vw;
    text-align: center;
    top: 0;
    line-height: 2.2vw;
}
.intbox_mask_text {
    top: 50%;
    left: 50%;
    transform: translate(-50%, -50%);
}
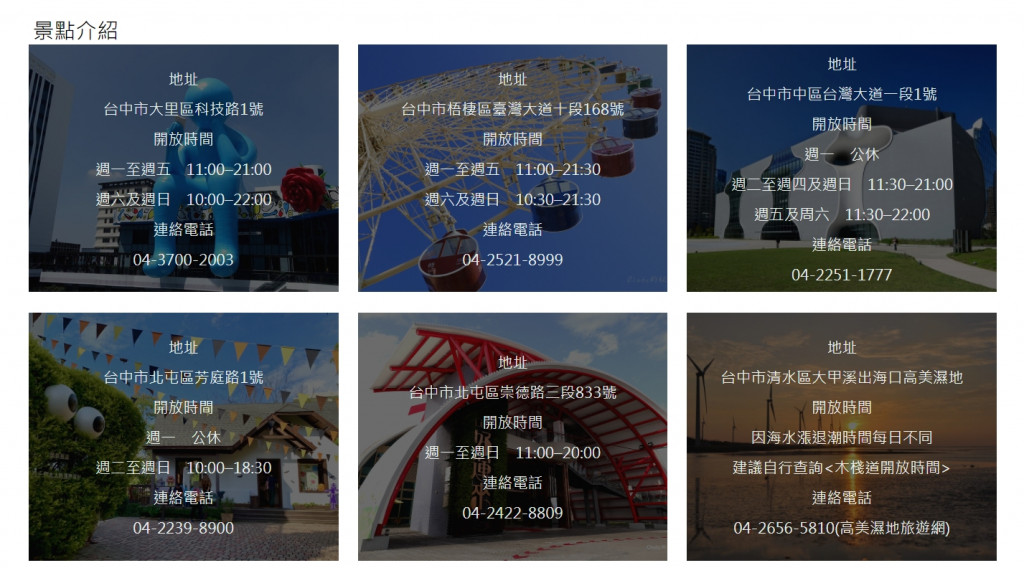
設好之後把.intbox_mask的opacity設置成0先隱藏起來
接著來寫圖片的標題
圖片標題是一開始hover前就會看到的那個部分
一樣要覆蓋在圖片上,所以設置position: absolute;
但這次我們需要讓他與下方對齊,所以這次設定bottom: 0;
內容的標題跟地區我是分了兩個div讓他們分別置左置右,這邊利用到flex來幫忙排版,讓他們兩個排在同一行又能分開開
.attraction_text {
    position: absolute;
    width: 100%;
    height: 4.7vw;
    bottom: 0;
    color: rgba(247, 255, 252, 0.9);
    background-color: rgba(0, 0, 0, 0.5);
    display: flex;
    justify-content: space-between;
    align-items: center;
    padding: 0 1.5vw;
    font-size: 1.3vw;
}
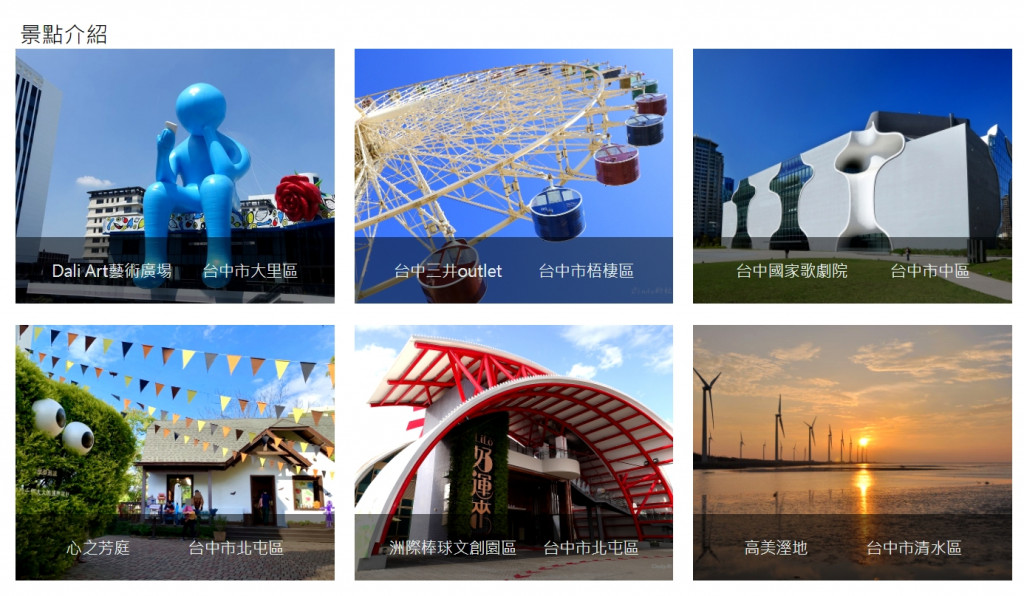
這邊會發現,我明明設置了justify-content: space-between; 讓兩個div中間隔開,但他們卻沒有頂到邊框
因為我一開始設置了margin: auto; 給所有的class,所以這邊我得另外幫兩個div設置margin: 0;
.intbox_title,.intbox_address {
    margin: 0;
}
大致的樣式就都完成了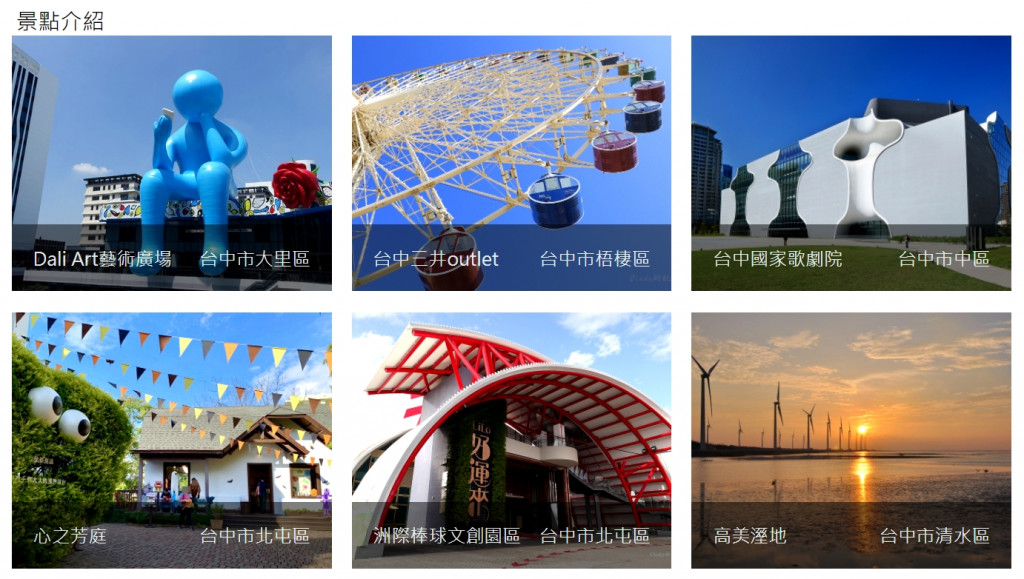
接著來做hover時的動畫
.intbox_mask要顯現,opacity要變回1
.attraction_text往下藏起來,bottom設置成負數
.attraction_hover:hover>.intbox_mask {
    opacity: 1;
}
.attraction_hover:hover>.attraction_text {
    bottom: -10vw;
}
設好後hover就會有變化了
但變化有點太快了,不是很唯美,所以我們要設置變化的速度
利用transition轉場來設置秒數跟速度曲線
就能看的到變化啦
這樣hover的轉場小動畫便完成了
