網址:https://console.cloud.google.com/
初次開始,畫面應該類似下圖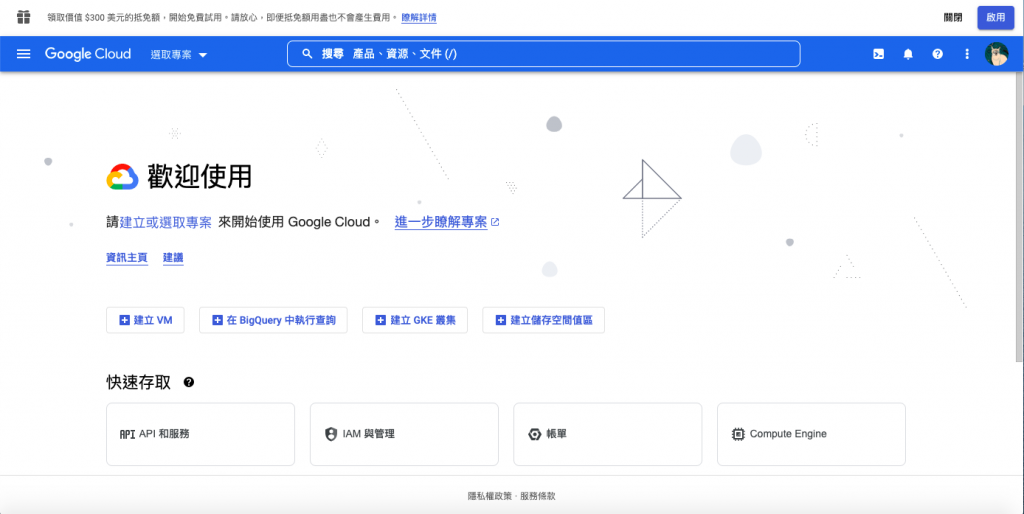
點選啟用,領取免費試用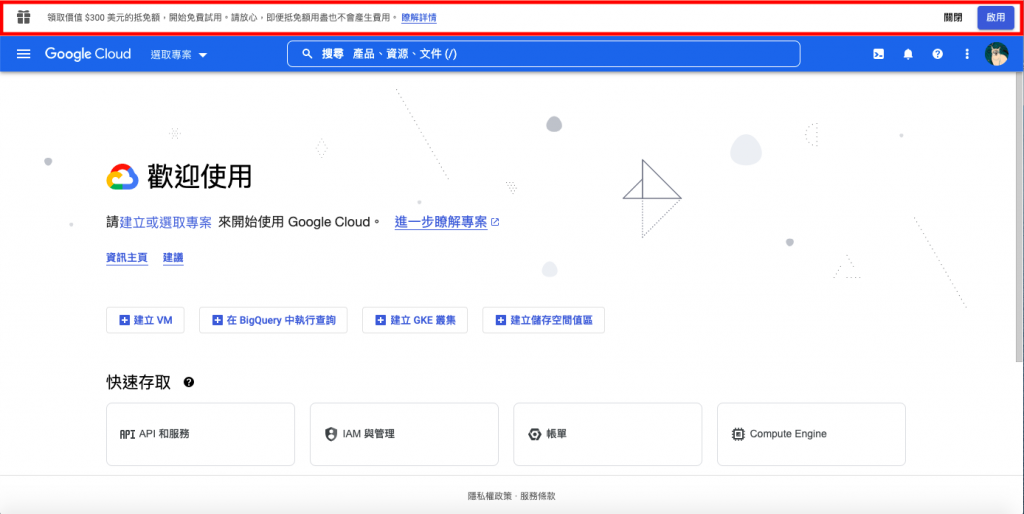
步驟一 會進入填寫帳戶資訊,地區選擇台灣,需求選擇個人專案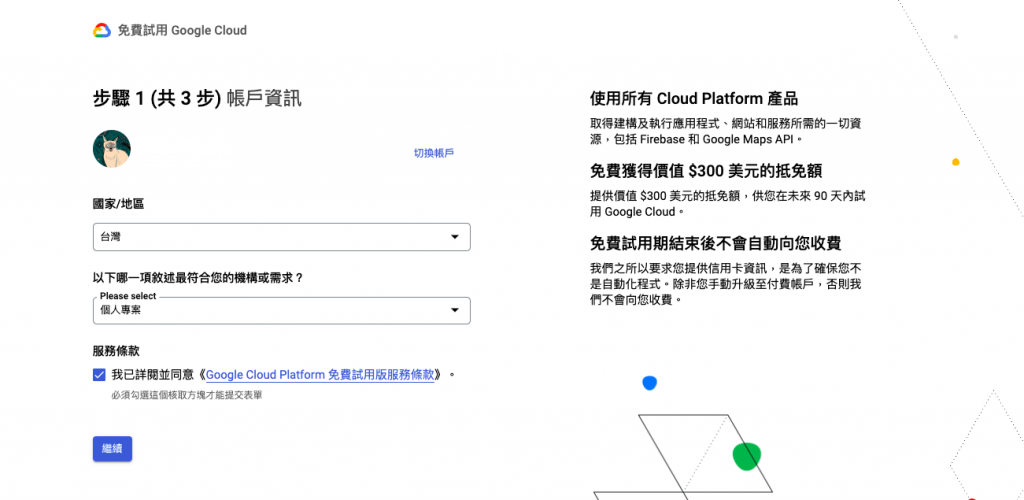
步驟二 會要求輸入手機,並回傳驗證碼
步驟三 驗證付款資訊
輸入專案名稱,選擇無機構後,點選建立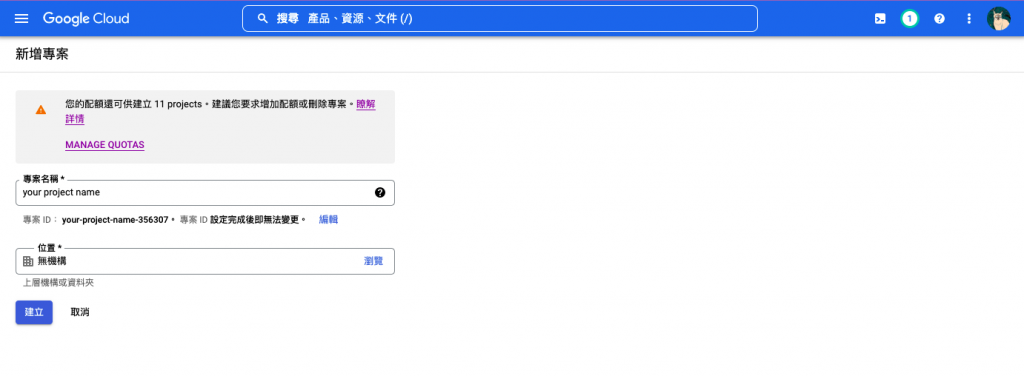
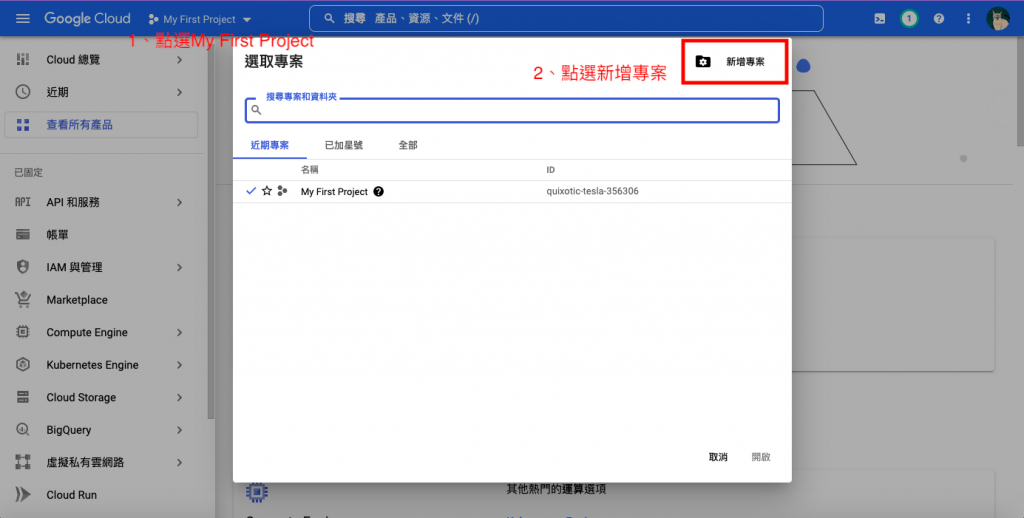
建立完成後,點選Cloud總覽,再次點擊 My First Project 可以看見剛剛建立的專案,雙點擊專案,即可進入專案資訊主頁。
點選帳單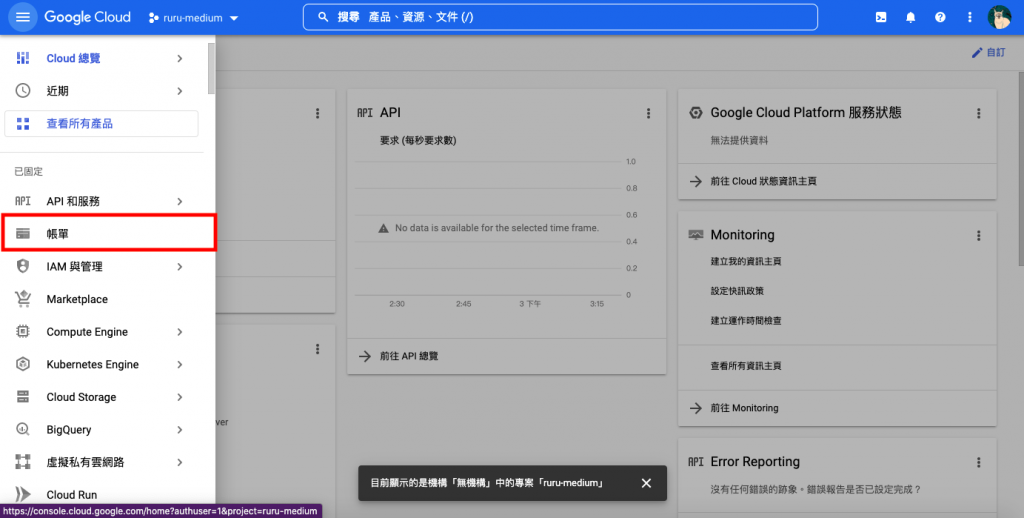
點選預算與快訊後設定預算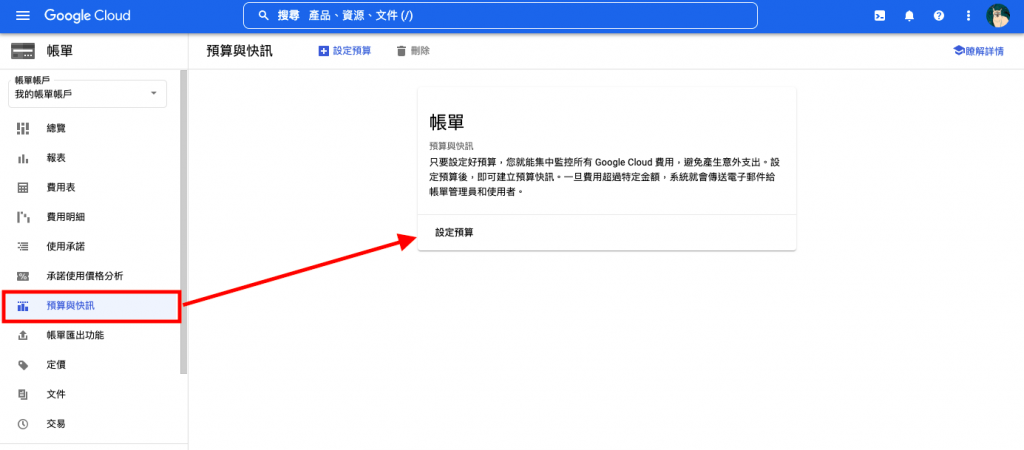
設定預算名稱以及金額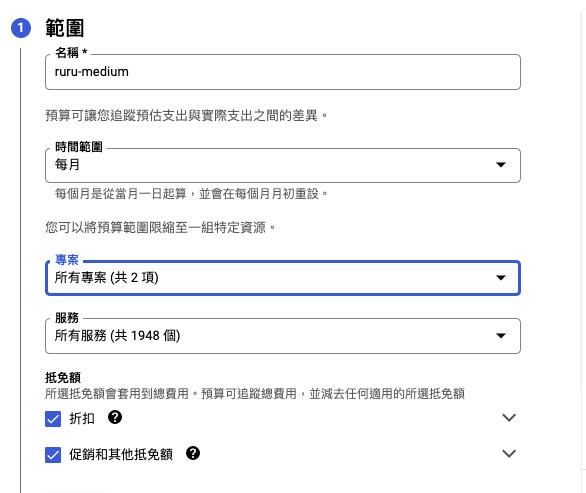
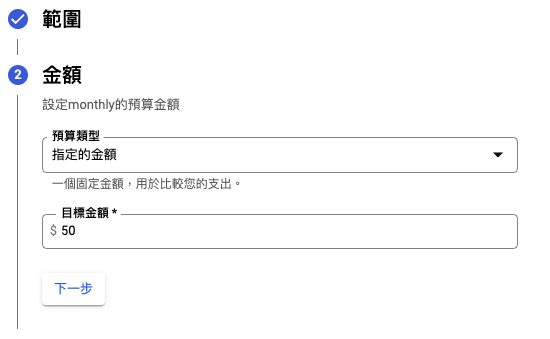
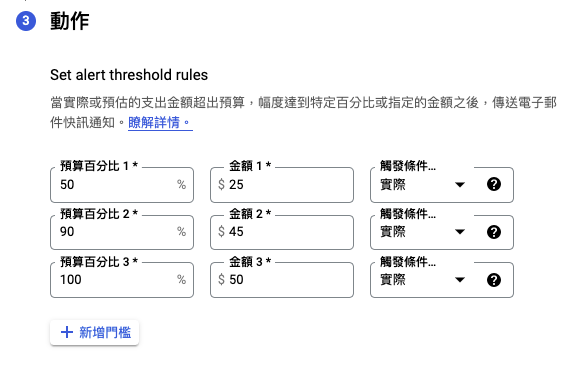
設定好後,點選完成,到這邊就幫專案設定好預算囉~
點選漢堡圖示,游標移至Cpmputer Engine,選擇 VM執行個體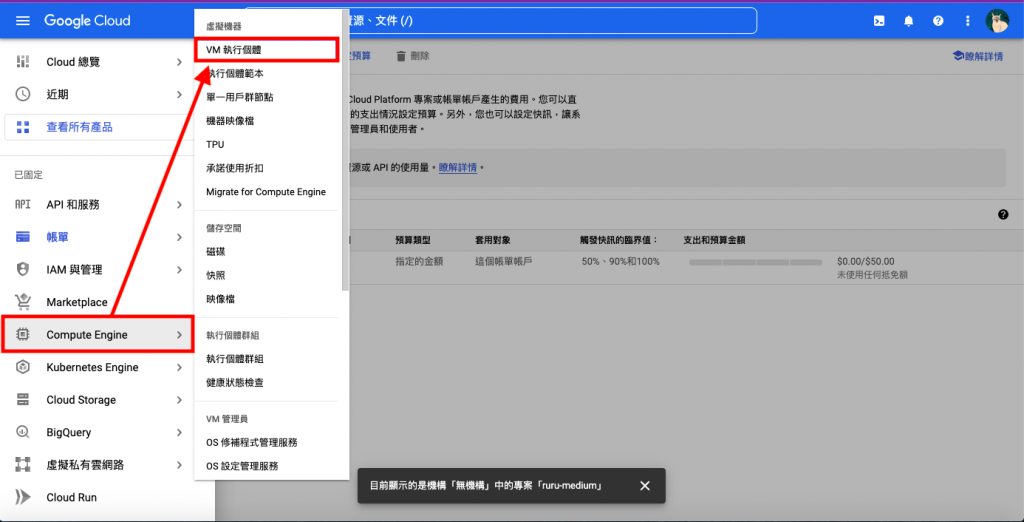
看到Compute Engine API,點選啟用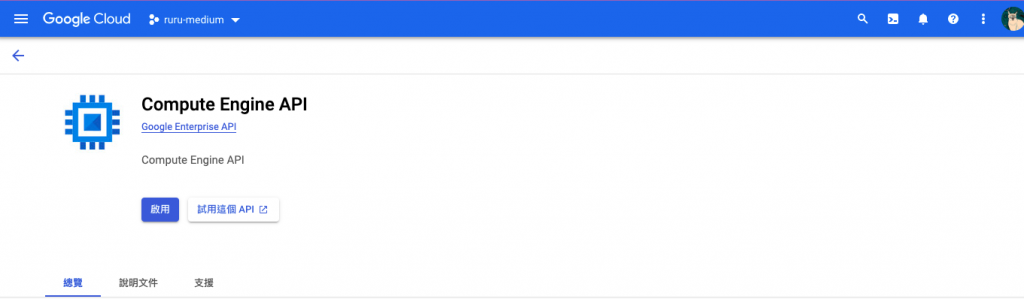
完成後,建立執行個體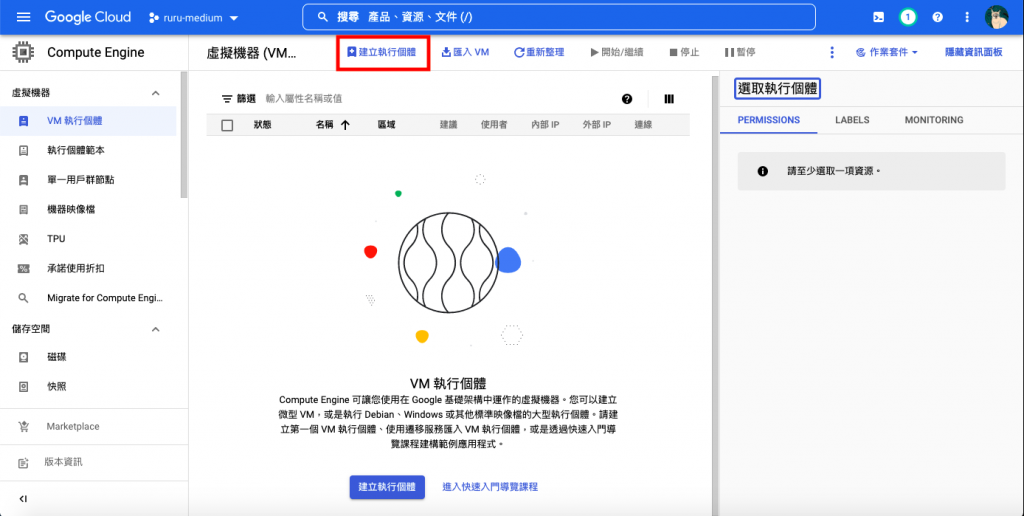
輸入專案名稱,區域可自由選擇,這邊以台灣示範,Ruby 和 Rails 應用程序往往需要大量 RAM,機器類型建議至少選2GB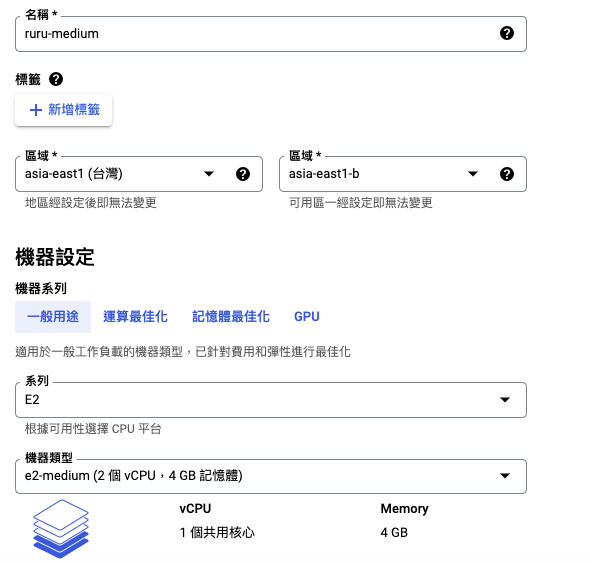
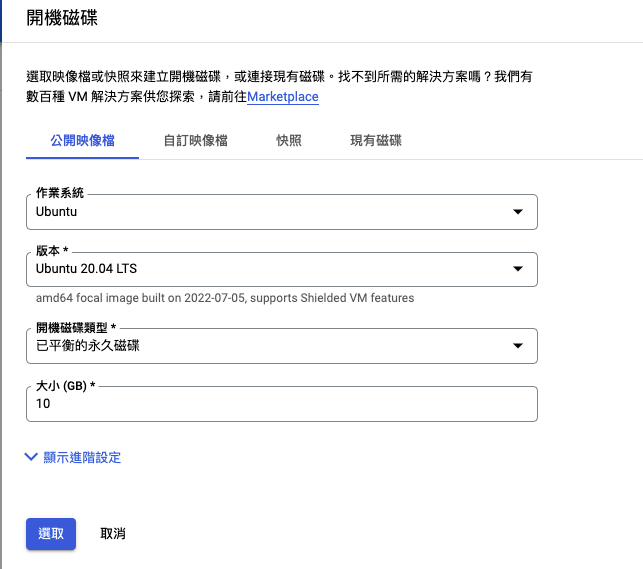
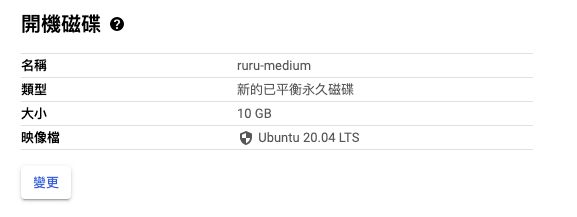
點選變更開機磁碟,這邊選用 Ubuntu 20.04 focal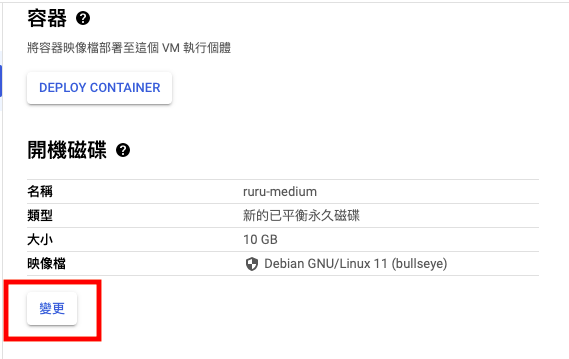
設定防火牆,允許 HTTP 和 HTTPS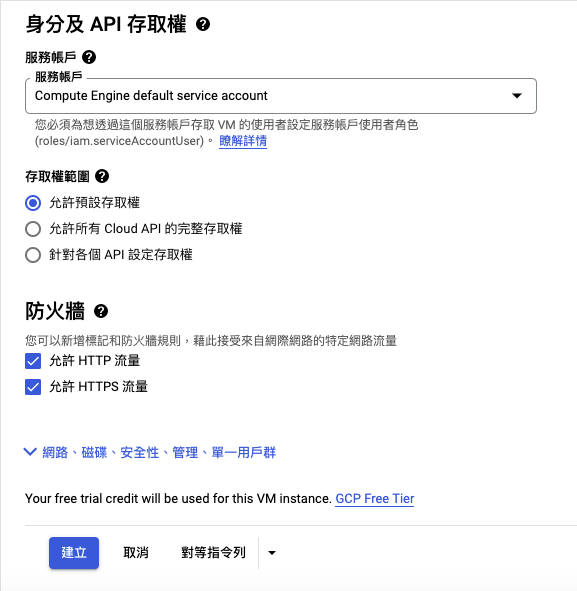
設定完畢,點選建立,看到狀態有綠色勾勾,就成功創建 VM 囉!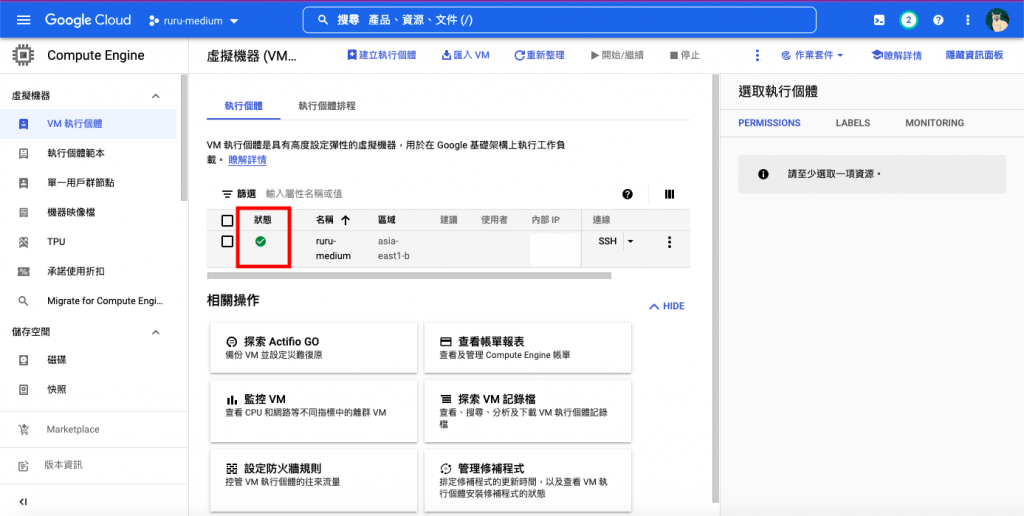
點選 VM 最右邊的 ⠇,選擇停止,停止需要跑一段時間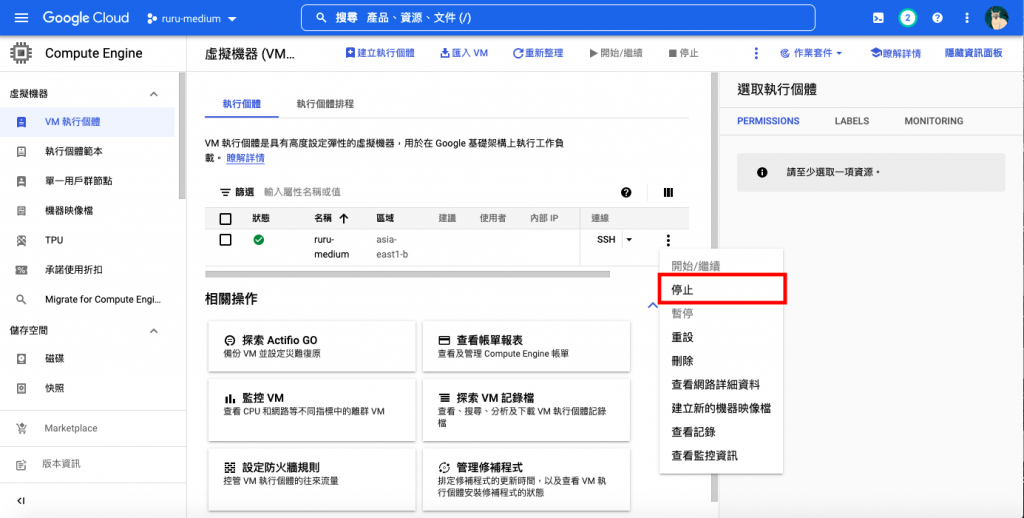
停止後,點選專案名稱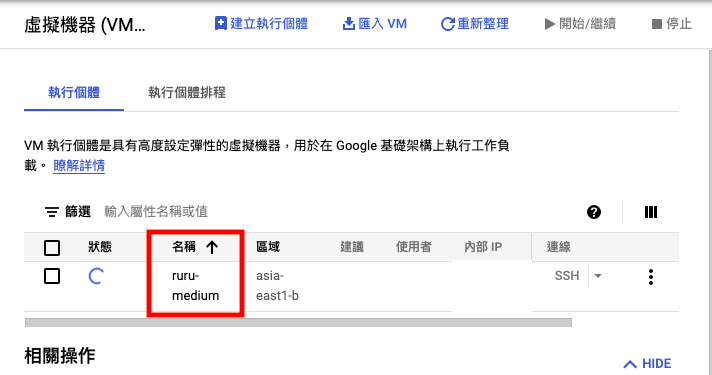
點選編輯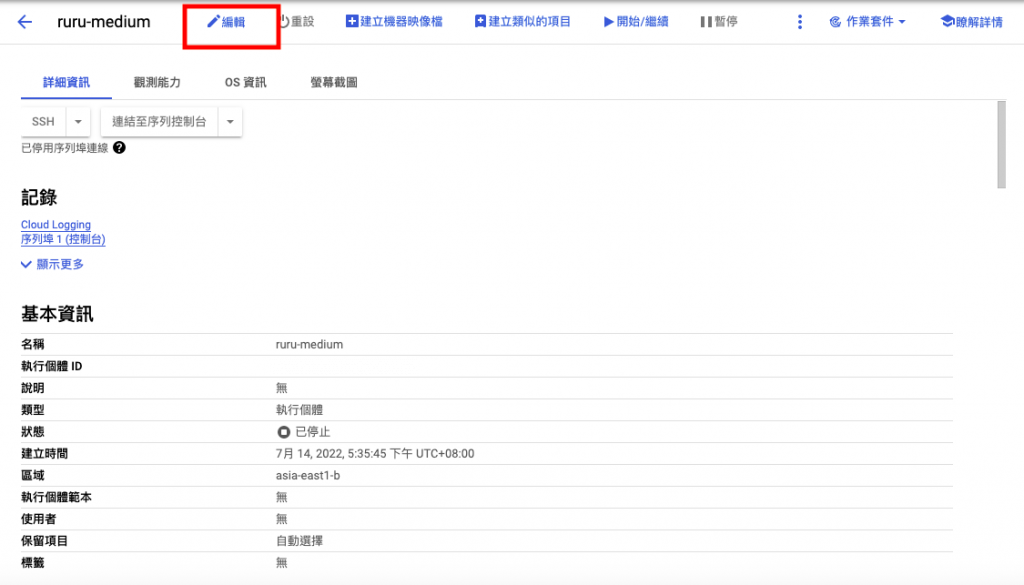
下滑找到網路介面,點選 default 找到 外部IPV4位置,並選擇建立IP位置,設定完畢點選保留即可。記得下拉到底儲存,儲存完畢再點選側邊選單,選擇 VM 執行個體,回到原本的頁面後,點選 VM 最右邊的 ⠇ ,選擇開始,並啟動VM。
現在往右滑,可以看到外部 IP 囉~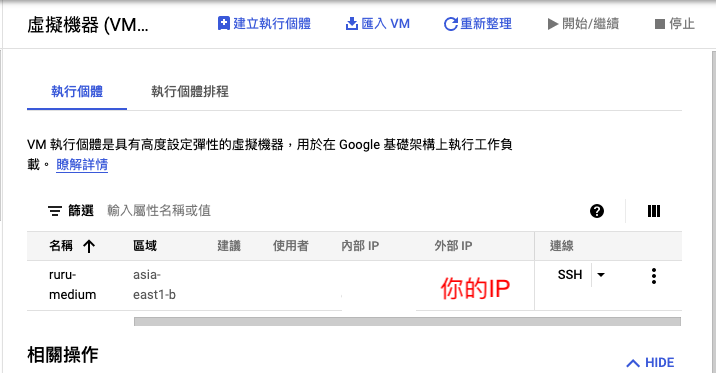
首先,要在本機產生金鑰
ssh-keygen -t rsa
進入.ssh檔
cd ~/.ssh
印出公鑰
cat id_rsa.pub
接著回到 VM ,點選 SSH 進入網頁終端介面
檢查是否已經有 .ssh 資料夾
ls -la
如果已經有資料夾,可以先刪除重建
rm -r .ssh
mkdir .ssh
進入 .ssh 檔
cd .ssh
用 nano 編輯器創建一個 authorized_keys 檔
nano authorized_keys
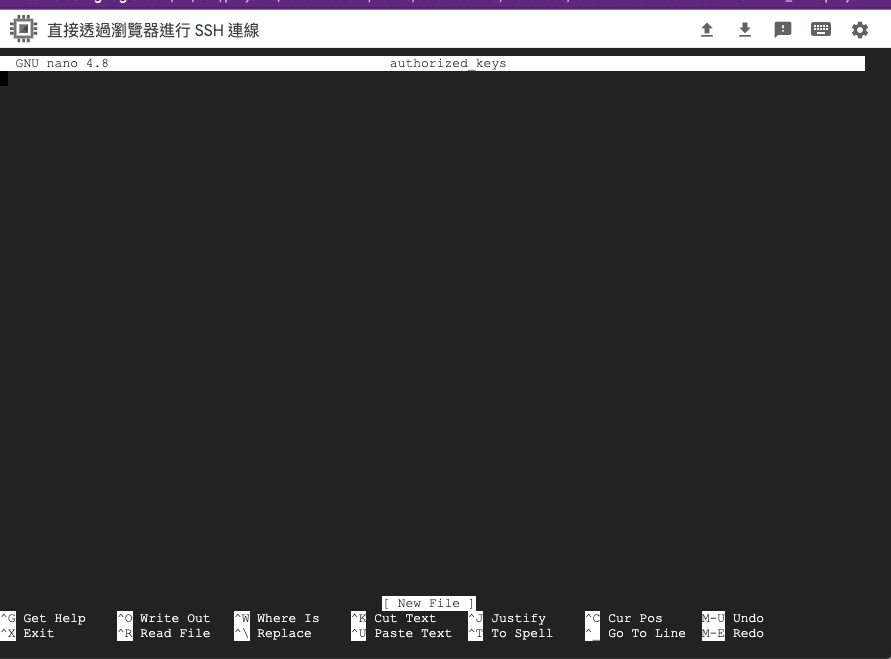
回到本機終端,複製剛剛印出的公鑰,再回到 nano 編輯頁面貼上,完成後按 ^X 存檔 Y 離開。
完成剛剛的步驟後,在 VM 印出公鑰看看資料是否和本機一致
cat authorized_keys
最後,幫公鑰設置權限
先回到根目錄
cd ~
chmod 700 ~/.ssh
chmod 644 ~/.ssh/authorized_keys
回到本機的終端
ssh VM 上的使用者名稱@VM上的外部 IP 位置
VM 上的使用者名稱,就是你點擊SSH連線進去後,@前面就是你的名稱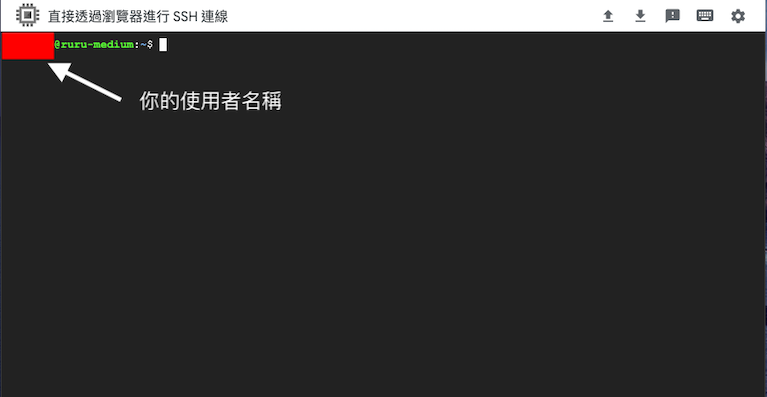
如果無法登入,請回到前面步驟,進入 VM 的 .ssh 檔
cd .ssh
檢查一下是否剛剛檔案設定失敗(建議重貼一次公鑰)
nano authorized_keys
成功後,應該可以在本機終端看見綠色字體顯示 VM 上的使用者名稱@VM名稱
最後,還需要將公鑰放 GCP 的中繼資料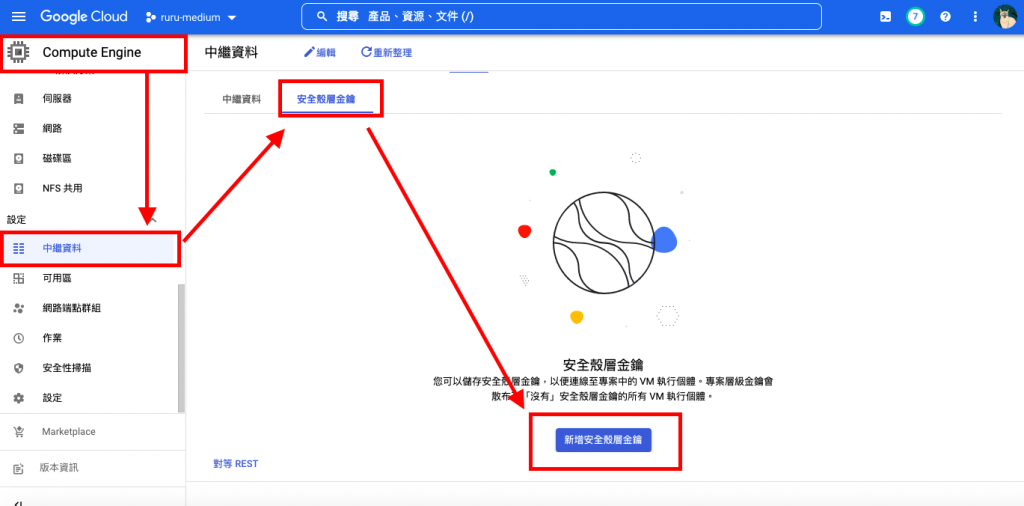
這邊貼上剛剛複製的公鑰後,要將最後的名稱改為 VM 的名稱喔!
設定完,再回到本機連線看看,若能順利登入,就代表已經設定好 SSH 登入囉~
下一篇會再介紹環境設定~
 Ruby菜鳥

 iThome鐵人賽