客戶需求每隔一段時間必須固定PM 2個小時維護系統,所以必須規劃系統HA架構,由於客戶網路環境封閉,這篇先介紹不使用AD帳號也不用把機器加入網域的做法,之後再嘗試正常有AD的架構下如何實作。
2台主機 & 4個可用IP

自訂WorkGroup: HAGROUP(可自行變更)
自訂DNS尾碼:SQLHA(可自行變更))
*注意
兩台主機必須有相同帳號&密碼的本機使用者,並且要有管理員權限,此範例是
Account:Administrator
Password: password
兩台主機的SQL Server必須是Standard以上版本
以下正式開始安裝
*兩台虛擬機都需要做一次
修改WorkGroup與自訂DNS尾碼
1.右鍵開始點選系統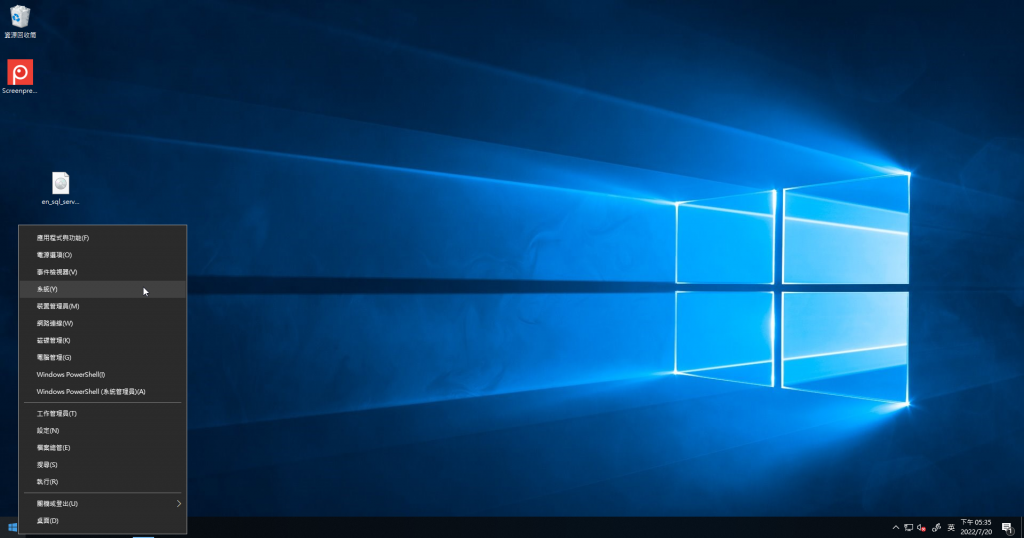
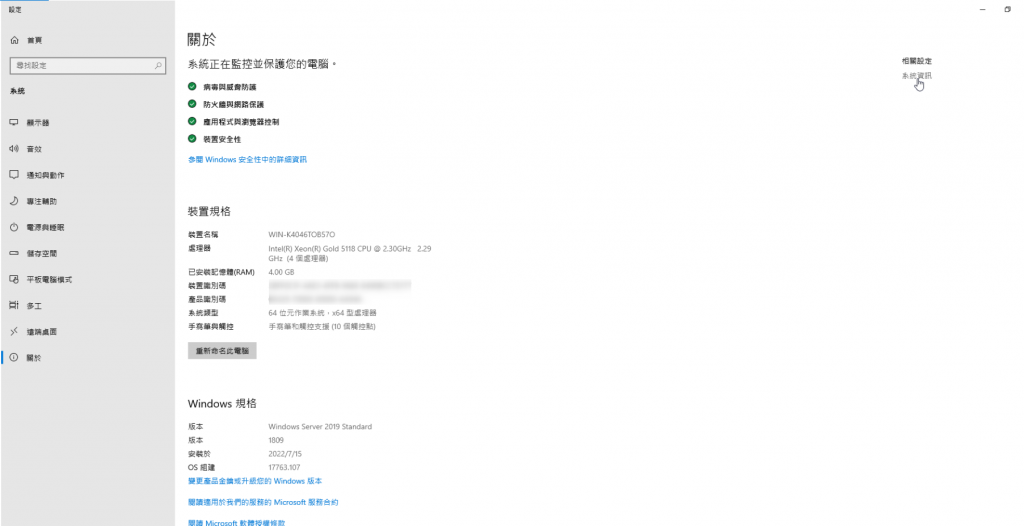
2.點選系統資訊
3.點選變更設定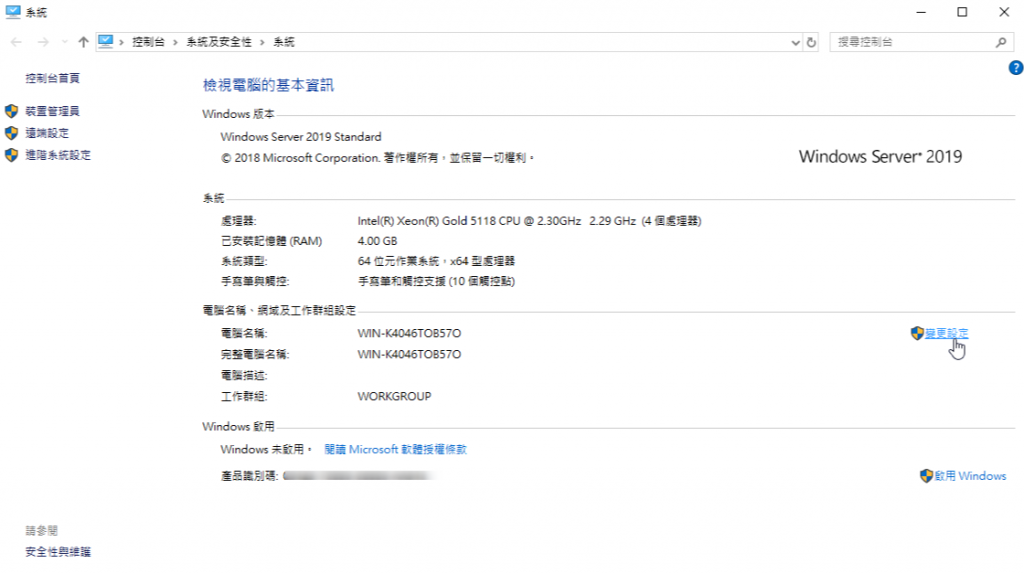
4.點選變更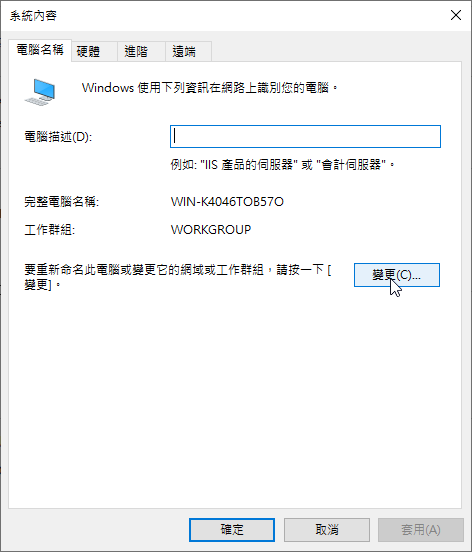
5.在工作群組輸入 HAGROUP
6.點選其他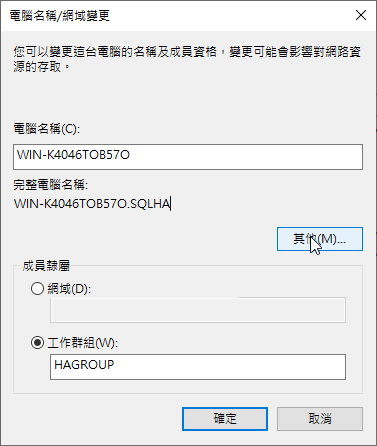
7.輸入DNS尾碼 SQLHA 後按下確定

8.按下確定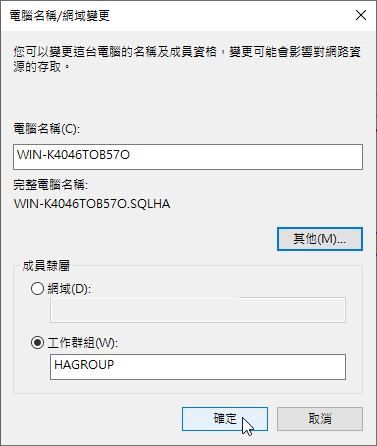
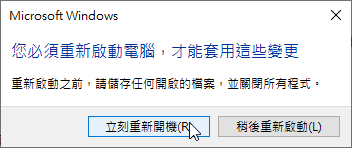
9.按下確定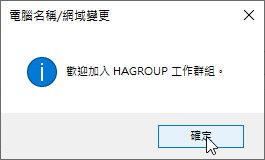
10按下確定並重新啟動電腦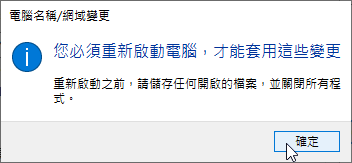
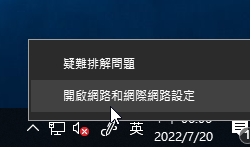
11.右鍵網路連線Icon並點擊開啟網路和網際網路設定
12.點選變更介面卡選項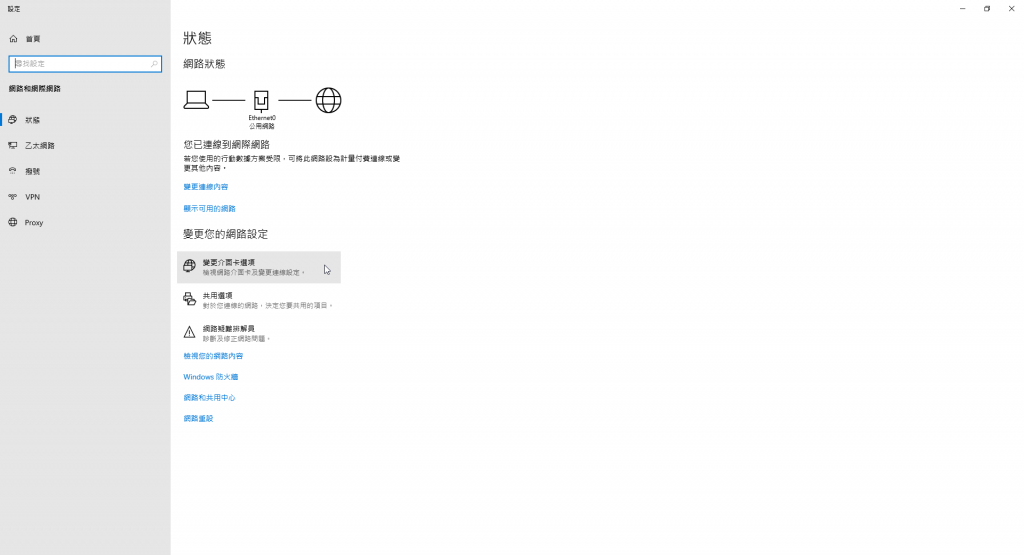
13.右鍵Ethernet0點選內容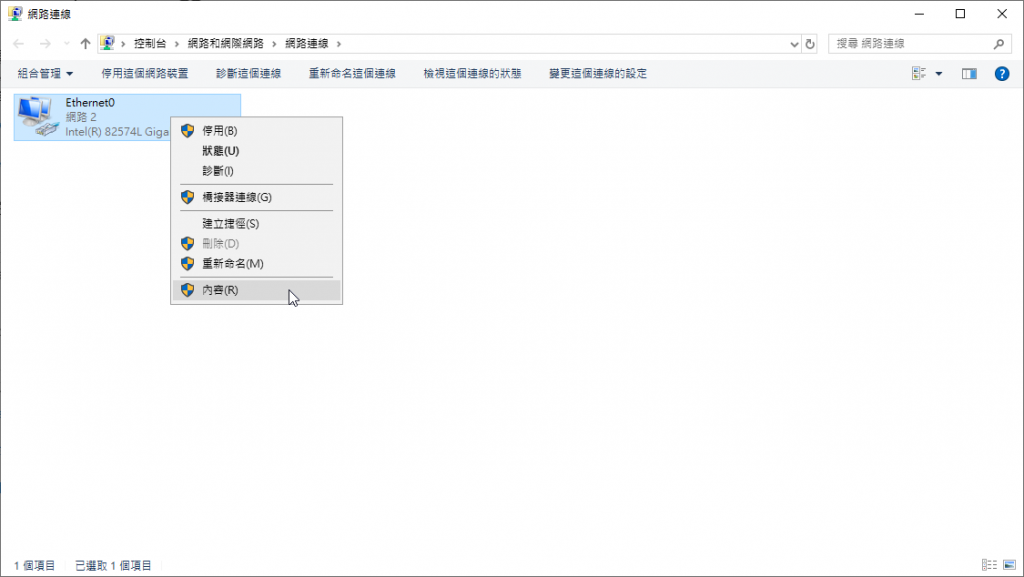
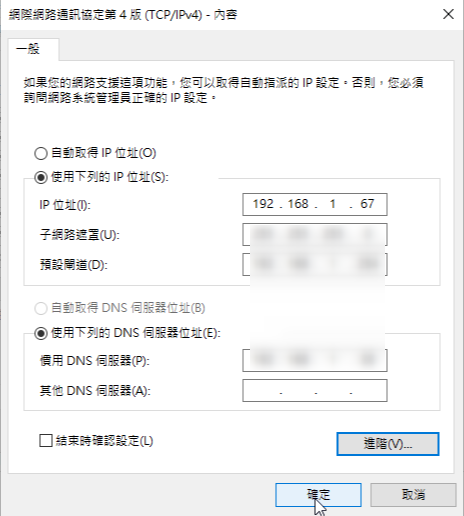
14.選擇 TCP/IPv4 開啟 內容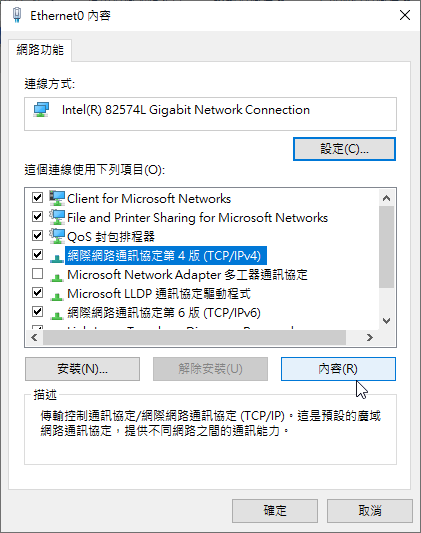
15.打開進階選項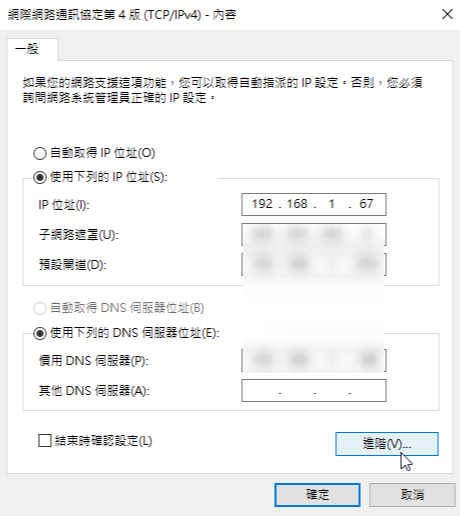
16.選到DNS項目
17.取消勾選 在DNS中登入這個連線的網路位置
18.選擇 附加這些DNS尾碼
19.點擊 新增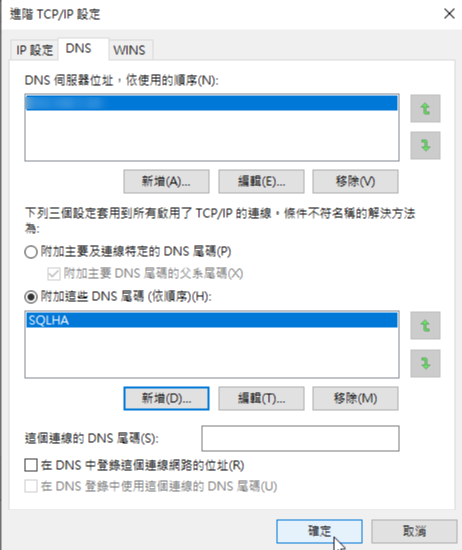
20.輸入: SQLHA 點擊新增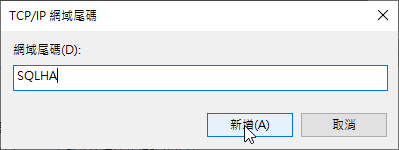
21.點擊確定

22.點擊確定
23.在C:\Windows\System32\drivers\etc 開啟hosts檔案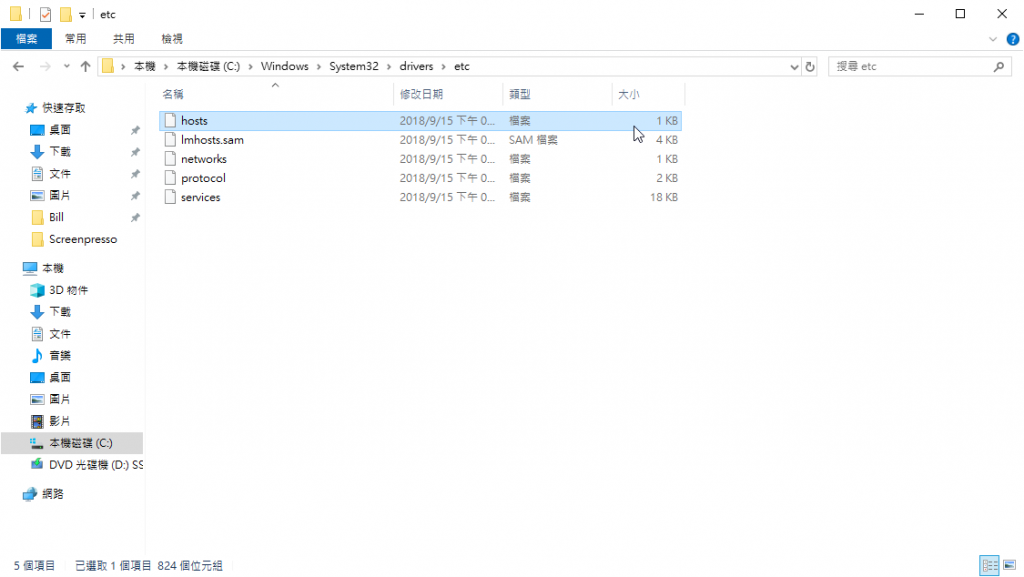
24.在最下方輸入對應IP資訊並儲存檔案
192.168.1.67  WIN-K4046TOB57O.SQLHA
192.168.1.68  WIN-6K690KG06RP.SQLHA
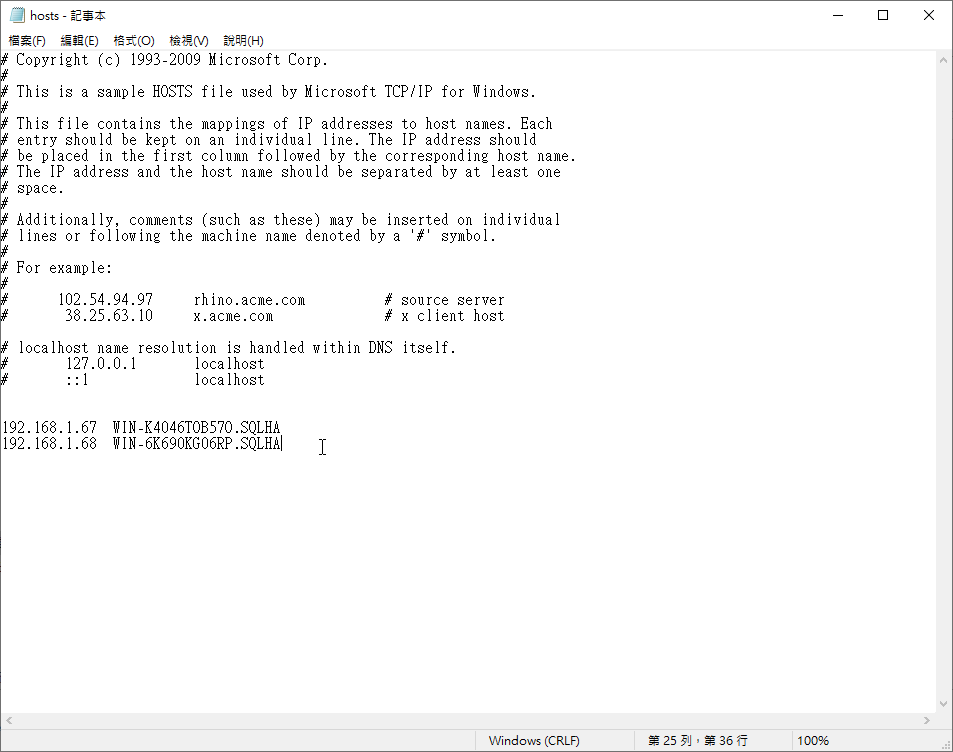
*請在虛擬機B也完成操作
*兩台虛擬機都需要做一次
1.在放大鏡輸入firewall 並開啟防火牆與網路保護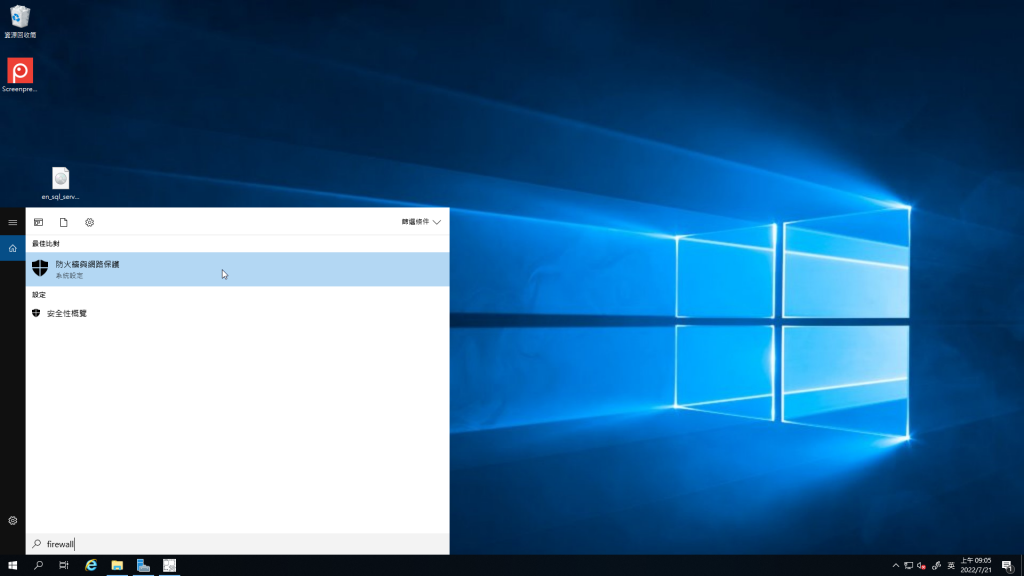
2.開啟進階設定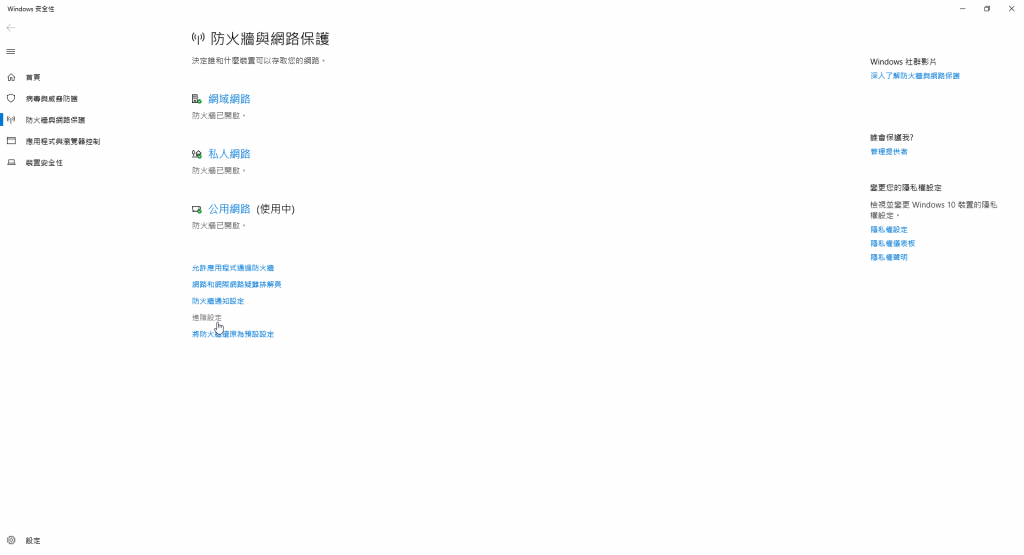
3.點選輸入規則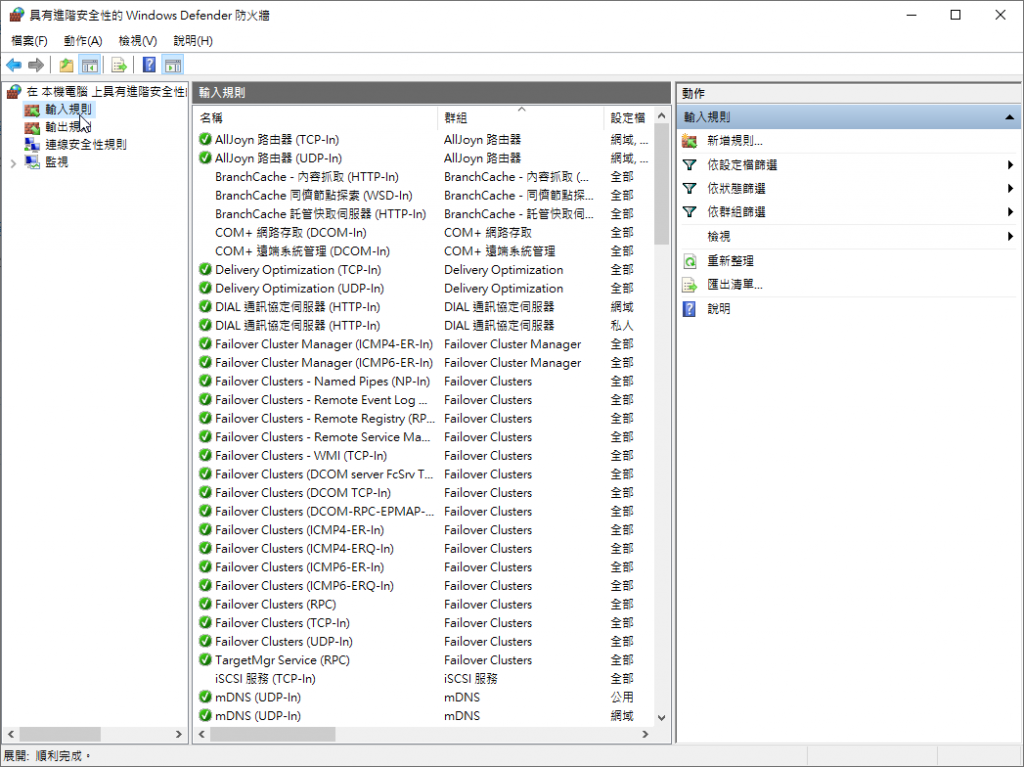
4.點選新增規則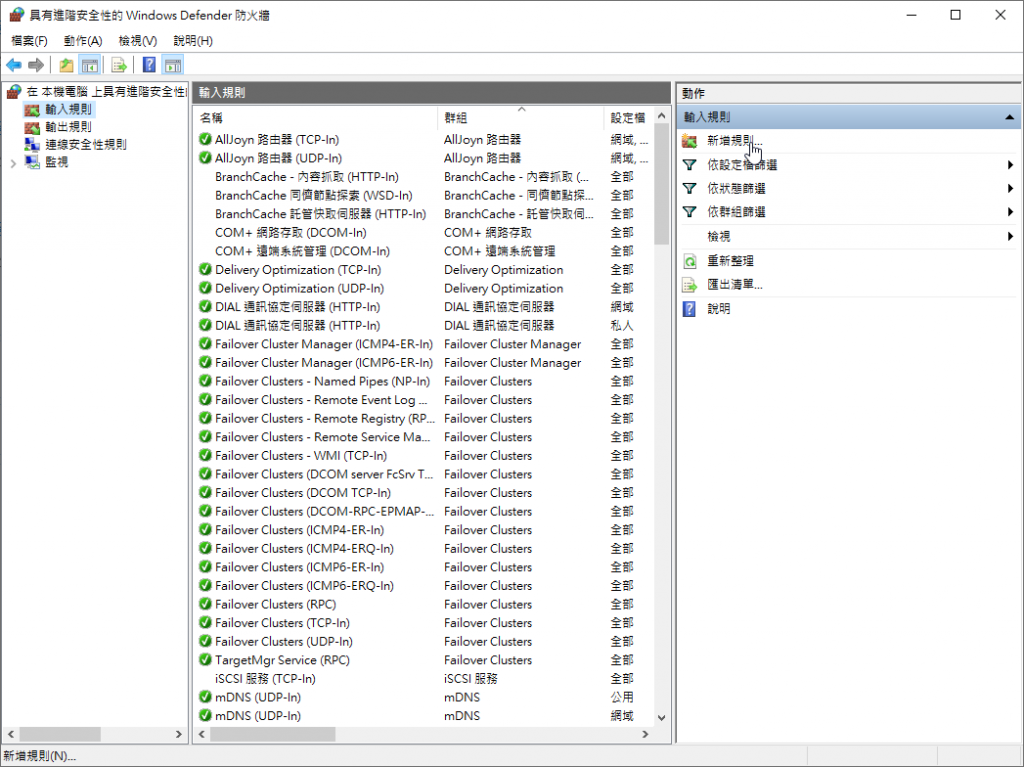
5.選連接阜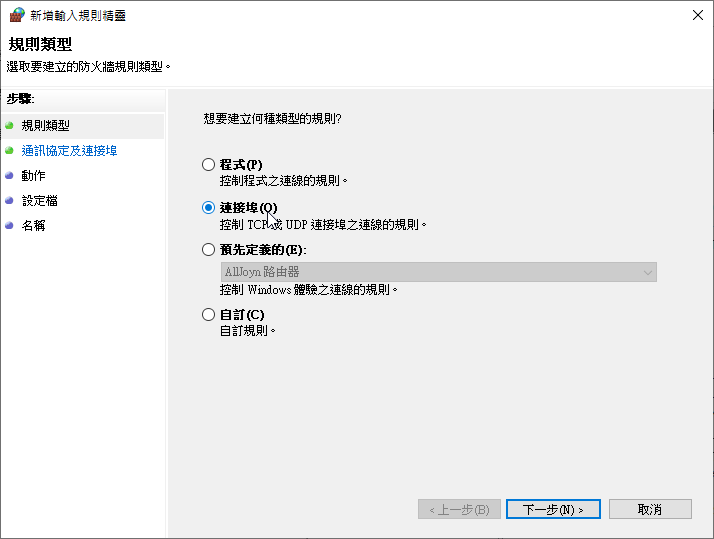
6.選TCP
7.輸入特定連接阜 1433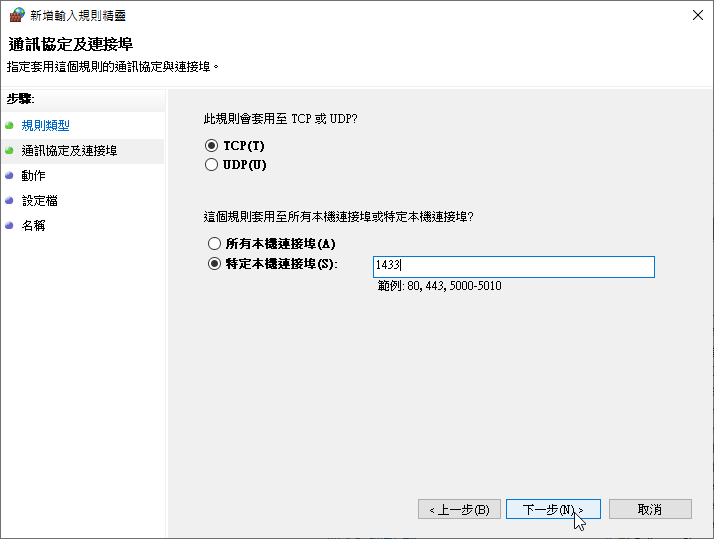
8.允許連線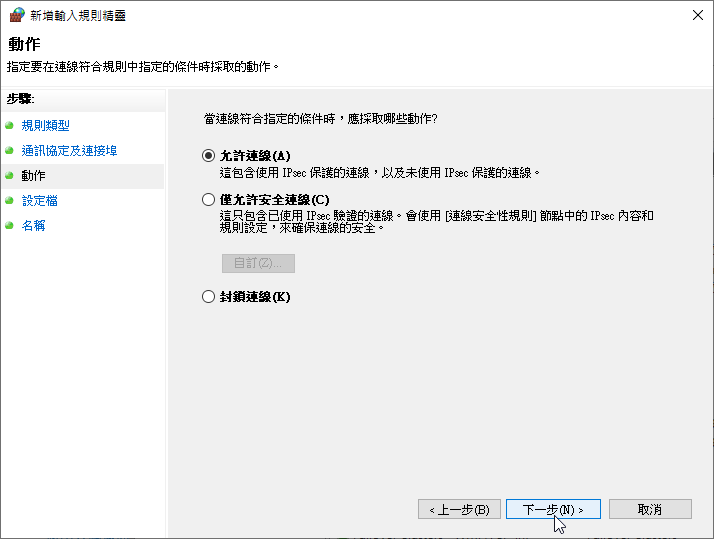
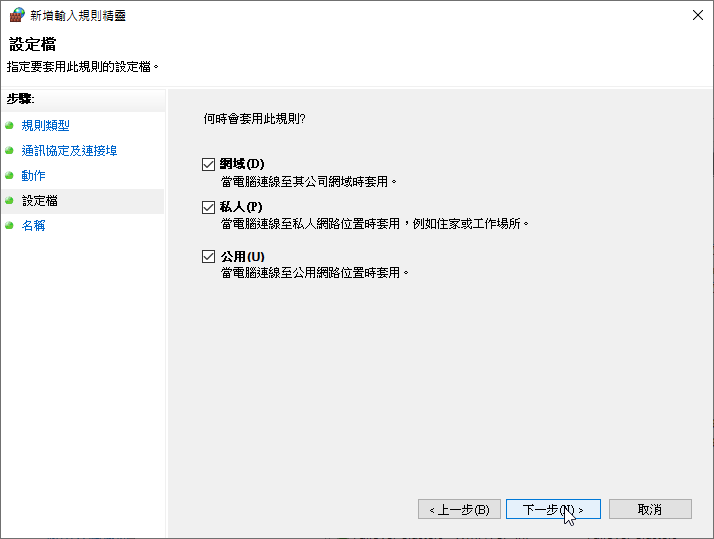
9.下一步
10.輸入名稱1433Port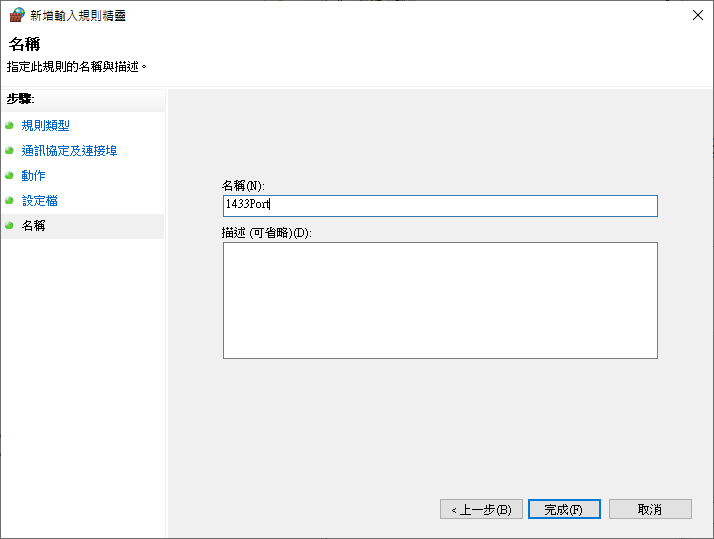
11.重複步驟4~10 建立5022Port
12.完成後看到剛剛建立好的1433Port & 5022Port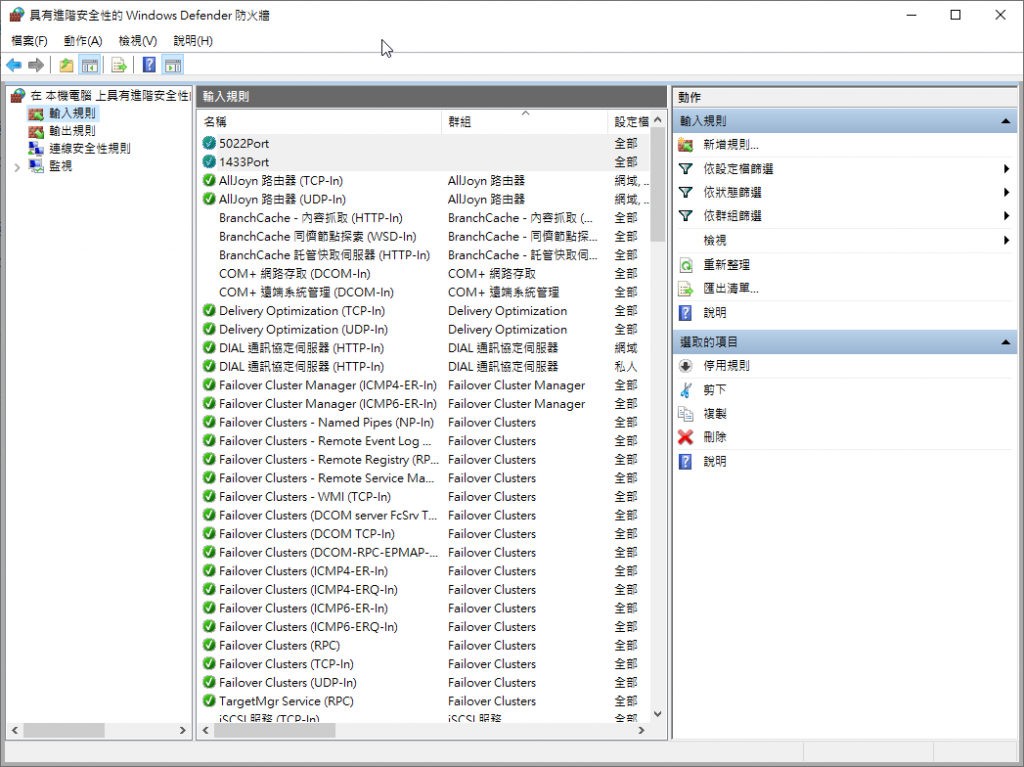
*請在虛擬機B也完成操作
*兩台虛擬機都需要做一次
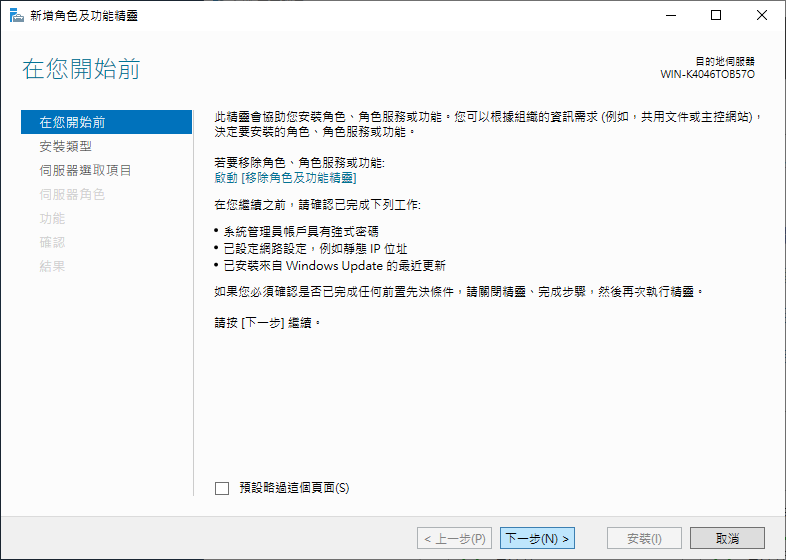
1.點選管理>新增腳色及功能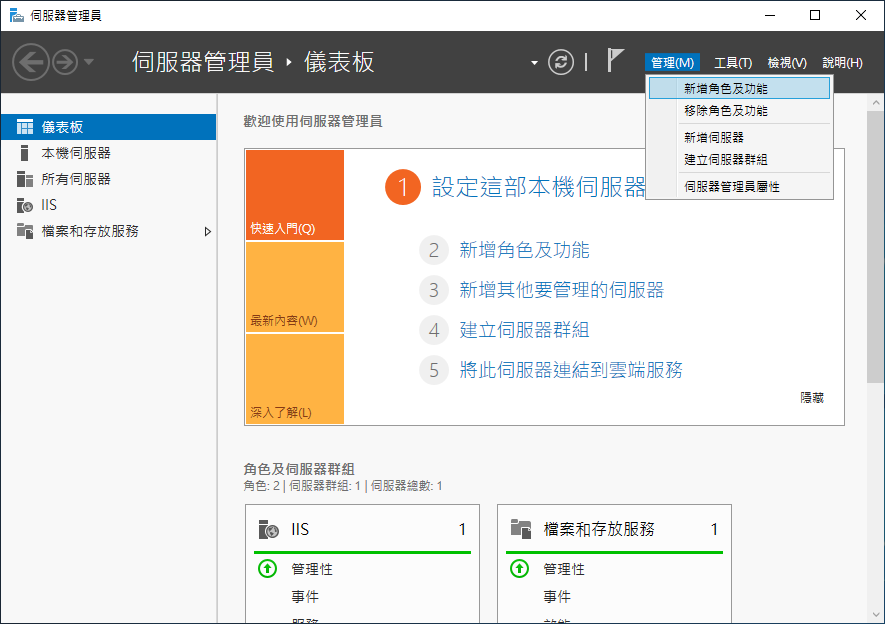
2.下一步
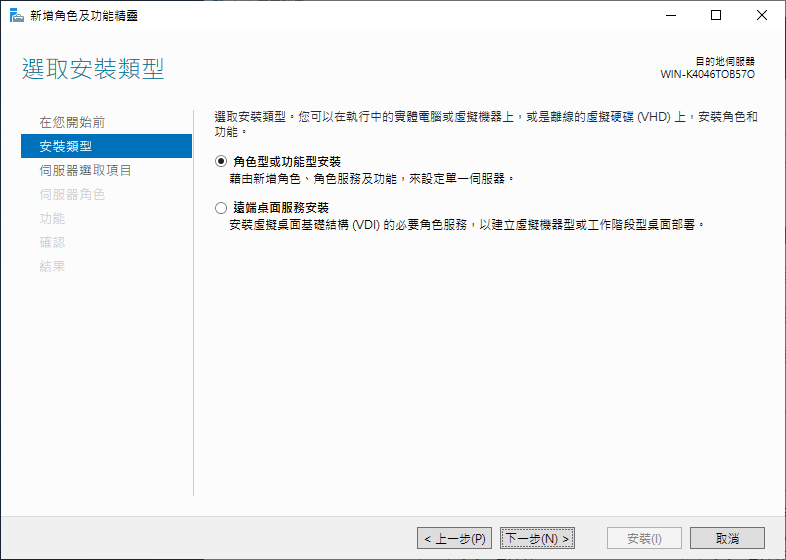
3.腳色型或功能安裝>下一步
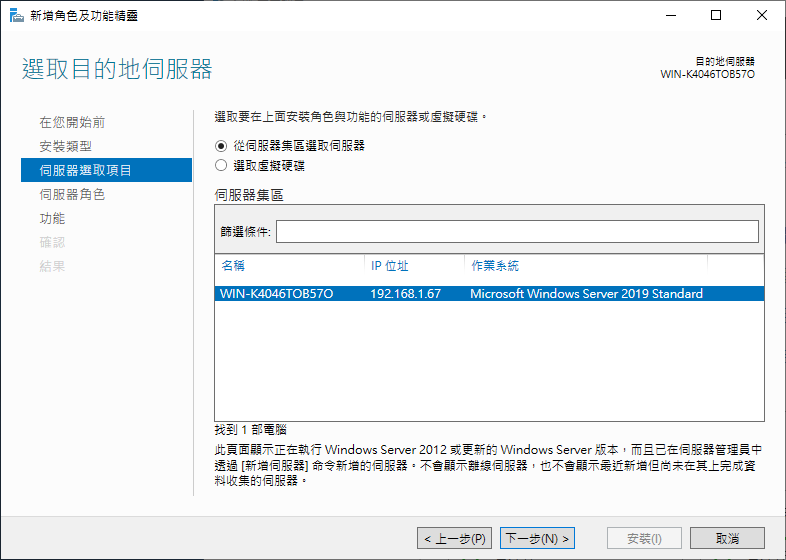
4.從伺服器集區選取伺服器
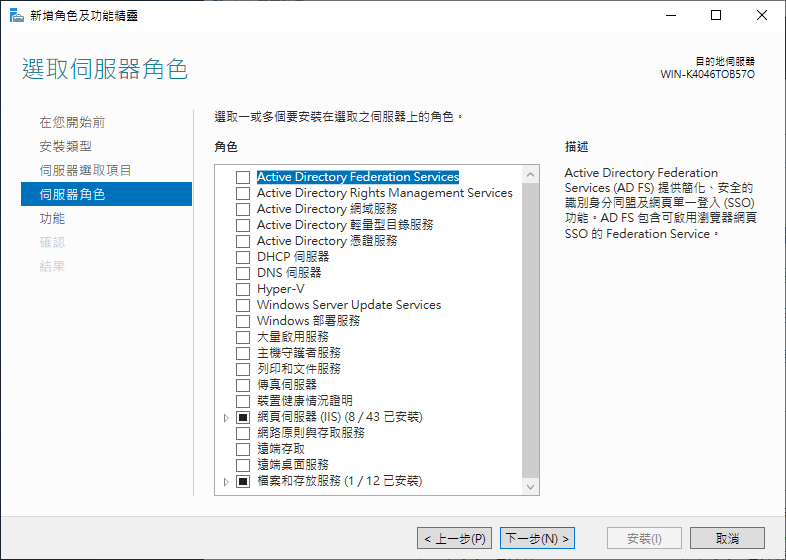
5.伺服器腳色 不須選取 >下一步
6.功能選取 容錯管理叢集
7.安裝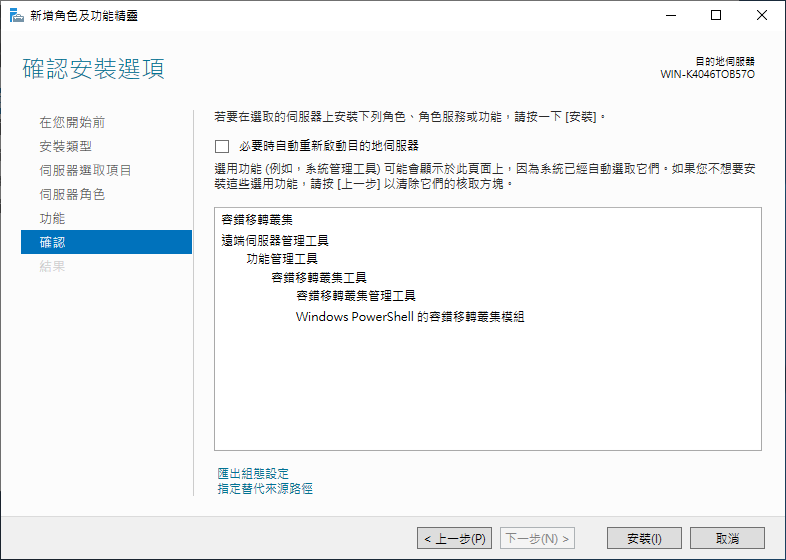
*請在虛擬機B也完成操作
以下在虛擬機A操作即可
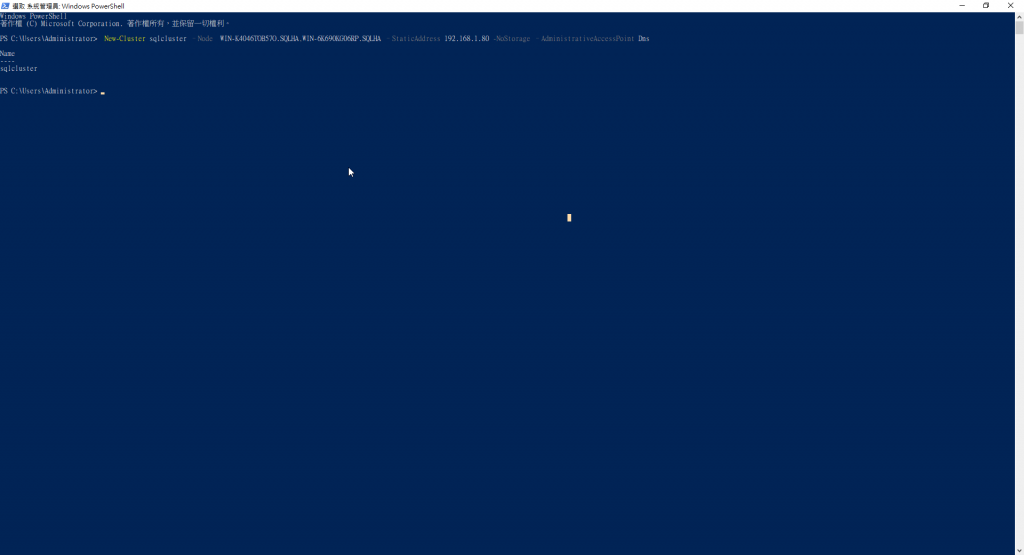
若使用容錯移轉管理員建立叢集會需要經過許多驗證過程,因為正常流程是需要在有AD帳號和機器加入網域的情況下建立,因此這篇採用PowerShell下指令的方式建立
1.以管理員身分開啟Windows PowerShell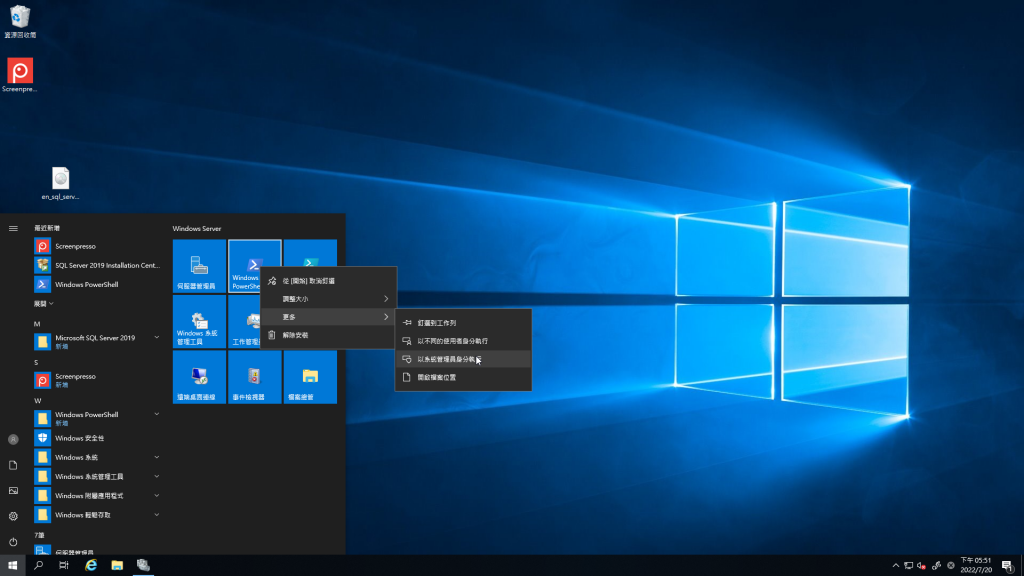
2.輸入建立叢集指令
New-Cluster sqlcluster –Node WIN-K4046TOB57O.SQLHA,WIN-6K690KG06RP.SQLHA –StaticAddress 192.168.1.80 -NoStorage –AdministrativeAccessPoint Dns
3.完成建立 sqlcluster
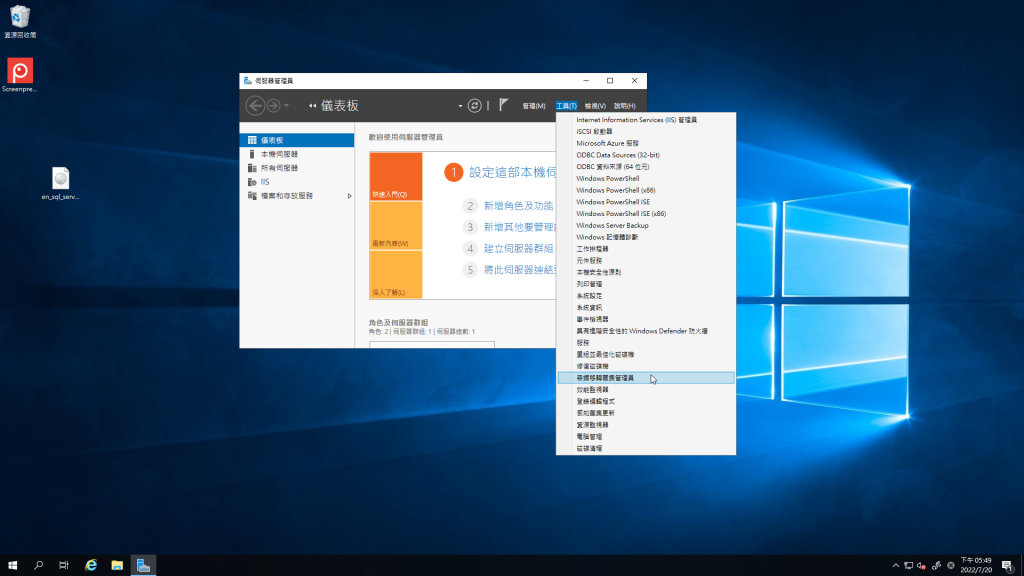
4.從伺服器管理員開啟 容錯轉移叢集管理員
5.點擊連線到叢集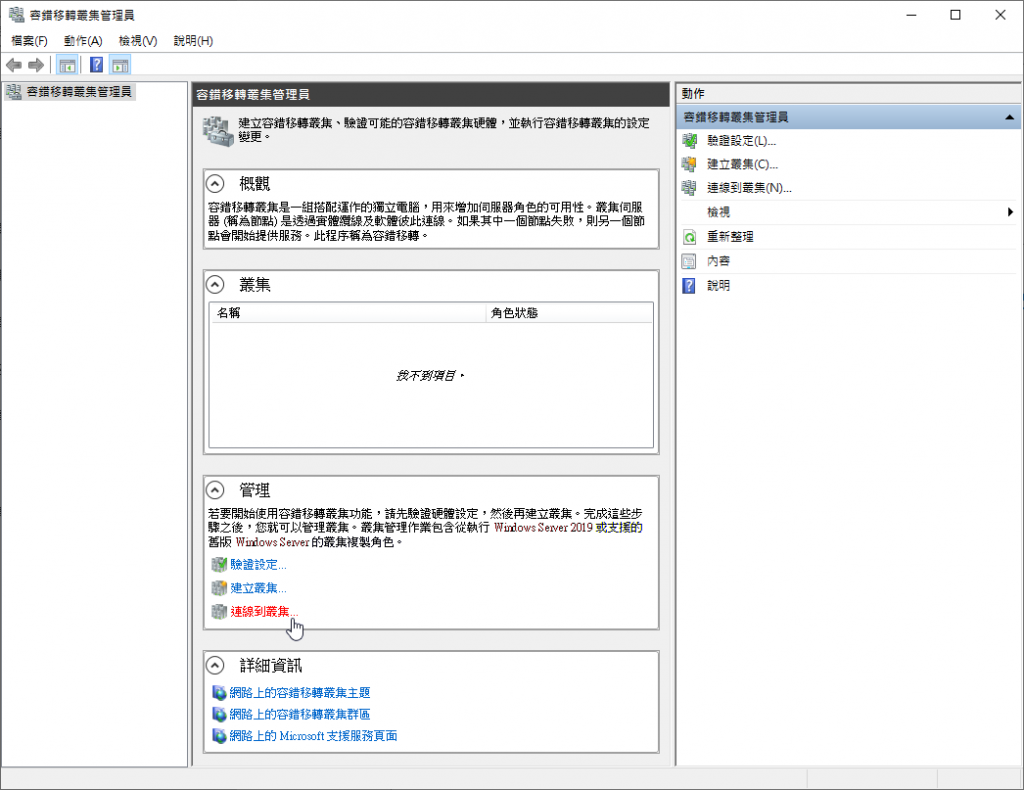
6.選擇 這部伺服器上的叢集>確定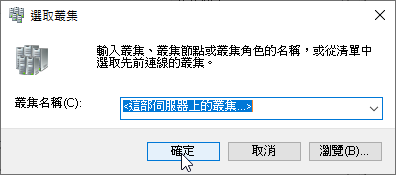
7.確認連線到sqlcluster
至此完成WSFC建立。
*兩台虛擬機都需要做一次
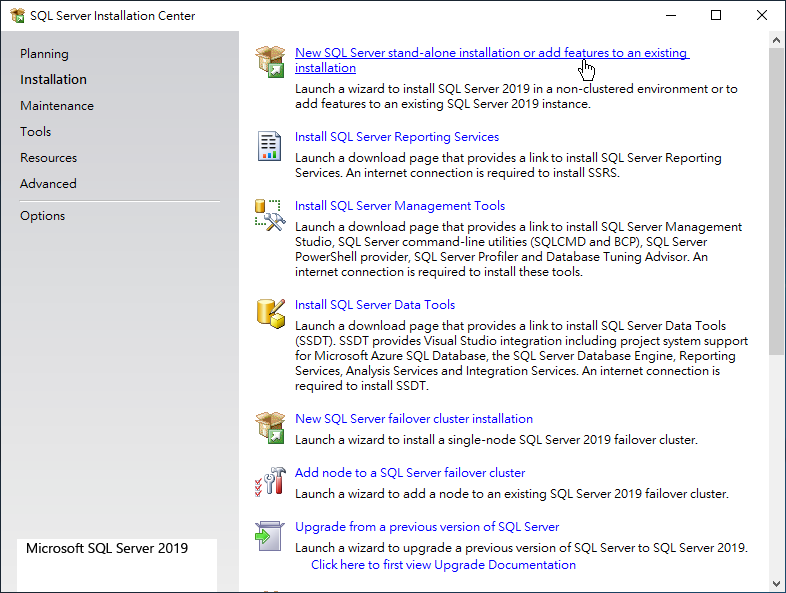
1.開啟SQL安裝
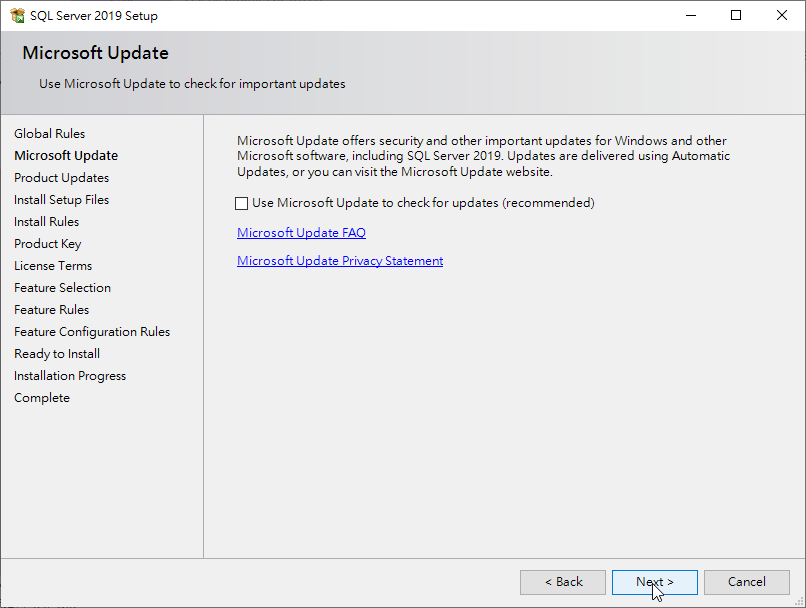
2.略過Windows Update >Next
3.Next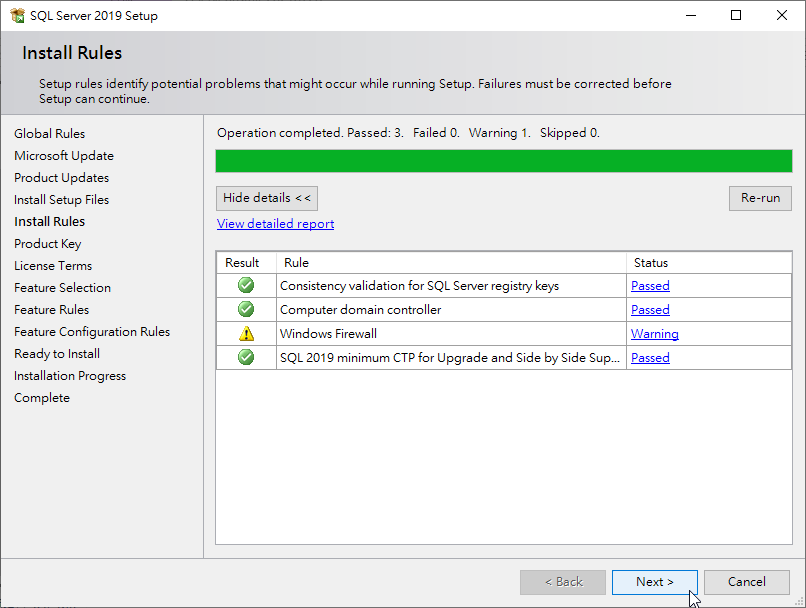
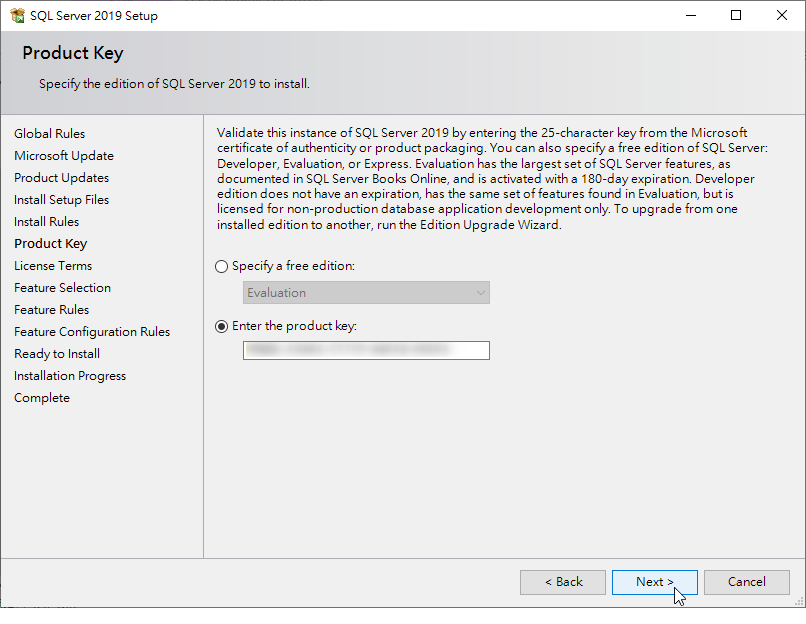
4.我們是用SQL Server Standard的版本,所以輸入product key後>Next
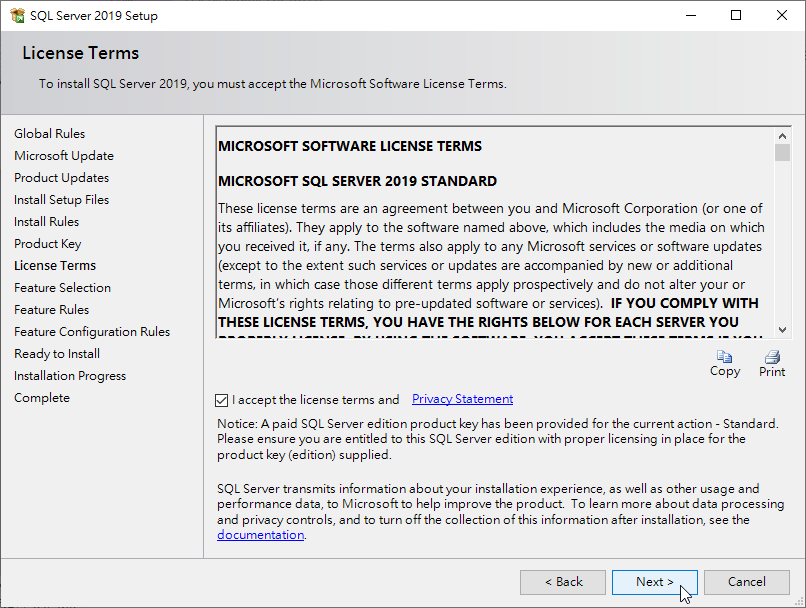
5.同意使用說明 >Next
6.勾選Datebase Engine Services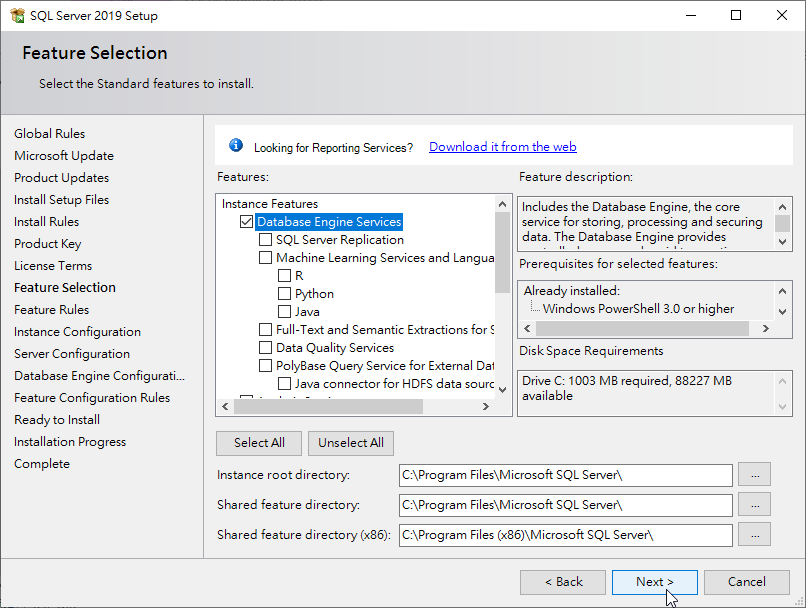
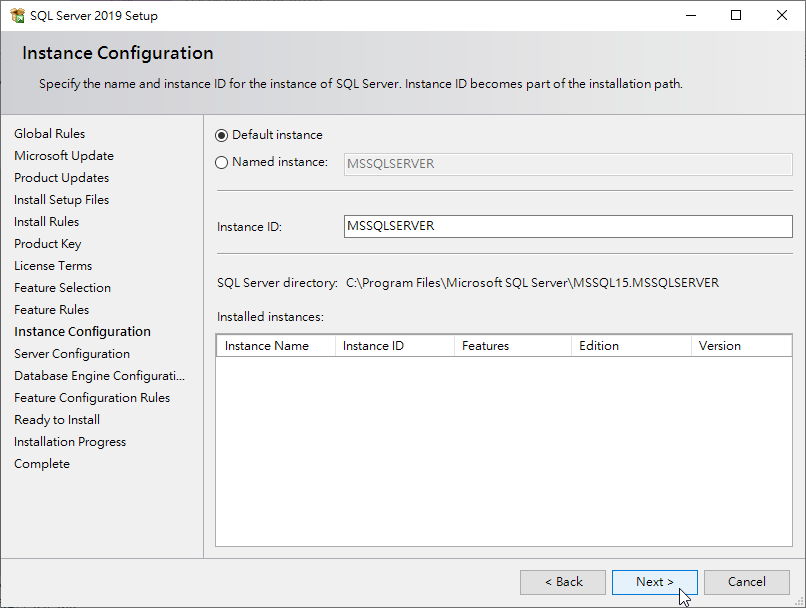
7.使用 Default instance
Instance ID : MSSQLSERVER
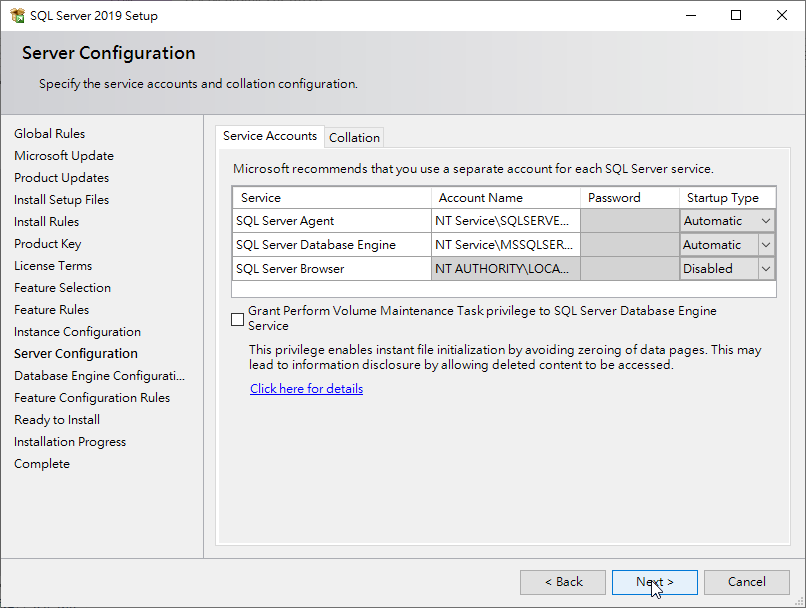
SQL Server Database Engine : Startup Type: Automatic
SQL Server Agent : Startup Type: Automatic
10.點選 Add Current User會自動加入現在的User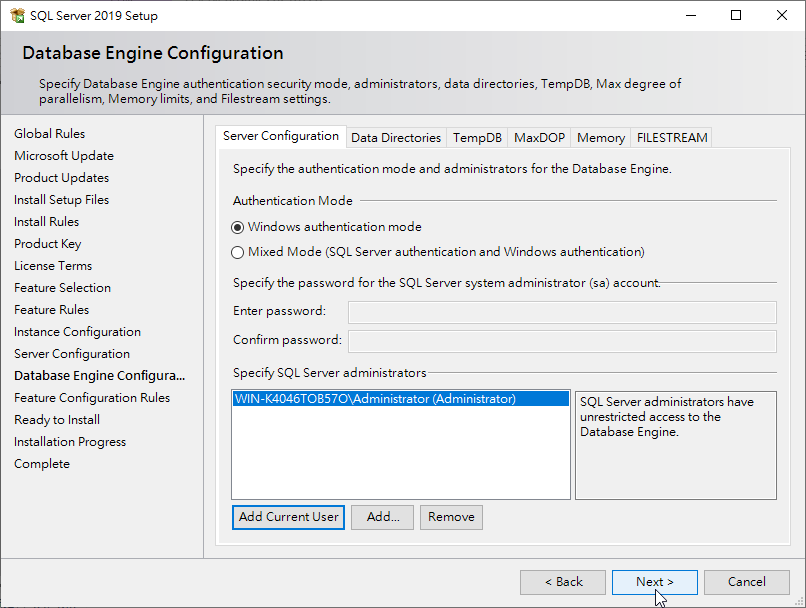
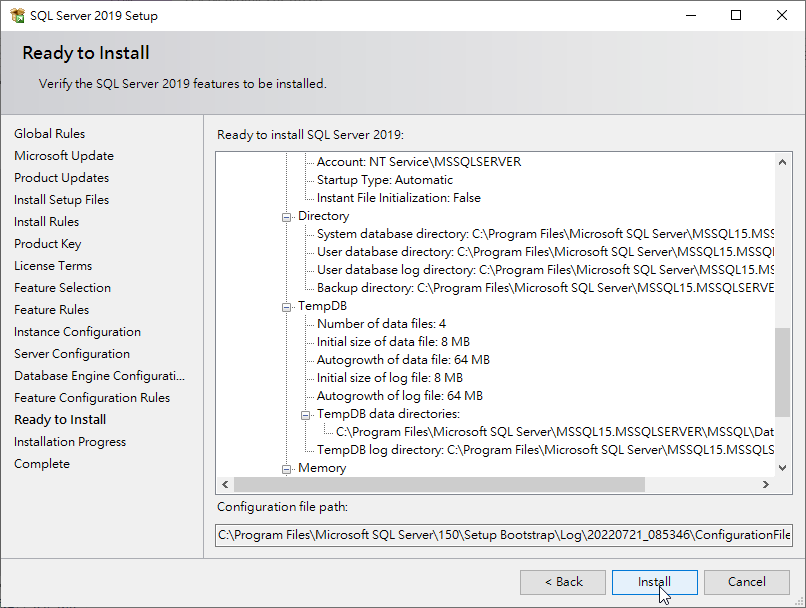
11.點選Install
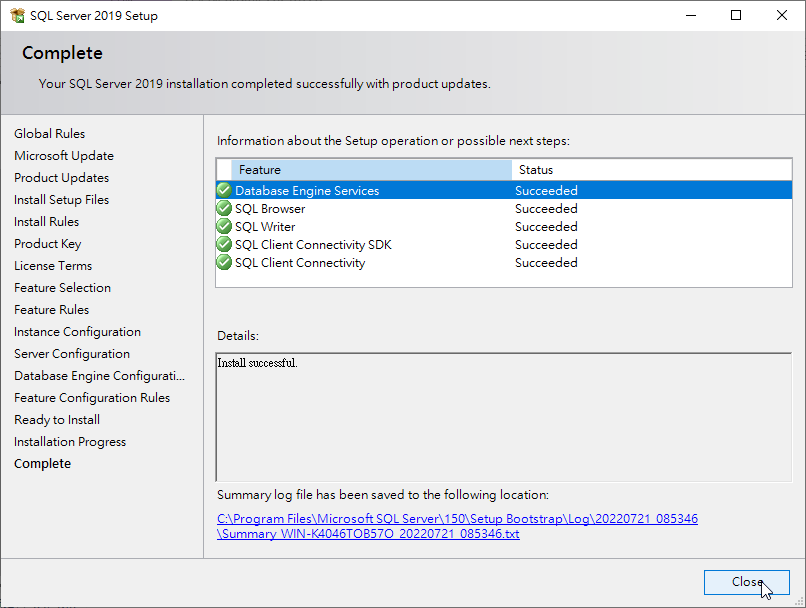
12.完成安裝 ,點擊Close
13.開啟SSMS安裝
14.Install,安裝完成後重新啟動電腦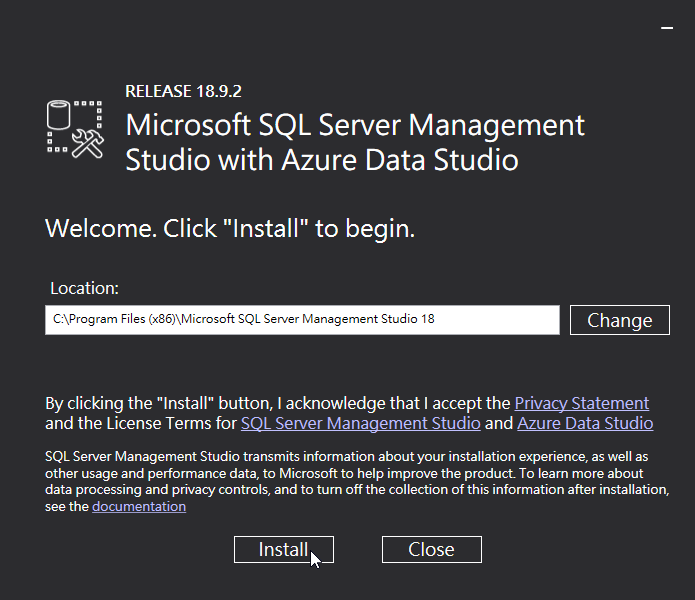
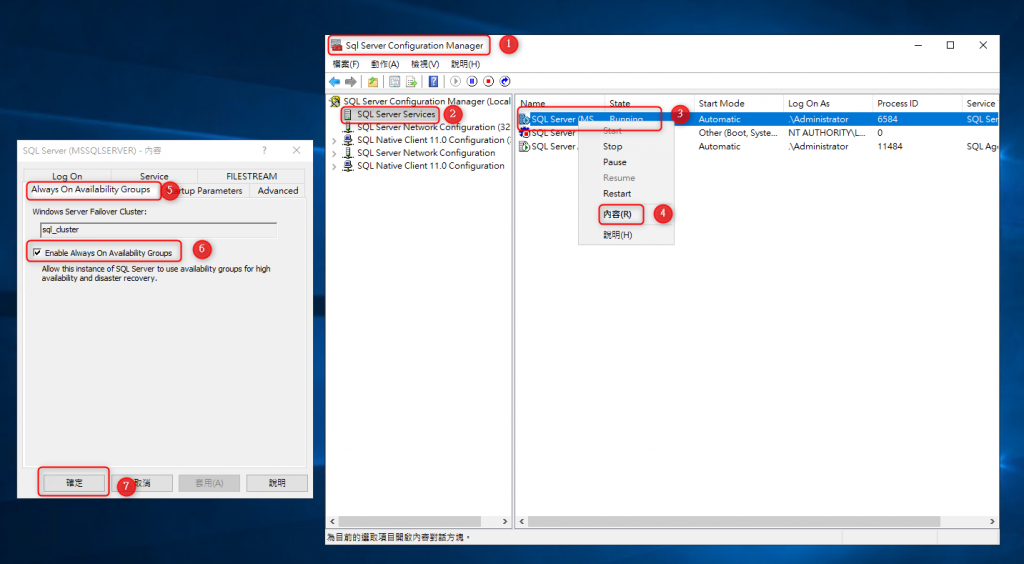
15.開啟SQL Server 組態管理員
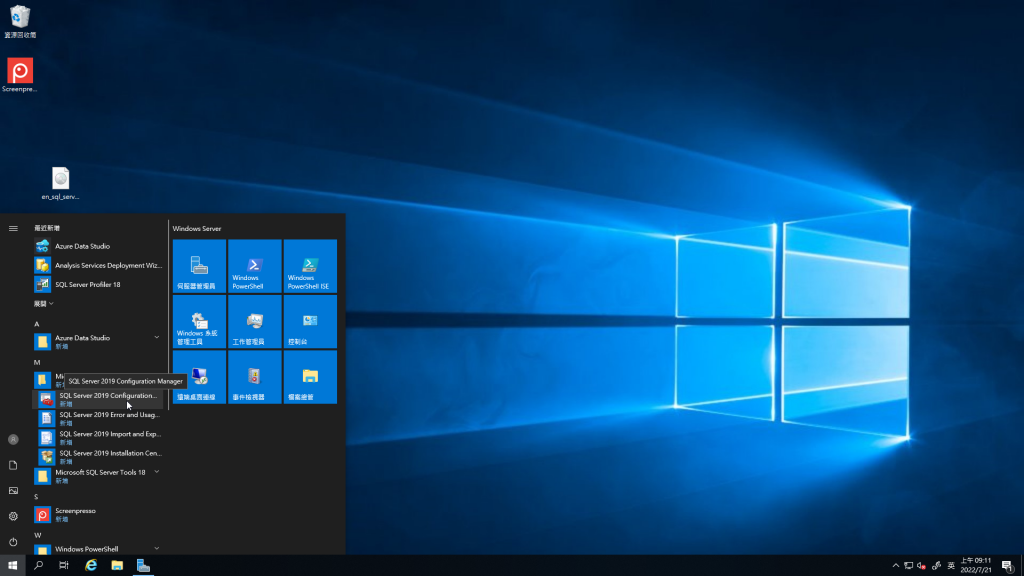
16.選擇SQL Server Service

17.右鍵SQL Server開啟內容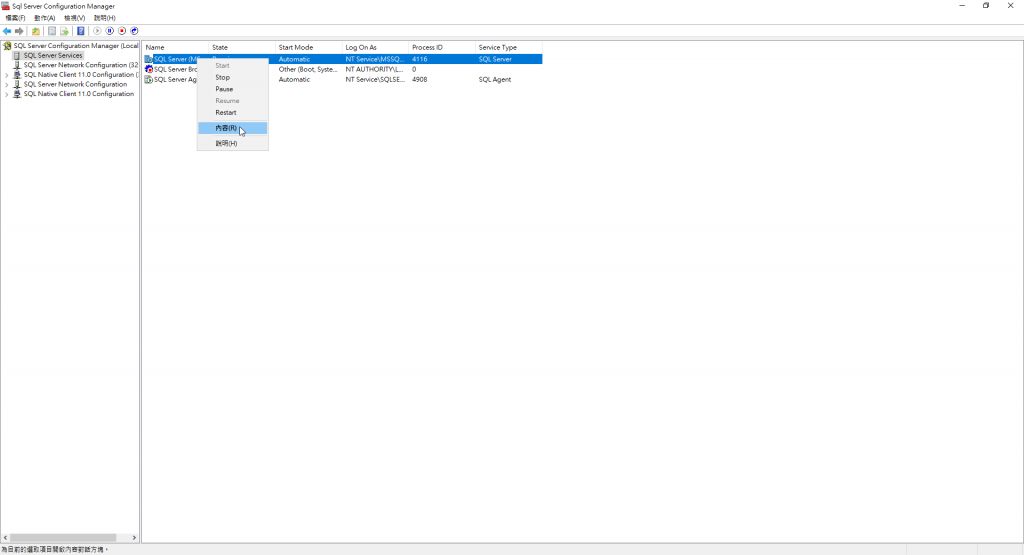
18.切換到Always On Availability Groups頁籤, 勾選Enable Always On Availability Groups
19.切換到Log On頁籤
輸入
Account: ./Administrator
Password: password
確定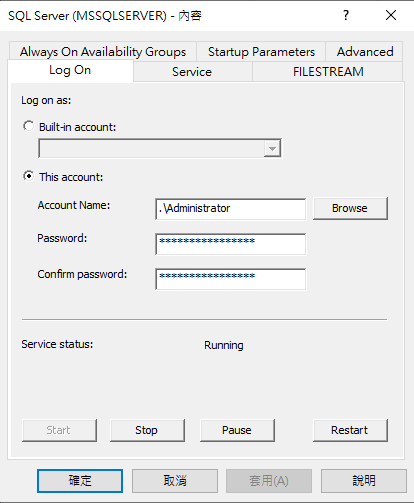
21.需重新啟動SQL Server設定才會起作用,按確定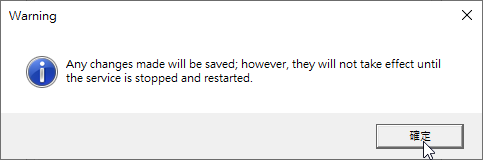
22.Restart SQL Server
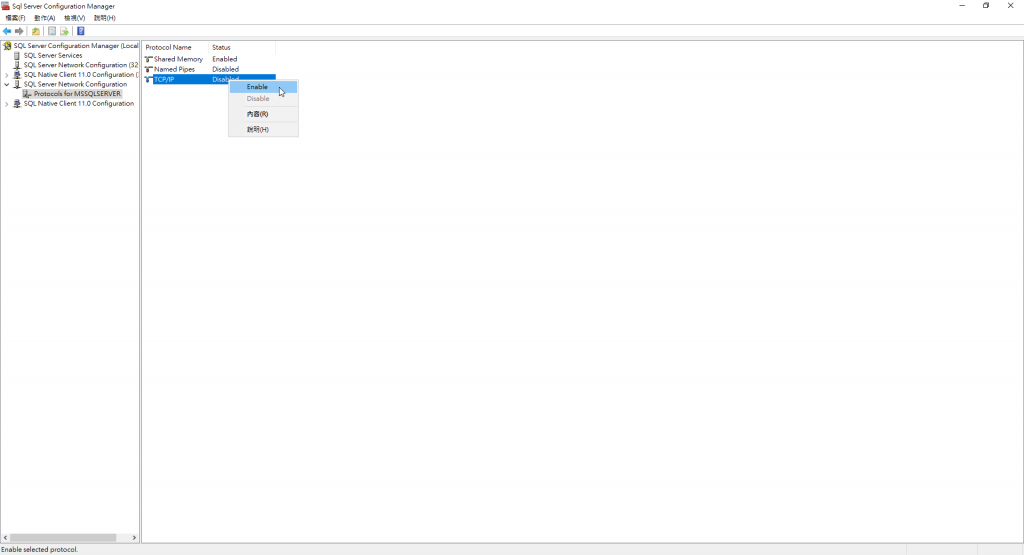
23.點選SQL Server Network Configuration>Protocols for MSSQLSERVER
右鍵 TCP/IP 設成Enable
至此完成SQLServer建立與設定
*請在虛擬機B也完成操作
*兩台虛擬機都需要做一次
1.開啟SSMS
2.使用Windows帳號登入,按下Connect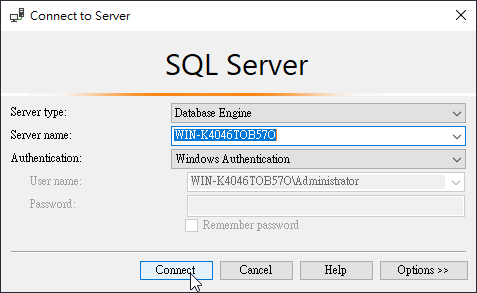
3.右鍵Server名稱選擇Properties
4.在Security頁面選擇 SQL Server and Windows Authentication mode
5.重新啟動後才設定才有效,這邊先按OK但等等在重新啟動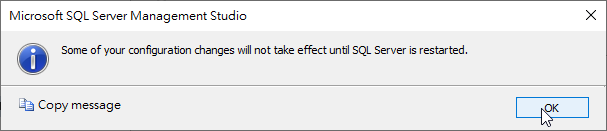
6.在Security>Login按右鍵選擇 New Login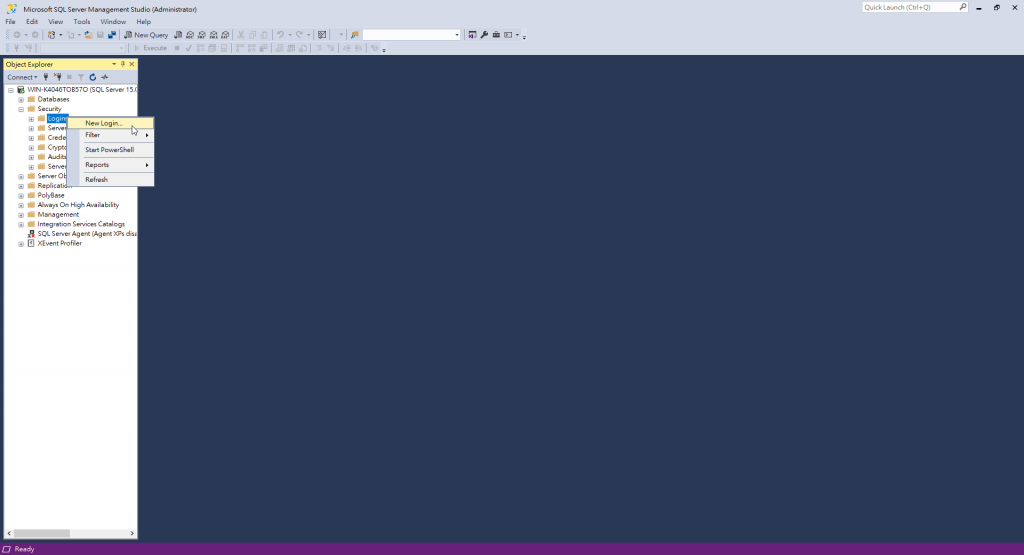
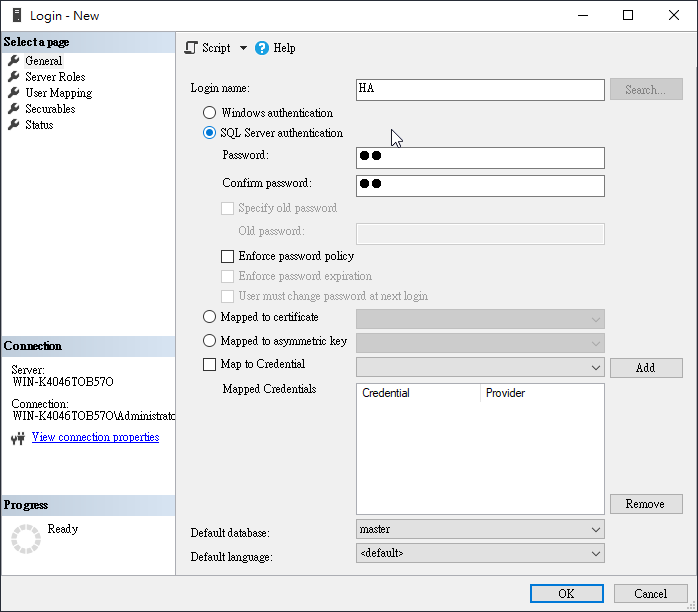
7.建立帳號HA
選擇SQL Server authentication
下面選項都不勾選
8.Server Roles 勾選sysadmin權限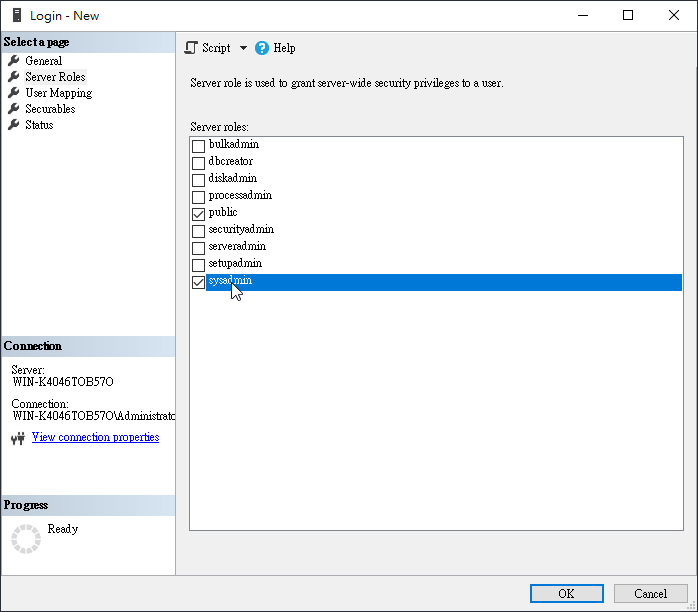
9.UserMapping不勾選
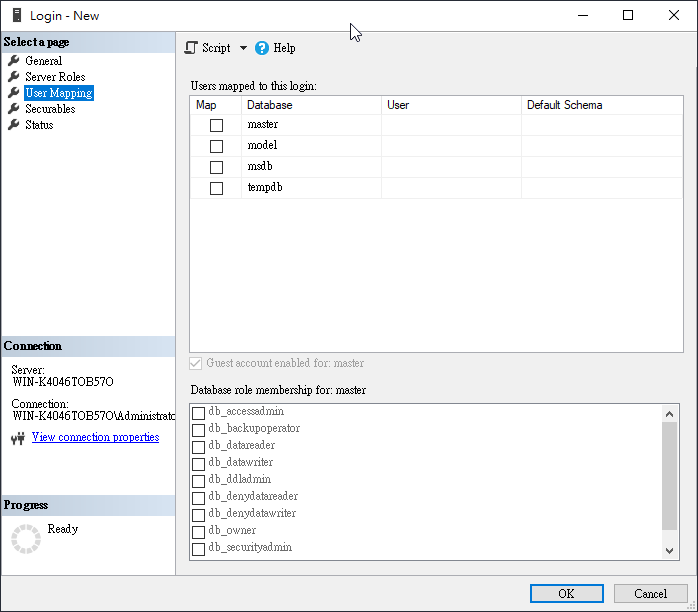
10.Securables不做事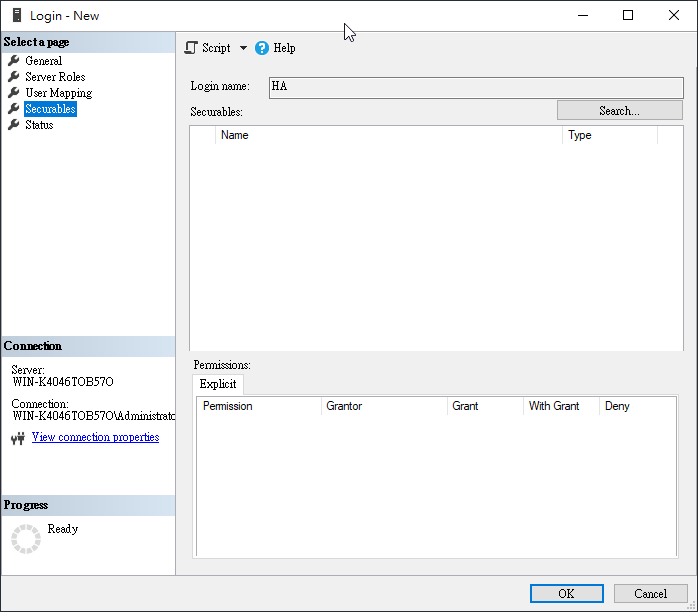
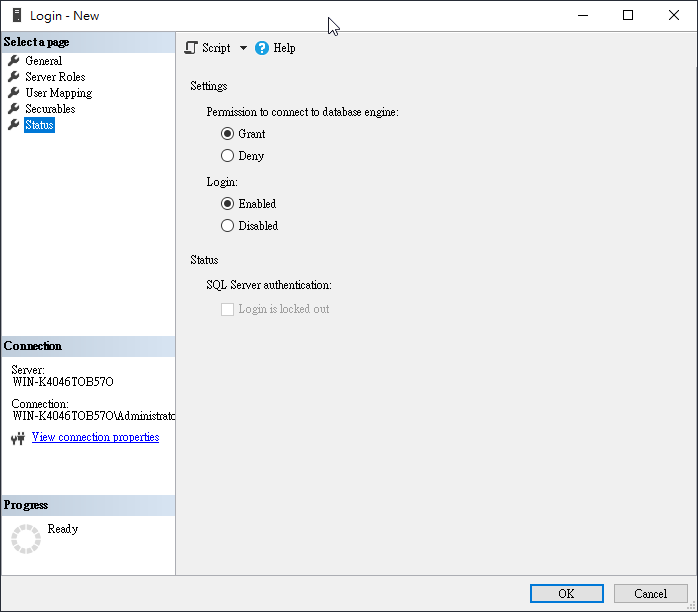
11.Sataus不動 按下OK
12重啟SQL Server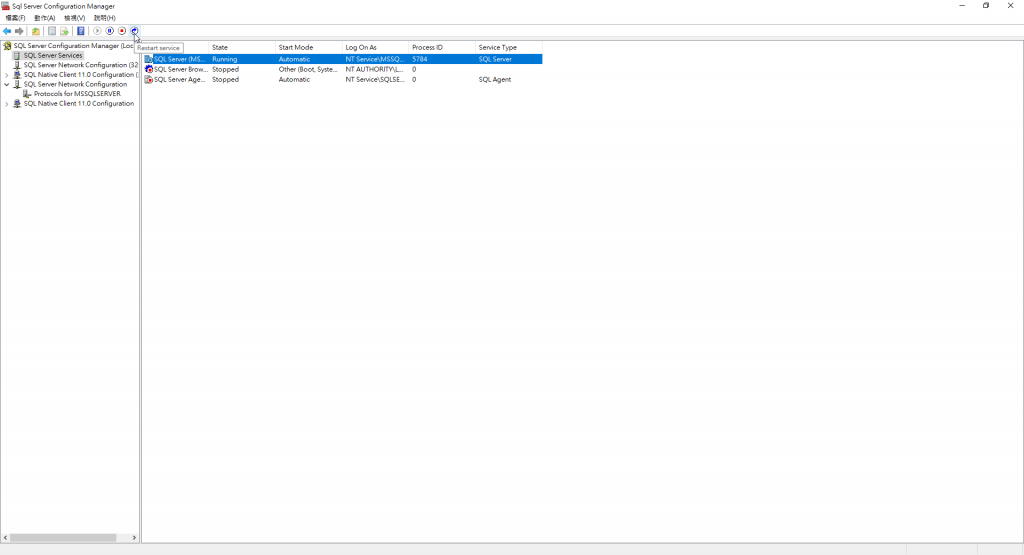
*請在虛擬機B也完成操作
*此步驟只需在虛擬機A操作
1.右鍵Database 選擇 New Database
2.輸入Database name: TestDB 按OK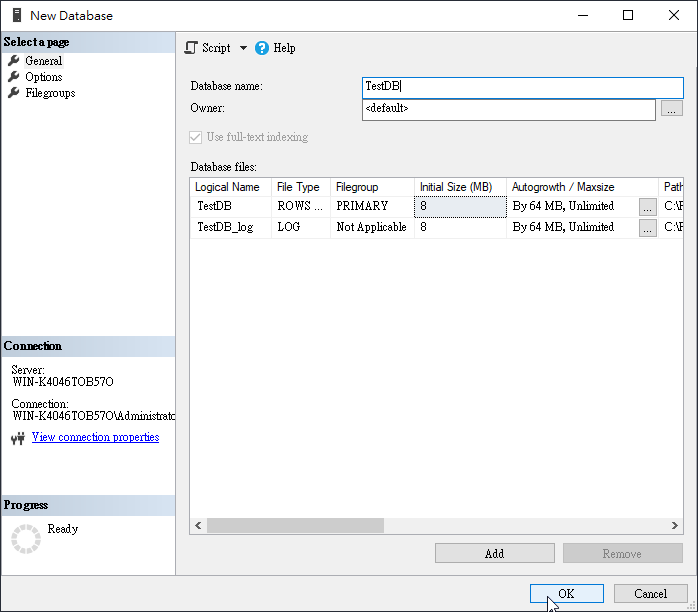
3.重新整理Database後,對剛剛建立的TestDB右鍵>Tasks>Back up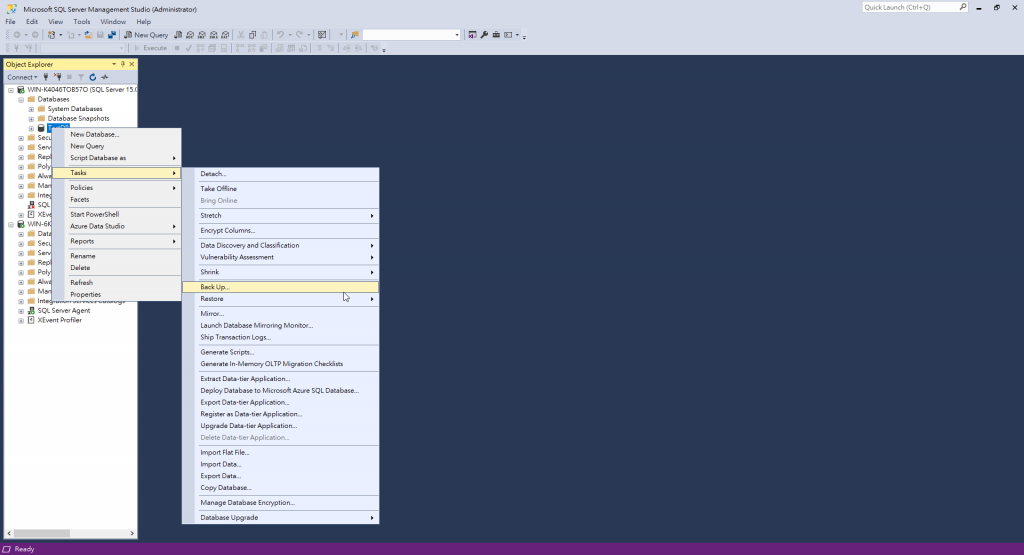
4.按OK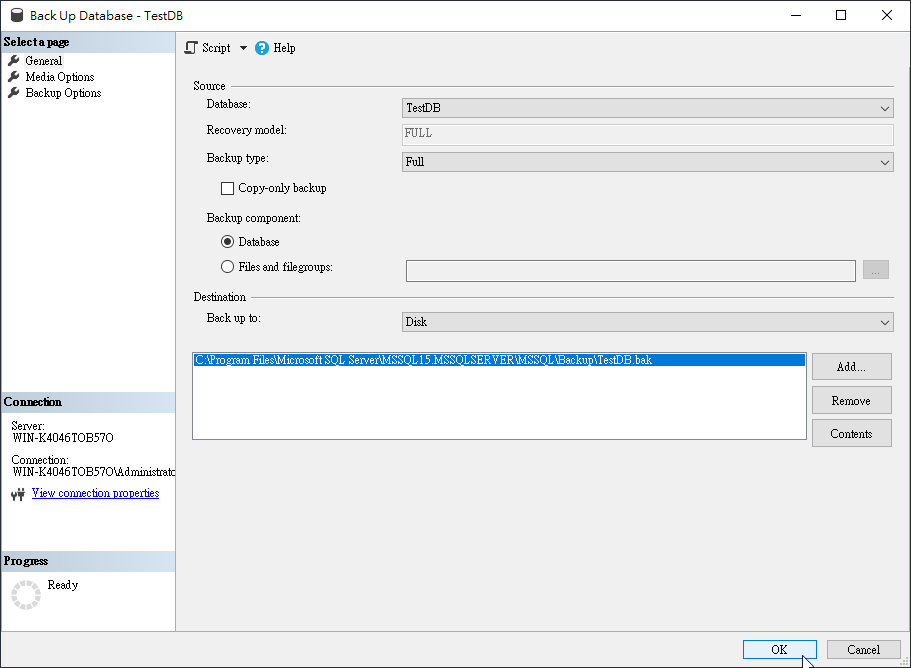
以上完成測試資料庫TestDB建立
注意:不可以省略備份的步驟,否則不能建立 Availability Group
*此步驟只需在虛擬機A操作
1.右鍵Always on High Availability ,點選 New Availability Group Wizard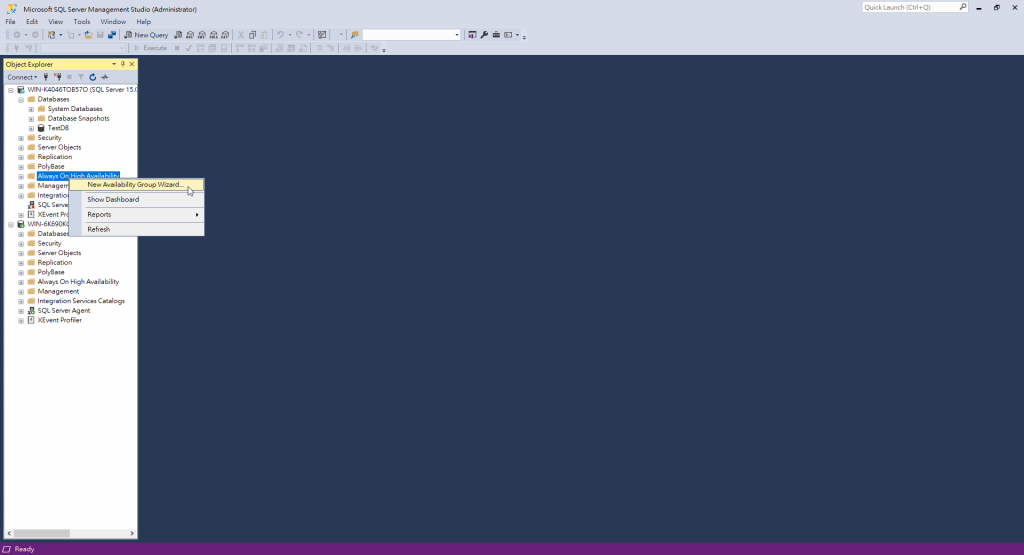
2.Next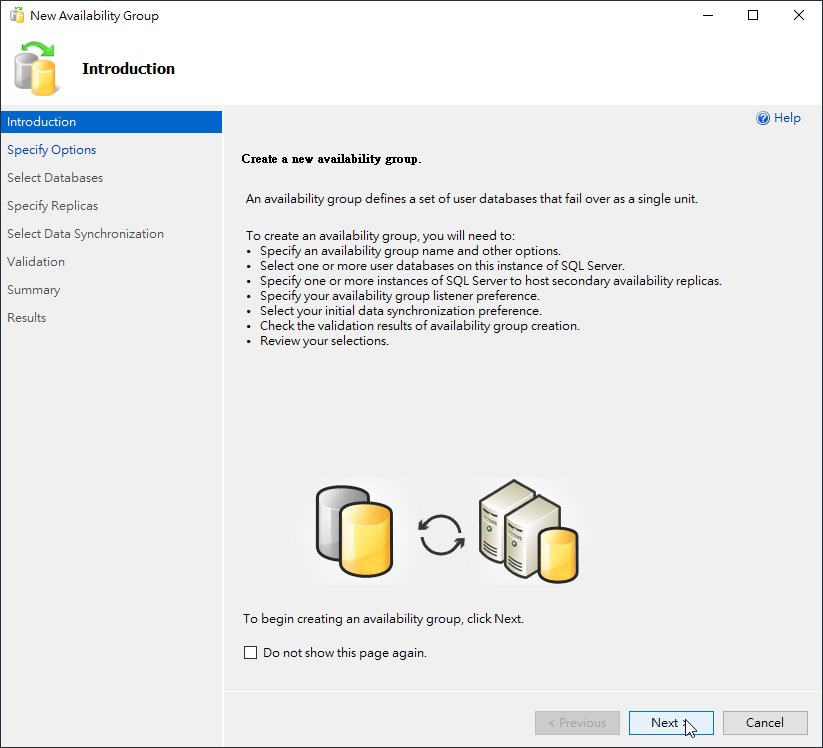
3.輸入 Availability group name: AG1
Cluster type: Windows Server Failover Cluster (如果沒有這個選項可能是 WSFC建立失敗)
點擊Next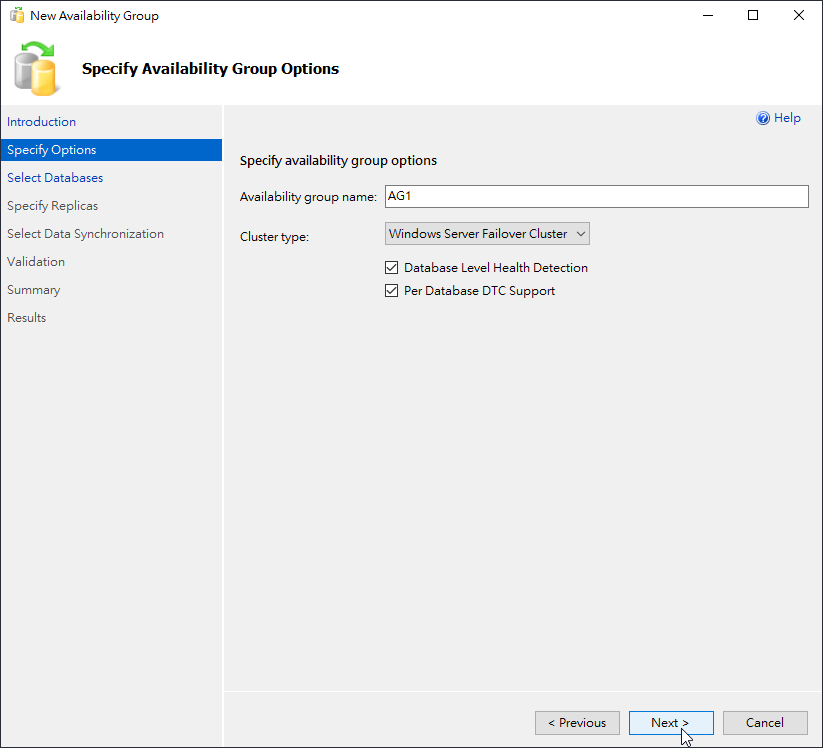
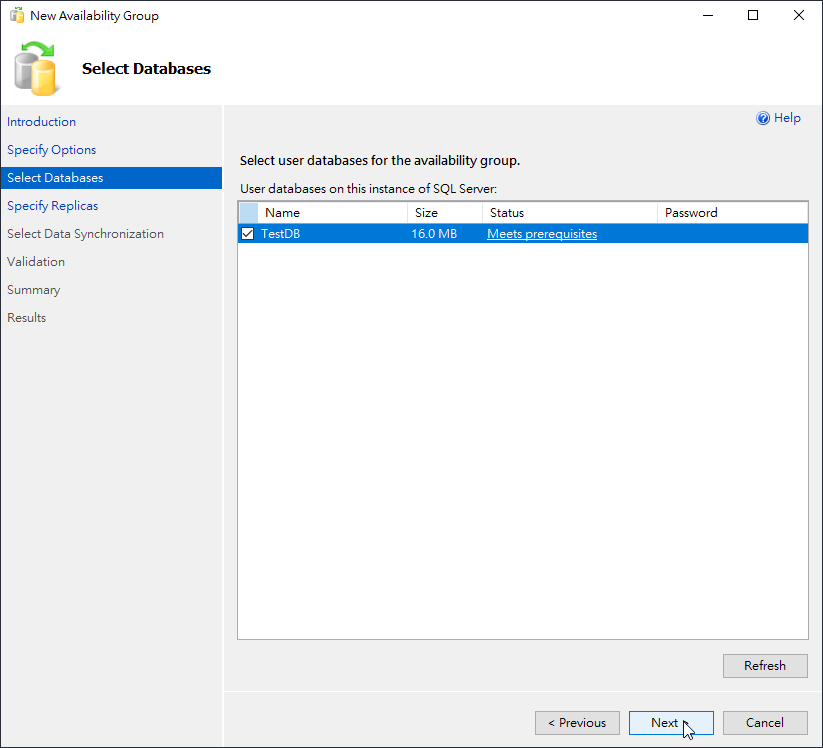
4.勾選TestDB (如果不能勾選可能是資料庫沒有備份)
5.點擊Add Replica
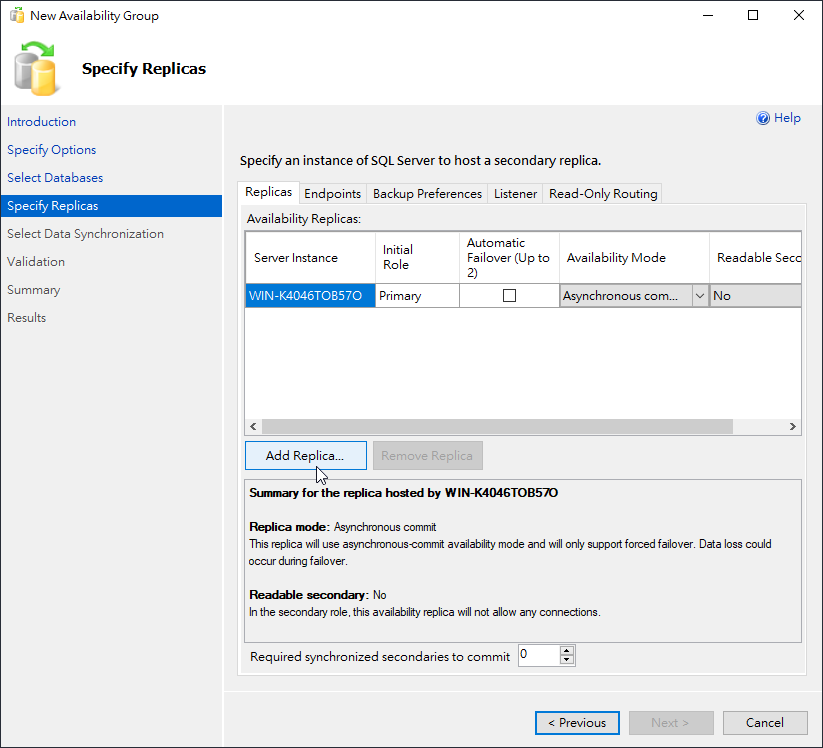
因為兩台電腦有建立相同的本機帳號Administrator所以這邊可以直接選擇Windows Authentication登入
按下 Connect
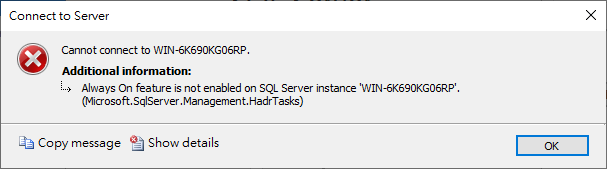
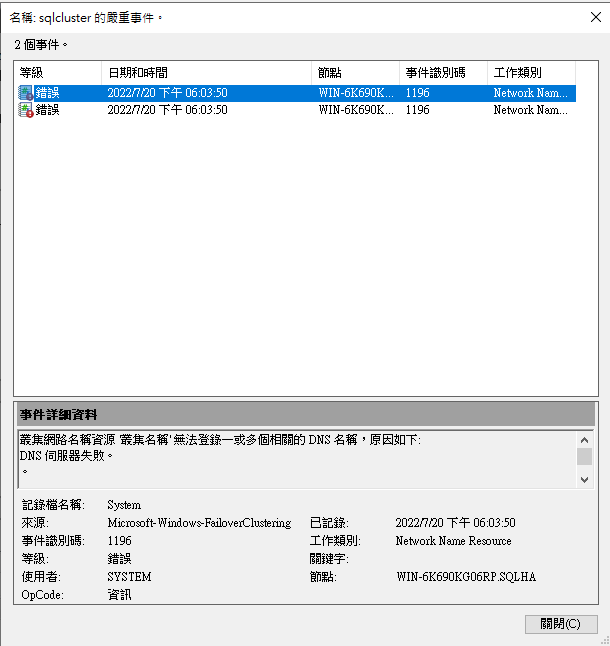
7.如果虛擬機的Always on功能沒開會出現以下錯誤, 可去SQL組態管理員開啟即可(記得開完後要重啟SQL Server)
8.順利加入兩台虛擬機
勾選 Automatic Failover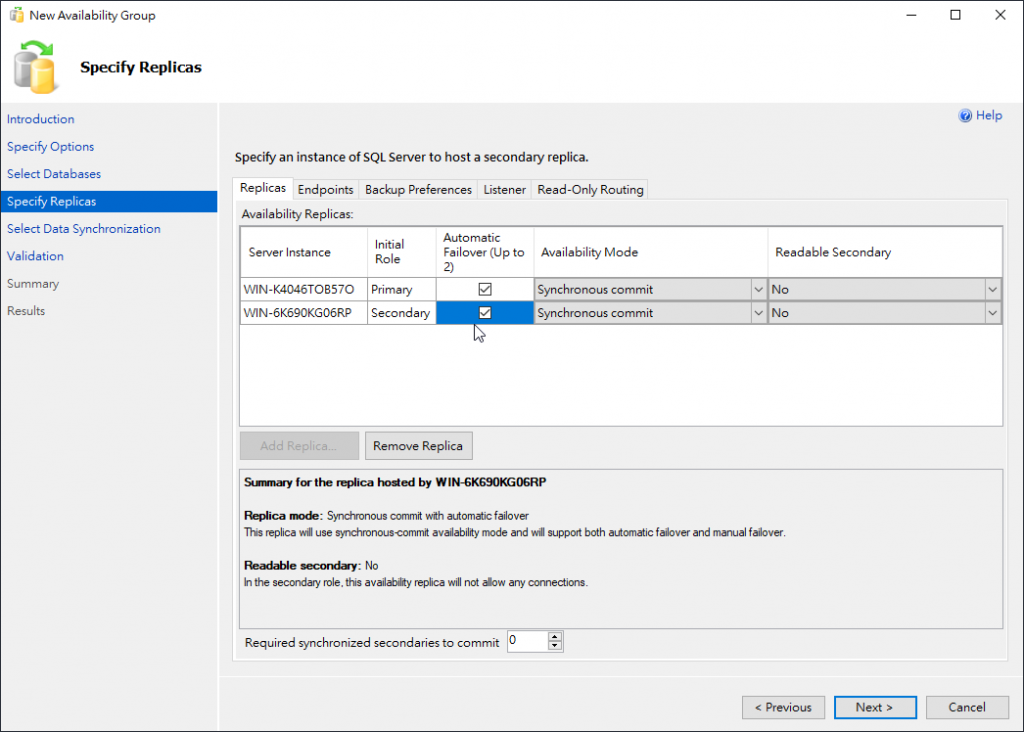
9.Endpoints不用改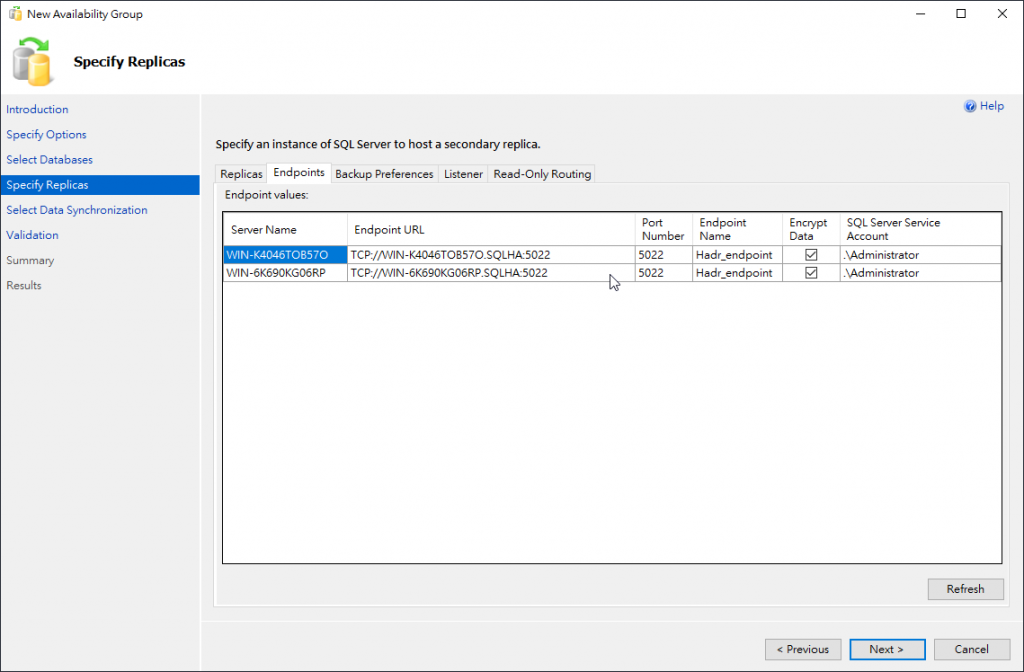
10.Backup Preferences 不用改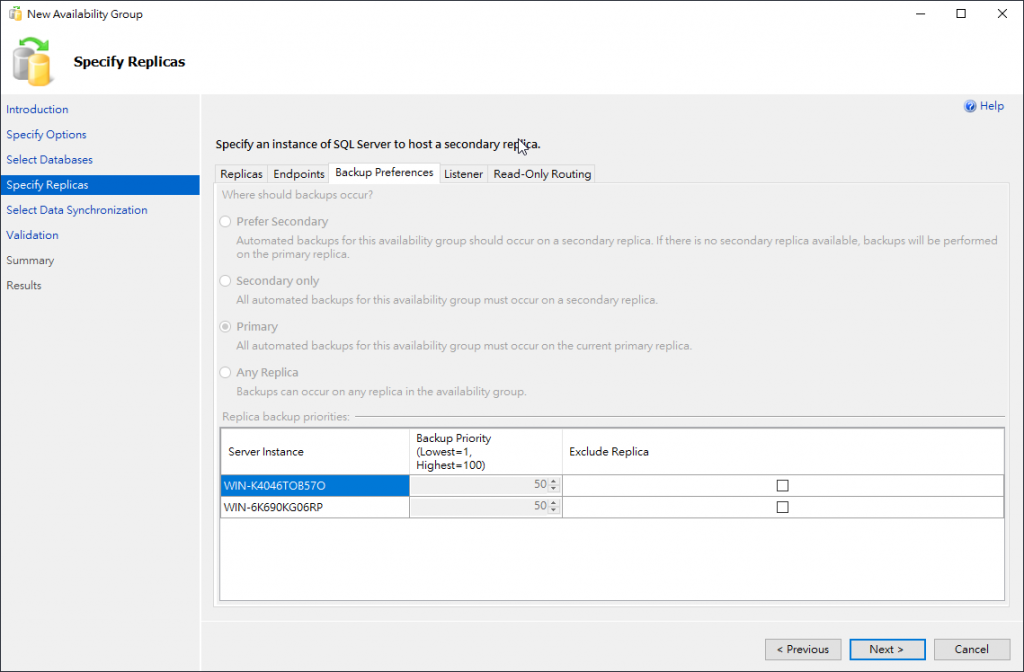
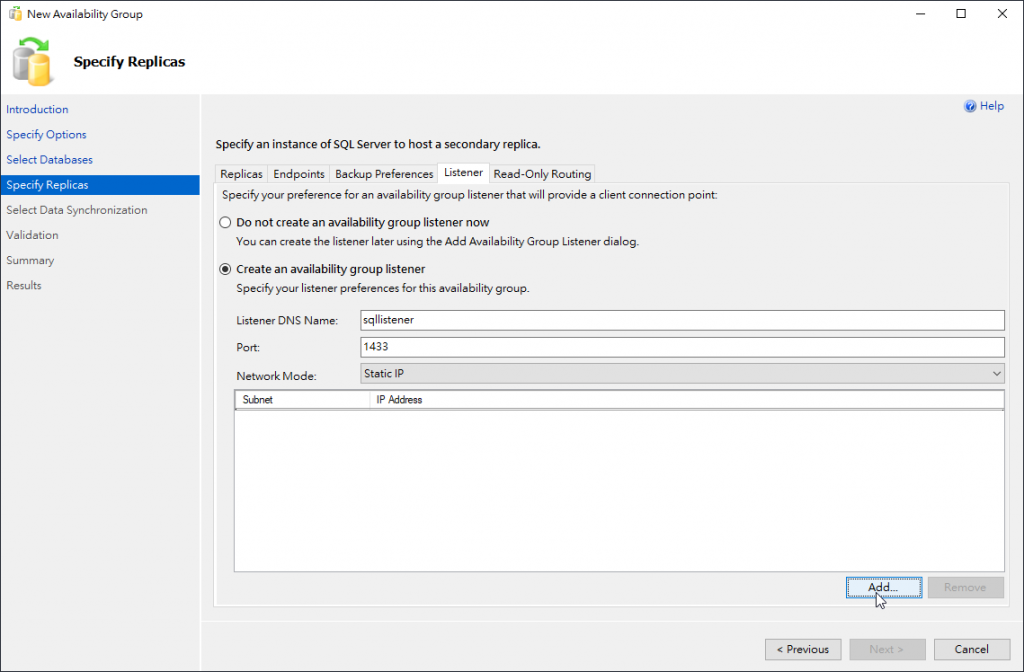
11.加入Listener
點擊Create an availability group listener
Listener DNS Name : sqllistener
Port:1433
Network Mode: Static IP
按Add
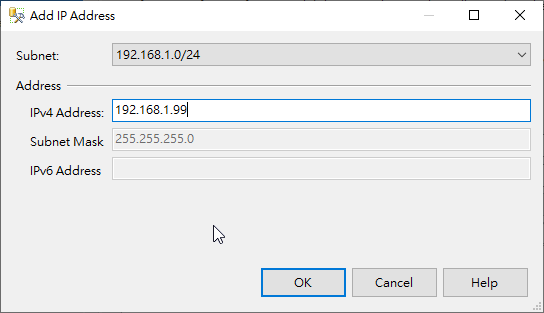
12.輸入IP: 192.168.1.99
13.Read-Only Routing不用做事,按Next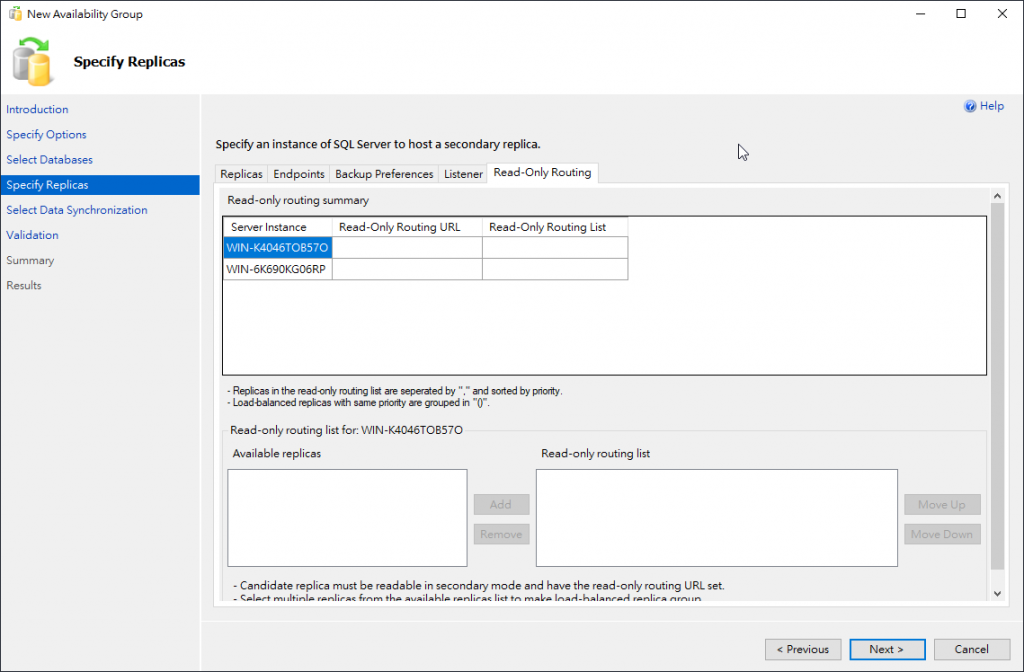
14.這邊會跳出警告,我們可以先忽略,按Yes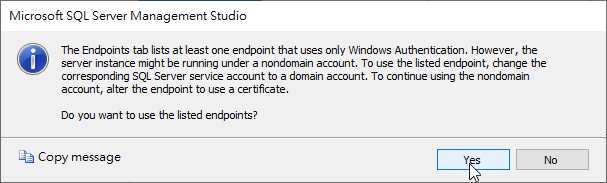
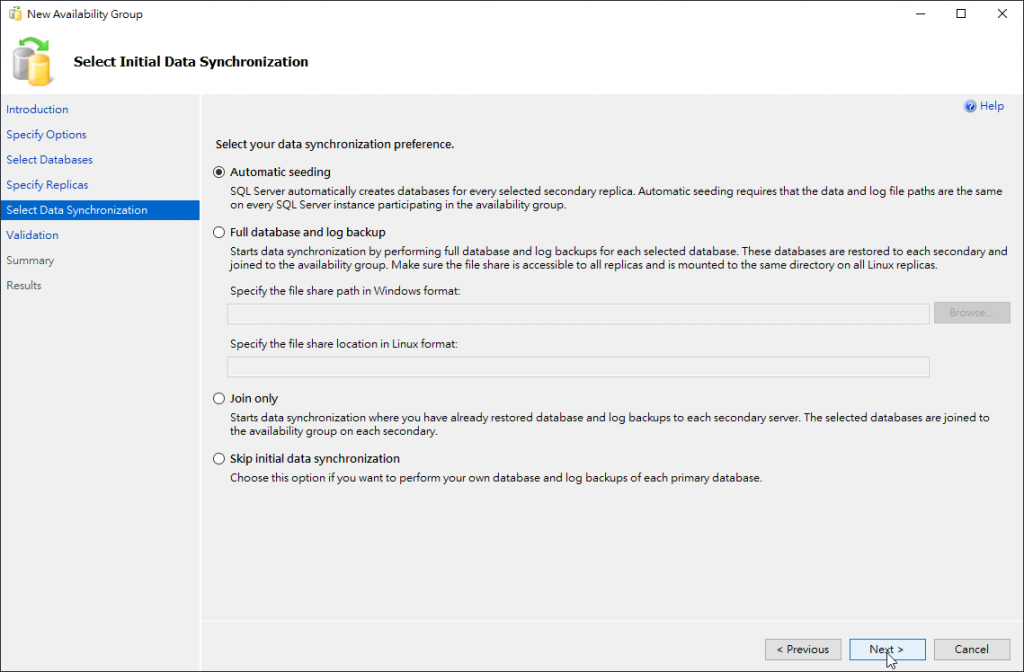
15.選Automatic seeding 按 Next
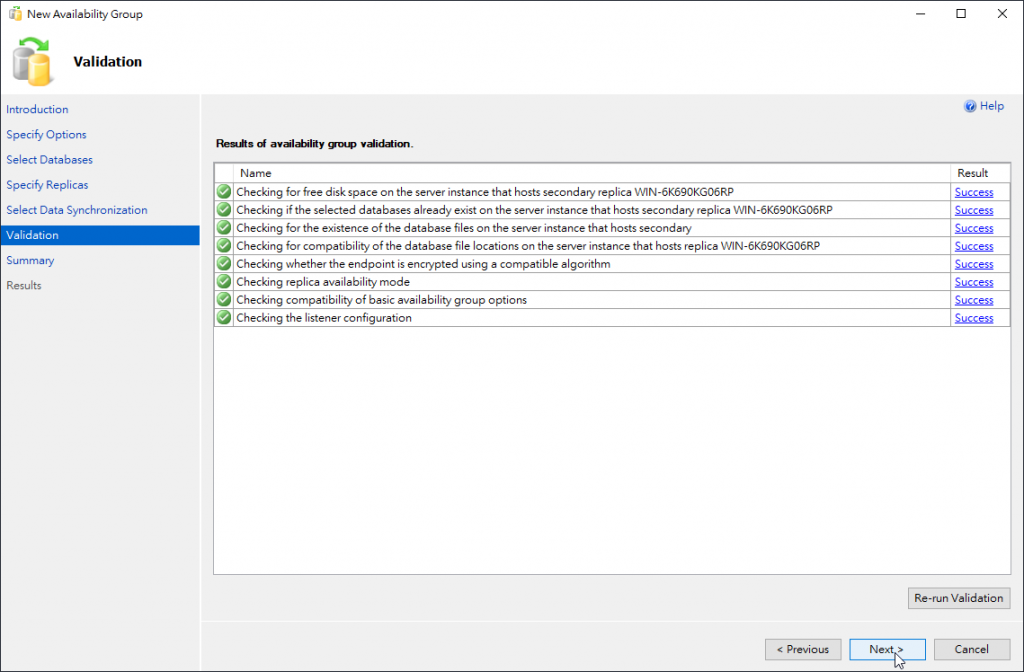
16.通過驗證按Next
若出現 SQL error:[41105]
A:到SQL組態管理員關閉並重新啟動AlwaysOn功能可解決
17.Finish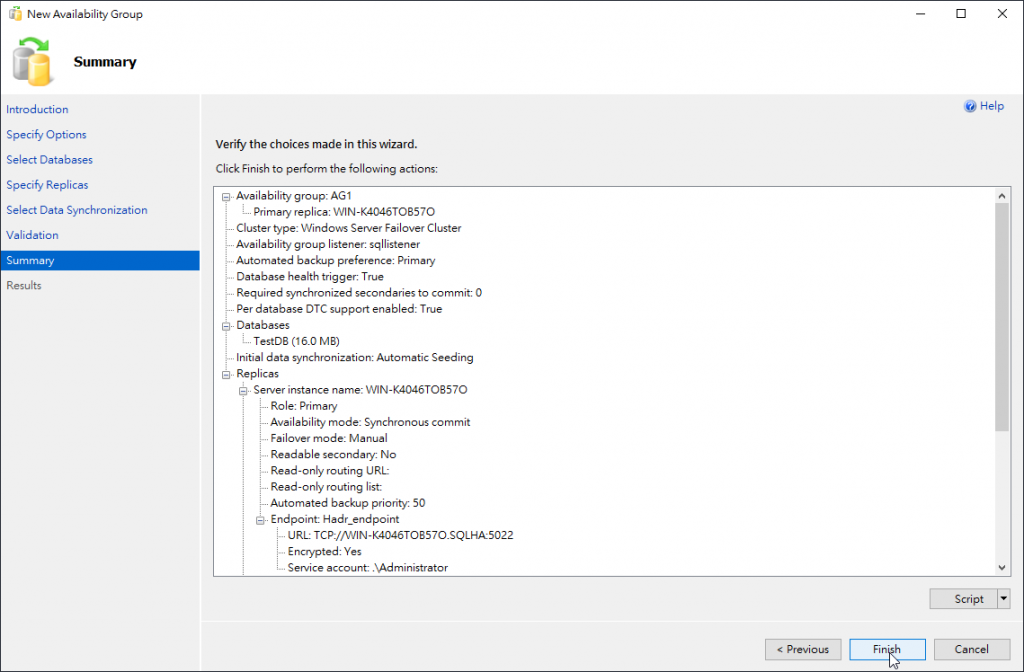
18.Close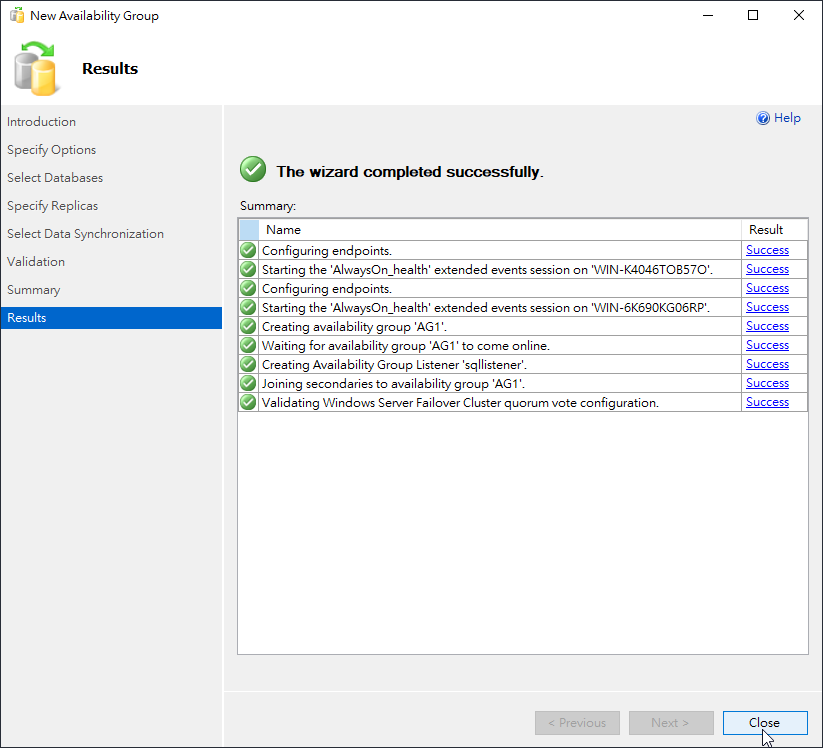
如果Listener的IP重複了會出現下列錯誤,請確認AG Listener使用的IP沒有別的機器正在使用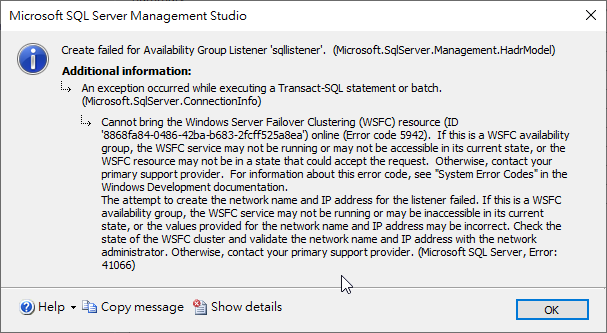
19.建立完成會出現AG1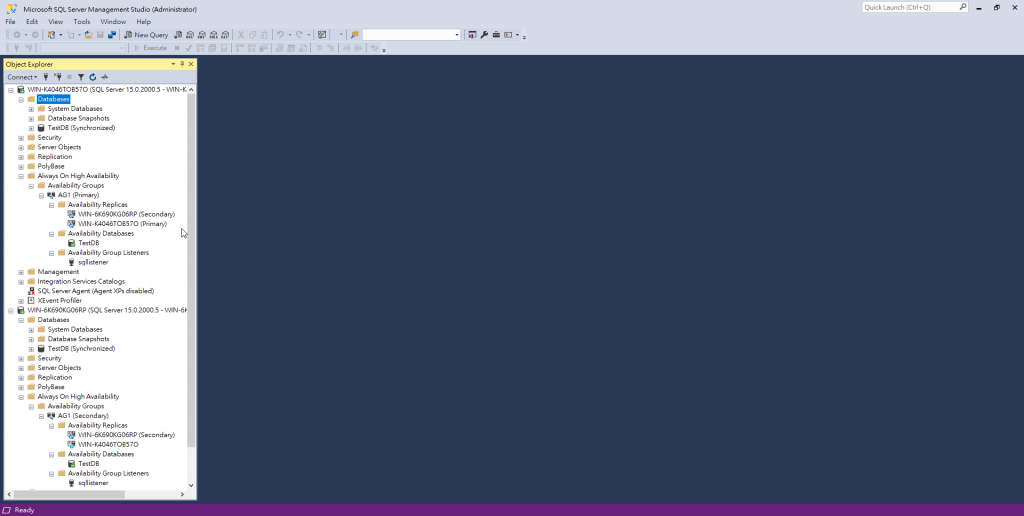
20.右鍵AG1按下 Show Dashboard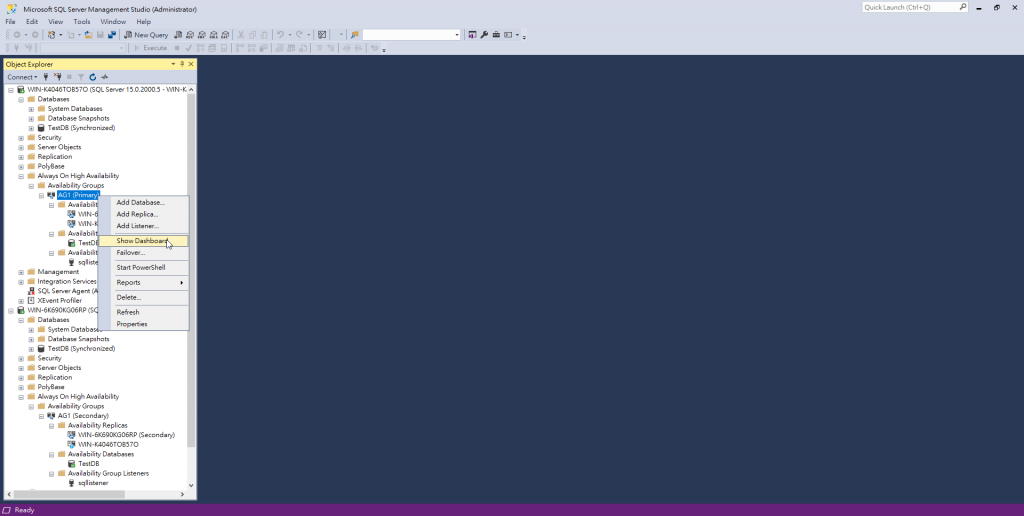
21確認Dashboard

22.在 容錯移轉管理員>腳色>會看到AG1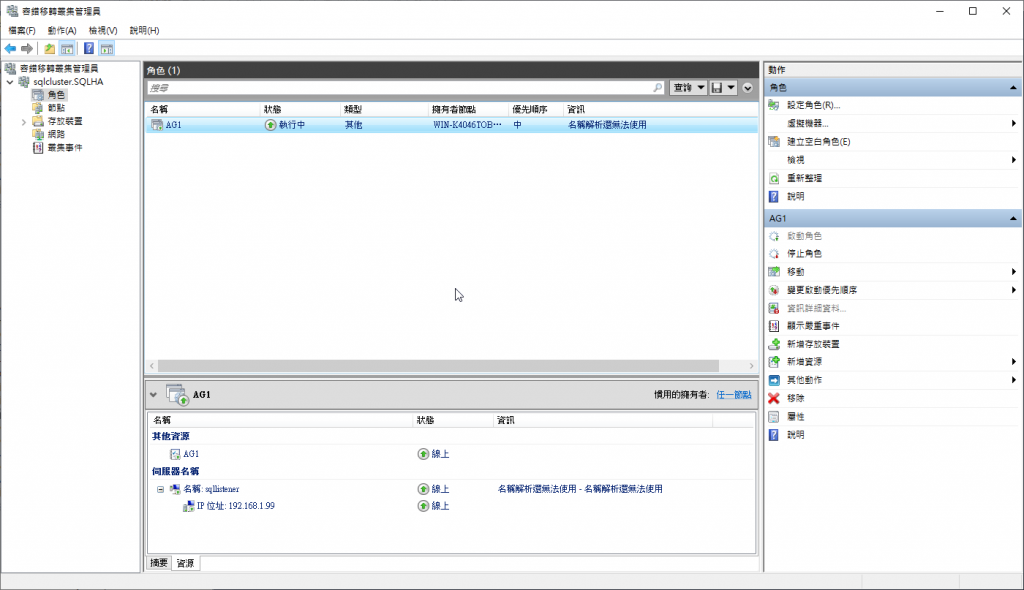
完成BAG建立
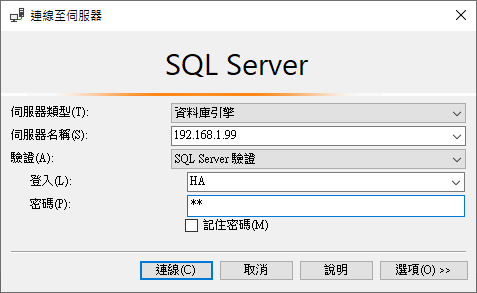
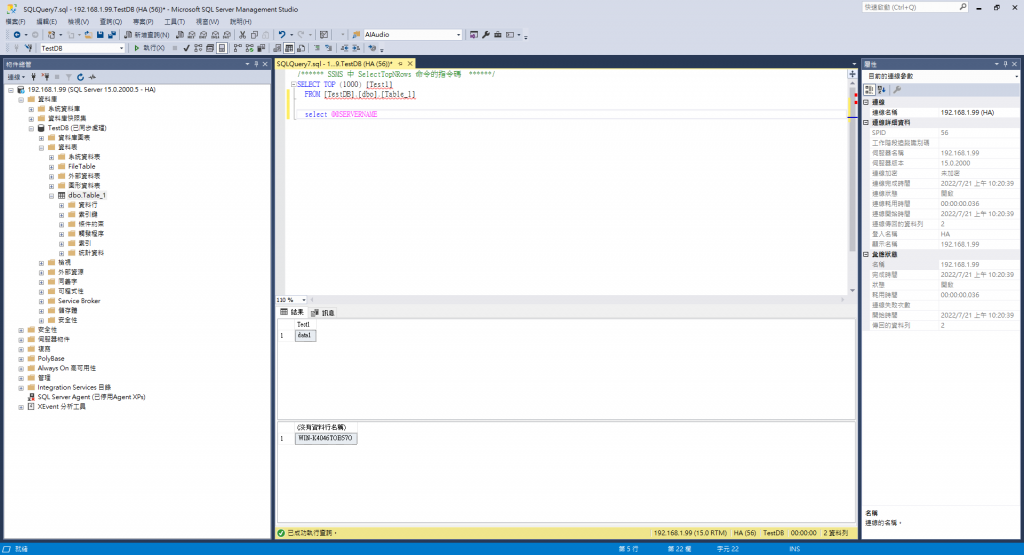
1.找一台遠端測試PC,使用AGListener IP連線
2.TesDB>資料表>右鍵>新增>資料表
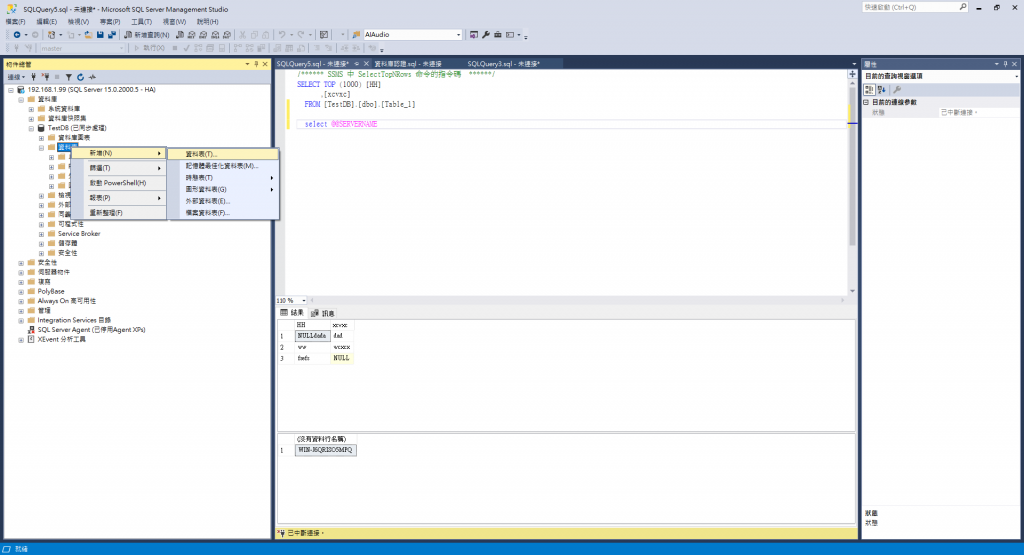
3.建立欄位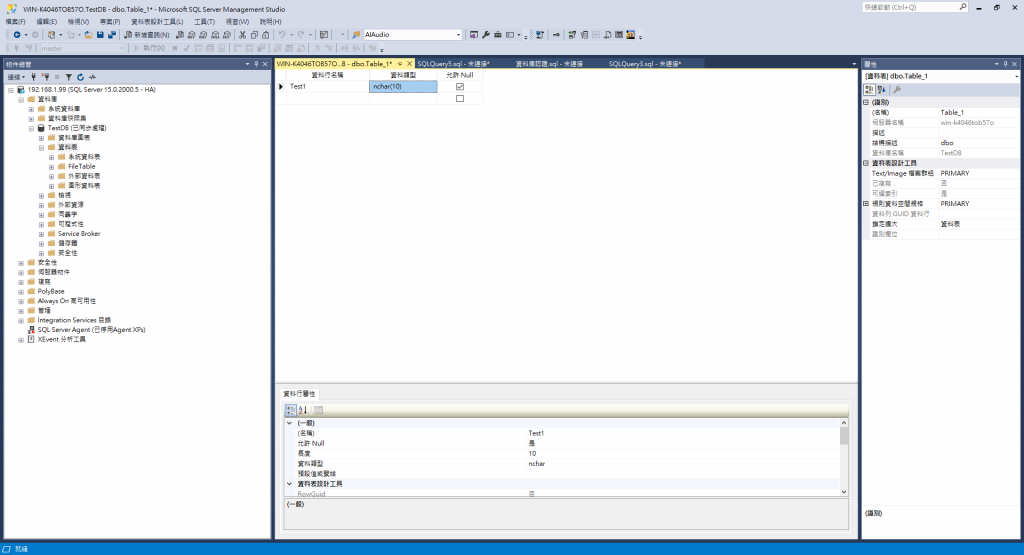
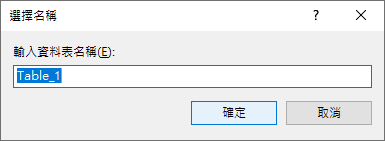
4.輸入Table Name
6.TestDB>資料表>右鍵>重新整理
7.TestDB>資料表>dbo.Table_1>右鍵>編輯前200個資料列
8.輸入資料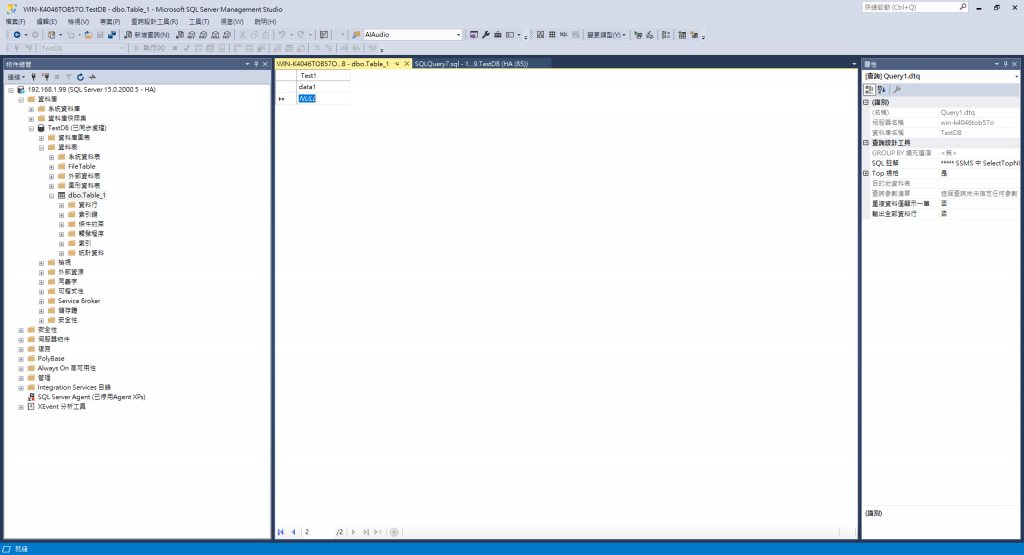
9.TestDB>資料表>dbo.Table_1>右鍵>選取前1000個資料
select @@SERVERNAME
按下F5
看到剛剛輸入的資料確認資料庫可運作
看到目前的是使用虛擬機A: WIN-K4046TOB57O當主要資料庫運作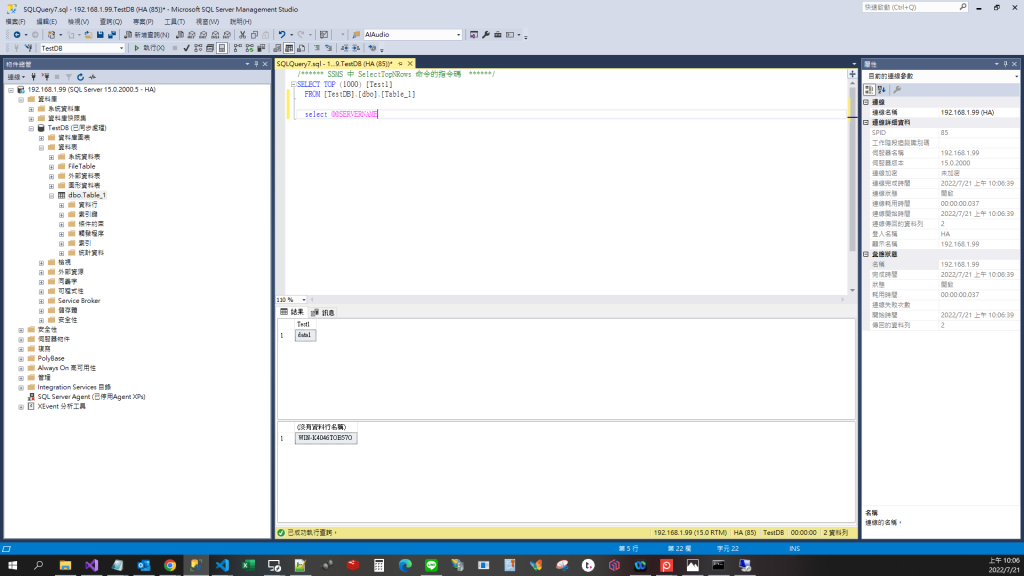
過一段時間重新按下F5(轉換資料會有約5秒無法連線的空白時間),ServerName會變成虛擬機B:WIN-6K690KG06RP
會發現資料庫右Failover回原本的虛擬機A: WIN-K4046TOB57O
至此終於大功告成
恭喜恭喜!!!
優點:
設定較簡單,不需要加入使用AD帳號,也不需要加入網域
缺點:
這種架構只有當遇到系統問題時才 WSFC 才會 Failover,例如關機或當機;
如果只把Primary SQL Server的Service停了,Availability Group Fail over了,但windows cluster還是在原Server。
###簡單的說就是PM時要把整台電腦關掉,不能只關SQL Server Service
A:先確認WSFC有建立成功,若有則重啟SQL Server服務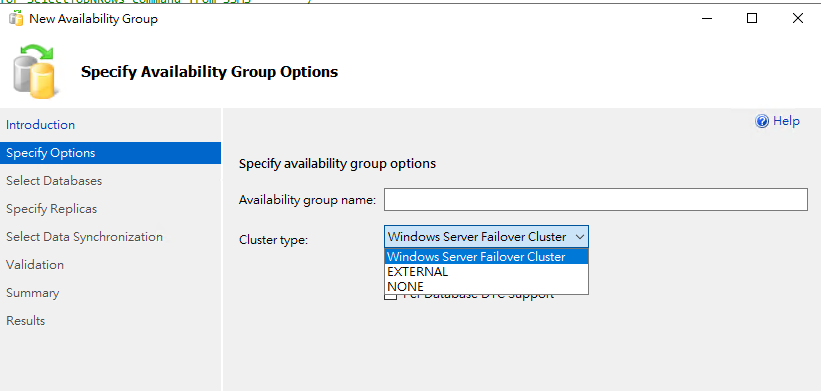
A:到SQL組態管理員關閉並重新啟動AlwaysOn功能
Listener使用的IP已經有人用了,換一個IP再重建一次就可以
A: 變更網路介面卡 => 附加DNS尾碼、取消勾選在DNS中登入這個連線網路的位置
如此會無法用AG Listener的名稱登入SQL Server但還是可以用IP登入
以上若有任何錯誤或疑問,請不吝指教。
謝謝!
https://dotblogs.azurewebsites.net/rockchang/2019/03/09/161148
https://sys-blog.net/sql-server-availability-groups/
https://ithelp.ithome.com.tw/users/20119758/ironman/2957
https://techcommunity.microsoft.com/t5/failover-clustering/workgroup-and-multi-domain-clusters-in-windows-server-2016/ba-p/372059
https://docs.microsoft.com/en-us/previous-versions/windows/it-pro/windows-server-2012-R2-and-2012/dn265970(v=ws.11)?redirectedfrom=MSDN
https://www.eugenechiang.com/2020/07/01/create-failed-for-availability-group-listener-error-41066/
請問一下:
1.SQL Server 可以建立幾個AG呢?
2.如果資料庫是在另外的storage server 中,不是在DB server,要如何設定?
第一個問題:
可參考微軟官網,他有寫到最多支援8個副本
https://docs.microsoft.com/zh-tw/sql/database-engine/availability-groups/windows/overview-of-always-on-availability-groups-sql-server?view=sql-server-ver16
第二個問題
可以參考這篇文章
https://mssqltaiwan.wordpress.com/2018/01/09/fci-and-always-on/
我做的是AG,你可能可以試試看FCI,但我也不確定是不是你要的
 s900bill
