官方文件:https://cli.vuejs.org/#getting-started
Install:
先用npm安裝
npm install -g @vue/cli
# OR
yarn global add @vue/cli
Create a project:
接下來就是創造階段,分為兩種方法
vue create my-project
# OR
vue ui
輸入指令 vue create my-project (後面的my-project為資料夾名稱,可以自己設定)
選擇相關選項,(Router、CSS記得打勾!)
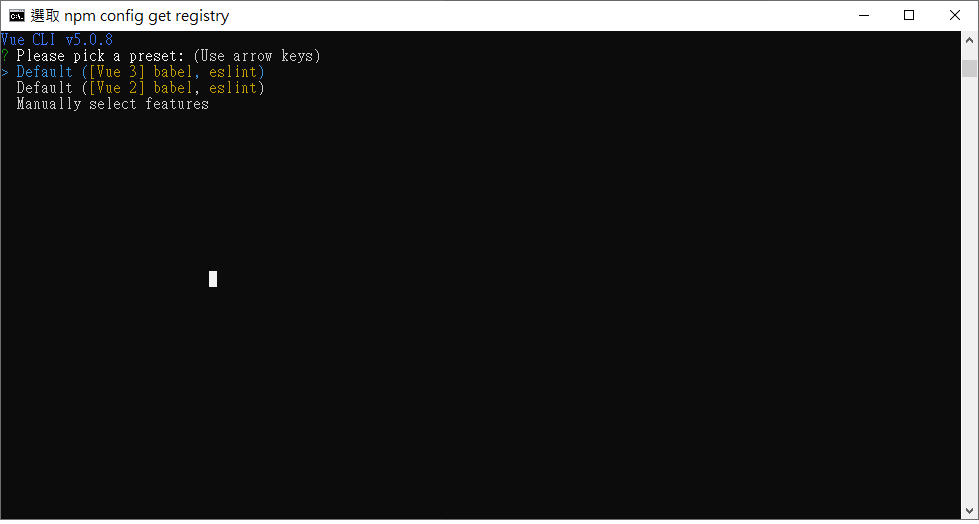
` Use history mode for router? (Requires proper server setup for index fallback in production) (Y/n)` 可以先選擇(n)
` Save this as a preset for future projects? (y/N)` 看你需不需要把這些設定儲存起來,先選擇(N)
設定完成後就開始建檔了!
跑完後進入剛剛創建的資料夾,在這邊為my-project
下指令 npm run serve
運行完後會出現以下兩個連結,點進去就是你的網頁檔案了!
    App running at:
  - Local:   http://localhost:8080/
  - Network: http://192.168.0.142:8080/
創建後有一些檔案有出錯Parsing error: No Babel config file detected for C:\Users\USER\Desktop\vue cli\my-project\vue.config.js. Either disable config file checking with requireConfigFile: false, or configure Babel so that it can find the config files.
可以在 .eslintrc 檔案裡嘗試增加
"parserOptions": { requireConfigFile : false }
錯誤就會消失。
另一個錯誤如下圖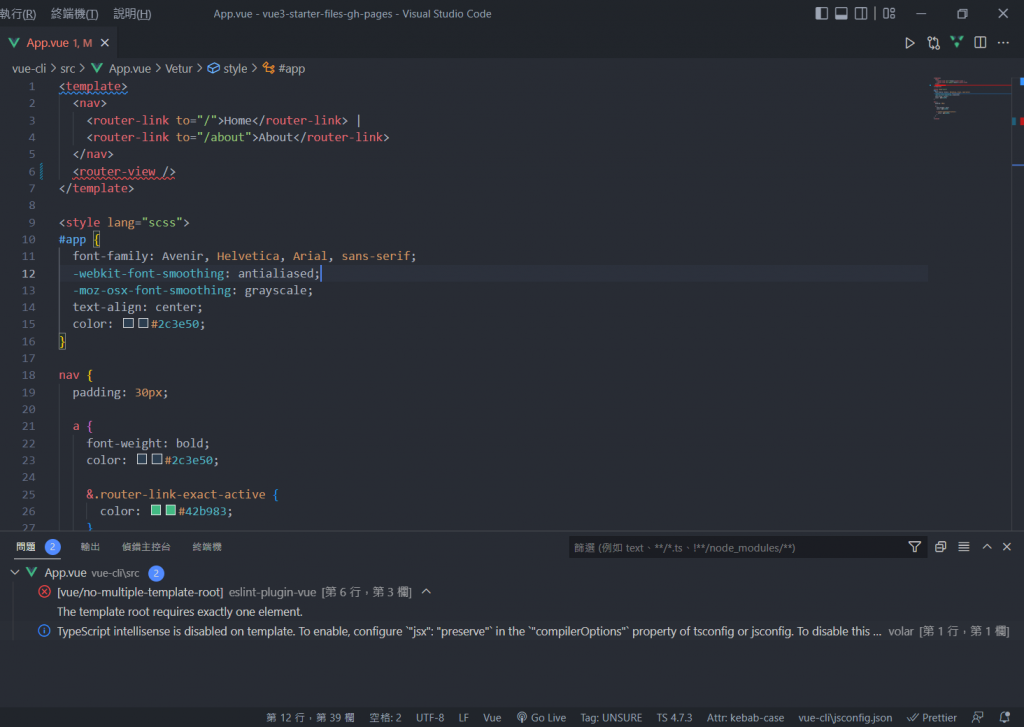
解決方法如下:
◎ 找到 jsconfig.json檔案,新增 "compilerOptions":{"jsx": "preserve"}
◎ 查看是否安装了Vetur插件,在vscode裡的設置搜尋eslint選取左邊的Vetur,取消勾选Validate vue-html in using eslint-plugin-vue
另一種安裝法是
vue ui
 xxx870421
