由於此次鐵人賽的重點是讓大家 Jenkins 的使用方式而非安裝方式,故先省略安裝 Jenkins 的步驟,等之後如果有時間會補上安裝步驟教學。
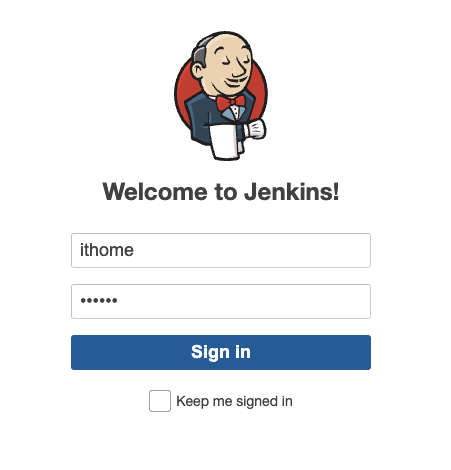
在正確安裝完 Jenkins 後,如果過程沒有問題的話,理論上打開 Jenkins UI 應會看到以下的登入畫面,在輸入正確的帳號密碼後即可進入主畫面。
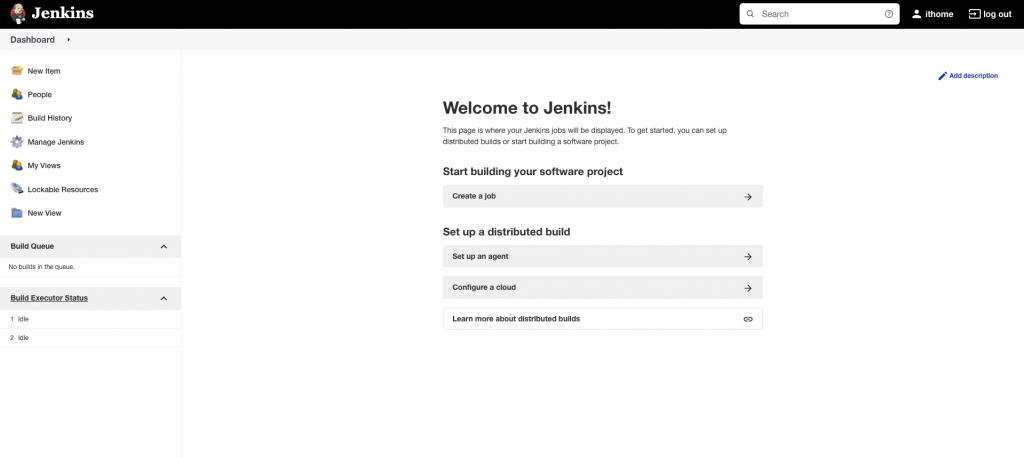
點選位於主畫面左上角的 New Item 會進入到設定 Jenkins Job 的介面
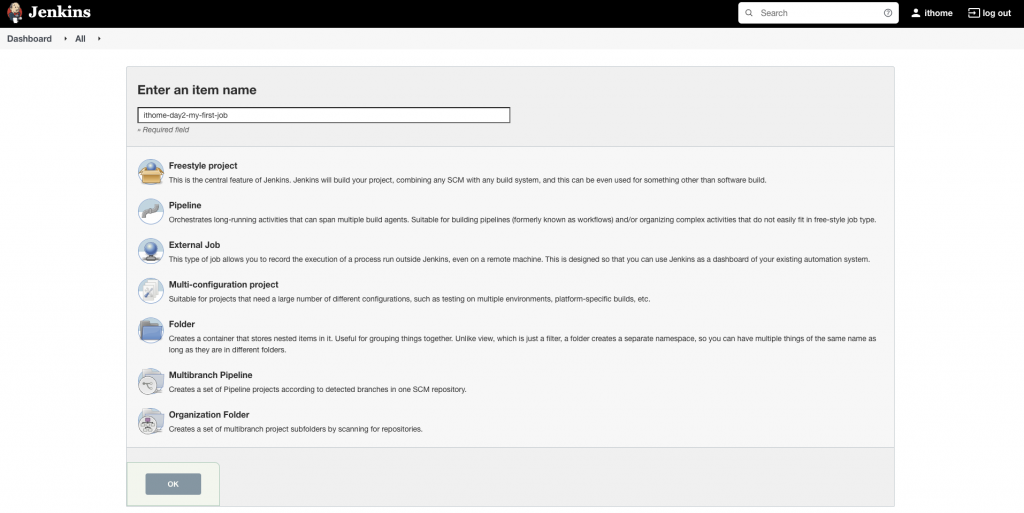
Jenkins Job 種類
(Jenkins Job 種類會因為是否有裝 Plugin 有增減)
這次主要會以 Jenkins Pipeline 作為主要範例對象,所以請確保 Jenkins 上有確實安裝 Pipeline Plugin =)
Jenkins Pipeline provides an extensible set of tools for modeling simple-to-complex delivery pipelines "as code". The definition of a Jenkins Pipeline is typically written into a text file (called a Jenkinsfile) which in turn is checked into a project’s source control repository.
https://www.jenkins.io/doc/pipeline/tour/hello-world/
Jenkins Pipeline 是一個可以利用 Jenkinsfile 來對自動化行為進行設定的一個 Jenkins 的擴展工具。在設定 Pipeline 名稱並點選下方確認鍵後,即會進入設定 Pipeline 的介面,我們滑到頁面底端可以看見一個輸入框,可以在裡面直接在線撰寫 Jenkinsfile。
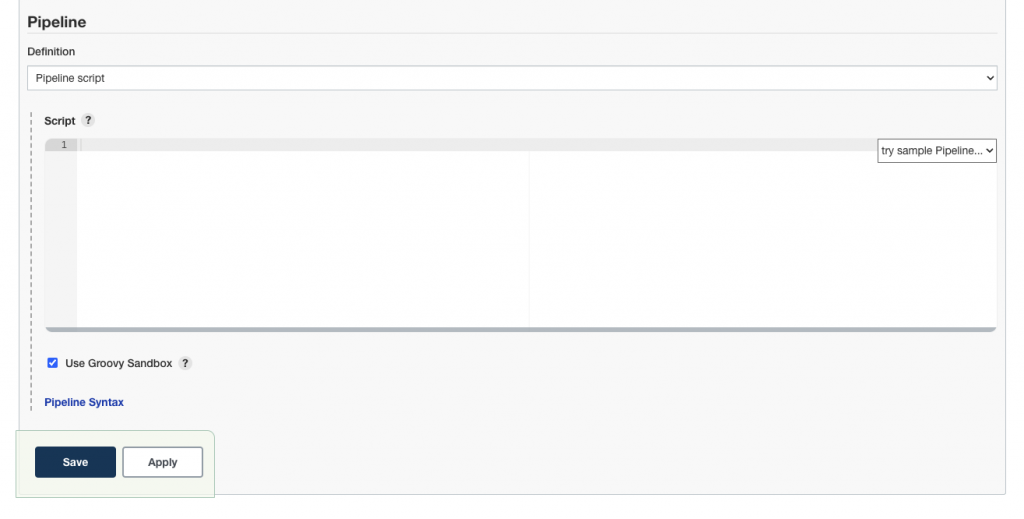
// 範例 Jenkinsfile
pipeline {
    agent any // 不指定執行 agent
    stages { // 開始宣告 Pipeline 流程
        stage('ithome 2022 pipeline') {
            // 行為宣告
            steps {
                echo 'Hello Ben ~'
            }
        }
    }
}
在輸入框中貼上上述 Jenkinsfile 代碼後按下 Save後,會回到下列 Pipeline ithome-day2-my-first-job 的設定畫面。
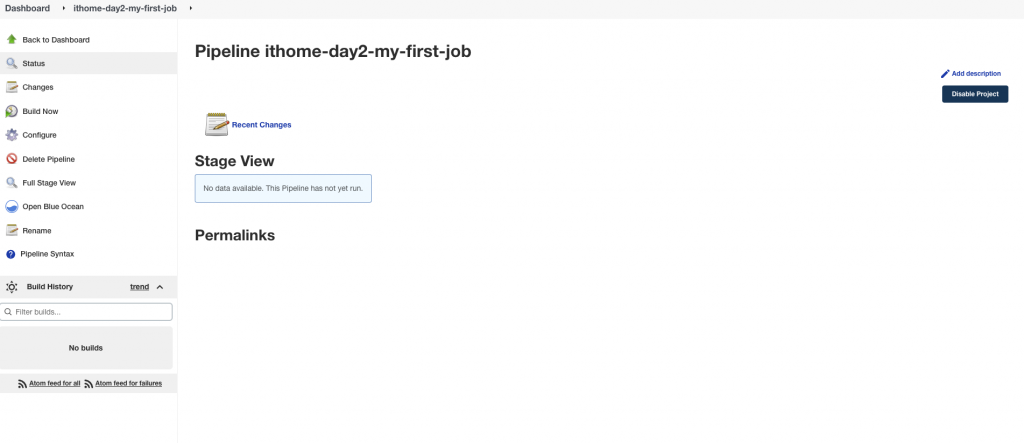
再按下左邊選單的 Build Now後, Jenkins 就會開始執行我們宣告的 Pipeline 流程。
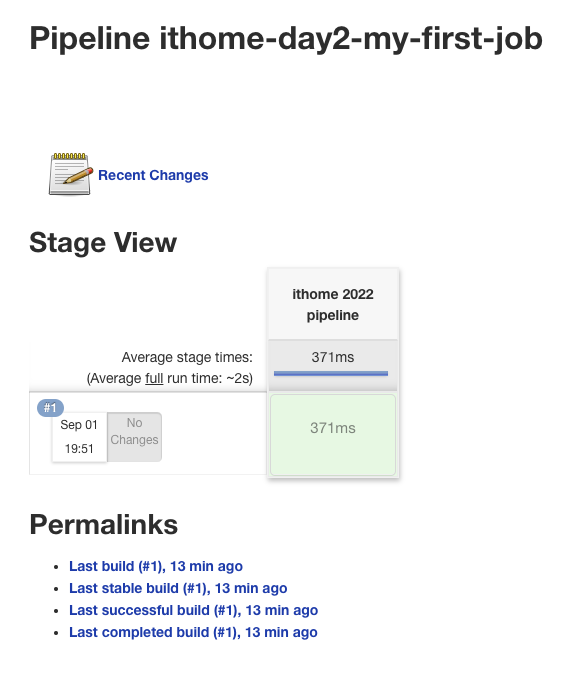
今天我們成功的完成了第一個 Jenkins Pipeline,明天會先如何管理我們的 Jenkinsfile,再來開始介紹 JenkinsFile 的語法。
