前面我們還在前端的世界,加上碰了一點 call API 拿資料的事,
那麼接下來應該是要 call API 來對資料進行修改了對吧?
(PS. 我之前一直講資料的 select, insert, update, delete,
其實講 CRUD 可能更好一點XD)
第一天文章我也有提到,當初我被 assign 要 call delete 的 API,
當時真的是害怕極了,
因為真的很怕我一個語法不小心寫錯就把資料刪光光了,
所以我決定要在 local 環境練習一下如何 call API,
那表示我得自己開 API 囉?
找了找,被我找到這篇→ 前端自己來!用 json server 做 RESTful API
沒錯!!!! json-server 這就是我要的,而且感覺不難,
那我們來試著開開看吧!
首先先來安裝看看吧: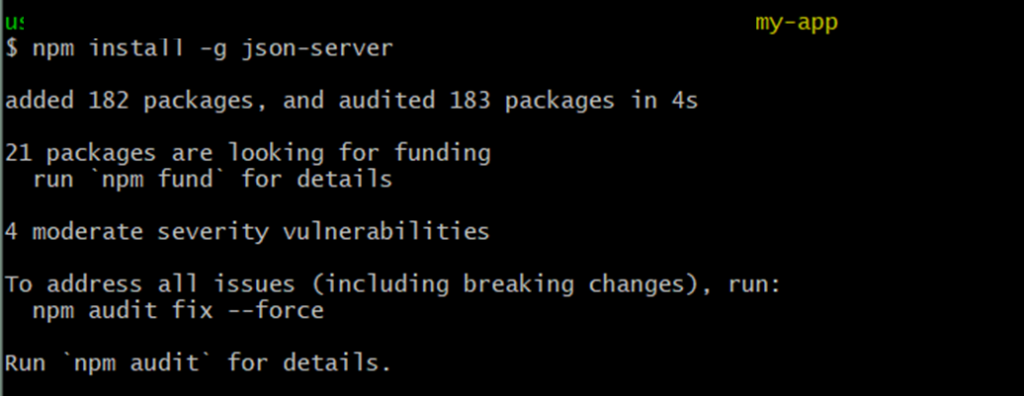
再來依照教學,
在正式開 json-server 之前,
我們要先準備好一個 json 檔,
像這樣:db.json
{
  "posts": [
    { "id": 1, "title": "json-server", "author": "typicode" }
  ],
  "comments": [
    { "id": 1, "body": "some comment", "postId": 1 }
  ],
  "profile": { "name": "typicode" }
}
json 檔準備好了以後,
我們要下這個指令 json-server db.json
再來你就會看到 API 開好的視窗囉!
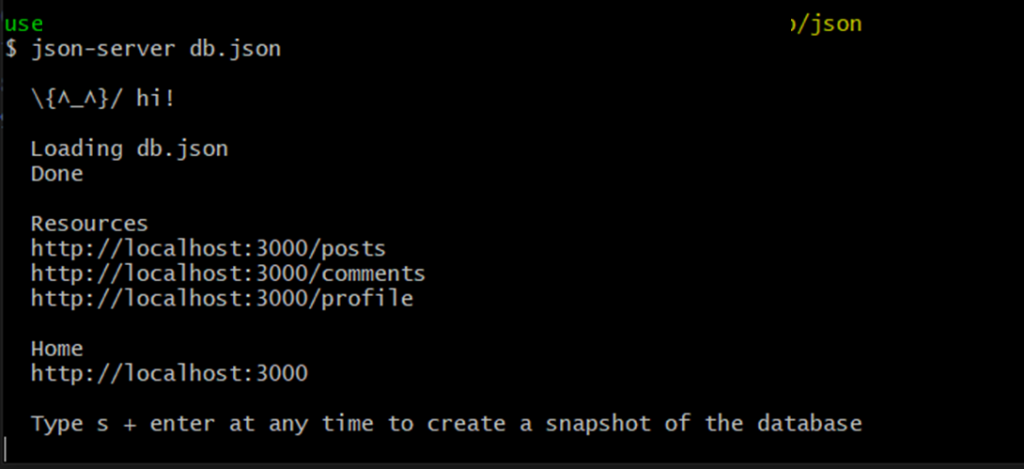
然後我們也來首頁 http://localhost:3000 看看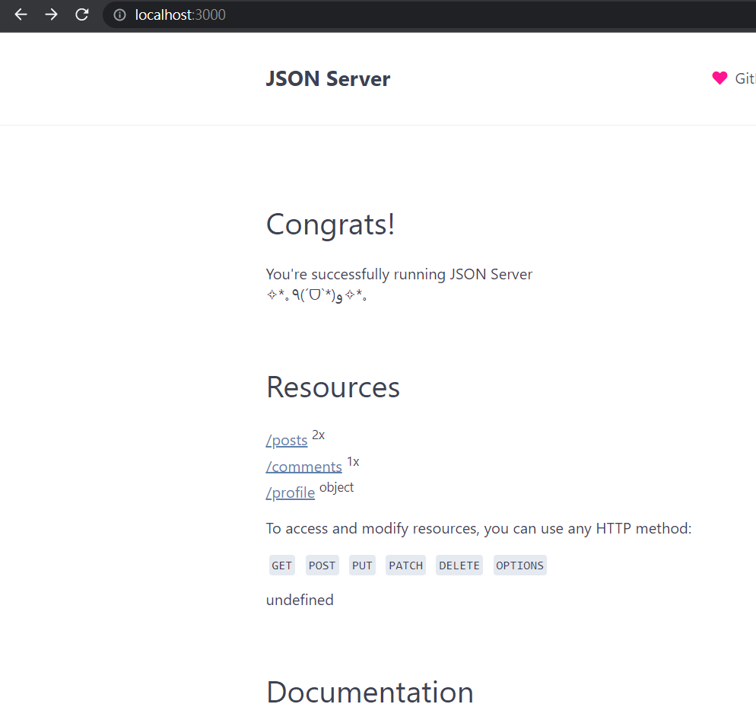
還有上面提到的你現在可以 call 的 API url:
 Resources
  http://localhost:3000/posts
  http://localhost:3000/comments
  http://localhost:3000/profile
我們先用瀏覽器打開看看吧: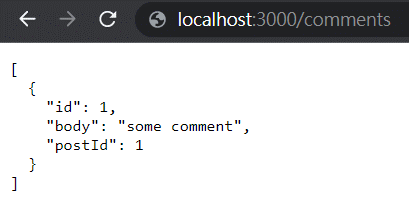
這樣就跟前幾天我們 call API 拿資料都一樣了!
然後你會注意到一件事,3000 通常是前端在用的 port,10000 才是後端常用的 port,json-server 起起來用 3000 port,
跟我們要開的前端 port 會有衝突(都用 3000 這個 port),
所以我們要想辦法把這個 port 改掉才行。
官方文件有提到如何改 port,
只要我們在下的指令多加 --port 的參數就可以了~
那我們就來試試看,把剛剛下的指令改成這樣:
json-server --watch db.json --port 10000
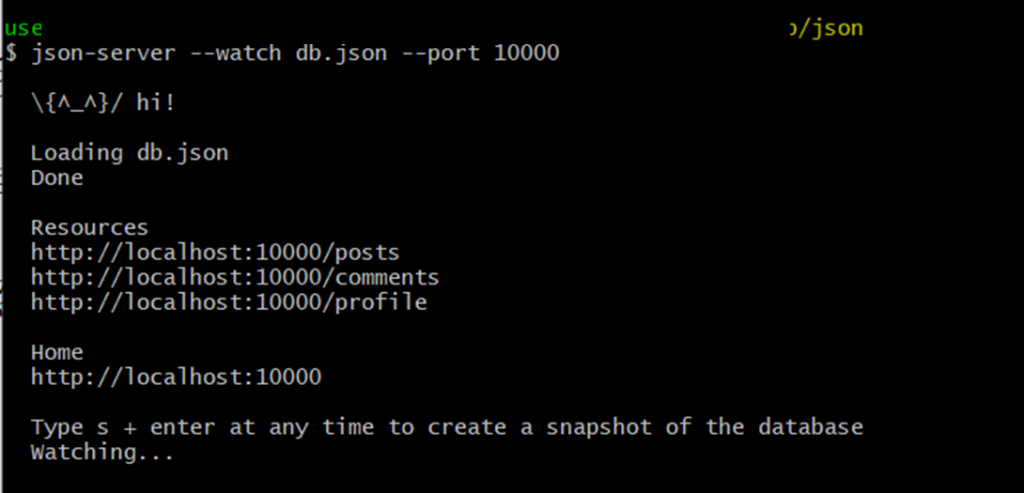
沒錯!你看到你開的 json-server 成功起在 10000 port 了!
我們再用瀏覽器來看一下:
那 API 成功起起來之後,我們就來起前端,並試 call API 看看吧!
為了要讓拿到的資料有多筆, db.json 我有先手動增加成3筆資料,
像這樣: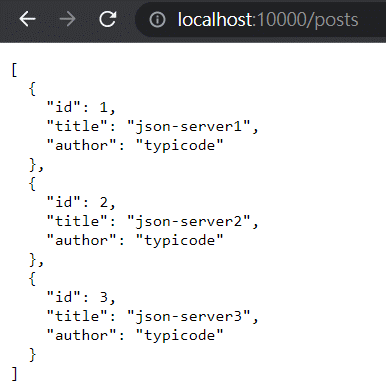
那我們第一步就是 call API 把這三筆資料渲染到前端畫面上,
像這樣:(寫前端的過程就讓我快轉一下)
import React, { useState, useEffect } from 'react';
... (略)
import axios from 'axios';

function App() {
  const sourceUrl =
    "http://localhost:10000/posts";
  const [dataResult, setdataResult] = useState([]);
  const [dataFetchTimes, setDataFetchTimes] = useState(0);

  function fetchData(){
    axios.get(sourceUrl)
      .then(function (response) {
          console.log(response);
          setdataResult(response.data);
          setDataFetchTimes(dataFetchTimes+1);
      })
      .catch(function (error) {
          alert("抓取資料錯誤,請確認後再試");
          console.log(error);
      })
  }

  return (
    <ChakraProvider theme={theme}>
      <>
        <Text my={4} fontSize="p" textAlign="center">
          sourceUrl: {sourceUrl}
        </Text>
        <Text my={4} as="h2" fontSize="2xl" textAlign="center">
          全部總共 {dataResult?.length === 0 ? 0 : dataResult?.length } 筆資料
        </Text>
        <Text my={4} as="h2" fontSize="2xl" textAlign="center">
          資料抓取次數:{dataFetchTimes} 次
        </Text>
        <Divider my={4} />
        <Flex justifyContent="space-around">
        {dataResult?.map((d, i) => (
          <Box mx={2}>
            <Text fontSize="xl" textAlign="center">第 {i+1} 篇文章</Text>
            <Text>Title: {d.title}</Text>
            <Text>Author: {d.author}</Text>
          </Box>
        ))}
        </Flex>
        <Divider my={4} />
        <Center>
          <Button onClick={fetchData}>取得資料</Button>
        </Center>
      </>
    </ChakraProvider>
  );
}

export default App;
其實變動只有 sourceUrl 把它改成我們自己起的 API 位址: http://localhost:10000/posts
其它大部份都跟前幾天寫的範例一樣,
來看看執行結果吧!
看起來我們已經完成第一步囉,
但到目前為止還停留在 axios.get 的階段對吧,
所以雖然今天文章篇幅夠長了,
但最後加碼試一下 axios.post 也就是新增資料,
這邊我先寫好 addData 去 call axios.post,
像這樣:
function addData(){
    axios.post('http://localhost:10000/posts/', {
      id: 4,
      title: '我是第4篇文章',
      author: 'Misado'
    })
    .then(res => {
      console.log(res.data);
    });
    fetchData();
  }
那我們來看一下執行結果:
我們看到畫面從3篇文章變4篇,
原本的 db.json 也變成4筆資料: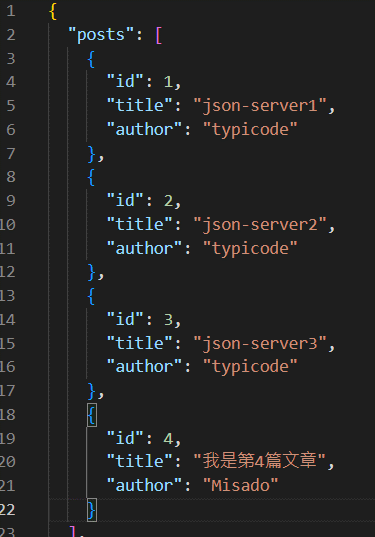
哇終於不再只是抓資料(axios.get),而是真的去異動資料(axios.post)了!
是不是覺得超神奇的呢?
那更多的操作就在之後的文章說明囉~~~~
前端自己來!用 json server 做 RESTful API →超重要,感謝大大QAQ
JSON Server →當然更感謝發展出這個套件的大大們 m(_ _)m
終於來到第 11 天~~~
寫到本系列文的核心了XD
繼續加油QAQ