今天讓我詳細介紹如何安裝Debian吧!老實說安裝Debian步驟真的超多的。我記得我第一次接觸Debian 10 安裝時,有點不知所措。因為步驟真的比Ubuntu 、CentOS 多好多,因此我在這邊簡單帶一下安裝步驟。
說到Debian 這個發行版本,一定得提到 free 、 none-free 。首先這邊需要很嚴肅的跟大家說 free 這一詞是 自由 的意思,意指該軟體可以被世界上任何一個人使用、複製甚至販售,而不是 免費 的意思。none-free 就是不符合上述 free 的規範啦。所以從官方網站下載的一定是 free 的版本。
這個觀念很重要,如過是硬體有 intel 無線網卡,需要特別需要去找 iwlwifi 在安裝前準備。第一次安裝我舊碰到這個問題,可花費我兩三天的時間去處理。
另外我想介紹 Debian 的原因是: 他的安裝步驟很多 它是我接觸過作業系統中,有多都是以Debian 為基底去做改良,例如:ubuntu、Proxmox VE、OpenSwitch OPX、kali。所以學習使用Debian 投資報酬率很高。(我覺的啦)

一進入官方網站,你會發現這個官網真陽春,真的好像是我會寫出的網站排版:HTML 加 CSS 簡單稍微排版。然而在首頁的右下方就出現一個大大個下載,提供你下載。
如果想要下載之前版本的版本可以從這個網站下載,當然也可以下載Debain 衍生的發行板,如:Ubuntu、kali。
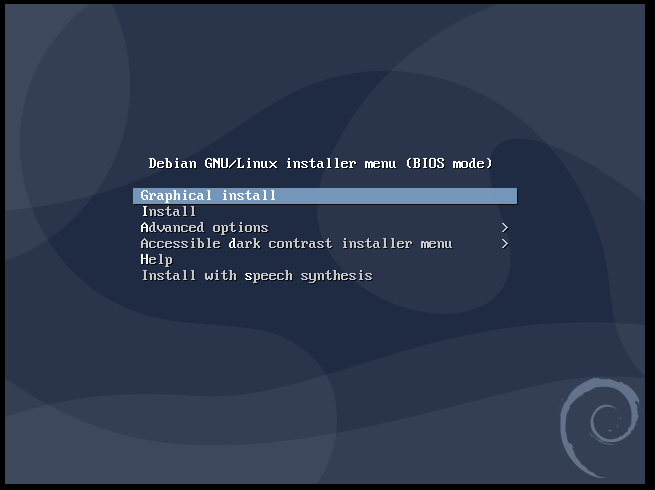
選擇第一個 Graphical install 圖形安裝,有提供滑鼠安裝,也比較平易近人。第二個項目 Install 你會看到Dos 年代的畫面風格,只能透過鍵盤安裝,不過很容易就上手的。
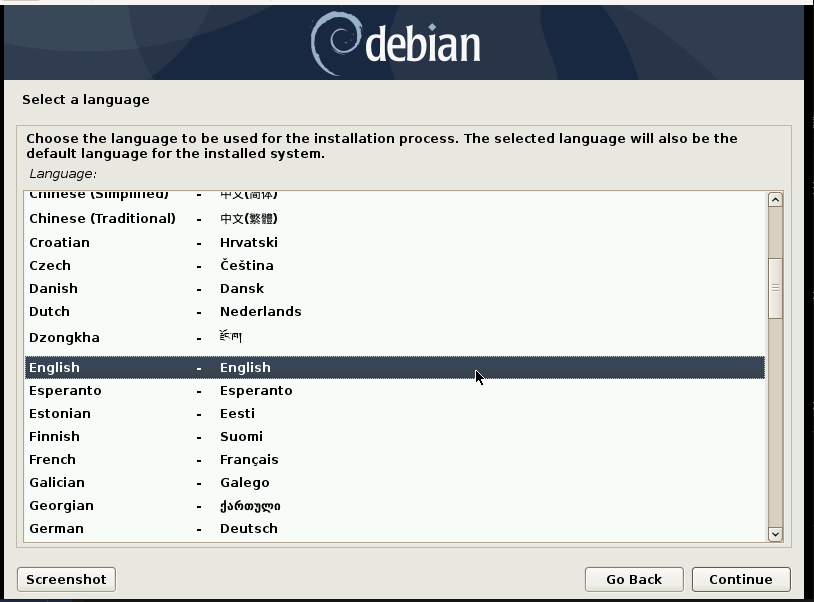
這邊我習慣使用英文語系,因為外國的月亮比較圓 主要是未來發現不懂的操作,英文資源比較好找,如果是中文語系,需要先翻譯成英文,但是我英文能力普普啊! 為了能夠打中文,安裝完成後必須再安裝中文語系。
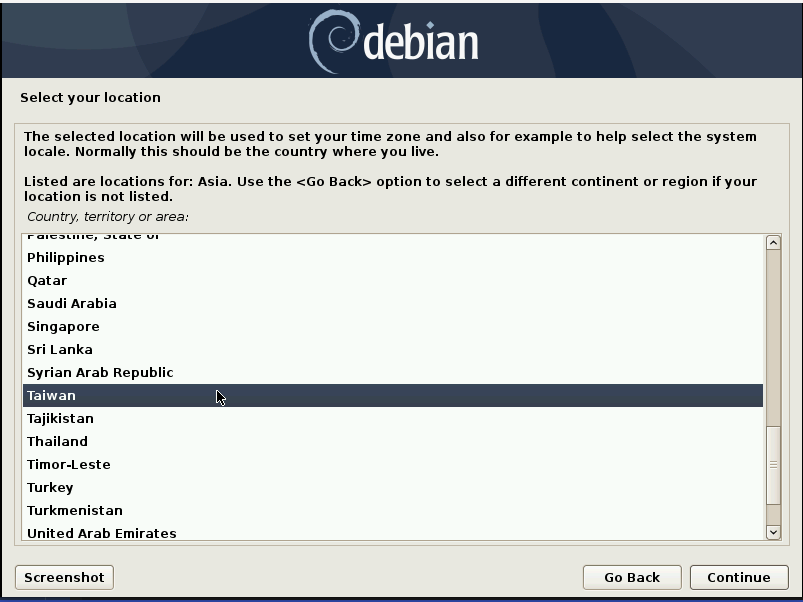
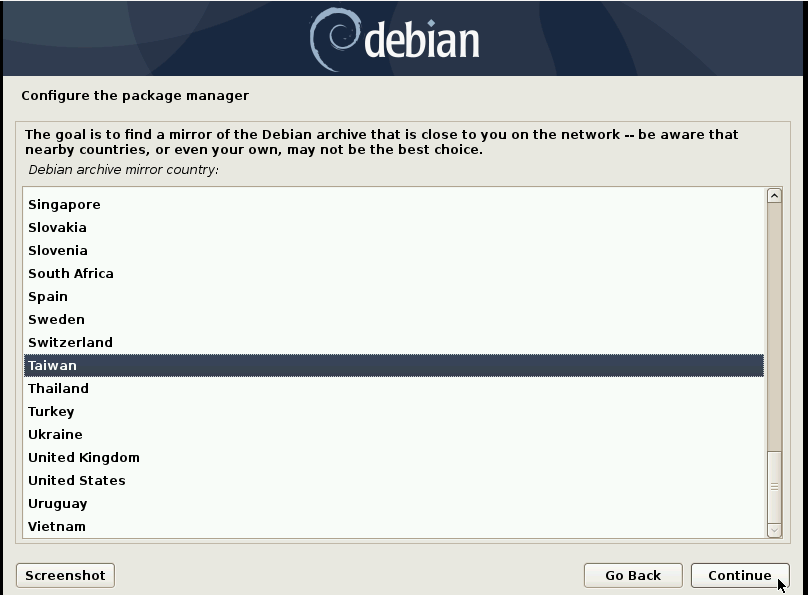
生在台灣就選 Taiwan 呀!
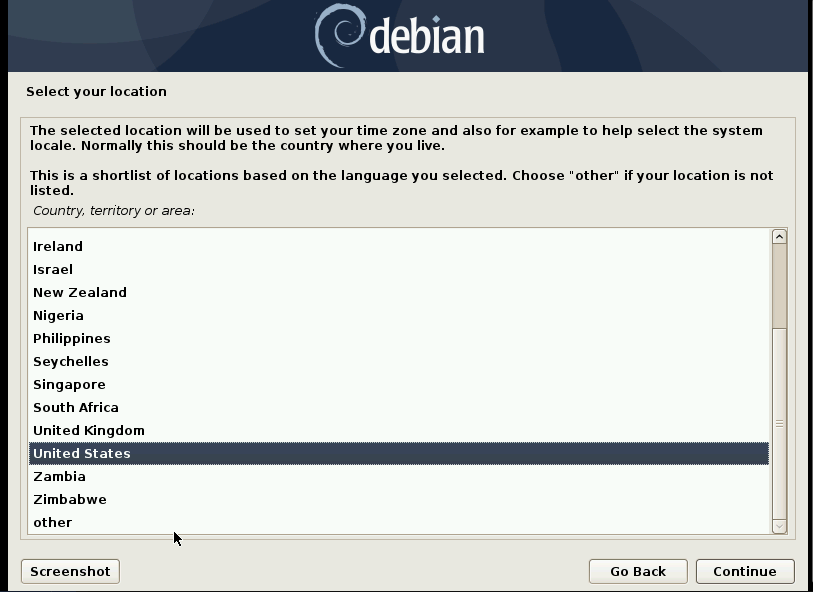
但是台灣在哪呢?怎摸跟世界地圖一樣難找!先選擇 Other 。
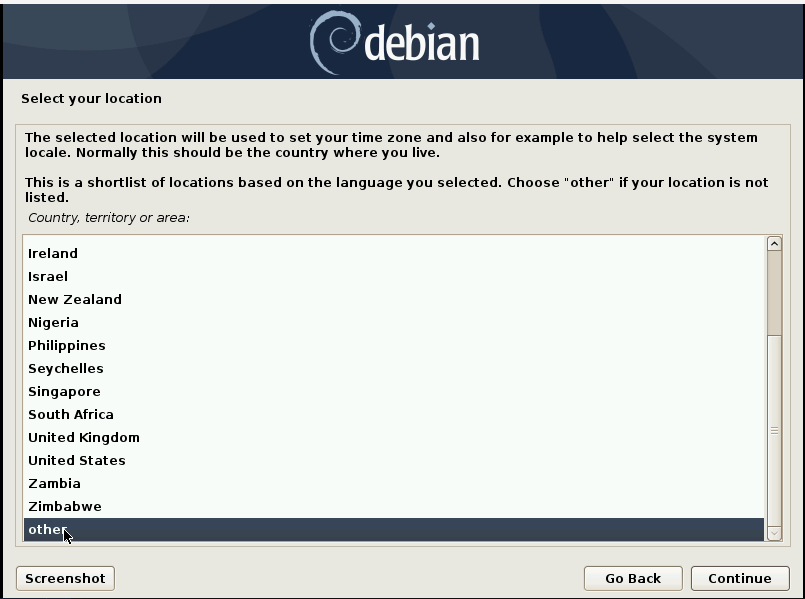
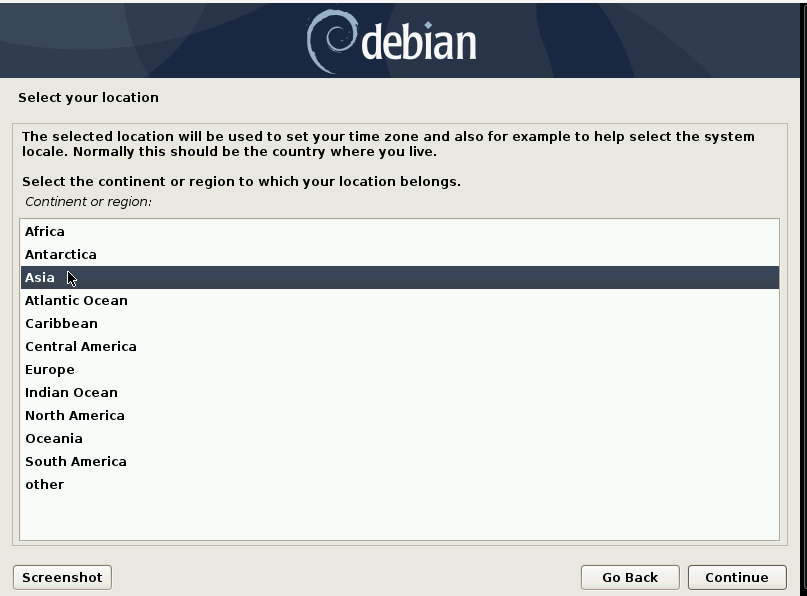
花費了三個步驟終於找到啦!但是在 Redhat 體系 或是 ubuntu 的安裝檔點點地圖就設定完成了。也許地圖選擇是有版權的吧(我猜)。
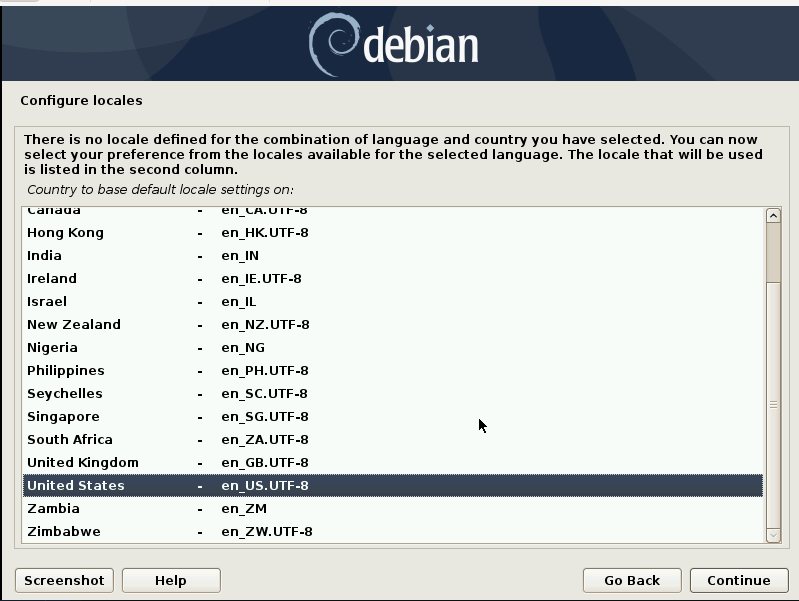
記得要選擇 UTF8 唷!不然生在台灣會有很多 罕見字 (難字) 在未來會看不到。雖然 UTF8 還是會有中文字不到,例如:新北市坪林區大林里「?」(魚逮 ㄉㄞˋ)魚堀。
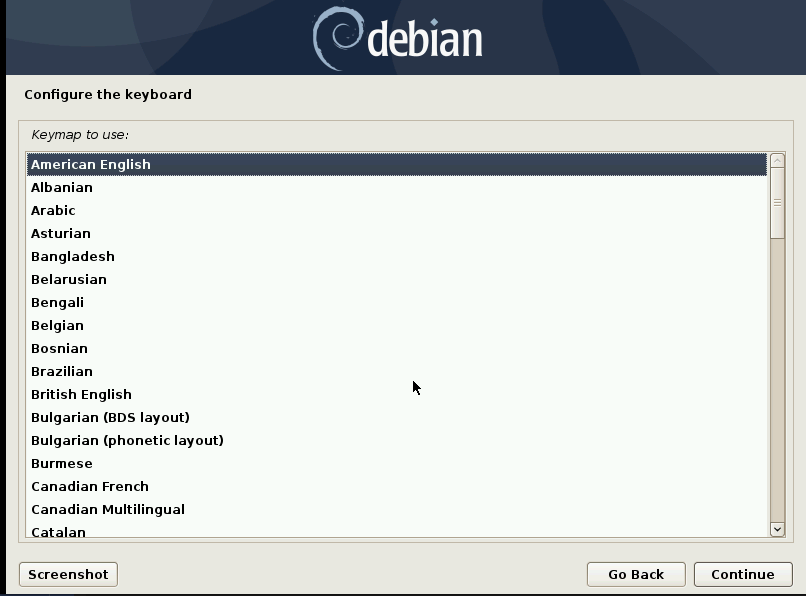
這邊選擇美式鍵盤
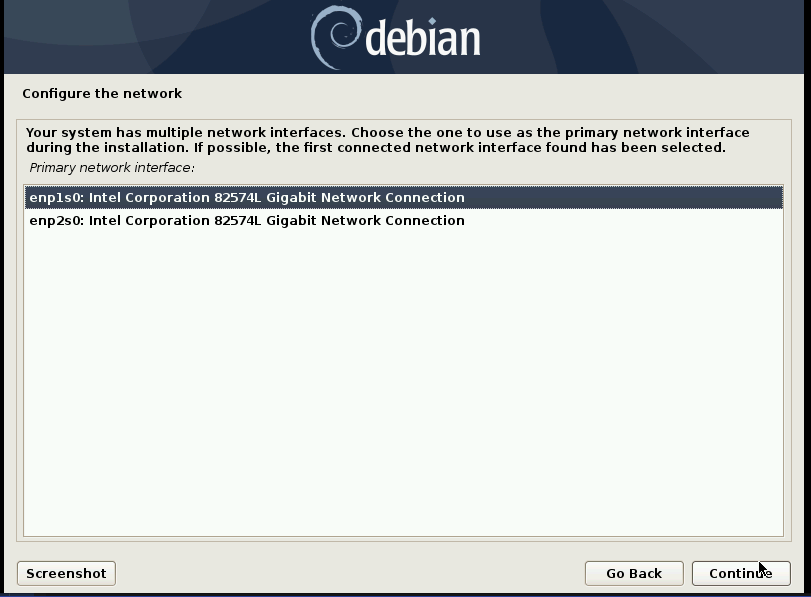
這邊就選擇可以上網的網路接孔吧。不用怕選錯,因為連不上網路還會跳回來這一步。
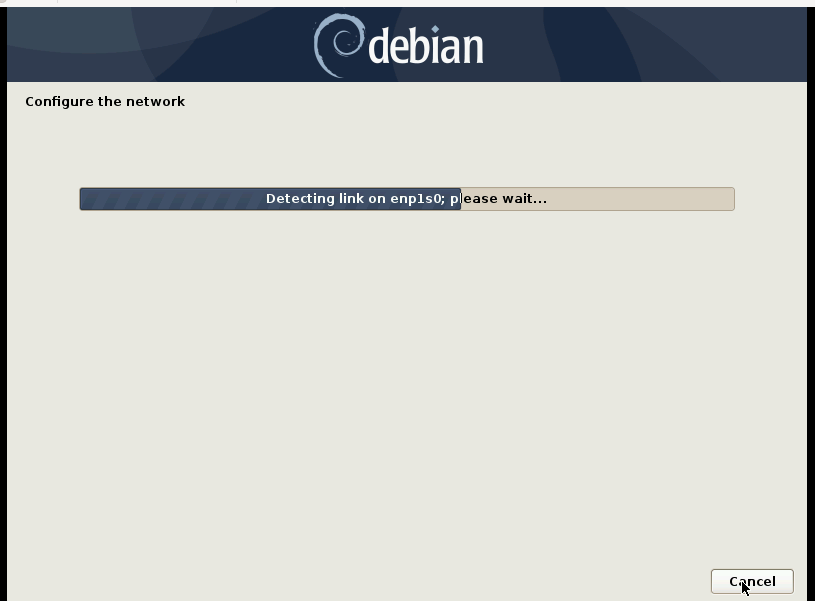
系統會自動探索網際網路。
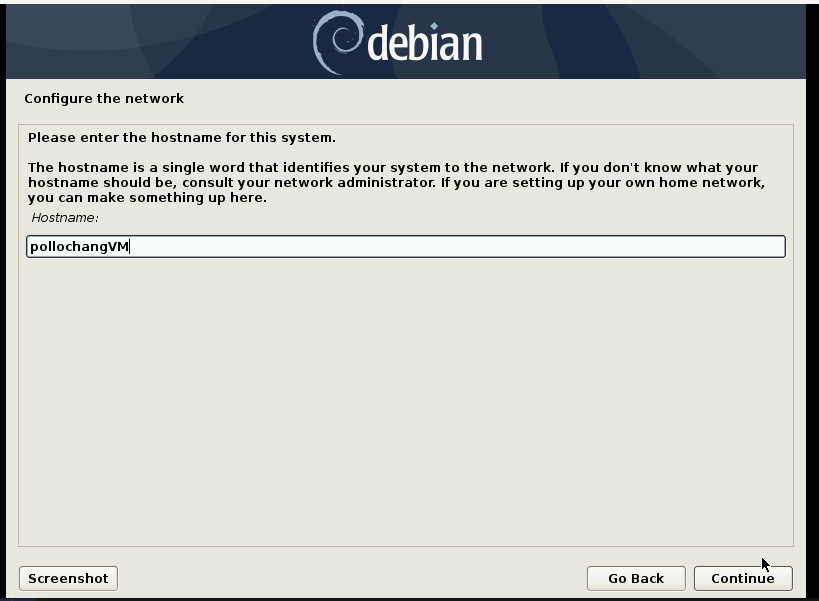
探索到網路世界後,接下來就是跟大家說我是誰。不然大家就會問你的名子
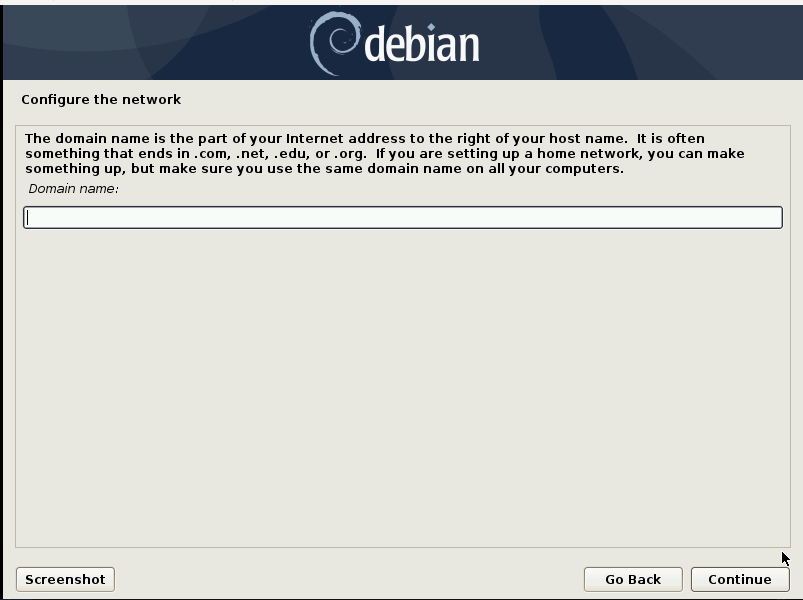
在這邊如果未來規劃是網站伺服器或是郵件伺服器,如:zimbra,可以在這個步驟填寫自己的Domain。不填沒有關係,安裝完成之後改 /etc/hosts 文件即可。如果是作為桌面使用,可以按下一步。
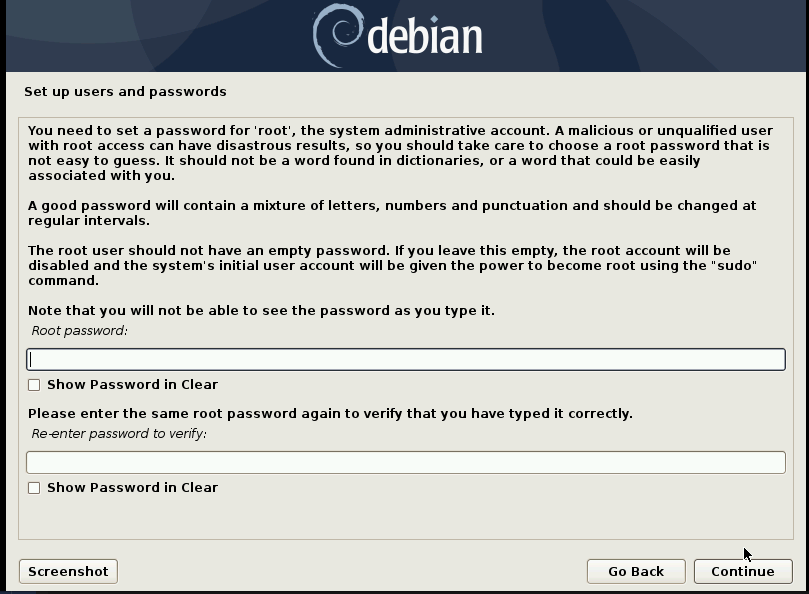
強烈建議不填 root 密碼,讓 root 不允許登入。 這樣資安稽核就可以安心通過一項了,或是導入GCB就少一項設定。
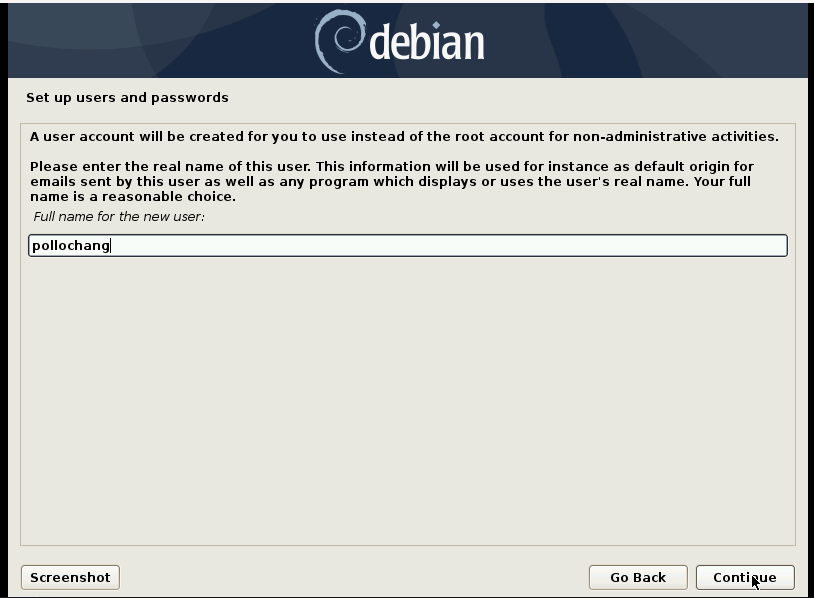
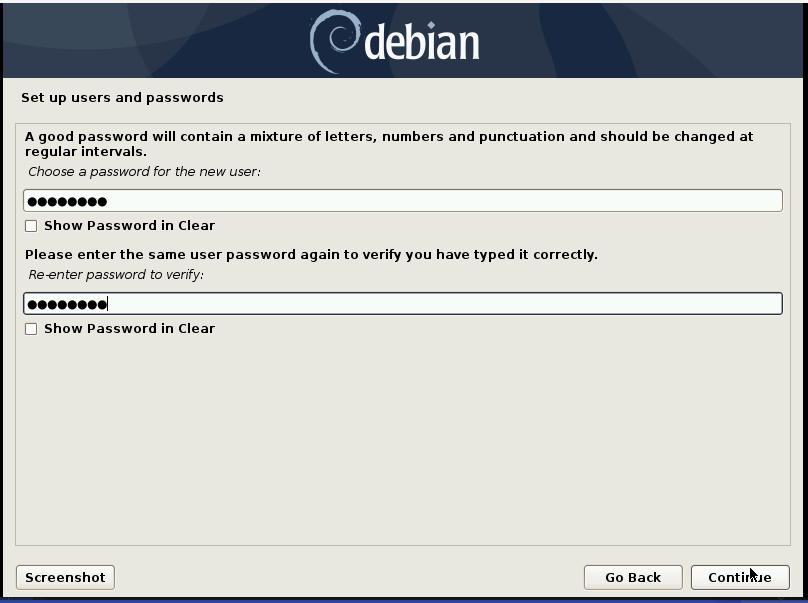
輸入你的大名。例如:POLLOCHANG。
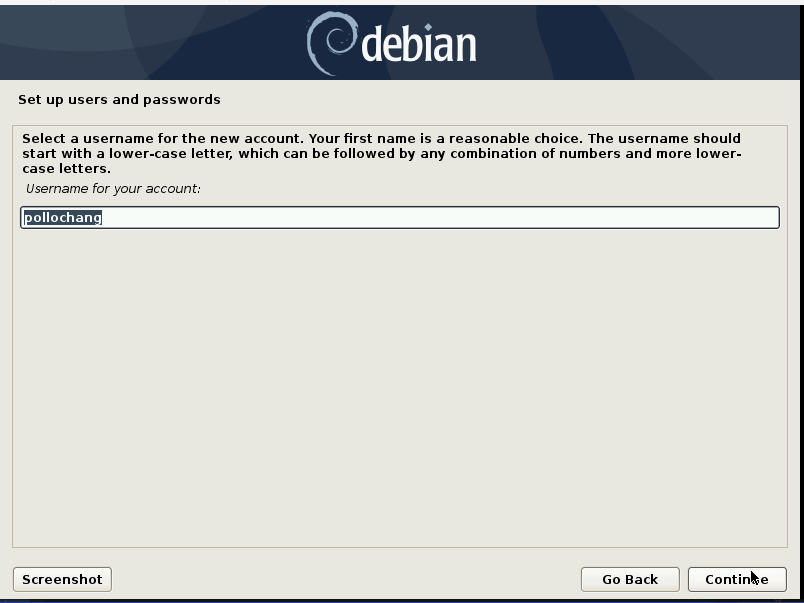
輸入你的小名。例如: pollochang 。不就大小寫差別?
對於linux 帳號命名這邊建議用英文小寫加阿拉伯數字就可以,主要是未來有安裝老舊的軟體有應用到linux帳號,大寫英文可能會作為該軟體的帳號,例如:DB2。
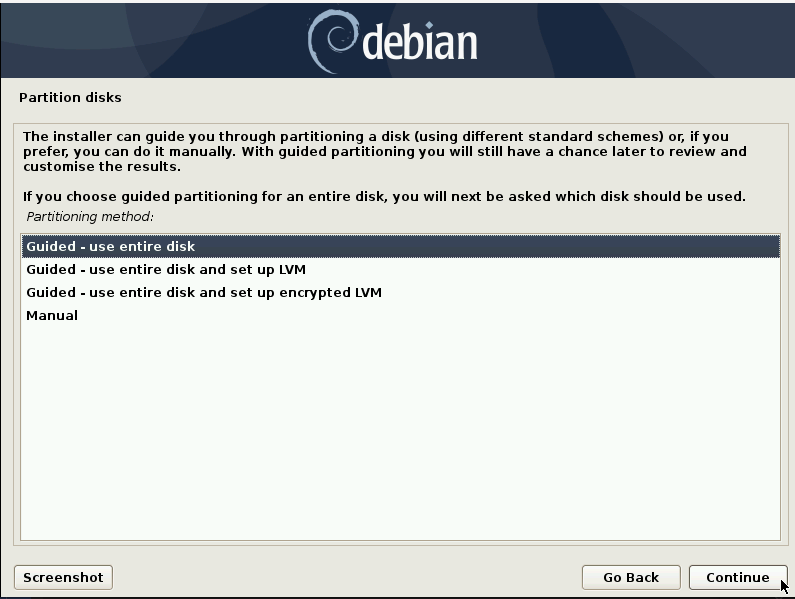
選擇第一項: Guided- use entire disk,如過是安裝在虛擬機上,可以選擇 Guided- use entire disk and set up LVM 未來空充硬碟會比較方便。
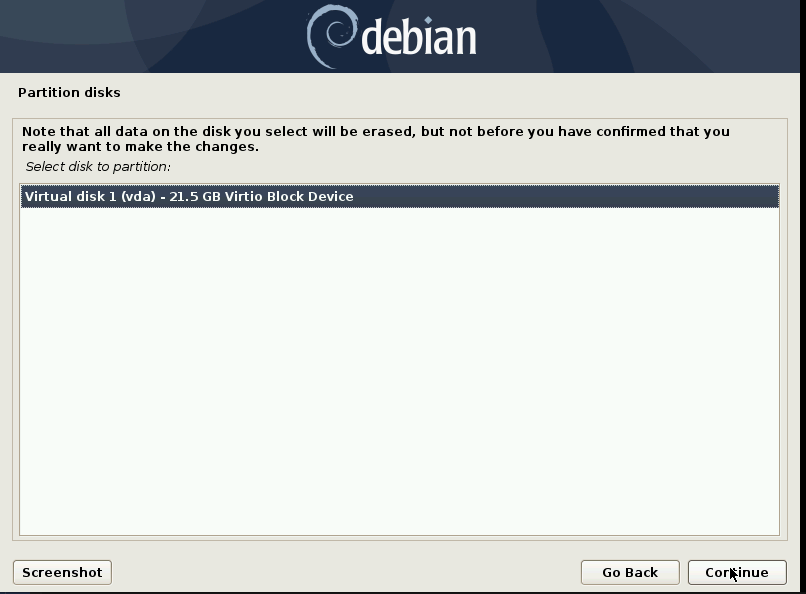
這邊選擇第一項,讓電腦自動配置。這個年頭電腦除了會挑選花生,也會切硬碟唷!
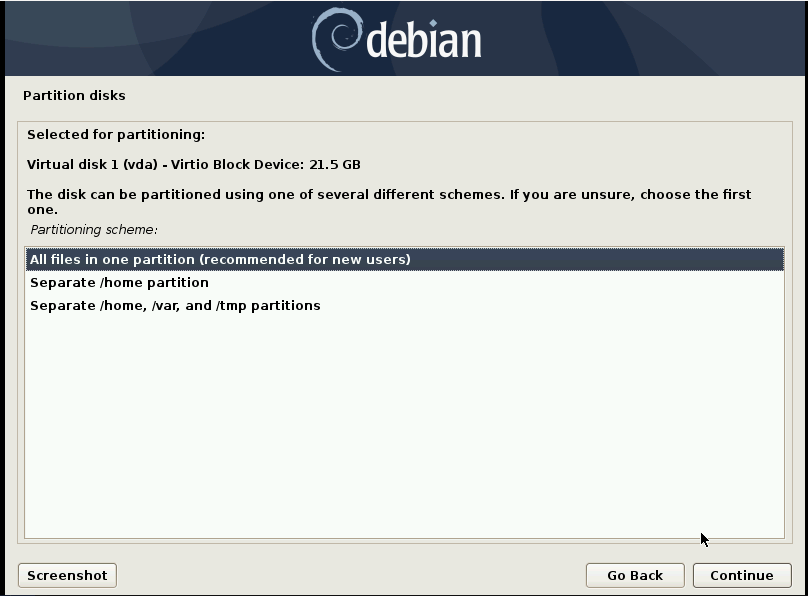
電腦切割的結果,如果不喜歡也可以自己切。自己切記得 swap 要切出來,至少512MB ,不然之後可能會遇到很奇怪的問題。
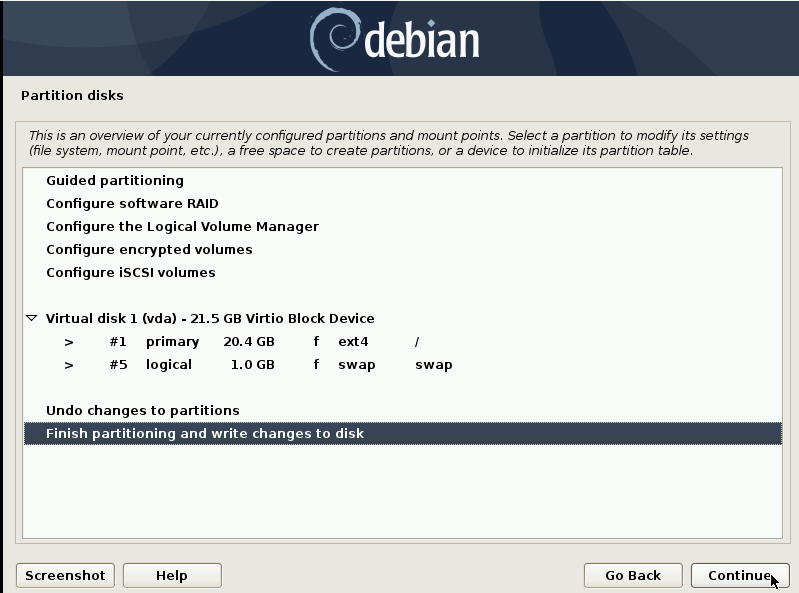
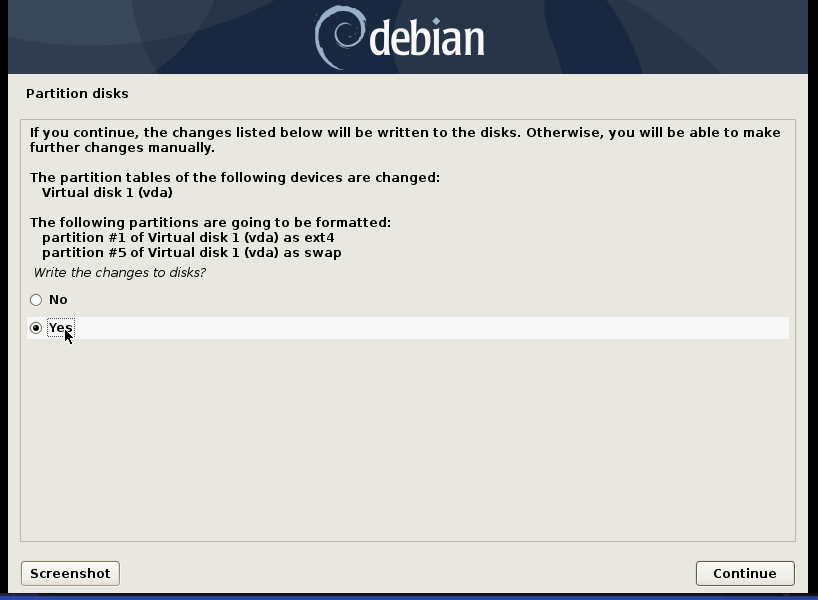
沒問題就按下 yes 。
根據你地理上最近的地區選擇吧。但是我地理不好啊!跟索隆一樣
隨便選,開心就好。

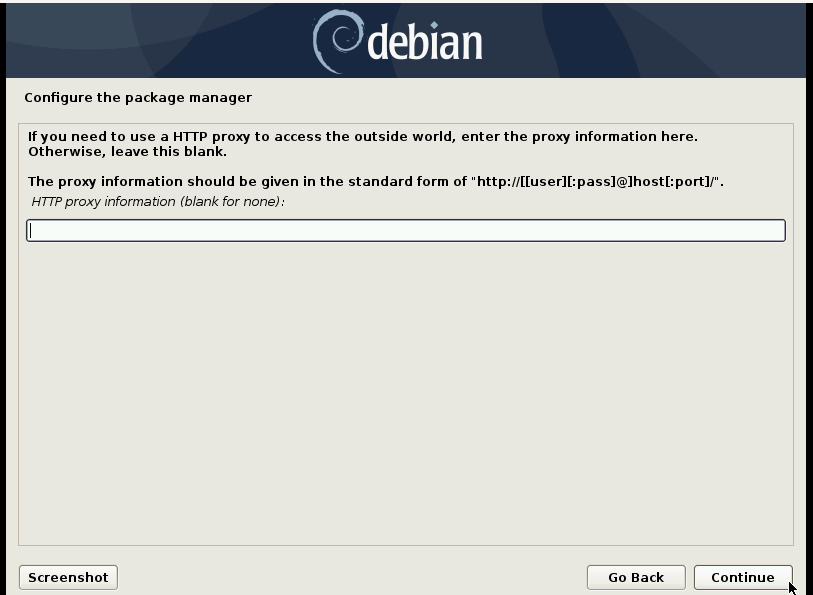
主機所在的網路環境沒有特殊要求就不用設。
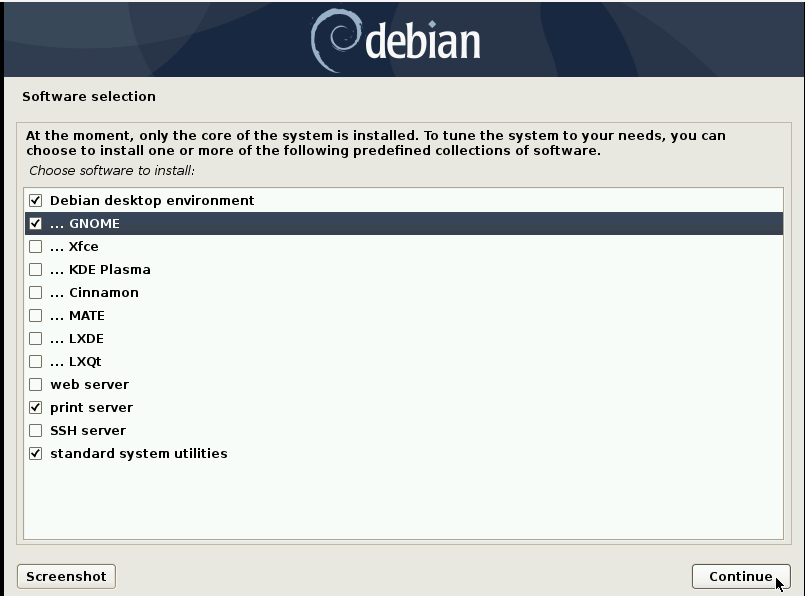
一般我是習慣選擇 Gnome,如果要遠端桌面使用的話建議就 不要裝!大家都透過SSH直接遠端 選擇 xfce。
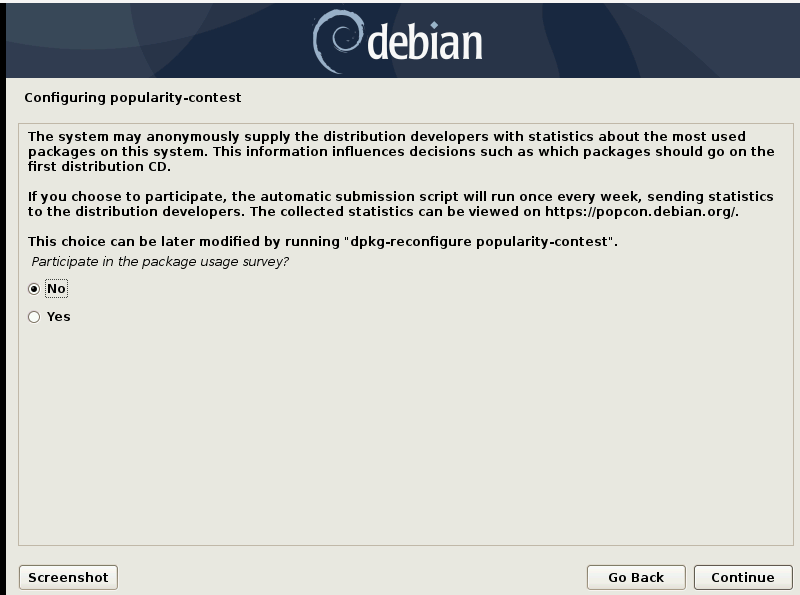
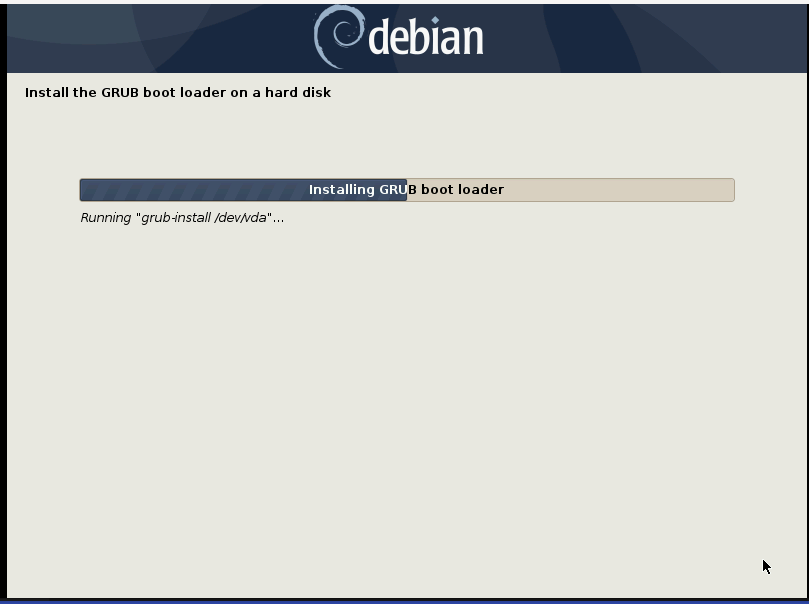
這步驟很重要,請選擇 yes!有一次我選擇 NO ,安裝完之後就傻傻的從頭安裝。
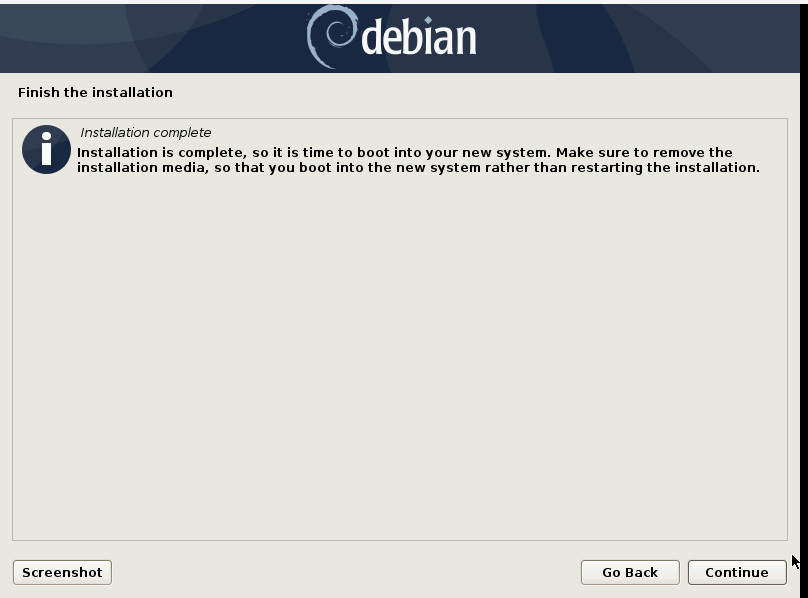
經過最短路徑 35 個步驟終於安裝完啦!不得不說安裝 Debian 不看前人或官方的安裝指引,真的有種在走迷宮的感覺。
黑暗執行緒—Debian 與 Non-Free Firmware