首先先創立一個新專案,檔案名稱建議是以目前所練習的主題LinearLayout來做命名,這樣方便以後的檔案管理。
LinearLayout以我自己感覺起來是一個十分方便的工具,配合後面會說的GuideLine使用起來會比較好,經過自己的理解之後LinearLayout就像是一個盒子,裡面可以包幾個工具組合成一個小區塊,再透過排版來裝飾畫面。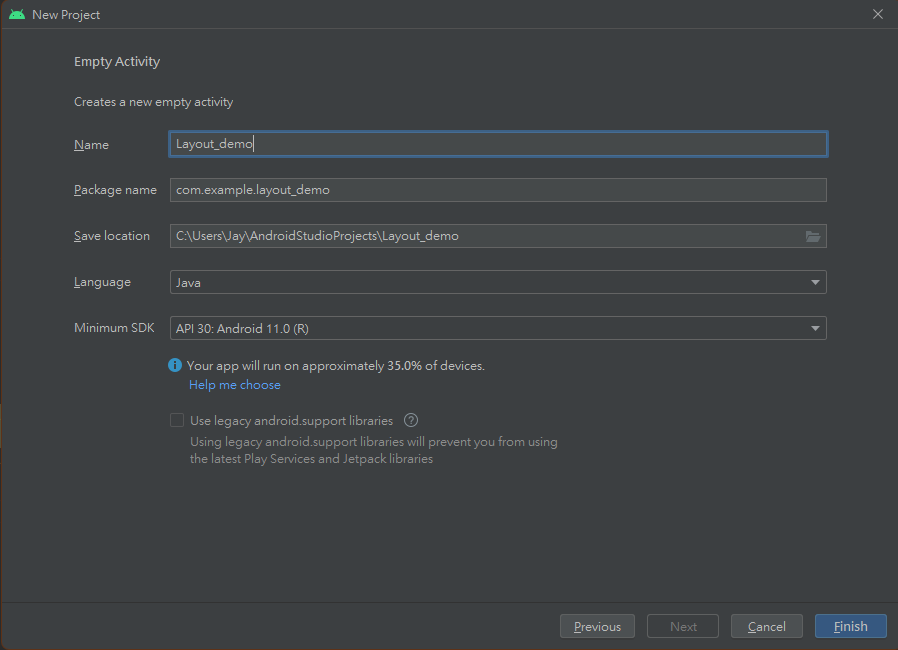
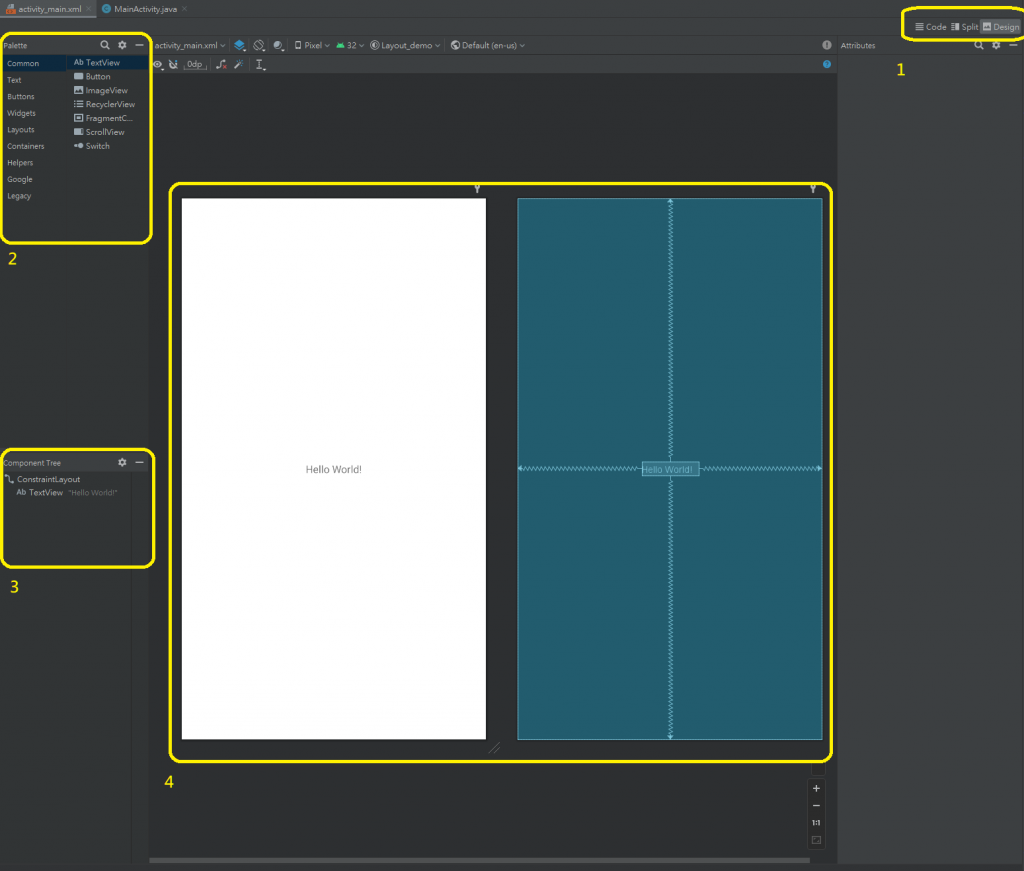
Code、Split、Design三個呈現方式,Code顧名思義就是只有程式碼、Split是程式碼與預覽畫面同在,Design是可以透過拉取的方式操作而顯示畫面上也只有預覽畫面,拉取的動作也能直接拉至預覽畫面上。Design畫面中的Palette這個區塊是包含了常用的所有功能,這些功能是可以透過拖拉的方式拉到下方的Component Tree欄位或是直接拉到畫面上。Component Tree的構造可以想像成是一個樹狀圖,最頂層的物件包含著以下所有的物件,底下的物件也是依此類推。在Palette->Layouts的組別將LinearLayout拉取到下方的Component Tree,拉下來之後再拉幾個TextView來看效果,TextView可以依照自我的需求可以多拉幾個比較能觀察到這幾個功能的不同之處。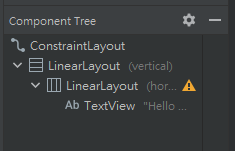
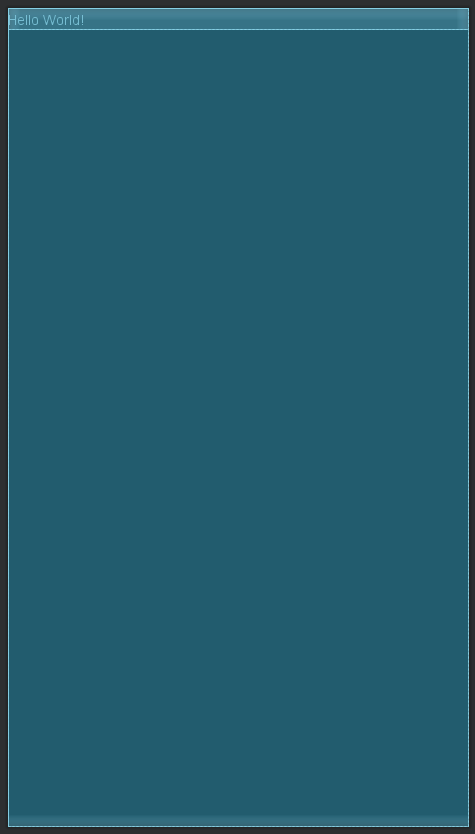
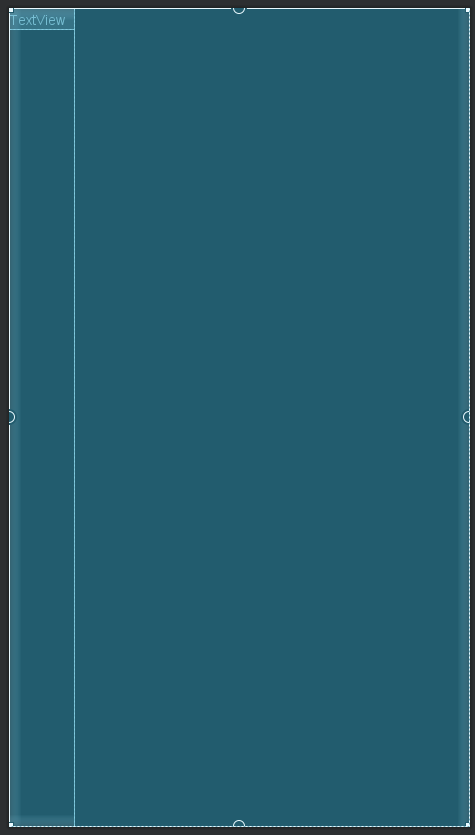
從藍圖上面比較能夠清楚看到格式的呈現方式。
這時候可以切換到Split方法觀看LinearLayout的XML程式碼。
    <LinearLayout
        android:layout_width="match_parent"
        android:layout_height="match_parent"
        android:orientation="vertical">

        <LinearLayout
            android:layout_width="match_parent"
            android:layout_height="wrap_content"
            android:orientation="horizontal">

            <TextView
                android:layout_width="match_parent"
                android:layout_height="wrap_content"
                android:text="Hello World!" />
        </LinearLayout>
    </LinearLayout>
這邊可以看到LinearLayout的寬和高的呈現方式,我這邊是把垂直向LinearLayout的高改成wrap_content,這是一個會依照文字大小更改高度的功能,更改完成之後這樣底下的空間就會空出來了,這時我們使用複製貼上將垂直向的LinearLayout多複製幾個來觀看排版效果。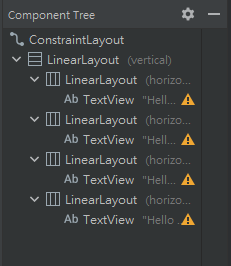
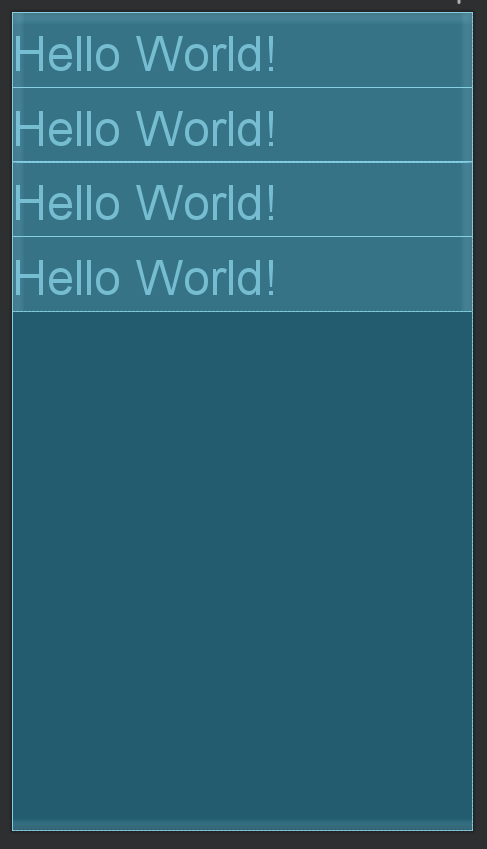
這就是LinearLayout垂直方向的效果
我就直接貼程式碼以及藍圖預覽呈現方式了。
    <LinearLayout
        android:layout_width="match_parent"
        android:layout_height="match_parent"
        android:orientation="horizontal">

        <LinearLayout
            android:layout_width="wrap_content"
            android:layout_height="match_parent"
            android:orientation="vertical">

            <TextView
                android:layout_width="match_parent"
                android:layout_height="wrap_content"
                android:text="TextView" />
        </LinearLayout>
    </LinearLayout>
與垂直向的排列相同作法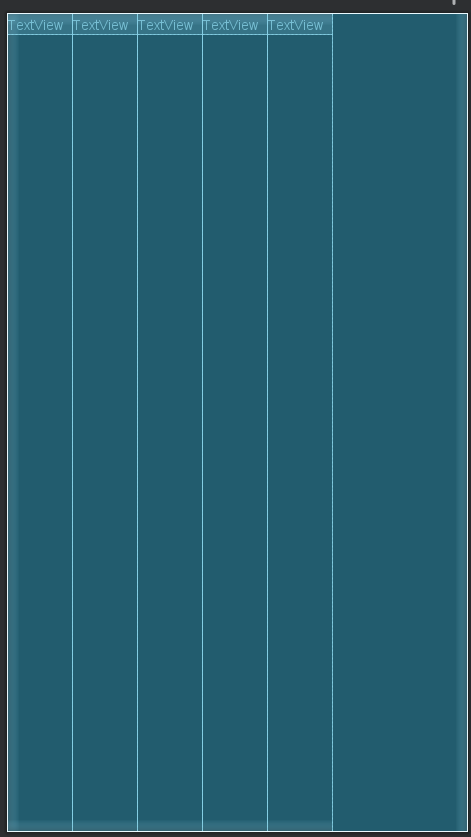
GuideLine功能。

 iThome鐵人賽