GuideLine在Android Studio是一個基準線的概念,在activity上面先設定基準線,之後再將Layout或是物件依靠在那條基準線上即可。
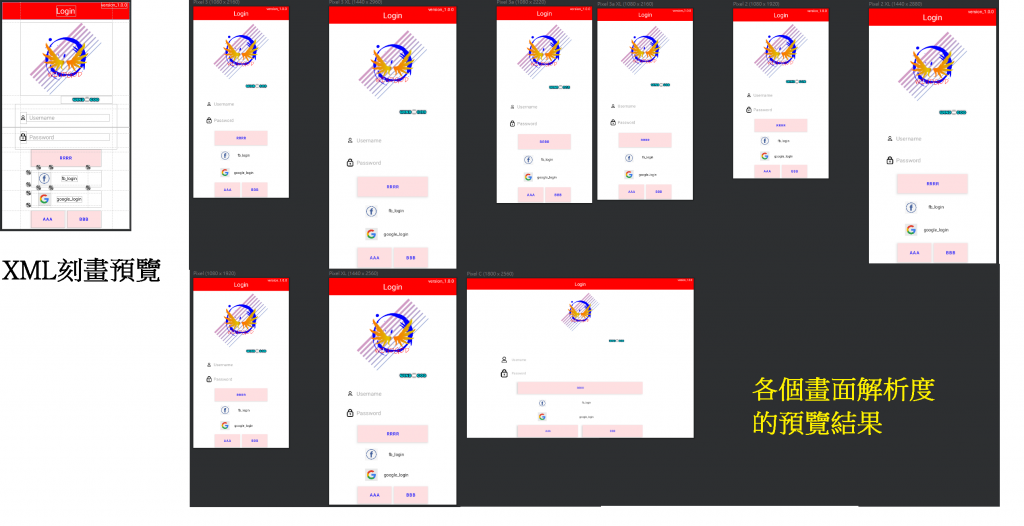
需要這樣設置的原因是可以在不同裝置的解析度下持續正常運作,畫面不會因此偏離顯示螢幕的效果。
我先放上其他專案的demo圖給各位看
這個物件所在位置在於Helpers裡面,一樣有著水平方向與垂直方向兩個,使用時只需要將其拉入Component Tree,完成之後轉到Split看一下程式碼並修改一些參數。
app:layout_constraintGuide_percent="輸入百分比數值";
這個所使用的格式是浮點數float,所以只需要輸入自己想要的對應位置就好了以下說明對應意義。
底下還有另外兩個,他們所代表的是開頭以及結尾,也就是垂直方向的GuideLine是代表上方與下方,水平方向的GuideLine則是代表左邊和右邊。
左邊、horizontal頂部
右邊、horizontal底部
app:layout_constraintGuide_begin="輸入數值";
app:layout_constraintGuide_end="輸入數值";
dimension,需要輸入單位量詞來指定到是從begin或是從end算過來的多少位置距離。
<!-- vertical GuideLine是從左至右、horizontal GuideLine是從上至下 -->

<!-- 從最一開始的地點開始,也就是從左邊或是從上面開始 -->
    <androidx.constraintlayout.widget.Guideline
        android:id="@+id/guideline2"
        android:layout_width="wrap_content"
        android:layout_height="wrap_content"
        android:orientation="horizontal"
        app:layout_constraintGuide_begin="25dp"/>

<!-- 從最後面開始,也就是從右邊或是從下面開始 -->
    <androidx.constraintlayout.widget.Guideline
        android:id="@+id/guideline3"
        android:layout_width="wrap_content"
        android:layout_height="wrap_content"
        android:orientation="vertical"
        app:layout_constraintGuide_end="100dp"/>

<!-- 百分比的GuideLine都是從頭開始,數值範圍在0~1 -->
    <androidx.constraintlayout.widget.Guideline
        android:id="@+id/guideline4"
        android:layout_width="wrap_content"
        android:layout_height="wrap_content"
        android:orientation="vertical"
        app:layout_constraintGuide_percent="0.25"/>

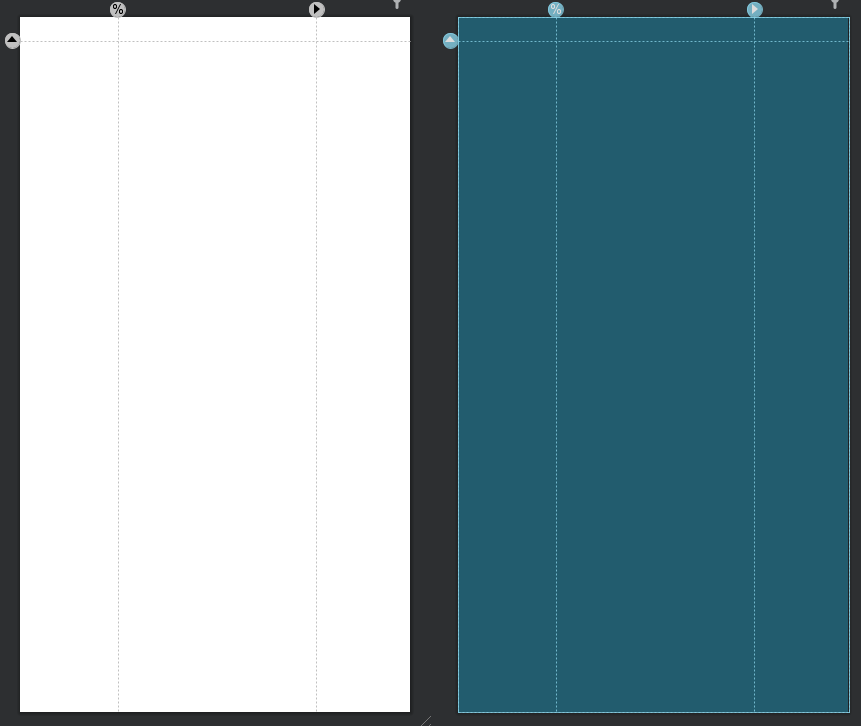
從這張圖可以看到有方向箭頭與百分比的圖示。
<!--
裡面的名稱自訂,建議是以該工具所帶的功能去命名。
例如:TextView是要顯示密碼,xxxxxx的地方就輸入password等等的名稱
-->

android:id = "@+id/xxxxxx"
app:layout_constraintStart_toStartOf="@id/XXX",前面的是綁在自身元件的某個面,有Top、Bottom、Start、End,這四種,若以四方型來說明其所在位置分別是在四方型的:頂部、底部、左、右。toStartof和toEndof的效果是一樣的,Start與End兩個一組,Top與Bottom兩個一組,每個組別個有四個組合。
layout_constraintTop_toBottomOf)layout_constraintTop_toTopOf)layout_constraintBottom_toTopOf)layout_constraintBottom_toBottomOf)layout_constraintStart_toStartOf)layout_constraintStart_toEndOf)layout_constraintEnd_toStartOf)layout_constraintEnd_toEndOf)Start、End與Right、Left一樣的概念,對應位置就是End與Right一樣、Start與Left一樣,將上方的Start和End調換成Left和Right。TextView設定,這邊只會先貼上對齊效果圖片。app:layout_constraintStart_toStartOf="@id/XXX"的""的對齊對象,最基本可以是畫面上的元件名稱@id/XXX,或者是直接貼齊畫面邊框parent。app:layout_constraintStart_toStartOf="@id/XXX"就是在目前選擇元件的左邊對齊元件XXX的左邊。<!-- 只要在元件的程式碼中加上這個對齊功能就好,是xml內建的 -->
app:layout_constraintStart_toStartOf="@id/guidelineA"
app:layout_constraintBottom_toBottomof="@id/guidelineB"
app:layout_constraintEnd_toEndOf="@id/guidelineC"
<!-- 對齊文字底線 -->
app:layout_constraintBaseline_toBaselineOf="@id/TextView001"


