第三天,我們就來app部屬到WebSphere吧
首先我們需要先準備一包web應用程式,我準備的是一包臨時寫的war檔,裡面只有一個會回應test的servlet。
在開啟昨天建置好的containter之後,
打開瀏覽器,登入console,點擊左側選單[Applications] > [Application Types] > [WebSphere enterprise applications]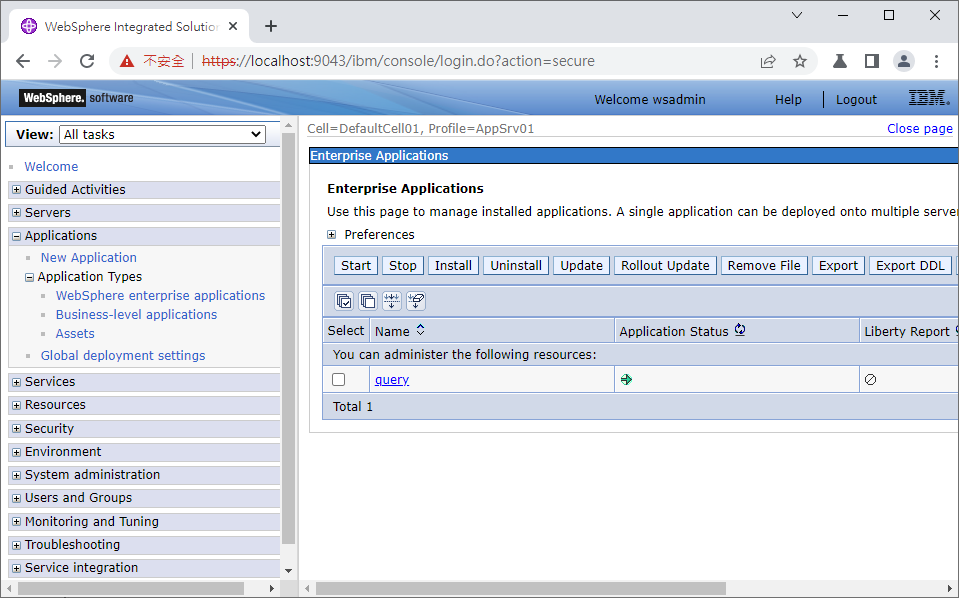
這裡會列出在WAS裡面安裝的應用程式列表,裡面預設會有個名叫query的應用程式,不過這個我們用不到,先忽略。
首先,點列表上方的按鈕 [Install] 進入安裝頁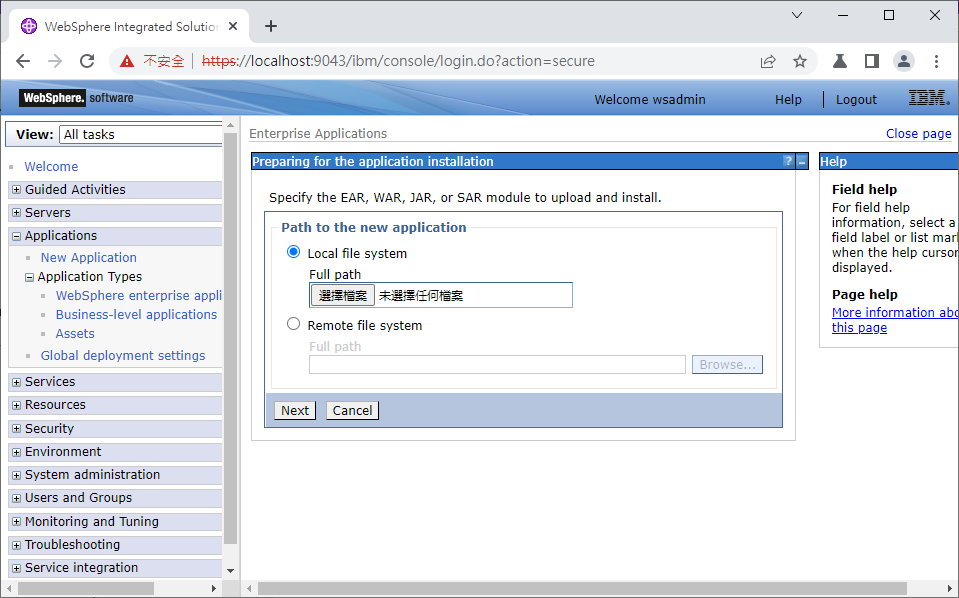
選擇 Local file system,把準備好的應用檔上傳。
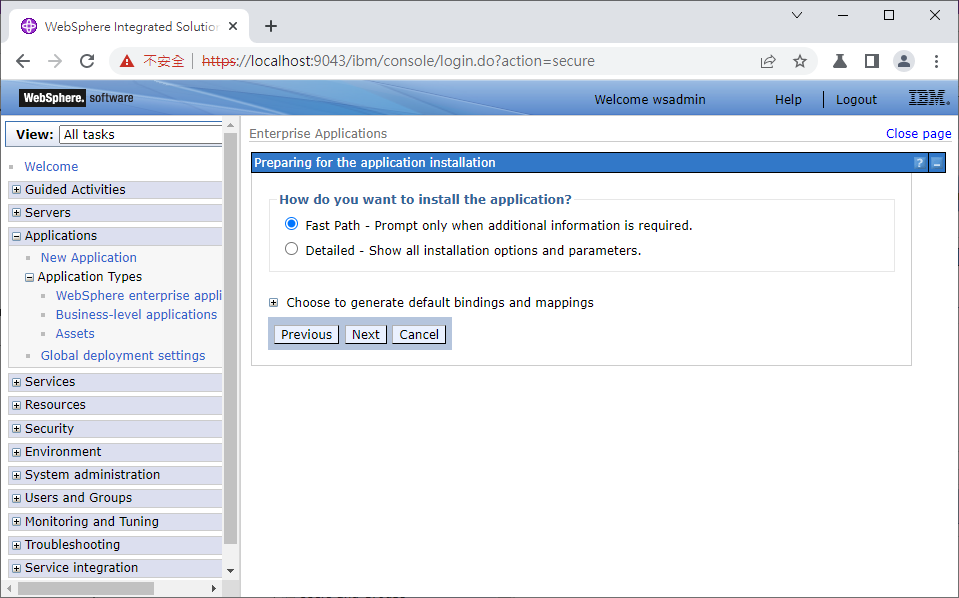
選擇Fast Path
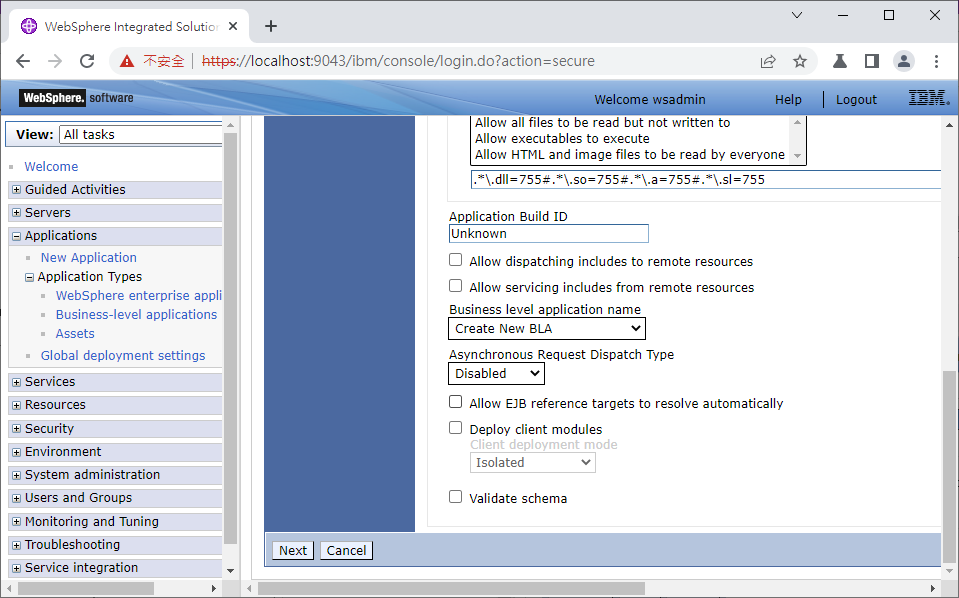
使用預設設定,直接點選Next即可
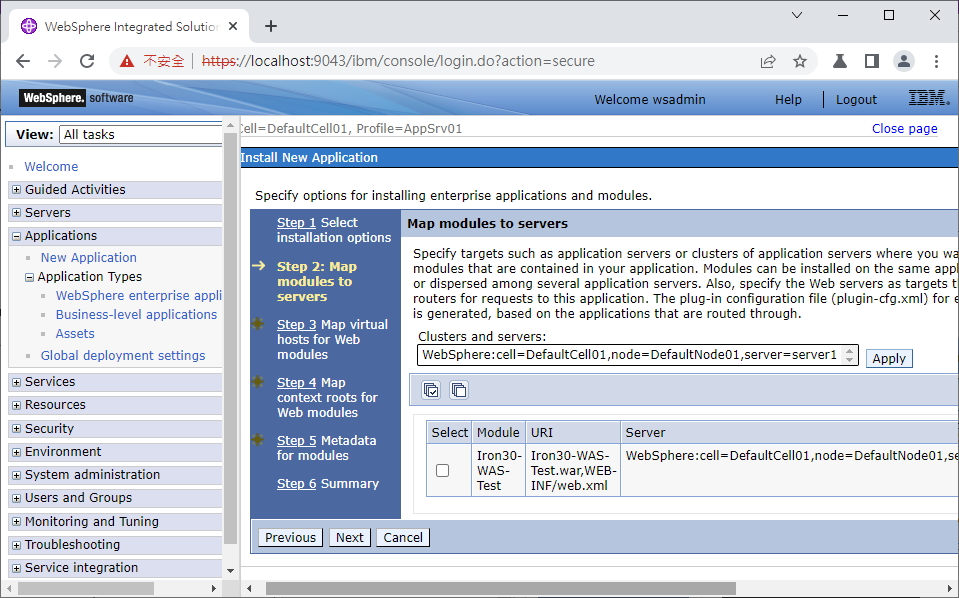
使用預設設定,直接點選Next即可
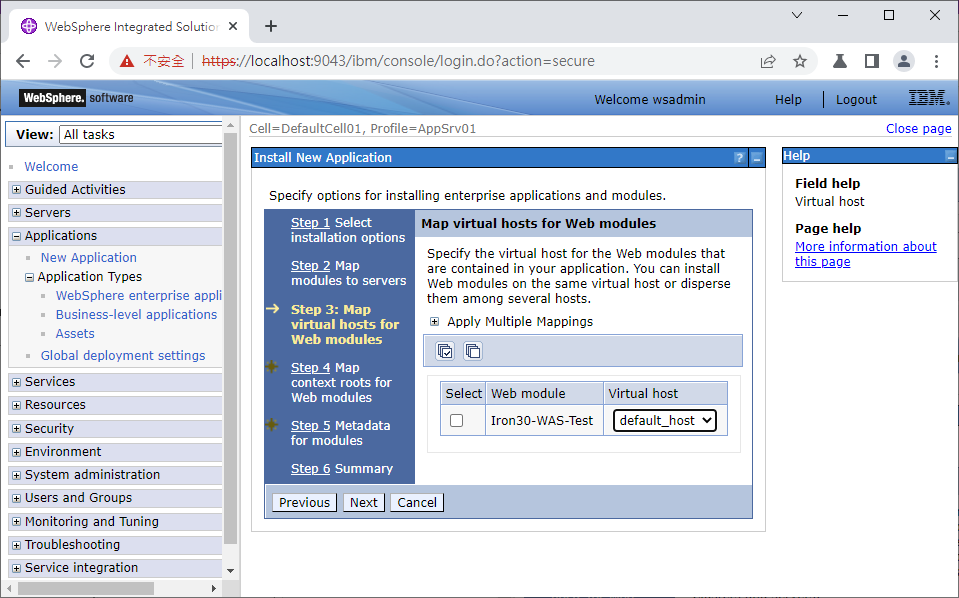
使用預設設定,直接點選Next即可
到了Step 4: Map context roots for Web Modules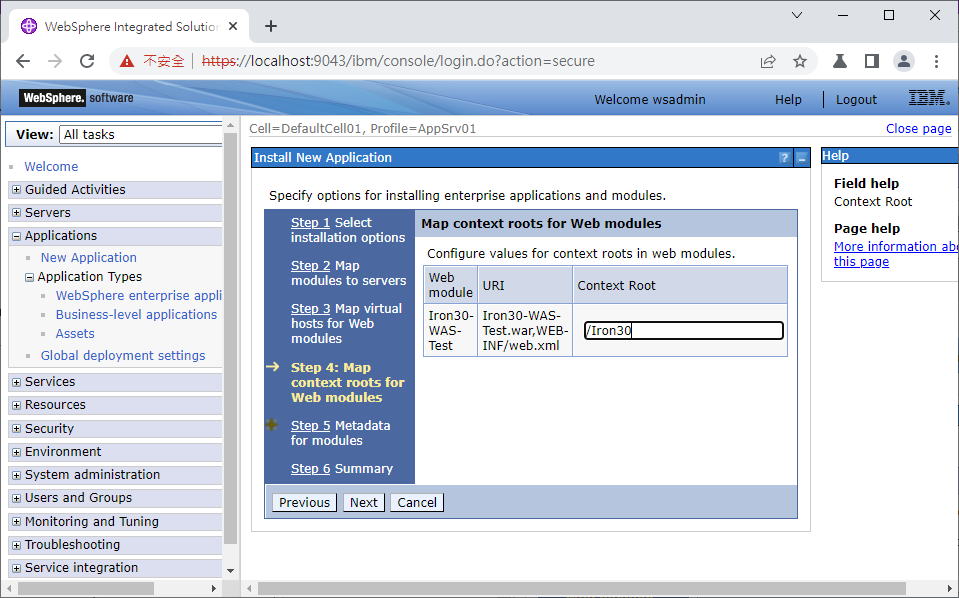
在這裡,我把Context Root設定為/Iron30,而非預設的/
這麼做的好處是,當你要在同一個server掛載其他應用程式時不會發生路徑衝突。
就像Tomcat上也可以掛載好幾包war,在Tomcat每個app的根路徑則預設是用project名稱來命名。
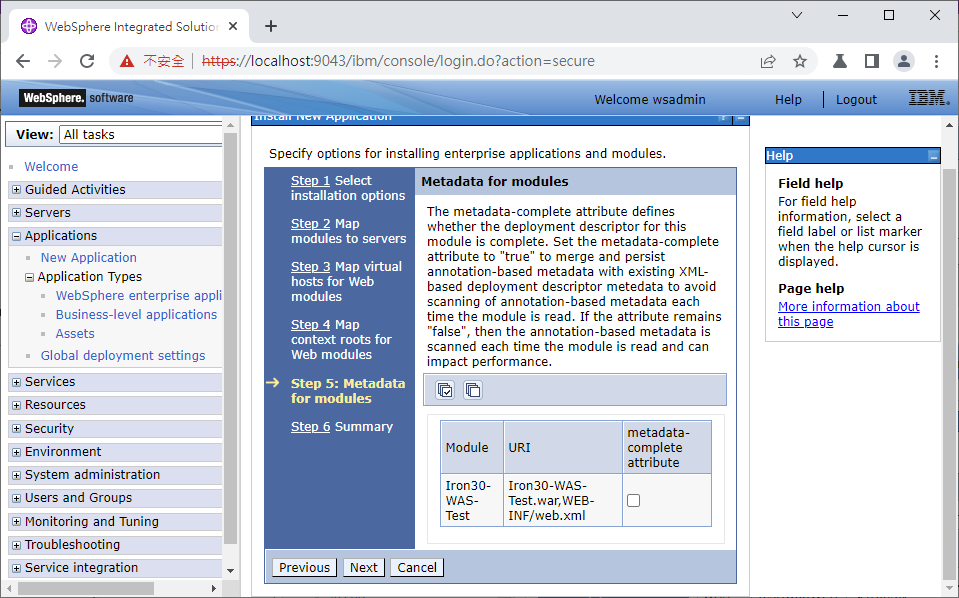
這邊也是保留預設設定,直接點選Next即可
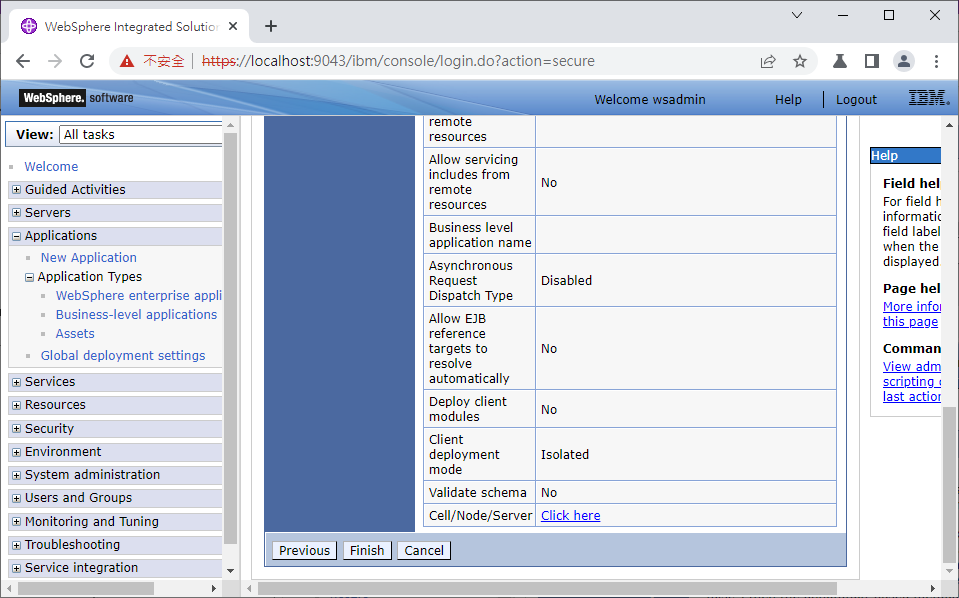
Finsh
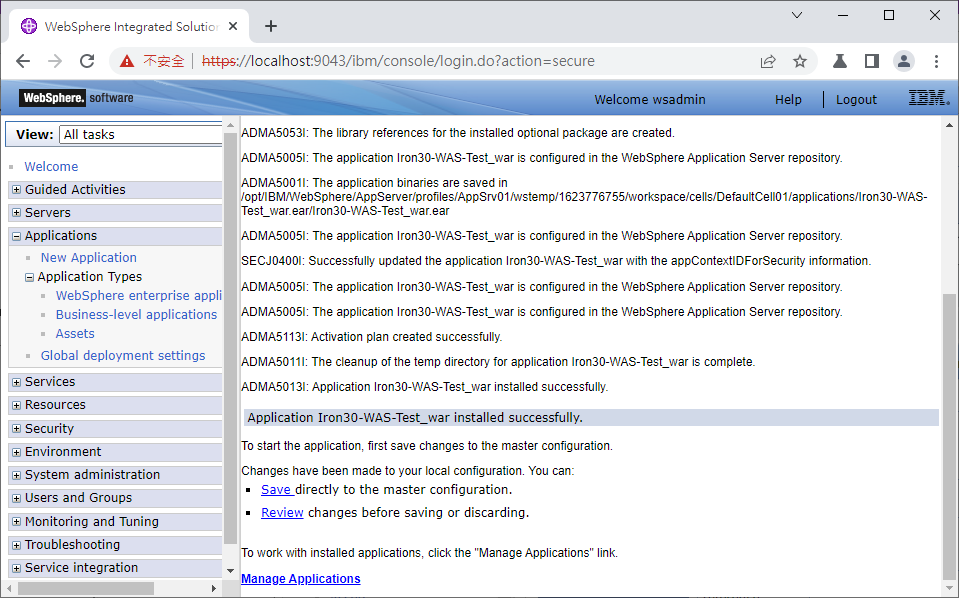
按下Save,把剛剛的異動儲存。
接著會回到Applications的列表,此時列表中已經出現了剛剛我們安裝的應用程式了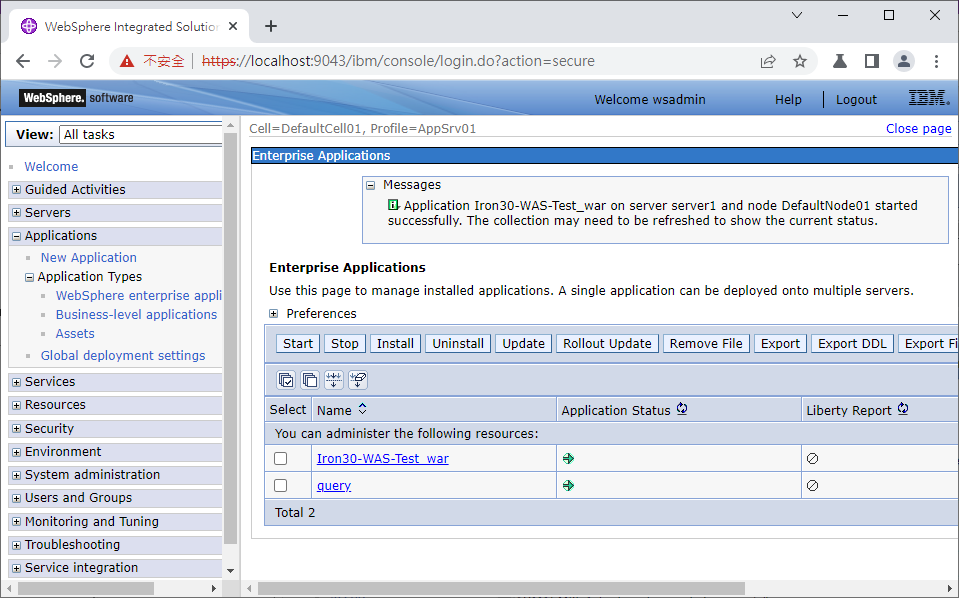
把安裝上去的war打勾,按下Start,等上方message欄位顯示啟動成功時,
應用程式列表中的Application Status也會從紅色叉叉轉為綠色箭頭。
接下瀏覽器打開新分頁連線到
https://localhost:9443/Iron30/DemoServlet
可以看到剛剛部屬的war檔成功運作了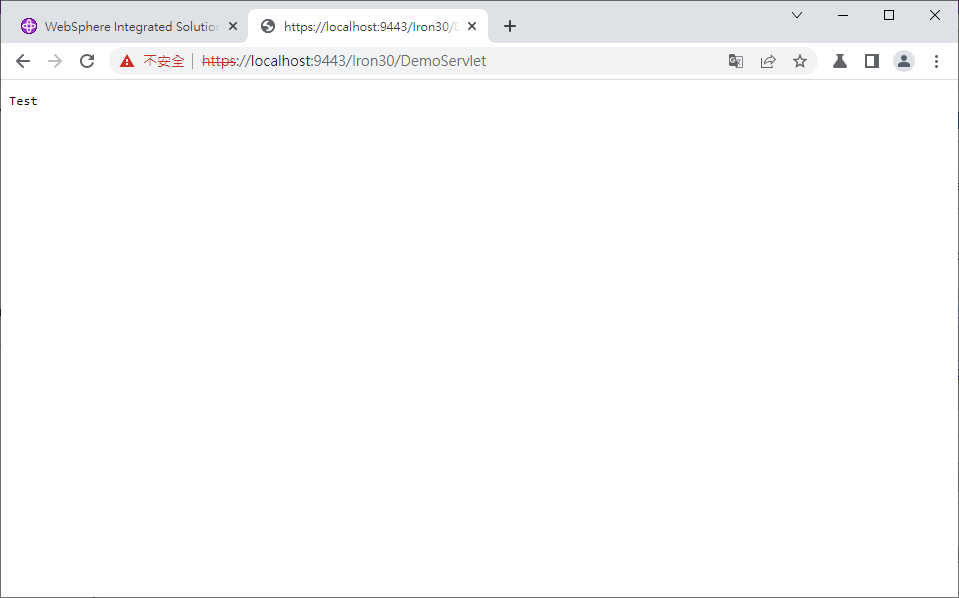


 iThome鐵人賽