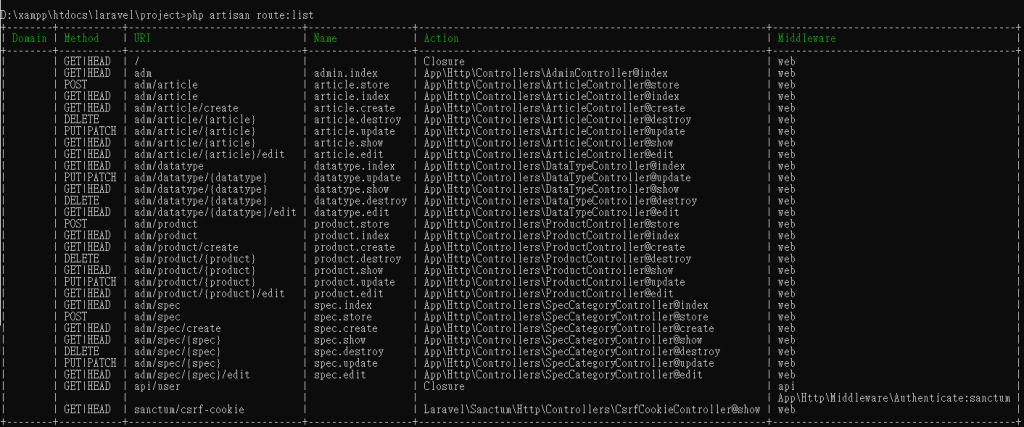
路由
資料庫
https://drive.google.com/file/d/1btUYU5fmyWlFepwKDFWHYusVCtX790FI/view?usp=sharing

    namespace App\Traits;

    /**
     * 設定 model id, 提供給共用圖片資料分辨屬於哪一個 model 下的資料
     */
    trait HasModelId {

        protected $model_id = 0; // 全站唯一值

        public function get_model_id() {
            return $this->model_id;
        }

        public function set_model_id($model_id) {
            $this->model_id = $model_id;
        }

    }
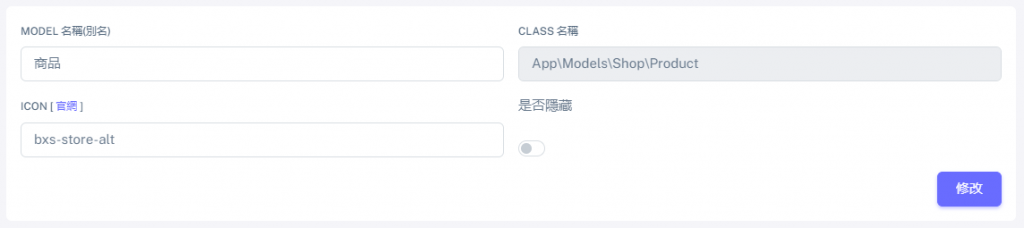
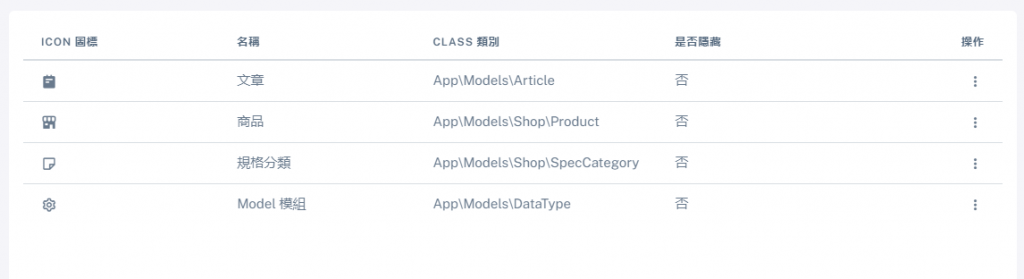
const ModelIds = [
Article::class => '1',
Product::class => '2',
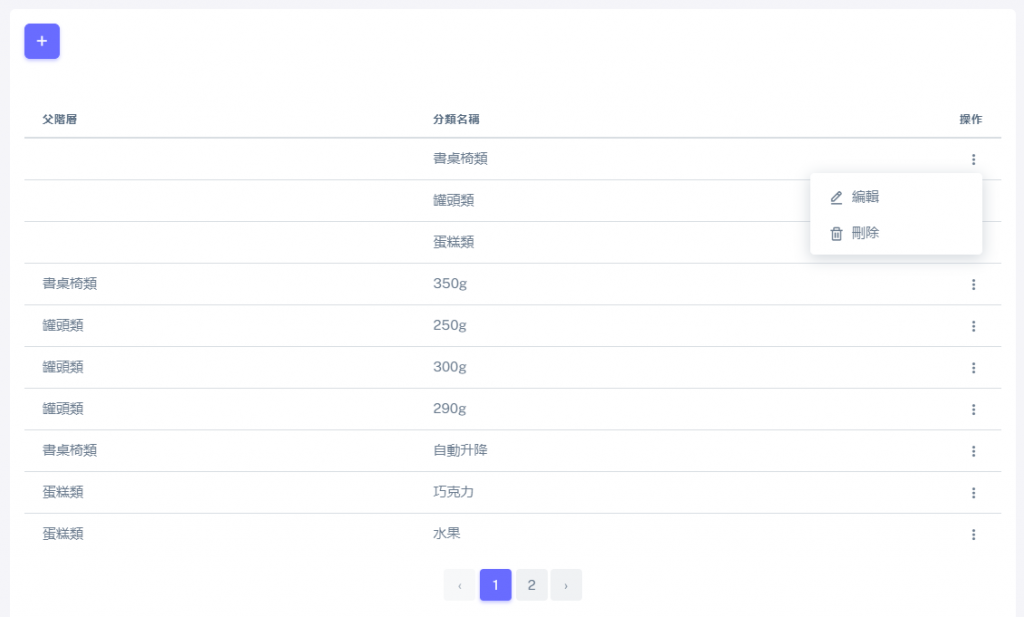
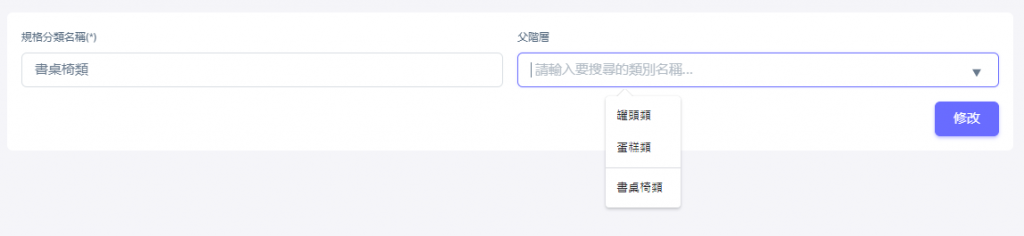
SpecCategory::class => 3,
DataType::class => 4,
];
$this->app->singleton(Article::class, function($app) {
$article = new Article();
$article->set_model_id(self::ModelIds[Article::class]);
return $article;
});

<!-- ckeditor cdn -->
<script src="//cdn.ckeditor.com/4.19.1/standard/ckeditor.js"></script>
<!-- 設應 textarea class ckeditor -->
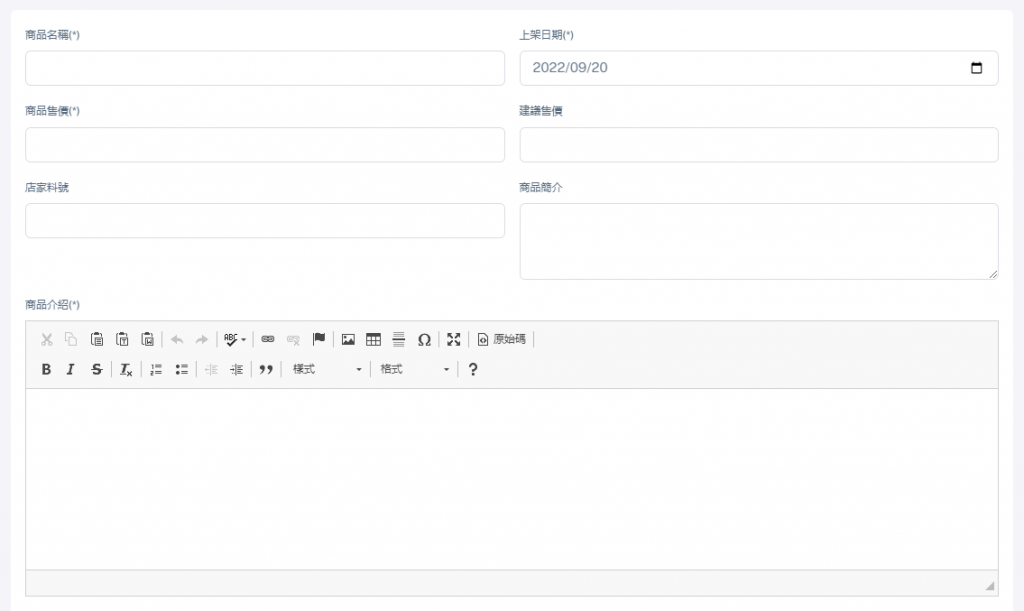
<div class="mb-3 col-12">
<label for="intro" class="form-label">商品介紹(*)</label>
<textarea name="intro" class="form-control ckeditor" id="intro" rows="5"></textarea>
</div>
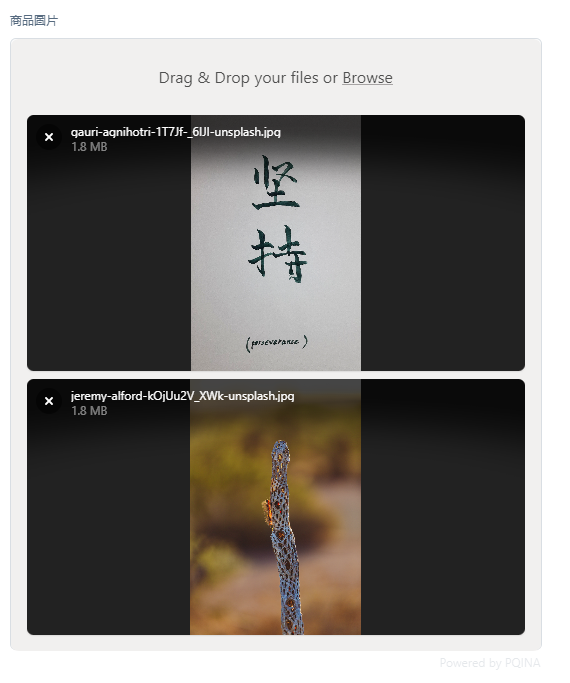
    # npm 安裝需要的套件
    # 套件主要 js
    npm i filepond --save
    # 預覽效果
    npm i filepond-plugin-image-preview --save
    # 驗證檔案
    npm i filepond-plugin-file-validate-type --save
    // 主程式
    import * as FilePond from 'filepond';
    import '../../node_modules/filepond/dist/filepond.min.css';
    // 預覽圖片
    import FilePondPluginImagePreview from 'filepond-plugin-image-preview';
    import '../../node_modules/filepond-plugin-image-preview/dist/filepond-plugin-image-preview.css';
    // 驗證規則
    import FilePondPluginFileValidateType from 'filepond-plugin-file-validate-type';

    // 註冊外部套件
    FilePond.registerPlugin(FilePondPluginImagePreview, FilePondPluginFileValidateType);

    // 將 FilePond 加到 window
    window.FilePond = FilePond
mix.js('resources/js/filepond.js', 'public/admin/assets/js/filepond.js');
    <!-- 引入匯出的js與樣式 -->
    <script src="{{ mix('/admin/assets/js/filepond.js') }}"></script>
    <script>
        // 取得元素
        const inputElement = document.querySelector('#productImg');
        // 配置設定項目
        FilePond.setOptions({
            name: 'productImg[]', // input 名稱
            storeAsFile: true, // 用表單方式送出
            allowMultiple: true, // 允許多檔案
            maxFiles: 5, // 最多5個檔案
            acceptedFileTypes: ['image/png', 'image/jpg', 'image/jpeg'], // 限制格式
            // acceptedFileTypes 會受到 html input accept 影響, 限制格式須以 image/jpg 設定, 用簡寫 .jpg 檢測會發生錯誤
        });


        // 建立上傳 input
        const pond = FilePond.create(inputElement);
    </script>
github 進版
剩下的天繼續...


 iThome鐵人賽