繼建置完NFS範例後,另一種常見的網路儲存區為軟體式的iSCSI,又稱IP-SAN
接下來我們來建置第2種iSCSI的網路儲存區:
目標為使用Synology NAS及透過軟體式的iSCSI方式掛載一個Datastore在ESXi
首先我們在Synology NAS建立一個iSCSI Target LUN
Step1.登入Synology NAS後,點選SAN Manager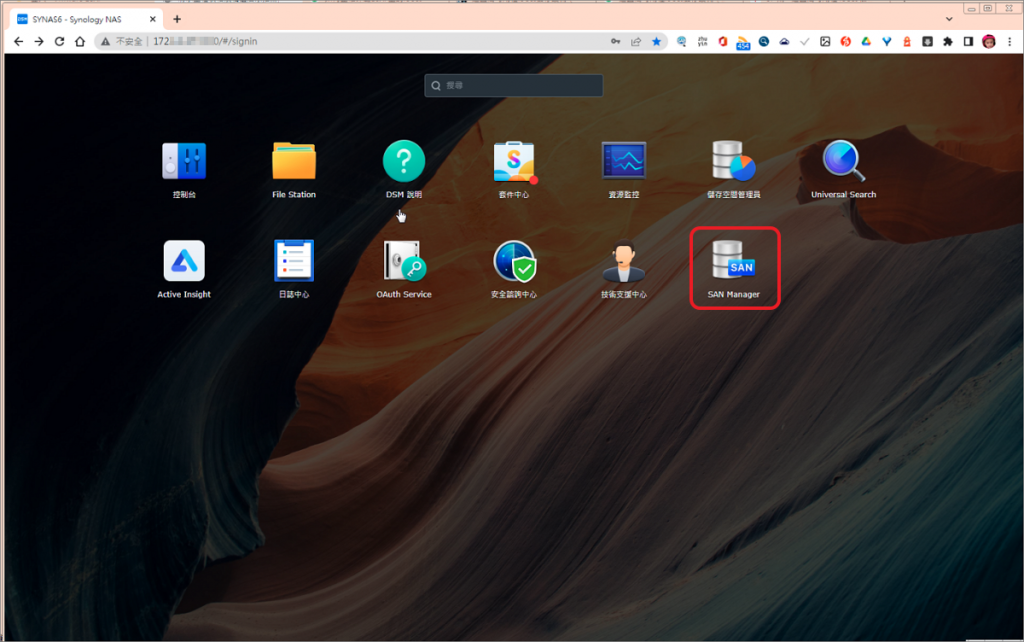
Step2.開始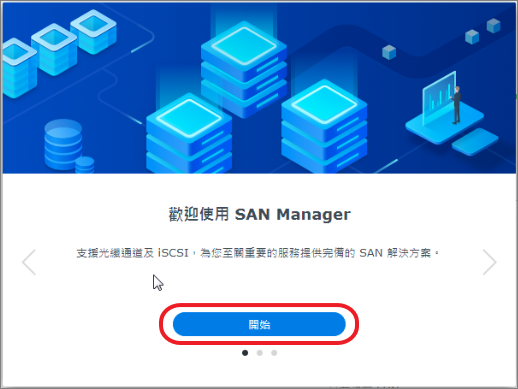
Step3.選擇iSCSI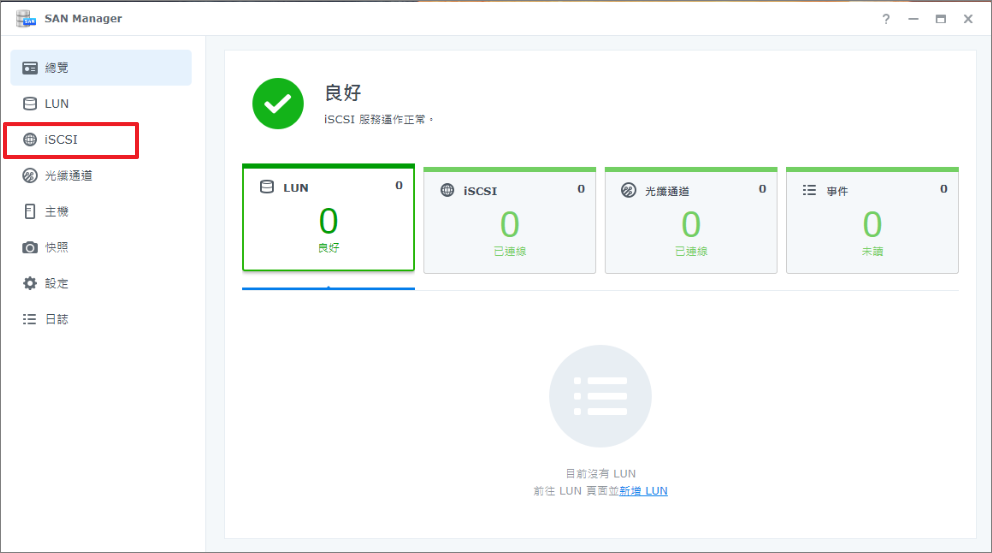
Step4.新增iSCSI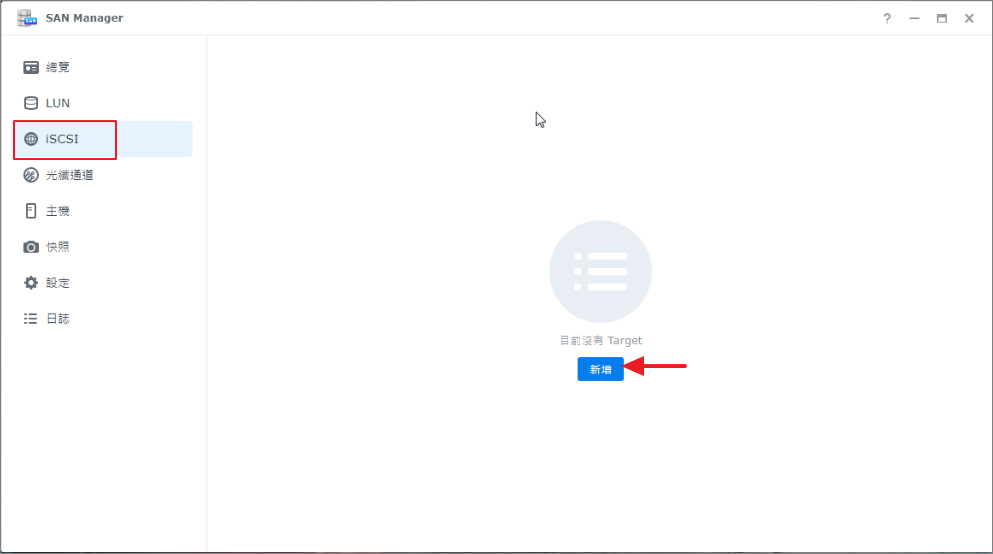
Step5.下一步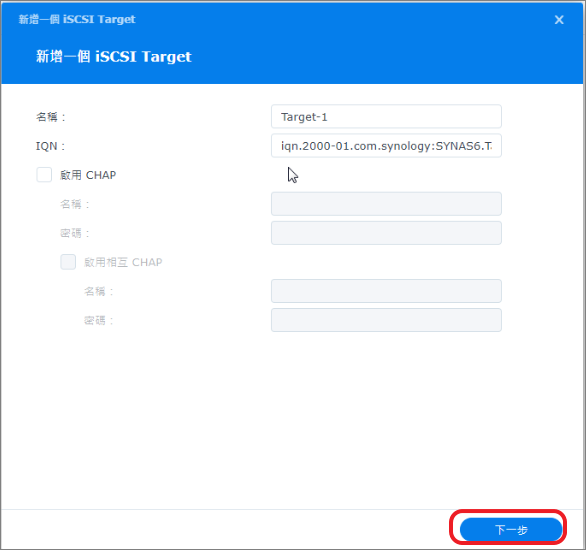
Step6.新增一個LUN >下一步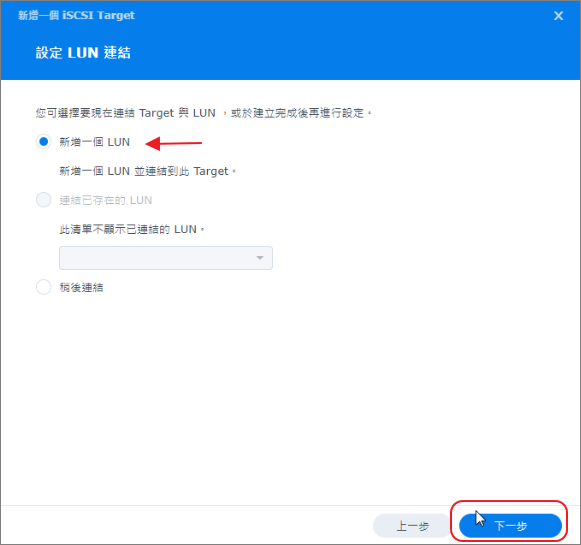
Step7.輸入所需空間大小>下一步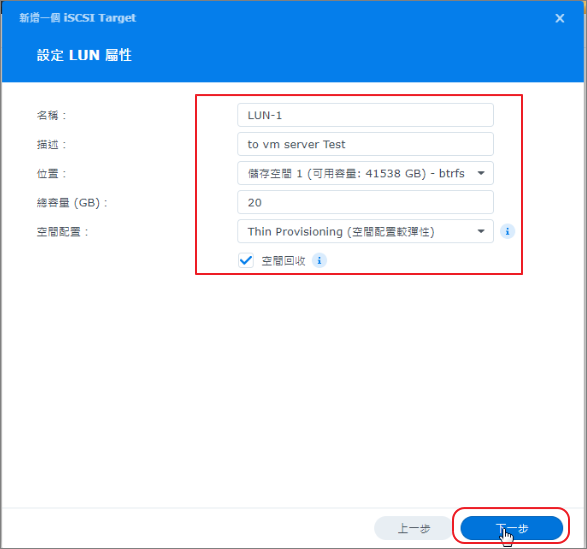
Ste8.完成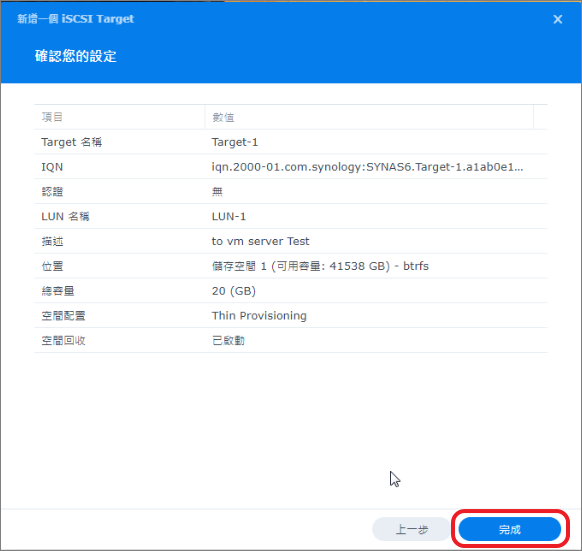
Step9.編輯iSCSI Target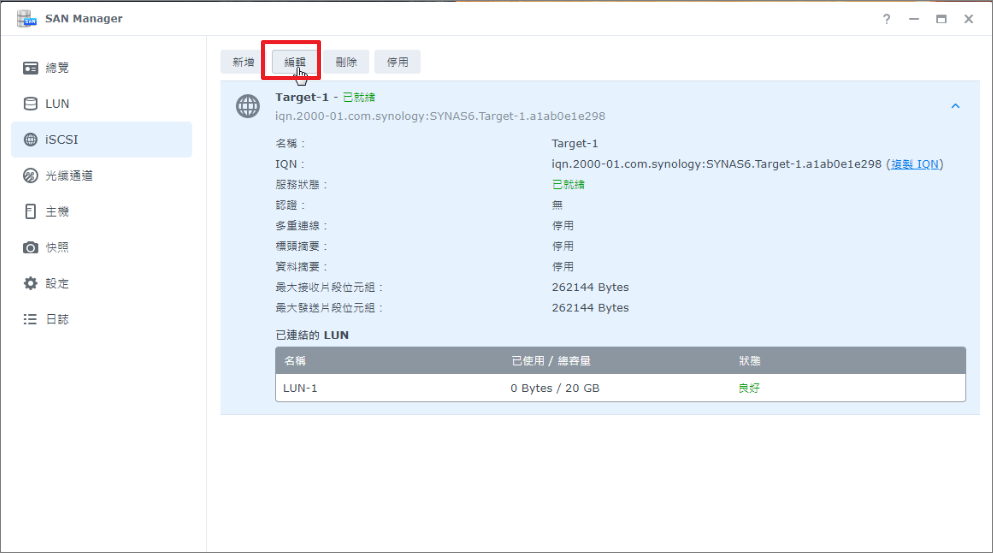
Step10.設定存取的網路 >儲存後完成 NAS端的設定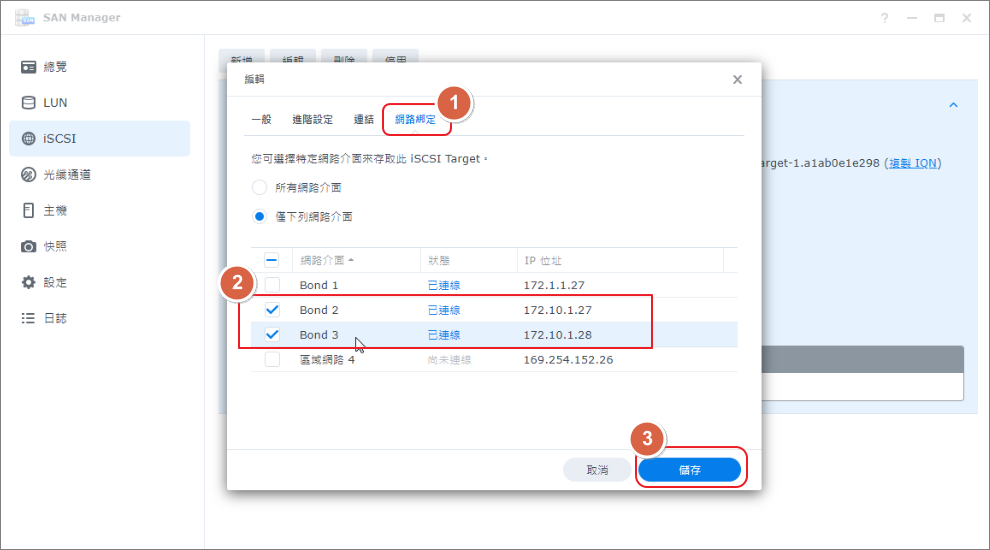
接下來進行ESXi端的相關設定
Step1.新增iSCSI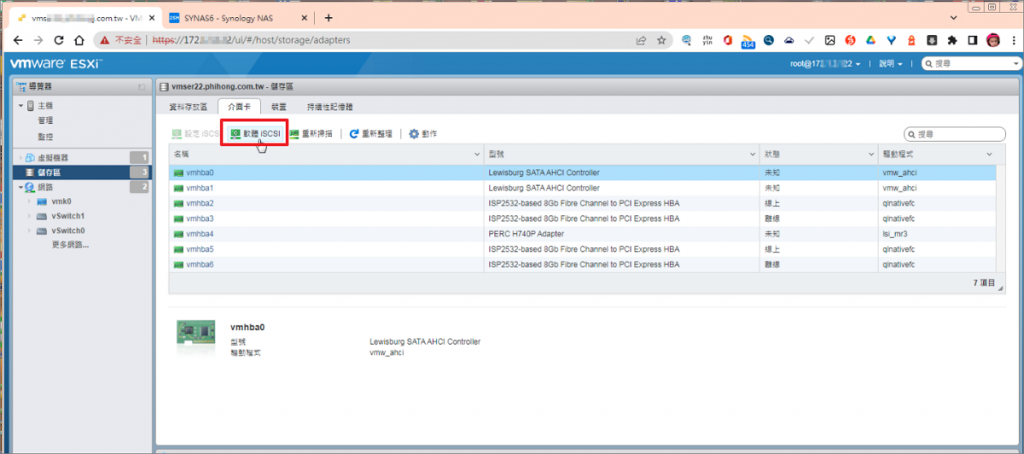
Step2.選擇啟用 >儲存組態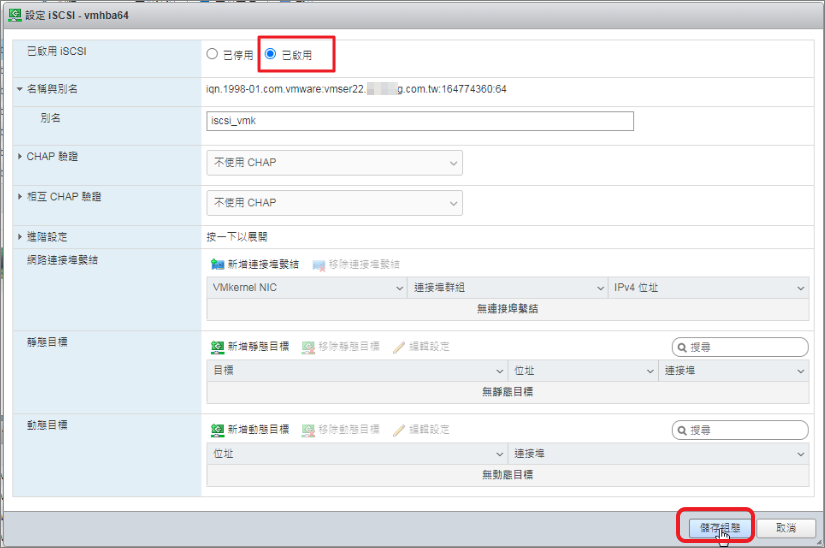
Step3.點選已新增的iSCSI Software Adapter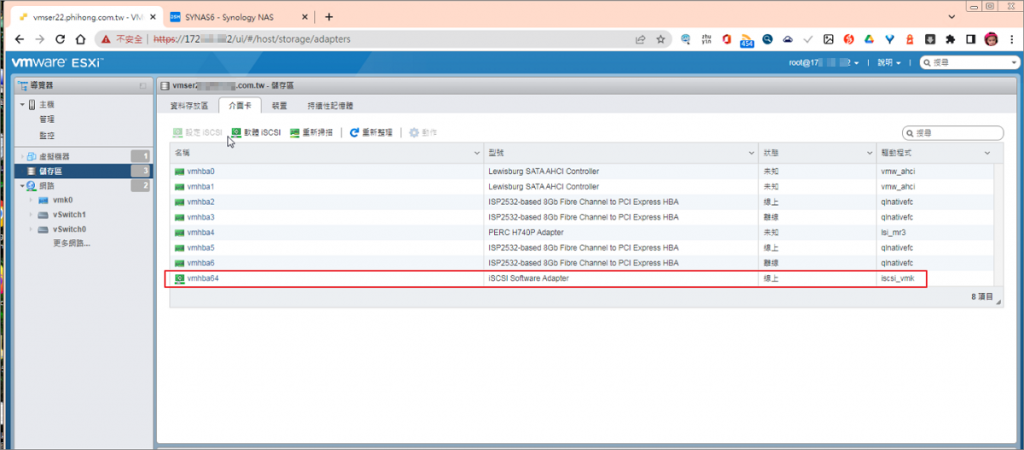
Step4.設定iSCSI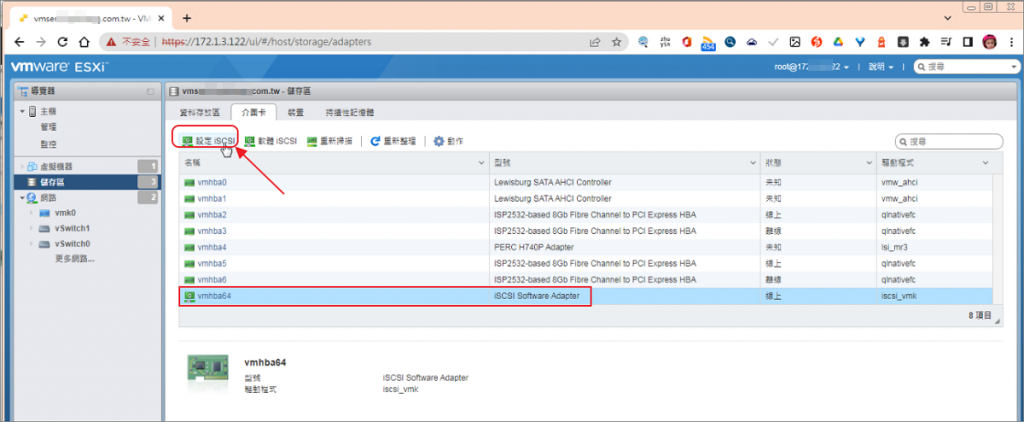
Step5.新增連接埠群組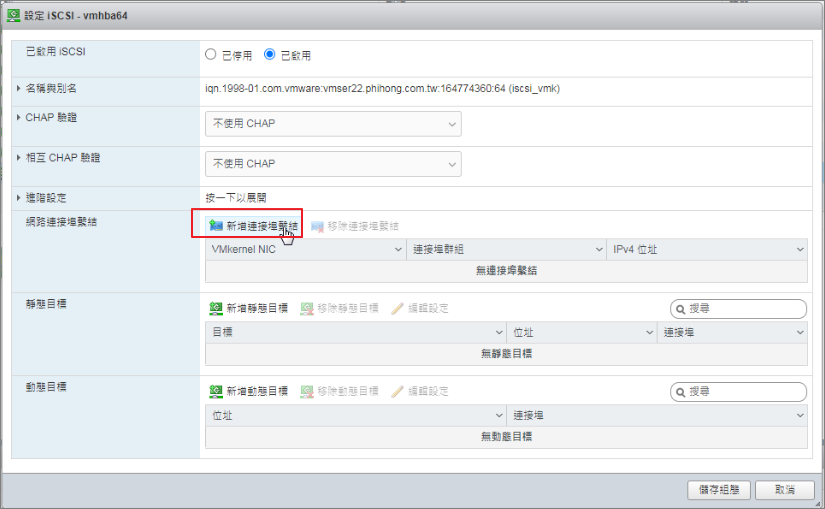
Step6.選取適當的連接埠群組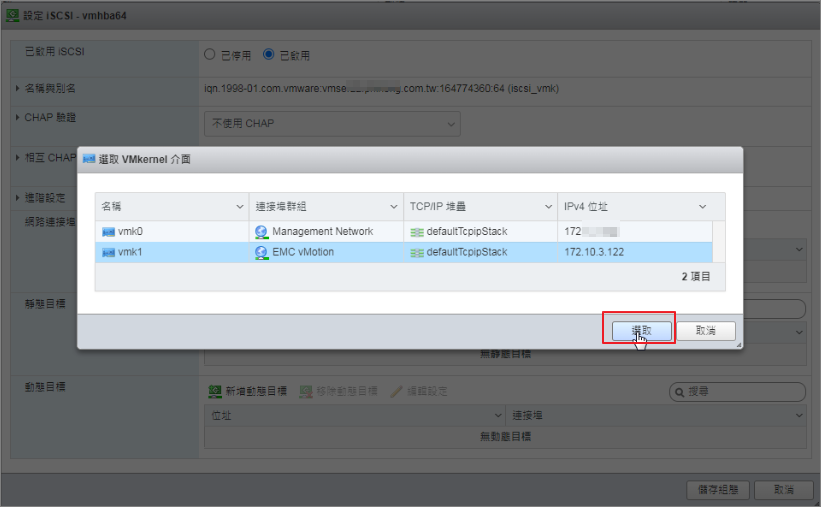
Step7.新增動態目標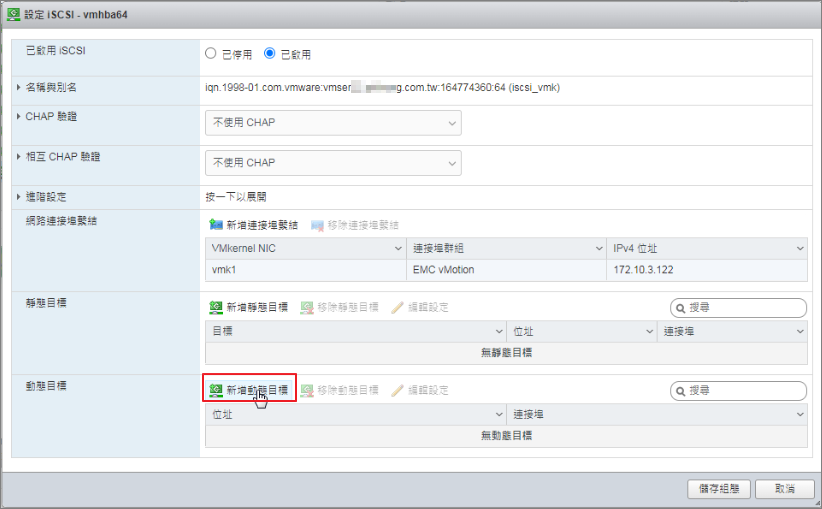
Step8.輸入Synology NAS的網路連接介面位址>儲存組態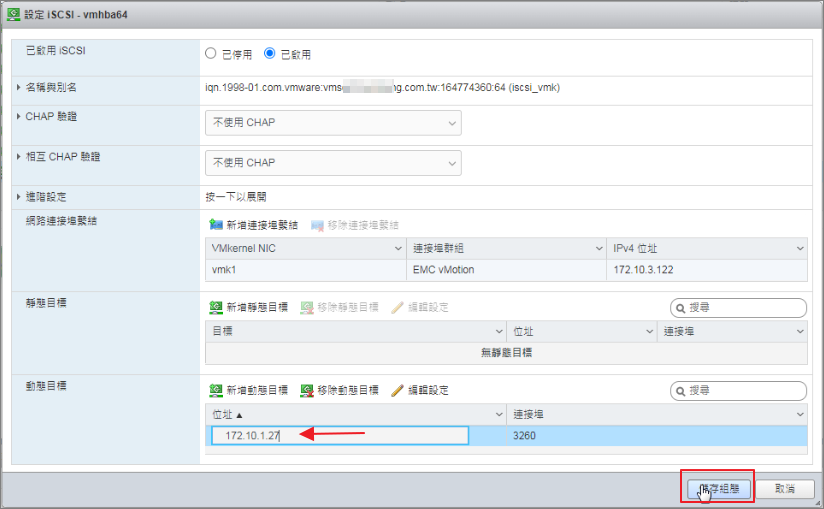
Step9.再次進入設定iSCSI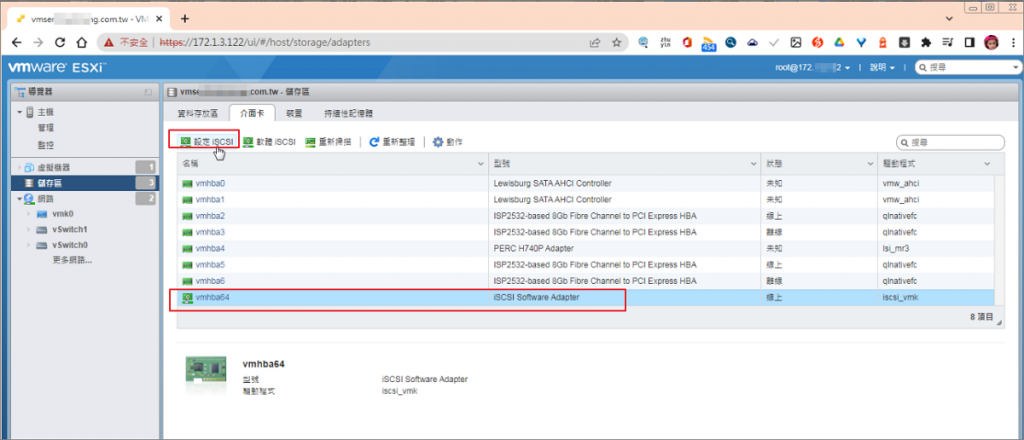
Step10.確認已連結iSCSI LUN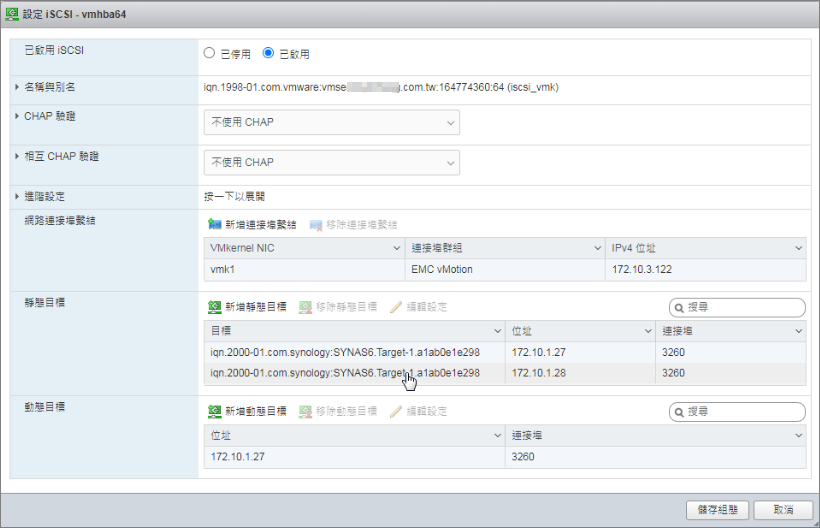
Step11.至儲存區 >新增資料存放區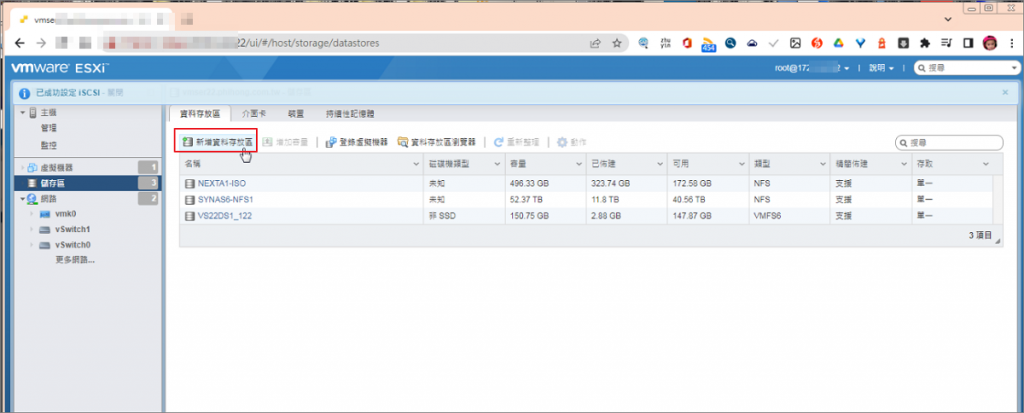
Step12.建立新的VMFS資料存放區 >下一頁
Step13.輸入資料存放區名稱 >下一頁
Step14.選擇VMFS6及指派空間 >下一頁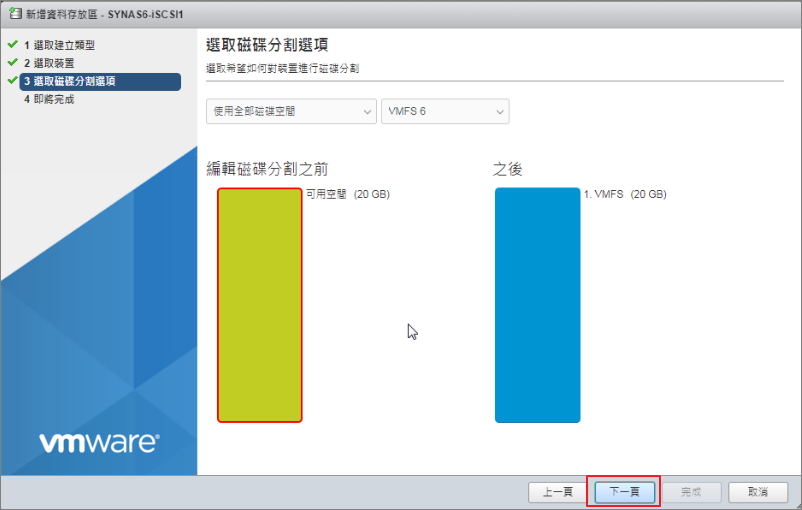
Step15.完成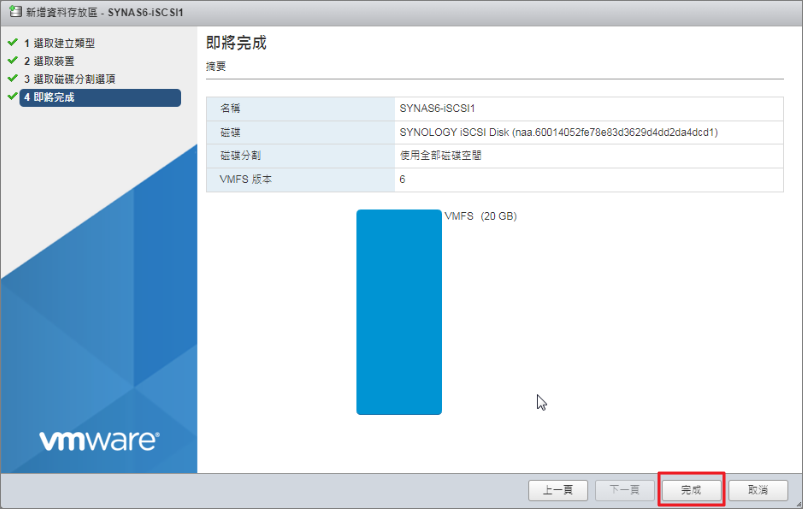
Step16.是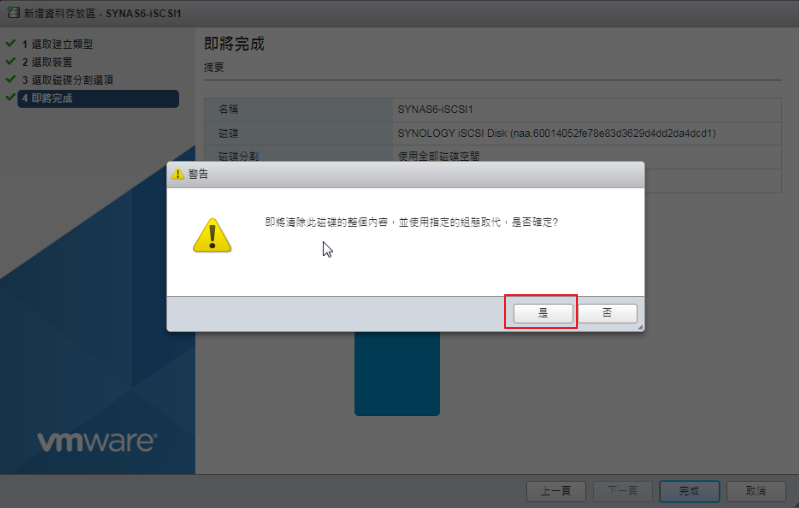
Step17.完成iSCSI網路儲存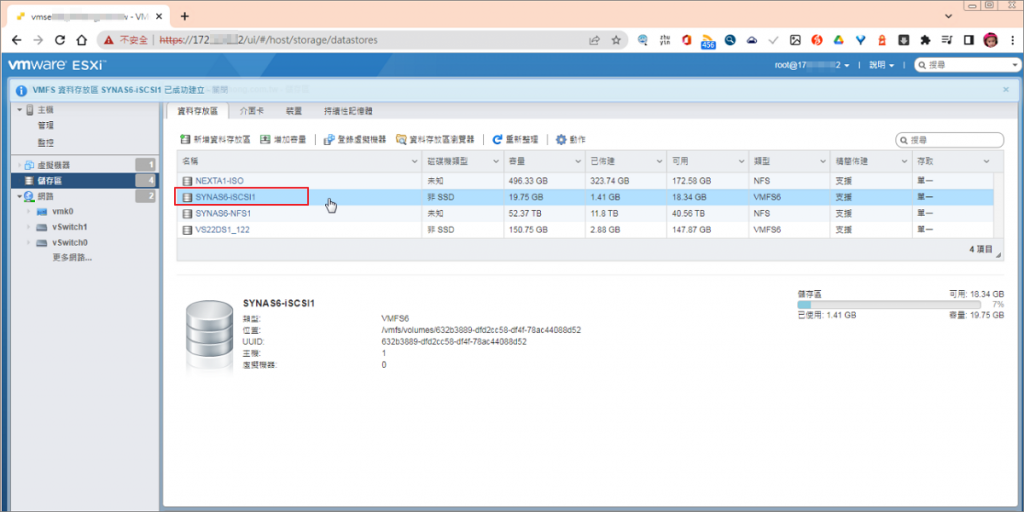


 iThome鐵人賽