上一篇針對頁面上固定顯示部份進行測試,但現實的需求總是複雜的,依應用程式取得的資料顯示是較常實作的需求,這一篇就來說明在這種情境下要如何撰寫測試程式。
這篇的範例程式會使用到 ProductCardComponent 元件 (檔案名為 product-card/product-card.component.ts)。這個元件會以卡片的方式來顯示外層所傳入的產品資訊,並讓使用者可以查詢此產品的明細資料,以及把所要的產品加入購物車。
此元件在建構式注入了 ShoppingCartService 服務,為了讓後續說明更能夠聚焦,除了在測試模組中引用 Angular Material 的模組外,也要在 providers 屬性中加入所注入的服務。
beforeEach(async () => {
  await TestBed.configureTestingModule({
    imports: [
      NoopAnimationsModule,
      MatButtonModule,
      MatIconModule,
      MatCardModule,
      MatSnackBarModule,
    ],
    declarations: [ProductCardComponent],
    providers: [ShoppingCartService],
  }).compileComponents();

  fixture = TestBed.createComponent(ProductCardComponent);
  component = fixture.componentInstance;
  component.product = new Product();
  fixture.detectChanges();
});
在 Angular 應用程式中,我們會利用各種資料繫結的方式,來串連頁面與資料兩個部份,當資料變更時會觸發 Angular 的變更檢測來更新頁面。
在單元測試中,當我們更新元件資料時,並不會自動觸發 Angular 的變更檢測,因此我們需要利用 fixture.detectChanges() 方法來通知測試模組進行資料綁定。
it('當傳入產品 B 時, 產品名稱應顯示為"產品 B"', () => {
  // Arrange
  const product = new Product({ id: 2, name: '產品 B', price: 200 });
  const productTitleElement = fixture.debugElement.query(
    By.css('h3')
  ).nativeElement;
  const productPriceElement = fixture.debugElement.query(
    By.css('.mat-card-content > div')
  ).nativeElement;

  // Act
  component.product = product;
  fixture.detectChanges();

  // Assert
  expect(productTitleElement.textContent).toBe('產品 B');
  expect(productPriceElement.textContent).toBe('$200.00');
});
上面程式中,一開始準備了產品資料,以及利用 debugElement 的 query() 方法取得產品標題與價格的頁面元素。接下來將產品資料設定到 ProductCardComponent 元件的 product 屬性,此時就需要執行 fixture.detectChanges() 方法來手動觸發 changeDetector 作業。最後就可以針對產品的標題與單價的頁面顯示進行驗證。
接下來,也來為「加入購物車」這個動作加入測試程式。首先,先設定一產品資訊設定至元件屬性;另外,因為在驗證上需要檢查 ShoppingCartService 服務內的記錄是否有新增資料,所以,一併透過 TestBed.inject 方法取得此服務實作。
it('當將產品 C 新增至購物車時, 購物車服務應記錄 1 筆資料', () => {
  // Arrange
  const shoppingCartService = TestBed.inject(ShoppingCartService);
  const product = new Product({ id: 3, name: '產品 C', price: 10 });

  component.product = product;
  fixture.detectChanges();

  // Act

  // Assert
});
在 Jasmine 裡有兩種方式可以觸發 click 事件。其一,是利用 DebugElement 物件的 triggerEventHandler 方法,如下面程式,此方法第一個參數為事件名稱,而第二個則為事件參數。
button.triggerEventHandler('click', null);
另一種方法是利用 natvieElement 內的 click 方法。
button.nativeElement.click();
因此,我們可以利用 queryAll() 取得元件內的按鈕,並觸發按鈕的 click 事件,就可以針對 ShoppingCartService 服務記錄的內容進行驗證。
it('當將產品 C 新增至購物車時, 購物車服務應記錄 1 筆資料', () => {
  // Arrange
  const shoppingCartService = TestBed.inject(ShoppingCartService);

  const product = new Product({ id: 3, name: '產品 C', price: 10 });

  component.product = product;
  fixture.detectChanges();

  // Act
  const button = fixture.debugElement.queryAll(By.css('button'))[1];
  button.nativeElement.click();

  // Assert
  expect(shoppingCartService.items).toEqual([
    new ShoppingCartItem({
      id: 1,
      productId: 3,
      product: product,
      count: 1,
    }),
  ]);
});
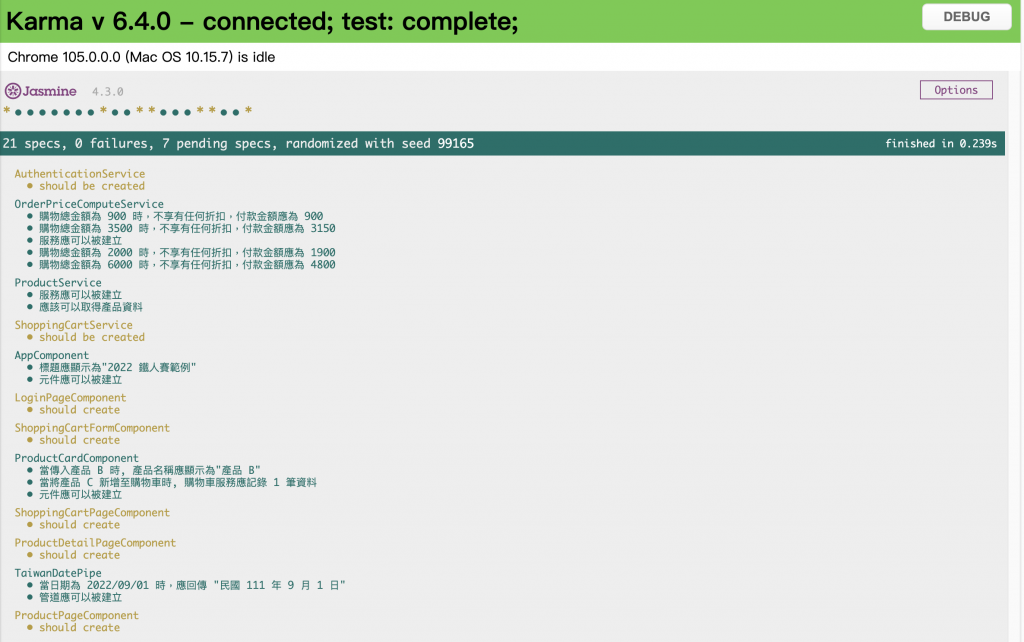
在撰寫完測試程式後,就可以執行 ng test 命令來確認測試結果。
這一篇針對了動態頁面的情境進行測試程式的撰寫,完整的測試程式可以參考 GitHub 中。實務上,元件設定的資料常會透過 Angular 服務從後端服務取得,接下來就來說明如何建立假服務物件來撰寫單元測試。